3D Spiral Flower Crochet Pattern: A Swirled Bloom Tutorial in 6 Steps
Flat crochet flowers are lovely, but some projects deserve a bloom with real height. This 3D spiral flower crochet pattern starts with a smooth spiral disc, then builds two layers of shell petals into the free front loops the spiral leaves behind — so the petals stand up, lean into a swirl, and turn a simple flower into a plump, dimensional bloom. One flower takes about half an hour, uses only scraps, and finishes at roughly 3½ inches (9 cm) across: big enough to anchor a brooch, small enough to scatter across a blanket.
The secret is in the base: two spiral rounds are worked in the back loop only, leaving two rings of unused front loops on the flower’s face — exactly where the petals grow, with no pieces to sew together afterwards.
Where to Use a 3D Spiral Flower
A raised bloom earns its keep anywhere a flat appliqué looks a little plain:
- Brooches and hair accessories: glue or sew on a pin back, or mount one on a hair clip — the petals’ height makes it read like a real flower.
- Bags and totes: stitch a trio onto a plain tote the way floral designs lift our crochet daisy bag — raised petals have no loose edges to catch, so they wear well.
- Cushions and blankets: sew blooms at the corners of a cushion, or scatter them over a plain blanket. Our flower pillow pattern shows how well a floral front works.
- Gift toppers and garlands: glue one onto a wrapped parcel instead of a bow, or thread several onto a ribbon for a spring garland.
- Festive decor: in deep red with a gold centre, the same bloom sits happily beside our poinsettia crochet flower pattern on a wreath.
Materials and Gauge
This 3D spiral flower crochet pattern uses small amounts of worsted weight (size 4) yarn — a true scrap project. If yarn weight labels are still new to you, the Craft Yarn Council’s standard yarn weight system explains what the “4” on the band means.
- Worsted weight (size 4) yarn: coral (or your main colour) approx. 20 yd (18 m); petal pink in two shades — or one shade used twice — approx. 25 yd (23 m) in total; a little golden yellow for the centre
- 4.0 mm (US G-6) crochet hook — smaller than the yarn usually calls for, so the base stays firm and the petals stand
- Locking stitch marker (essential for spiral rounds)
- Yarn needle, scissors
- Optional finishing supplies: brooch pin back, hot glue gun, 26-gauge floral wire and green floral tape (for a stem), small felt circle
Gauge and size: gauge is not critical, but with worsted yarn and a 4.0 mm hook the base measures about 2 in (5 cm) across and the finished flower about 3½ in (9 cm) across and 1 in (2.5 cm) tall. If your petals will not stand, drop to a 3.5 mm hook rather than changing the counts.
Useful Materials from Amazon

- Content: 100% Acrylic. This yarn is great for knitting, crocheting, amigurumi and craft projects. Easy to care for: mach…
- Ball Size: 454g / 16 oz, 742 meters / 812 yards
- Gauge:#4 Worsted (Medium). Knitting Gauge: 4” x 4” (10 cm x 10 cm) 16 sts x 20 rows with 5 mm knitting needle ,Crochet G…
A smooth worsted acrylic in coral and two pinks gives crisp shells and colours that swirl rather than blend.

- Easy grip handle
- Amour means love
- Love crochet
The 4.0 mm size keeps the base tight enough to hold the petals upright, and a soft grip makes the dense single crochet rounds comfortable.

- This package contains 270-feet of 26 gauge silver floral wire.
- Easily cut wire to any length with scissors or wire cutters.
- Use wire to tie floral stems together, strengthen and reinforce delicate or weak stems, or attach stems to wreath forms,…
Thin floral wire turns a finished bloom into a stemmed flower — bend a small loop at the top so it hides under the flower’s back.

- Dual temp: Use the right hot glue temperature for the job; Low Heat for delicate materials like floral, fabric, foam, je…
- Easy to use: This Gorilla glue gun has a comfort grip, built-in stand, wide base, easy squeeze trigger, and long insulat…
- Enhanced safety: A safety fuse in our hot glue guns shuts them off automatically in the event of a short; Side fins allo…
A low-temperature glue gun is the fastest way to attach pin backs, felt circles and stems.
Abbreviations (US Terms)
- ch = chain
- sc = single crochet
- dc = double crochet
- sl st = slip stitch
- st(s) = stitch(es)
- MR = magic ring
- BLO = back loop only
- FL = front loop (the loop left free by a BLO round)
- rep = repeat
The 3D Spiral Flower Crochet Pattern, Step by Step
Work this 3D spiral flower crochet pattern in order: the spiral base first (Steps 2–3), then the two petal layers (Steps 4–5). The base is worked in continuous spiral rounds — do not join at the end of a round; place your marker in the first stitch of each round and move it up as you go. Counts end every round — if yours matches, the petal maths in Steps 4 and 5 falls into place by itself.
Step 1 — Materials and Size

Choose three colours that sit well together: a base colour (coral here), a deeper petal shade, a lighter petal shade, plus a speck of gold for the centre. Two petal shades give the swirl its depth, but a single petal colour looks clean and modern too. The finished flower is about 3½ in (9 cm) across — to change the size, change yarn and hook together (DK with a 3.5 mm hook gives about 3 in; chunky yarn with a 5.5 mm hook, about 4½ in), or add a sixth base round (see the FAQs).
Step 2 — Rounds 1 and 2: The Spiral Centre

With the base colour (coral), make a magic ring.
Round 1: Work 6 sc into the ring. Pull the ring closed. (6 sc) Place your marker in the first sc — in a spiral you work straight on into the next round without joining.
Round 2: Work 2 sc in each stitch around. (12 sc)
Your piece is a tiny disc no bigger than a coin. Keep your tension firm and even — looseness here shows up later as a wobbly bloom.
Step 3 — Building the Spiral Out

Round 3: *Sc in the next st, 2 sc in the next st; rep from * 5 more times. (18 sc)
Round 4: Now work in the back loop only: *sc in the next 2 sts, 2 sc in the next st; rep from * 5 more times. (24 sc) Back-loop stitches leave every front loop unworked — look at the face of your disc and you will see a neat ring of free front loops. That ring is precious; the inner petals grow from it in Step 5.
Round 5: Back loop only again: *sc in the next 3 sts, 2 sc in the next st; rep from * 5 more times. (30 sc) A second ring of free front loops now circles the first — this outer ring carries the first petal layer in Step 4.
To finish the base, sl st in each of the next 2 sts — this tapers the spiral’s final step so the edge flows instead of ending in a cliff — then fasten off. The base measures about 2 in (5 cm) across, with two clean front-loop rings on its face.
Step 4 — The 3D Petal Round

Here is where the flower stands up. The petals are shells — fans of double crochet — worked into the free front loops of Round 5. Five doubles crowded into one loop fan out and cup upward instead of lying flat, and because every shell leans the same way around the ring, the layer takes on the swirl that gives this 3D spiral flower crochet pattern its name.
With the deeper petal shade, join the yarn with a sl st in any front loop of Round 5.
Outer petal round: Ch 3 (counts as the first dc), 4 dc in the same front loop (first shell made), sl st in the next front loop, skip the next front loop, *5 dc in the next front loop, sl st in the next front loop, skip the next front loop; rep from * 8 more times. Join with a sl st to the top of the beginning ch-3 and fasten off. (10 shells — 10 petals, 50 dc in total; all 30 front loops used: 10 for shells, 10 for slip stitches, 10 skipped)
Count your petals before moving on: ten shells standing around the edge, each cupping slightly toward the centre.
Step 5 — Second Petal Layer and Shaping

The second, smaller layer grows from the inner front-loop ring — the free loops of Round 4 — using slightly smaller shells so the layers nest instead of fighting.
With the lighter petal shade, join the yarn with a sl st in any front loop of Round 4 (the outer petals fold back out of the way).
Inner petal round: Ch 3 (counts as the first dc), 3 dc in the same front loop (first shell made), sl st in the next front loop, skip the next front loop, *4 dc in the next front loop, sl st in the next front loop, skip the next front loop; rep from * 6 more times. Join with a sl st to the top of the beginning ch-3 and fasten off. (8 shells — 8 petals, 32 dc in total; all 24 front loops used)
The golden centre: with golden yellow, make a magic ring, ch 1, work 8 sc into the ring, pull closed and join with a sl st to the first sc. (8 sc) Fasten off leaving a 10 in (25 cm) tail, and sew the little disc into the very centre of the flower, covering the spiral’s start — or glue it in place.
Shaping: pinch each shell gently and curl it a touch further upward; the inner layer should sit higher than the outer. For a firmer cup, rest the flower face-down over a small bowl for an hour. The sewn-in centre pulls everything together — this is where the bloom takes shape.
Step 6 — Finishing: Brooch, Appliqué and Display Ideas

Weave in all ends along the back of the base, then choose your finish:
- Brooch or hair clip: glue a small felt circle to the centre back (it hides every end), then glue or sew on a brooch pin back or hair clip.
- Appliqué: sew the flower onto bags, hats, blankets or dresses with small stitches through the back of the base only — the petals stay free and dimensional.
- On a stem: bend a tiny loop in the end of a length of 26-gauge floral wire, glue or sew it to the centre back, then wrap the wire with green floral tape downward to form a stem. Three to five stemmed blooms make a vase display that never wilts.
Tips for Petals That Stand Up
- Keep the base tight. A firm hook size (4.0 mm for worsted) is the whole secret — a loose base gives floppy petals however well the shells are worked.
- Never skip the marker. Spiral rounds have no join to count from; one lost stitch in the base throws out the petal counts in Steps 4 and 5.
- Work petals into the front loop only. If your hook slips through both loops, the shell pulls the base with it and the swirl flattens.
- Two shades are better than one. A deeper outer layer and lighter inner layer exaggerate the 3D effect far more than a single colour.
- Count shells, not stitches. Ten outer, eight inner — a quick count at the end of each petal round catches a skipped loop while it is easy to fix.
Common Mistakes and How to Fix Them
- The base curls into a cup. Your increases are off or the ring was pulled too tight. Recount Rounds 1–5 (6, 12, 18, 24, 30) — a flat disc at Round 5 is essential before petals begin.
- Petals lying flat. Usually the base is too soft (hook too big) or the shells were worked through both loops. Remake the base a hook size smaller and check you are catching the front loop only.
- A petal count that will not come out. A front loop was missed or used twice. The rings are exact: 30 loops take 10 shells, 24 loops take 8 — recount the loops on the bare base before joining the petal yarn.
- The flower spirals the “wrong” way. There is no wrong way — shells lean with your working direction. Right-handers get a clockwise swirl, left-handers the mirror image; both are correct.
- A visible lump at the centre. The spiral’s starting tail is showing. Sew the golden centre disc over it — that is exactly what it is for.
Frequently Asked Questions
How long does one flower take to make?
About 25 to 35 minutes once you know the rhythm — five quick base rounds and one repeated three-loop petal pattern.
Can beginners make this 3D spiral flower crochet pattern?
Yes, with a little confidence. You need single and double crochet, a magic ring, and working in the back and front loops — each explained where it is used. If spirals are new to you, make the first flower in a single colour so the structure is easy to see.
How do I make the flower bigger?
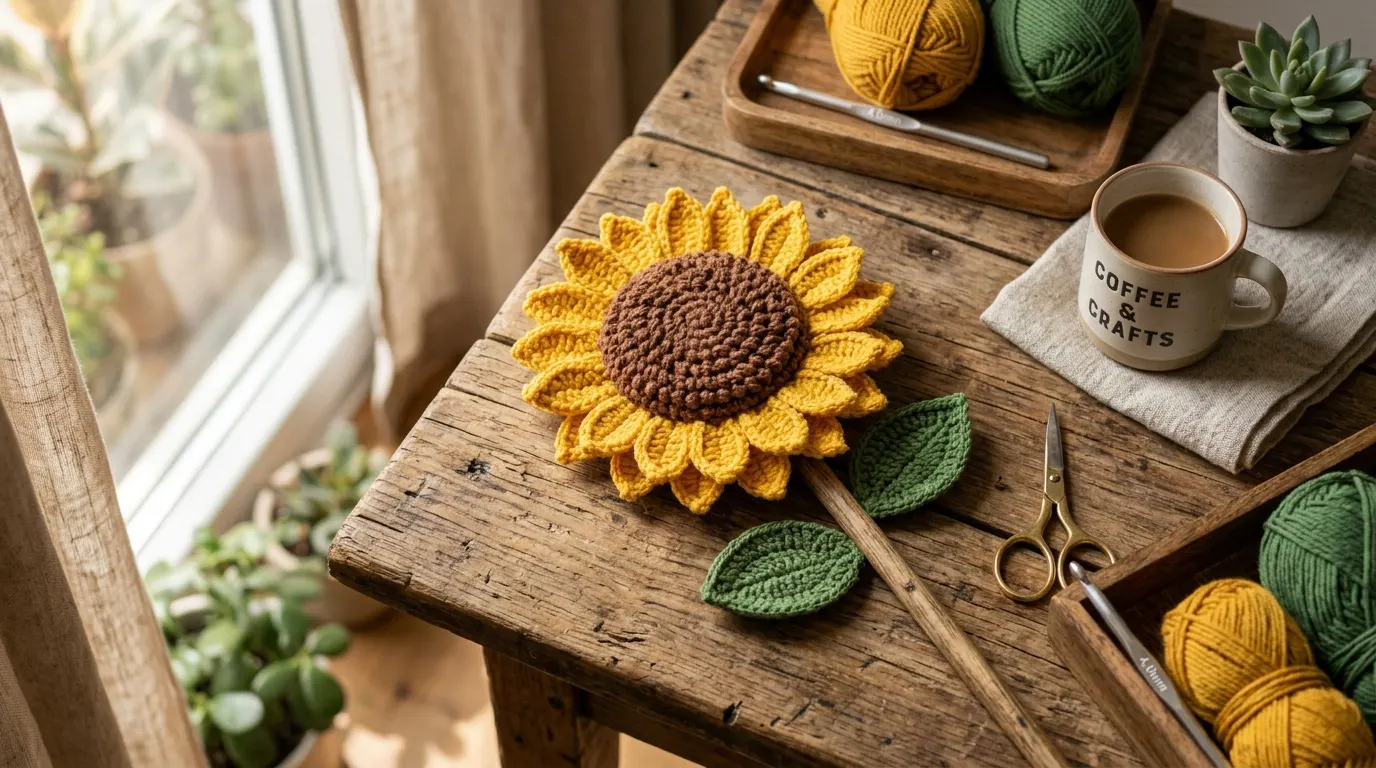
Add one more base round before the petals: Round 6 (BLO): *sc in the next 4 sts, 2 sc in the next st; rep from * 5 more times (36 sc). Work the outer layer into Round 6’s front loops — 12 shells of 5 dc — and the inner layer into Round 5’s front loops — 10 shells of 4 dc. The flower grows to about 4¼ in (11 cm) across. Or simply use thicker yarn: our crochet sunflower pattern uses a similar petal idea at a much larger scale.
Can I wash the finished flower?
Hand wash gently in cool water, press in a towel and dry flat, reshaping the petals while damp. Remove brooch pins first, and keep glued stems out of the wash.
Final Thoughts
A flat flower decorates; a raised one performs. This 3D spiral flower crochet pattern turns a two-inch spiral disc and two rings of shells into a bloom with genuine height — and once your hands know the three-loop petal repeat, you will add them to everything: hats, bags, gift wrap, last year’s plain cushion. Make the first in coral and pink to learn the structure, then raid the scrap basket. For more blooms in every shape, browse our roundup of crochet flower patterns.