Puff Stitch Hat Crochet Pattern: A Cosy Textured Beanie in 6 Steps
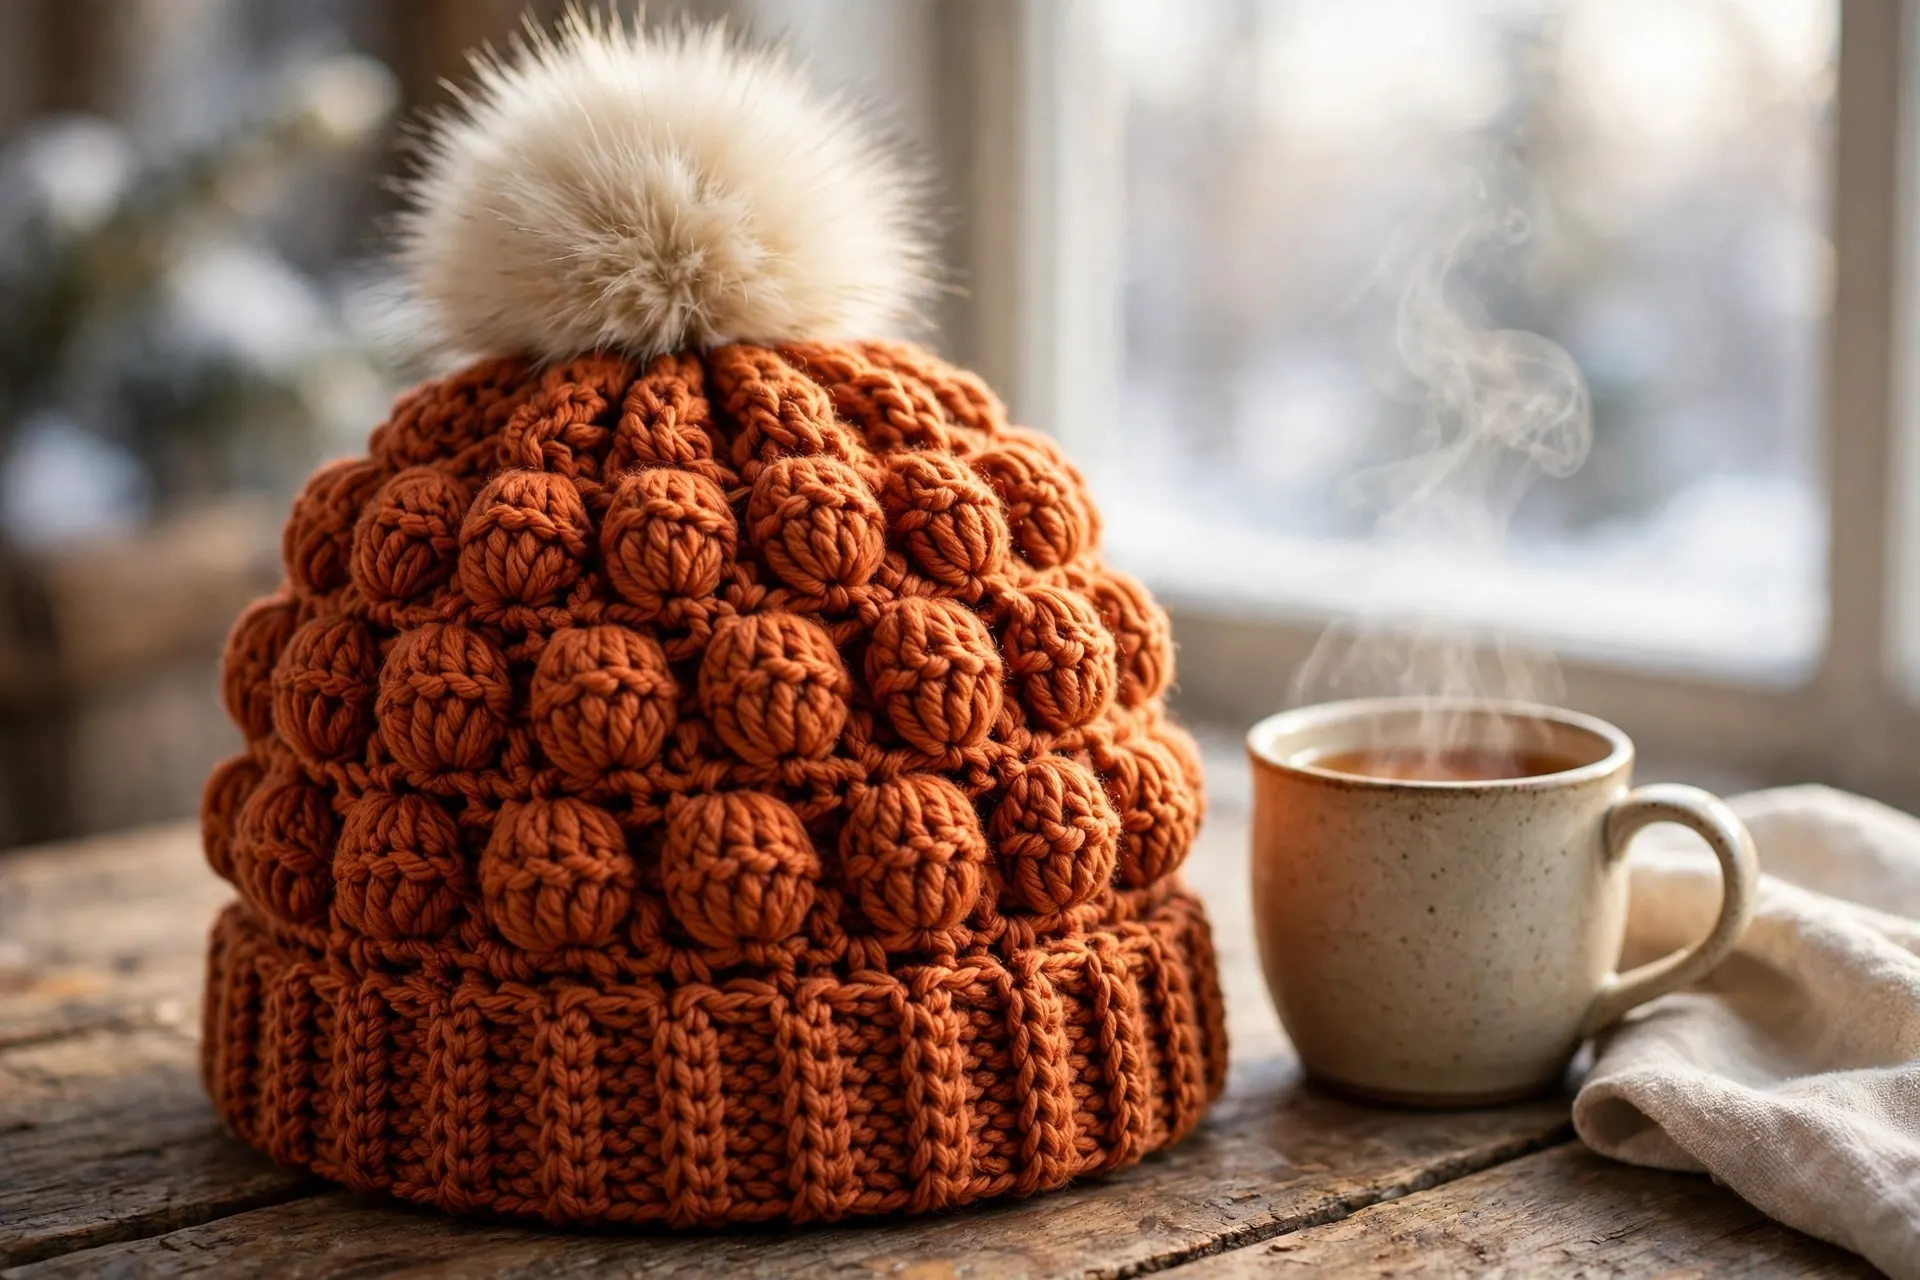
Some hats are just a tube with the top gathered. This puff stitch hat crochet pattern is built properly instead: a flat, counted crown that grows round by round to exactly the right diameter, then straight body rounds where plump puff stitches alternate with smooth plain rounds in neat, even bands. Finish with a ribbed brim, add a pompom if you like, and you have a beanie that looks bought — but warmer, because every puff traps a little pocket of air.
The adult medium size is written out in full with every round counted. Smaller and larger sizes change only two things — how many crown rounds you work and the final stitch count. This puff stitch hat crochet pattern is a satisfying first textured hat to make.
About This Hat
- Texture without the bulk battle. Alternating puff rounds with plain half double crochet rounds keeps the hat warm and squishy without making it stiff or heavy.
- Fast and giftable. The only new skill is the puff stitch, spelled out loop by loop in Step 2, and a medium hat takes two to three evenings — add the optional pompom and it becomes a proper present, one of the small makes in our round-up of easy DIY crochet gifts.
Materials and Gauge
What You Need
- Worsted weight (#4) yarn, approx. 220 yd (200 m) for size M — about 200 yd for S and 250 yd for L. Rust is used here; any smooth wool, wool blend or acrylic works. Avoid very fuzzy yarn for your first one — you need to see the puffs clearly. If yarn labels are new to you, the Craft Yarn Council’s standard yarn weight system explains the #4 on the band.
- 5.5 mm (US I-9) crochet hook
- Stitch marker (one is enough — it marks the first stitch of each round)
- Yarn needle, scissors and a tape measure
- Optional: faux fur pompom with a snap button, or extra yarn to make your own pompom (Step 6)
Useful Materials from Amazon
One smooth worsted ball makes the whole hat: choose a wool blend for real warmth, with a little extra kept back if you plan a yarn pompom.
Puff stitches mean pulling loops through the same stitch again and again — a soft-grip ergonomic 5.5 mm hook keeps that comfortable for a whole hat.
A snap-on faux fur pompom in a cream or natural shade finishes this beanie beautifully — and unclips again before washing.
One marker in the first stitch of every round is the difference between counted rounds and hopeful ones, especially on crown increases.
Gauge and Sizes
Gauge: 12 stitches and 10 rounds = 4 inches (10 cm), worked in the pattern (alternating puff stitch and half double crochet rounds) with the 5.5 mm hook. Gauge matters on a hat: too loose and it slides over your eyes, too tight and it perches. Swatch first.
How the sizing works: the hat is worked top-down. The crown grows until its circumference matches the hat size below — roughly 2 inches smaller than the head, so the brim grips gently — then the body goes straight down.
| Size | Fits head | Hat circumference | Crown rounds | Final stitch count | Body rounds | Finished height |
|---|---|---|---|---|---|---|
| S (teen / small adult) | 20 in (51 cm) | 18 in (46 cm) | 5 (ends at 54 sts) | 54 | 9 | about 7½ in (19 cm) |
| M (adult medium) | 22 in (56 cm) | 20 in (51 cm) | 5 (ends at 60 sts) | 60 | 10 | about 8 in (20 cm) |
| L (adult large) | 24 in (61 cm) | 22 in (56 cm) | 6 (ends at 66 sts) | 66 | 11 | about 8¾ in (22 cm) |
Abbreviations (US Terms)
- ch = chain
- sc = single crochet
- hdc = half double crochet
- st(s) = stitch(es)
- MR = magic ring
- BLO = back loop only
- rep = repeat
- Puff st = puff stitch (fully explained in Step 2)
The Puff Stitch Hat Crochet Pattern, Step by Step
Work the crown first (Steps 2–3), then the straight body (Step 4), the brim (Step 5) and the pompom (Step 6). Join every round with a slip stitch to the first stitch and move your marker up as you go — in this puff stitch hat crochet pattern, every size M round from Step 3 onwards ends on the same count: 60.
Step 1 — Materials, Gauge and Sizes

Gather everything and choose your size from the table first — it decides where the crown stops. Quick gauge check: chain 14, work a few alternating rows of puffs and hdc, and measure the middle. Twelve stitches should span 4 inches. Too many means tight work (go up to a 6.0 mm hook); too few, drop to a 5.0 mm hook.
Step 2 — Crown Rounds 1–3: The Puff Stitch and the First Increases

The puff stitch, defined exactly: Yarn over, insert your hook into the stitch, yarn over and pull up a long loop to the height of your work. Repeat that 4 times in total, always into the same stitch, until you have 9 loops on your hook. Yarn over and pull through all 9 loops, then chain 1 to close the puff. One rule keeps the counting simple: that closing chain sits on top of the puff — it is not a stitch and not a space. Each puff is worked into exactly one stitch of the round below, so a puff round has the same number of puffs as the round below had stitches (plus any increases you deliberately work).
- Round 1 (hdc): Make a magic ring. Ch 2 (counts as the first hdc), work 11 hdc into the ring, pull the ring closed and join with a slip stitch to the top of the ch-2. (12 hdc)
- Round 2 (puff): Ch 1. Work 2 puff stitches in every stitch around — this is the increase round, doubling the count. Join with a slip stitch to the first puff. (24 puffs)
- Round 3 (hdc): Ch 2 (counts as hdc), *2 hdc in the next stitch, hdc in the next stitch; rep from * around, join with a slip stitch to the top of the ch-2. (36 hdc)
Lay the little circle flat: it should sit smooth, not ruffled or cupped. Count out loud at the end of each round — 12, 24, 36 — because every later round builds on these numbers.
Step 3 — Crown to Full Diameter: Rounds 4–5 (and the Size L Extra Round)

- Round 4 (puff): Ch 1. *Puff in each of the next 2 stitches, 2 puffs in the next stitch; rep from * around, join with a slip stitch to the first puff. (48 puffs)
- Round 5 (hdc) — size M finishes the crown here: Ch 2 (counts as hdc), *hdc in each of the next 3 stitches, 2 hdc in the next stitch; rep from * around, join. (60 hdc)
Measure across the flat crown: size M should measure about 6.4 in (16 cm) across — the diameter that gives a 20-inch circumference. If it is more than half an inch out, your gauge is off; change hook size now rather than wear the wrong size later.
For the other sizes: Size S works Round 5 differently — *hdc in each of the next 7 stitches, 2 hdc in the next stitch; rep from * 6 times, join (54 hdc) — and its crown is done. Size L works Round 5 exactly as size M (60 hdc), then adds Round 6 (puff): *puff in each of the next 9 stitches, 2 puffs in the next stitch; rep from * 6 times, join (66 puffs) — crown about 7 in (18 cm) across.
For a no-maths festive alternative, try our Santa hat pattern, which grows a cone in five sizes.
Step 4 — Body Rounds: The Puff Pattern

Now the sides come straight down — no increases, no decreases, just the rhythm that makes this puff stitch hat crochet pattern so satisfying:
- Puff rounds: Ch 1, work 1 puff stitch in every stitch around, join with a slip stitch to the first puff. (60 puffs for size M)
- Plain rounds: Ch 2 (counts as hdc), hdc in every stitch around, join with a slip stitch to the top of the ch-2. (60 hdc)
Alternate them, starting with the opposite stitch from your last crown round — size M’s crown ends on an hdc round, so the body starts with a puff round. Work 10 body rounds in total for size M (9 for size S, 11 for size L). Every round ends with your size’s count — 54, 60 or 66 — and the puffs stack in tidy columns between the smooth plain rounds.
Try the hat on before the brim: the bottom edge should reach roughly the tops of your ears. Short on length? Add one more pair of rounds (one puff, one plain) before Step 5 — about ¾ inch. The straight body works like the band on our twisted crochet headband, only in the round. Getting the length right here matters in this puff stitch hat crochet pattern.
Step 5 — The Ribbed Brim

The brim of this puff stitch hat crochet pattern is plain, firm and worked in the back loops, which gives it a ribbed look and a gentle grip:
- Rounds 1–5: Ch 2 (counts as hdc), hdc in the back loop only of every stitch around, join with a slip stitch to the top of the ch-2. (60 hdc per round for size M; 54 or 66 for S and L)
Join the last round, fasten off and weave in the end, running the tail through the backs of stitches in two directions so it cannot work loose. Wear the brim as it is for a neat beanie, or fold it up once for a cuffed look — the back-loop ridges read as ribbing either way. Size M now measures about 8 in (20 cm) from crown to brim edge. That firm edge is what finishes this puff stitch hat crochet pattern so neatly.
Step 6 — Pompom (Optional) and Finishing

Block lightly if the crown needs it: dampen the hat, pull it over a bowl roughly head-sized, and leave to dry. Then choose your finish:
- Faux fur pompom: sew the loose half of its snap button firmly to the very top of the crown, on the inside, through the centre of Round 1. Clip the pompom on outside — and unclip it before washing.
- Yarn pompom: wind yarn around a 3½ in (9 cm) piece of cardboard about 120 times, slide the bundle off, tie it tightly round the middle, cut all the loops, trim it round, and sew it to the crown top with the tying tails.
- No pompom: perfectly fine — the counted crown looks neat bare, more like a classic watchman’s beanie.
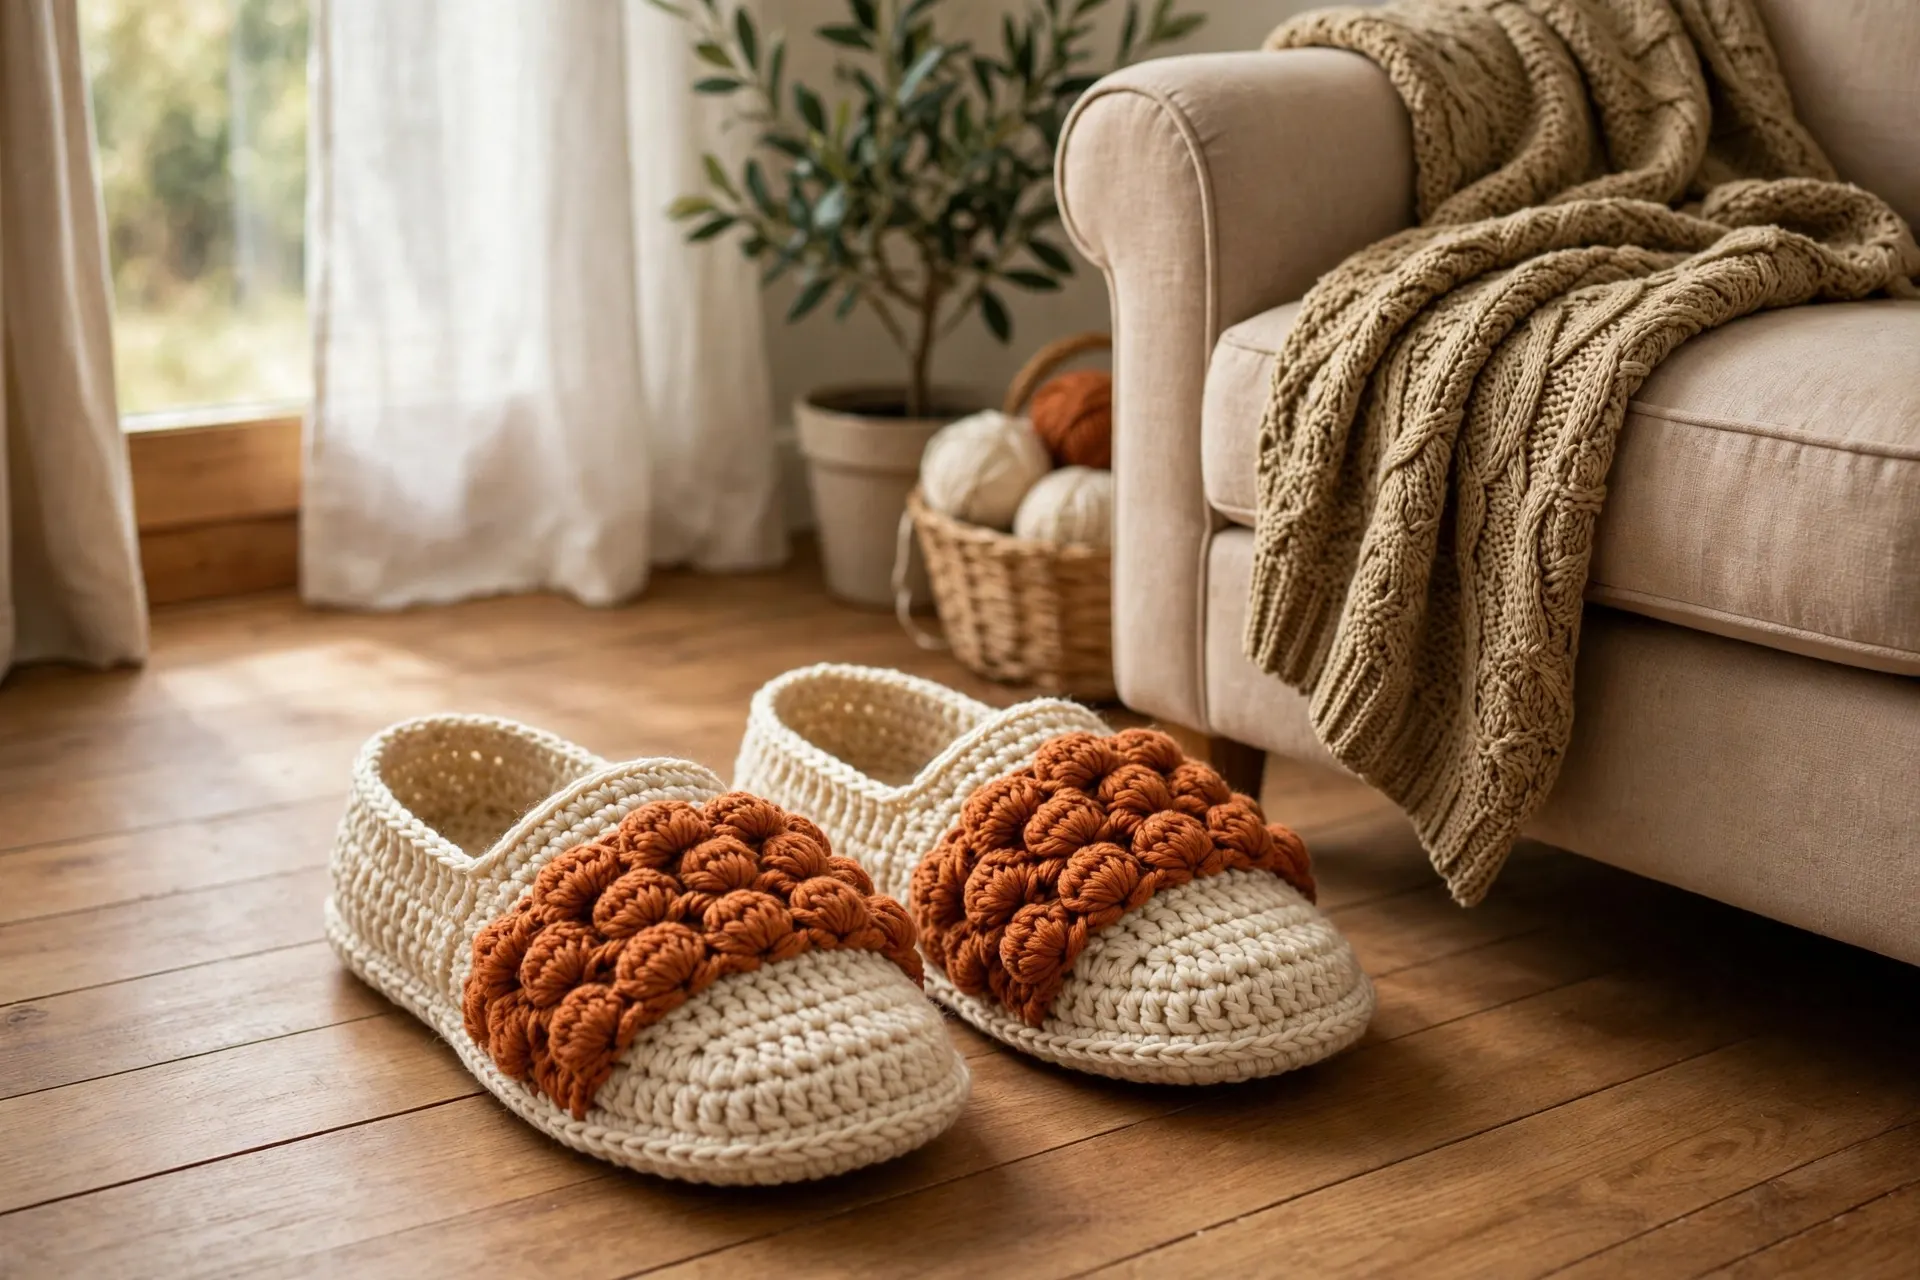
The puff texture in this hat is the same stitch family as the braid band on our braid stitch slippers — make both in the same rust yarn for a matching cosy set.
Tips for Plump, Even Puffs
- Pull every loop up to the same height. A quick tug after the fourth wrap keeps each puff equally plump — uneven loop heights are why some puffs look deflated.
- Close the puff snugly. The ch-1 after each puff locks it; a loose closing chain lets the puff lose its shape.
- Count the increase rounds twice. Crown rounds are the fit of the hat — if Round 4 does not end on 48, find the missed increase now, not at the brim.
- Keep the plain rounds plain. The smooth hdc rounds are what make the puff bands read as texture.
Common Mistakes and How to Fix Them
- The crown ruffles like a pie crust. Too many increases, or puffs worked into the closing chains of the round below. One puff per stitch — the closing ch-1 is never a stitch.
- The crown cups into a bowl. An increase round was missed or under-counted. Recount against the sequence: 12, 24, 36, 48, then 54, 60 or 66 by size.
- The puffs look flat and stringy. The loops were not pulled up high enough, or the yarn is too thin for the hook. Work tall loops and close them firmly.
- The hat is too big or too small overall. Gauge, almost always. The diameter check in Step 3 exists for this — measure the crown before the body rounds, every time.
Frequently Asked Questions
Is this puff stitch hat crochet pattern suitable for beginners?
It suits a confident beginner — you need chain, slip stitch and half double crochet already, and the puff stitch (taught loop by loop in Step 2) is the only new skill. The counted crown helps: the numbers tell you at once when something has gone wrong.
How much yarn does one hat take?
About 200 yd for size S, 220 yd for M and 250 yd for L — roughly one 100 g ball for S and M; L (or a big yarn pompom) wants a second. Puffs are yarn-hungry, so do not plan a hat from a half-used ball.
Can I make the hat slouchy?
Yes — add extra body rounds in Step 4 before the brim. Each extra puff-and-plain pair adds about ¾ inch; two pairs give a gentle slouch, three a proper slouchy beanie. Allow 30 yd of yarn per extra pair.
How do I wash a puff stitch hat?
Hand wash cool (or machine wash gentle in a laundry bag), reshape and dry flat — a hot dryer flattens the puffs. Unclip a snap-on pompom first; never wash a faux fur pompom with the hat. Gentle washing keeps this puff stitch hat crochet pattern looking its best.
Final Thoughts
A good beanie is a small piece of engineering: a crown that fits, a body with texture, a brim that grips. This puff stitch hat crochet pattern gives you all three with one new stitch and a handful of counted rounds — make the first in rust, and the gift hats will practically crochet themselves. Keep this puff stitch hat crochet pattern handy for the next gift hat, too.