Crochet Christmas Baubles: A Complete Striped Ball Ornament Pattern
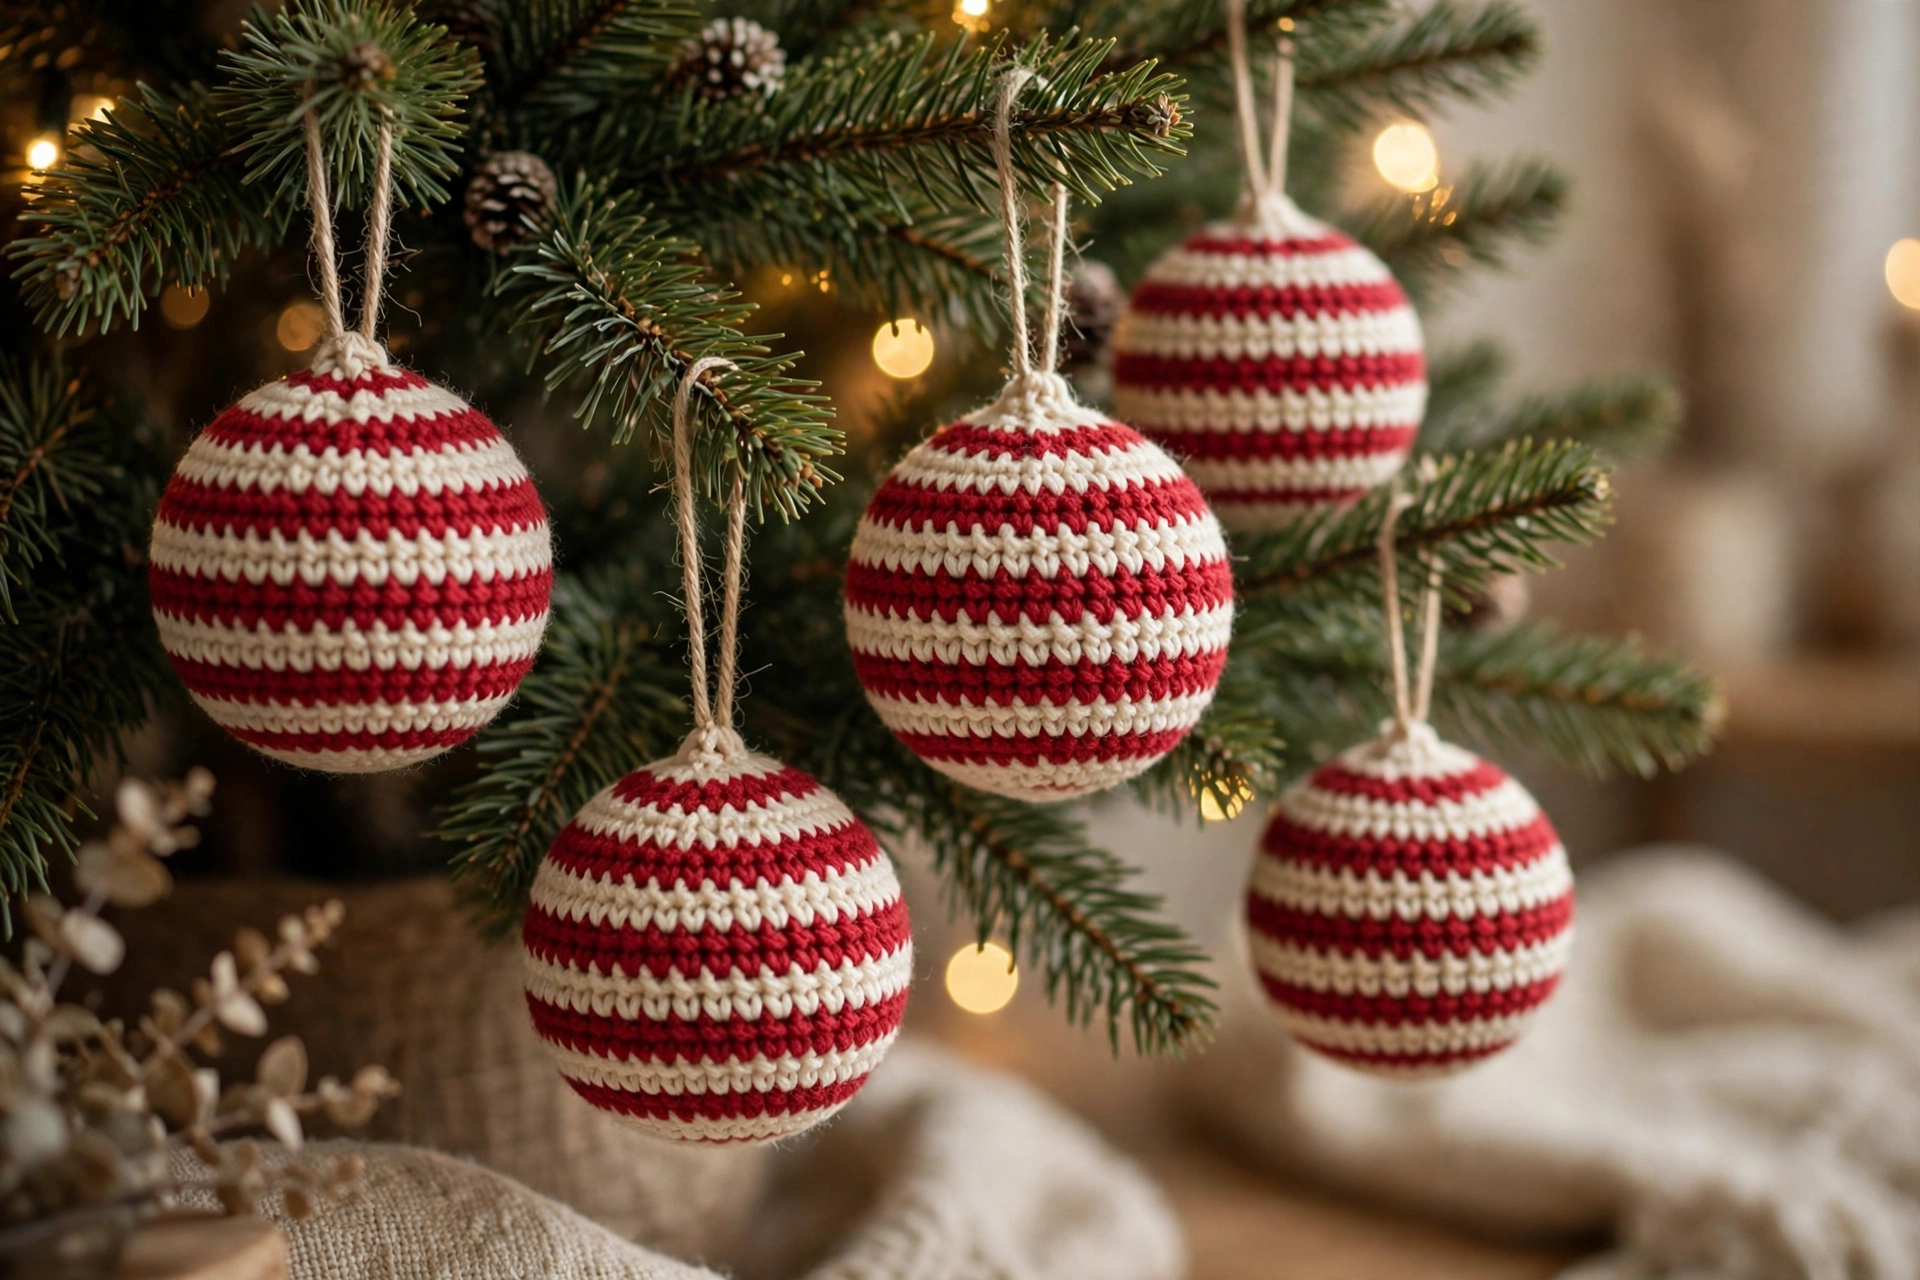
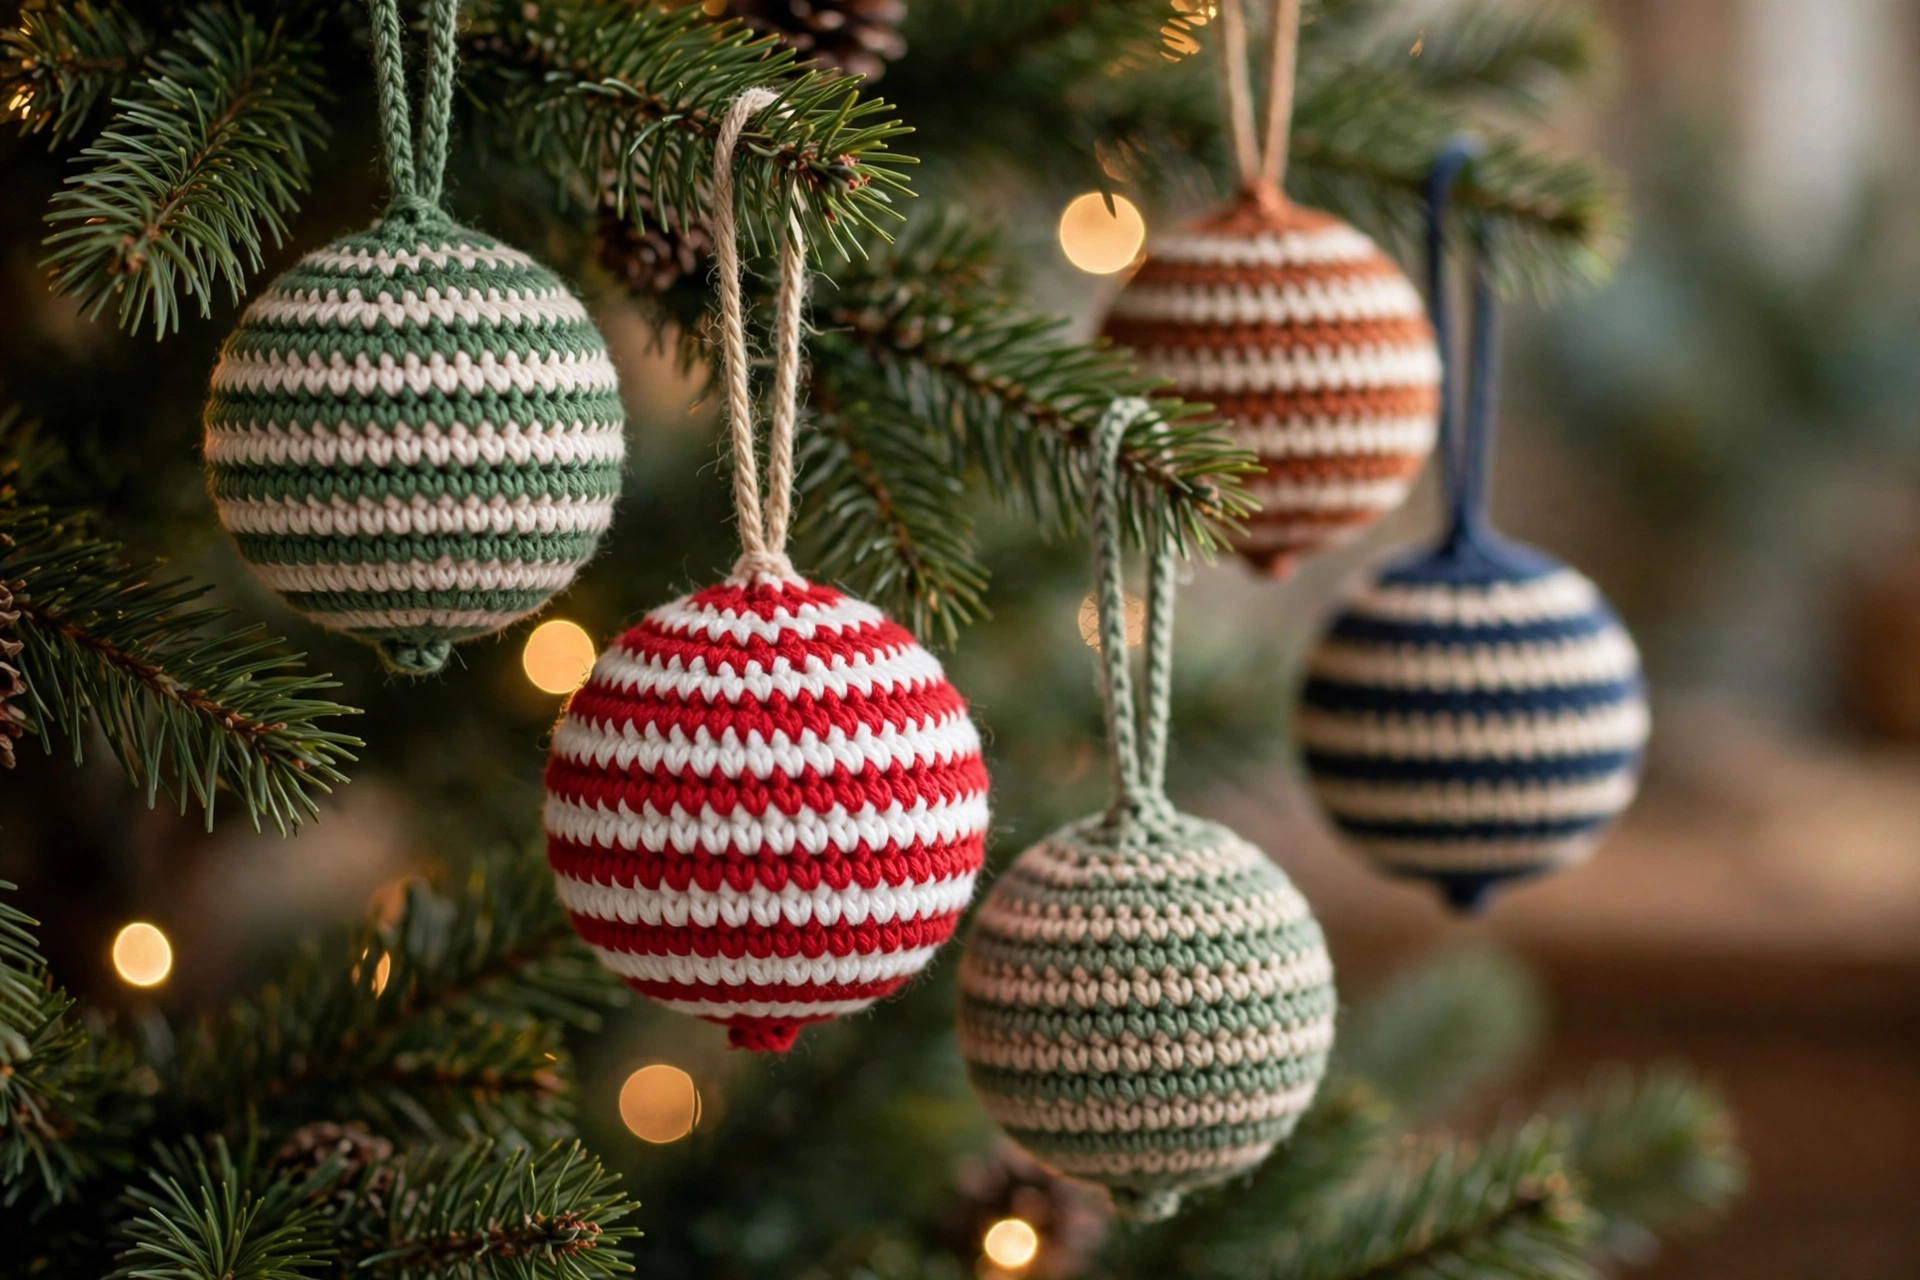
These crochet Christmas baubles are round, striped ball in two festive colours, lightly stuffed so holds shape, with simple loop for hanging on tree. Worked in continuous rounds from bottom up, no seams along side. Increase evenly to make flat circle, work straight for fullest part, then decrease evenly to close top. Stripes change every two rounds, so only ever work with one colour at a time. Make one in classic red and cream, or whole set in different colour pairs. Each bauble uses only small amount of yarn, lovely stash-busting project.
Materials
Worsted weight yarn (medium, #4), two colours: Colour A (main stripe, e.g. red) approx. 35 g / about 70 m; Colour B (contrast, e.g. cream) approx. 30 g / about 60 m; small amount in Colour A or B for hanging loop. 4.0 mm crochet hook. Polyester toy stuffing: small handful per bauble. Stitch marker, tapestry needle, scissors.
Gauge
18 single crochet stitches and 20 rounds = 10 cm (4 inches) in single crochet, worked in rounds with 4.0 mm hook. Gauge not critical for ornament, but fairly tight tension important so stuffing does not show through. If stitches look loose or gappy, go down to 3.5 mm hook.
Finished Size
Approximately 8.5 cm (about 3.25 inches) in diameter, excluding hanging loop, when made at stated gauge.
Abbreviations (US Terms)
ch — chain; sl st — slip stitch; sc — single crochet; inc — increase: work 2 sc into same stitch; dec — decrease: sc 2 stitches together (invisible decrease recommended, through front loops only); st(s) — stitch(es); Rnd(s) — round(s); [ ] — work instructions inside brackets as group; * — repeat instructions following asterisk as directed; ( ) — total stitch count at end of round. Notes: Work in continuous spiral rounds, do not join at end of each round unless stated, place stitch marker in first stitch of each round and move up. To change colour, work last stitch of old colour until final yarn-over, then yarn over with new colour to complete stitch. Carry unused colour loosely inside ball, or cut leaving short tail to weave in later. Stripes change every two rounds: Rnds 1–2 Colour A, Rnds 3–4 Colour B, and so on. Count stitches at end of every increase and decrease round.
Pattern — Ball
Make magic ring with Colour A. Rnd 1 (A): 6 sc into magic ring, pull ring closed. (6 sts). Rnd 2 (A): Inc in each st around. (12 sts).
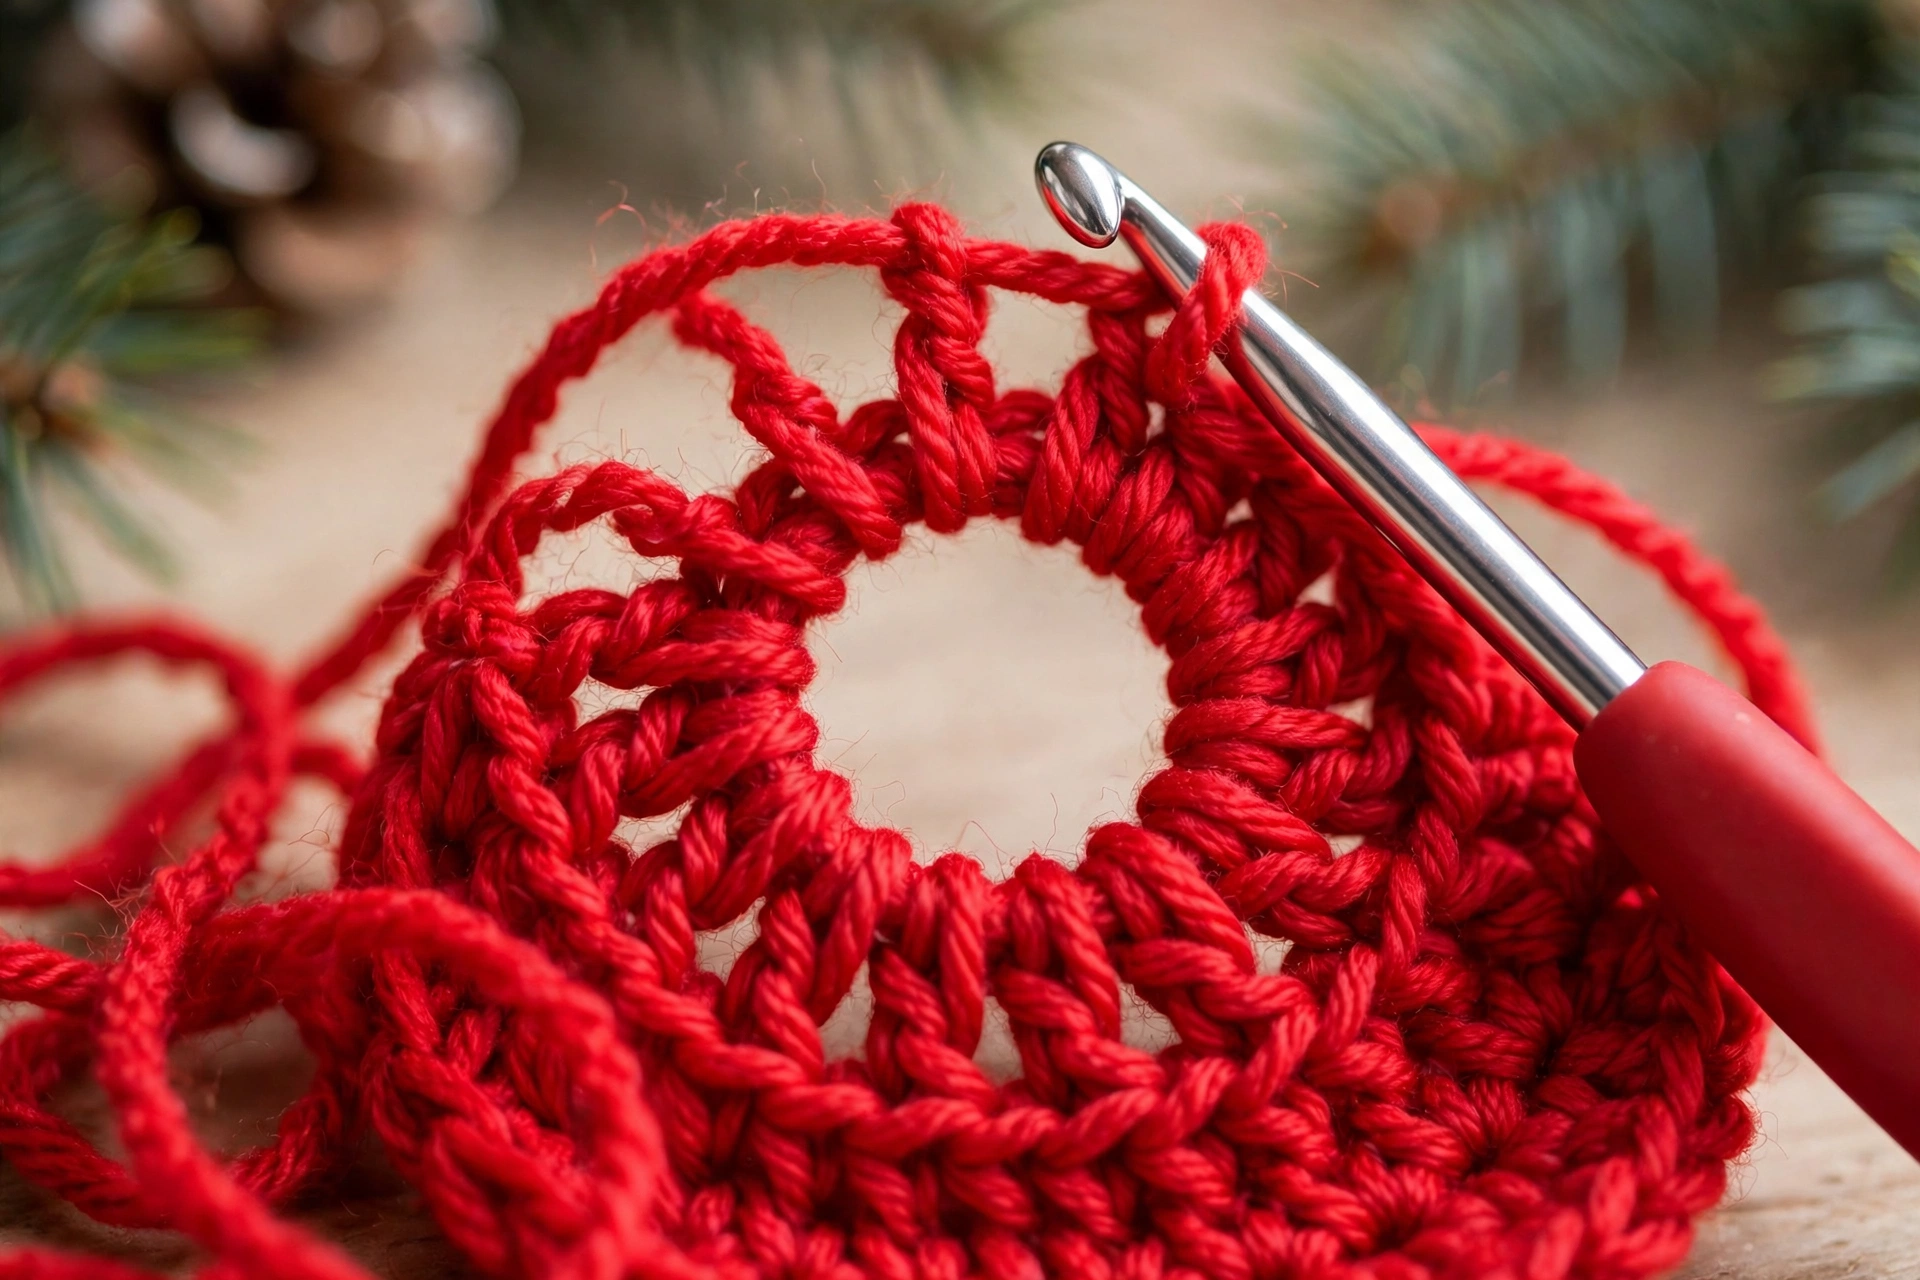
Rnd 3 (B): *Sc in next st, inc in next st; rep from * around. (18 sts). Rnd 4 (B): *Sc in next 2 sts, inc in next st; rep from * around. (24 sts). Rnd 5 (A): *Sc in next 3 sts, inc in next st; rep from * around. (30 sts). Rnd 6 (A): *Sc in next 4 sts, inc in next st; rep from * around. (36 sts). Rnd 7 (B): *Sc in next 5 sts, inc in next st; rep from * around. (42 sts). Rnd 8 (B): *Sc in next 6 sts, inc in next st; rep from * around. (48 sts). Widest part reached.
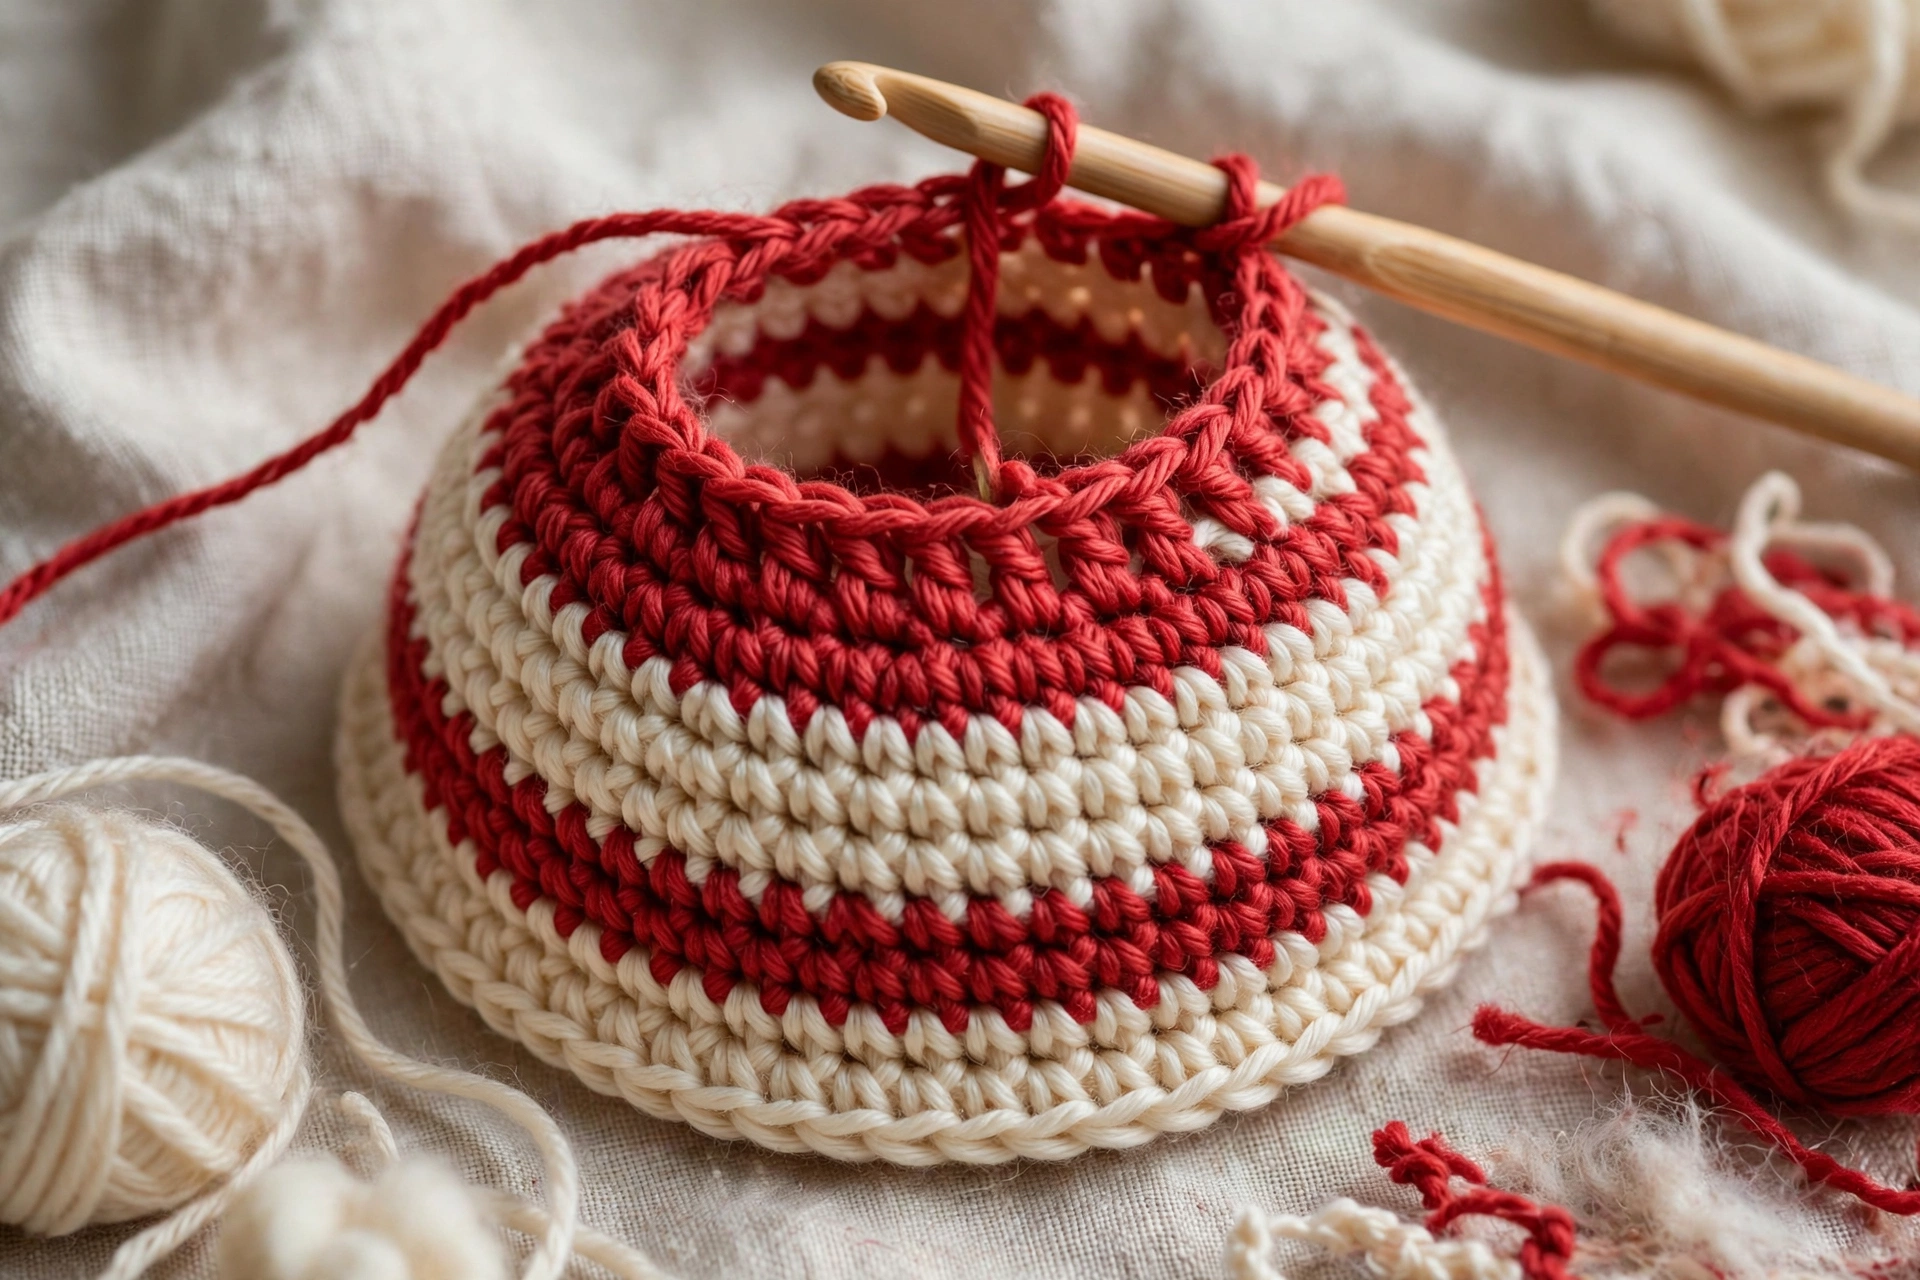
Rnd 9 (A): Sc in each st around. (48 sts). Rnd 10 (A): Sc around. (48 sts). Rnd 11 (B): Sc around. (48 sts). Rnd 12 (B): Sc around. (48 sts). Rnd 13 (A): Sc around. (48 sts). Rnd 14 (A): Sc around. (48 sts). Rnd 15 (B): Sc around. (48 sts). Rnd 16 (B): Sc around. (48 sts).
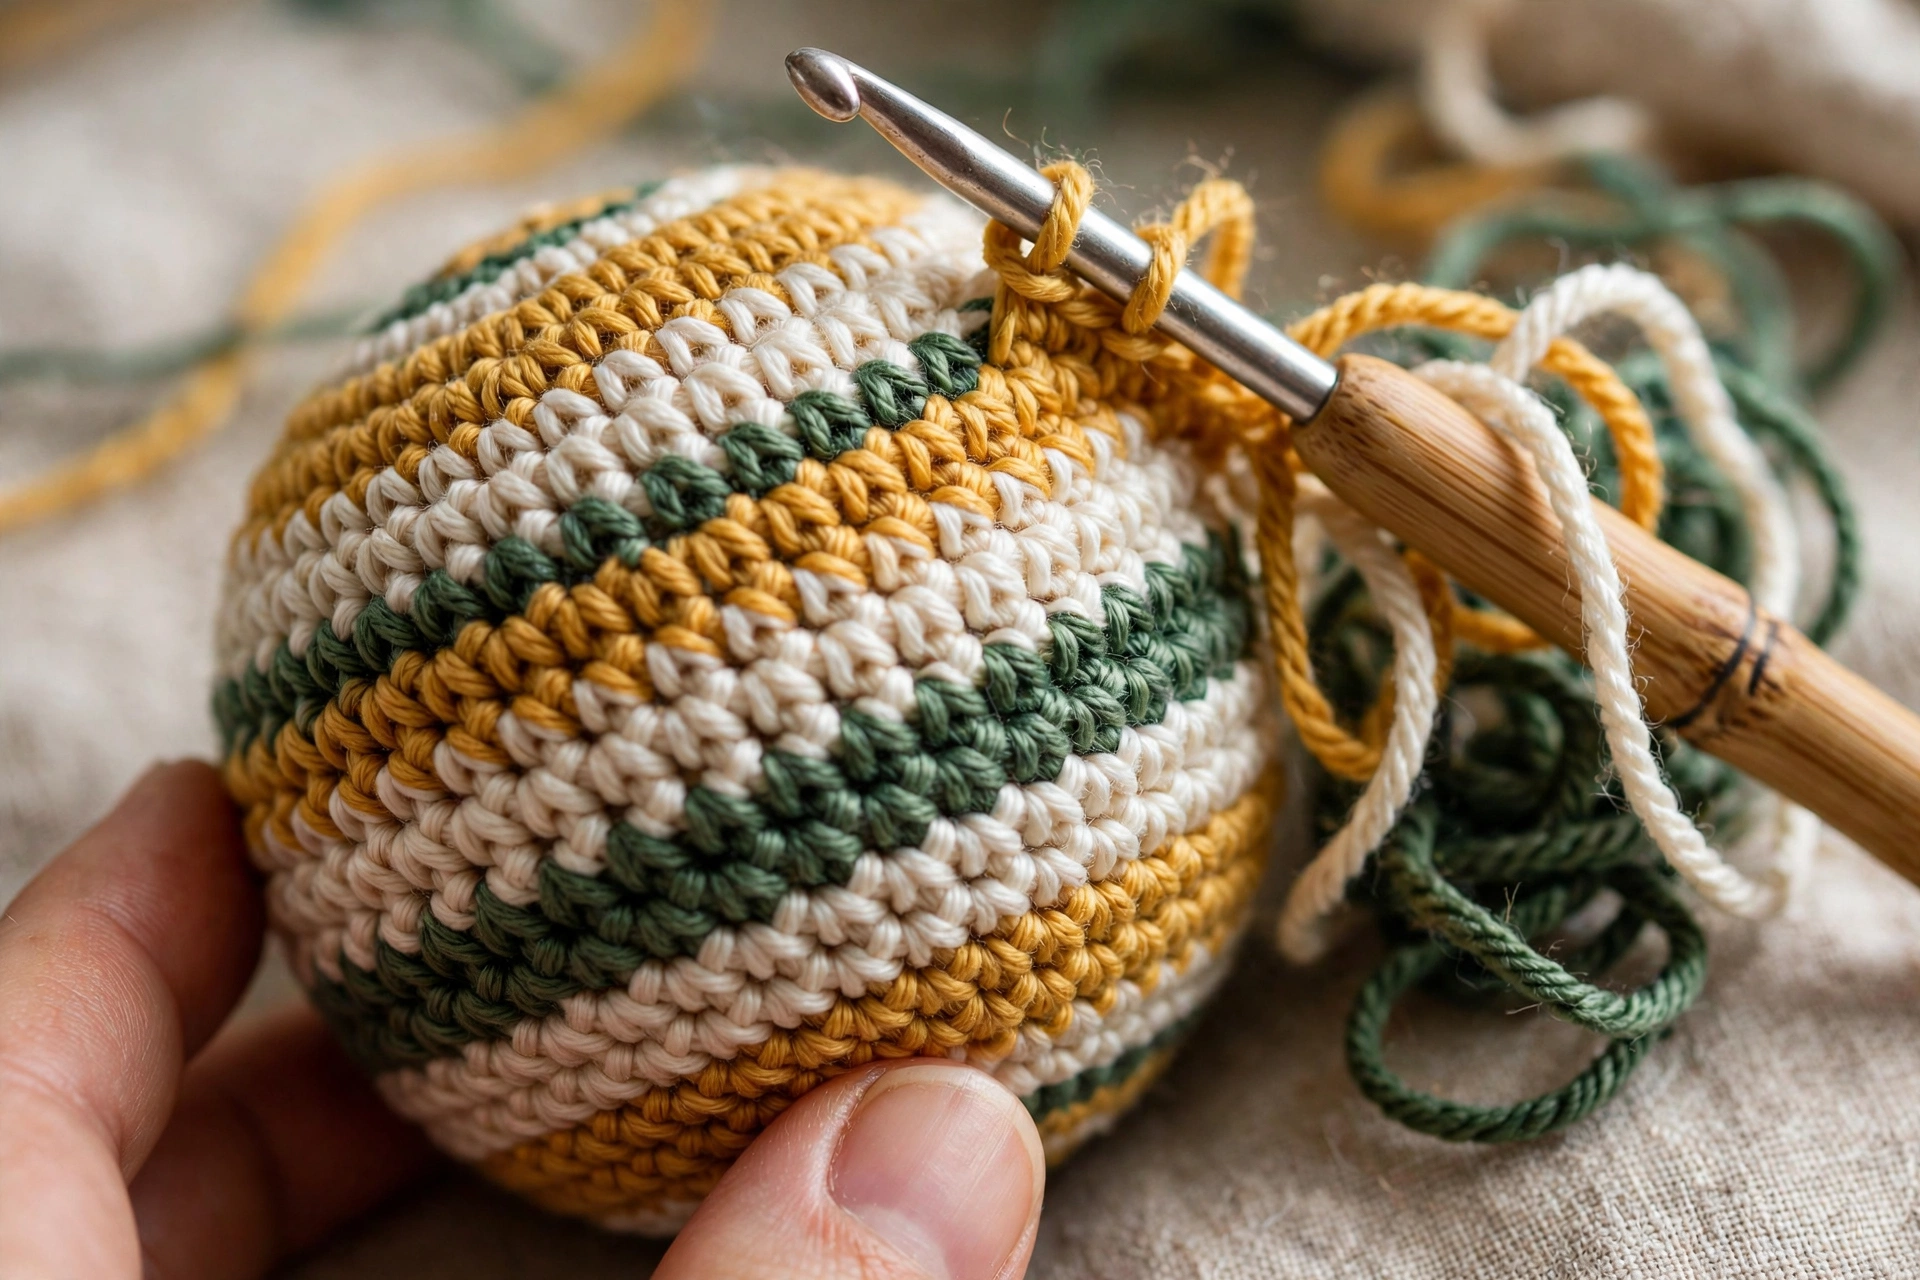
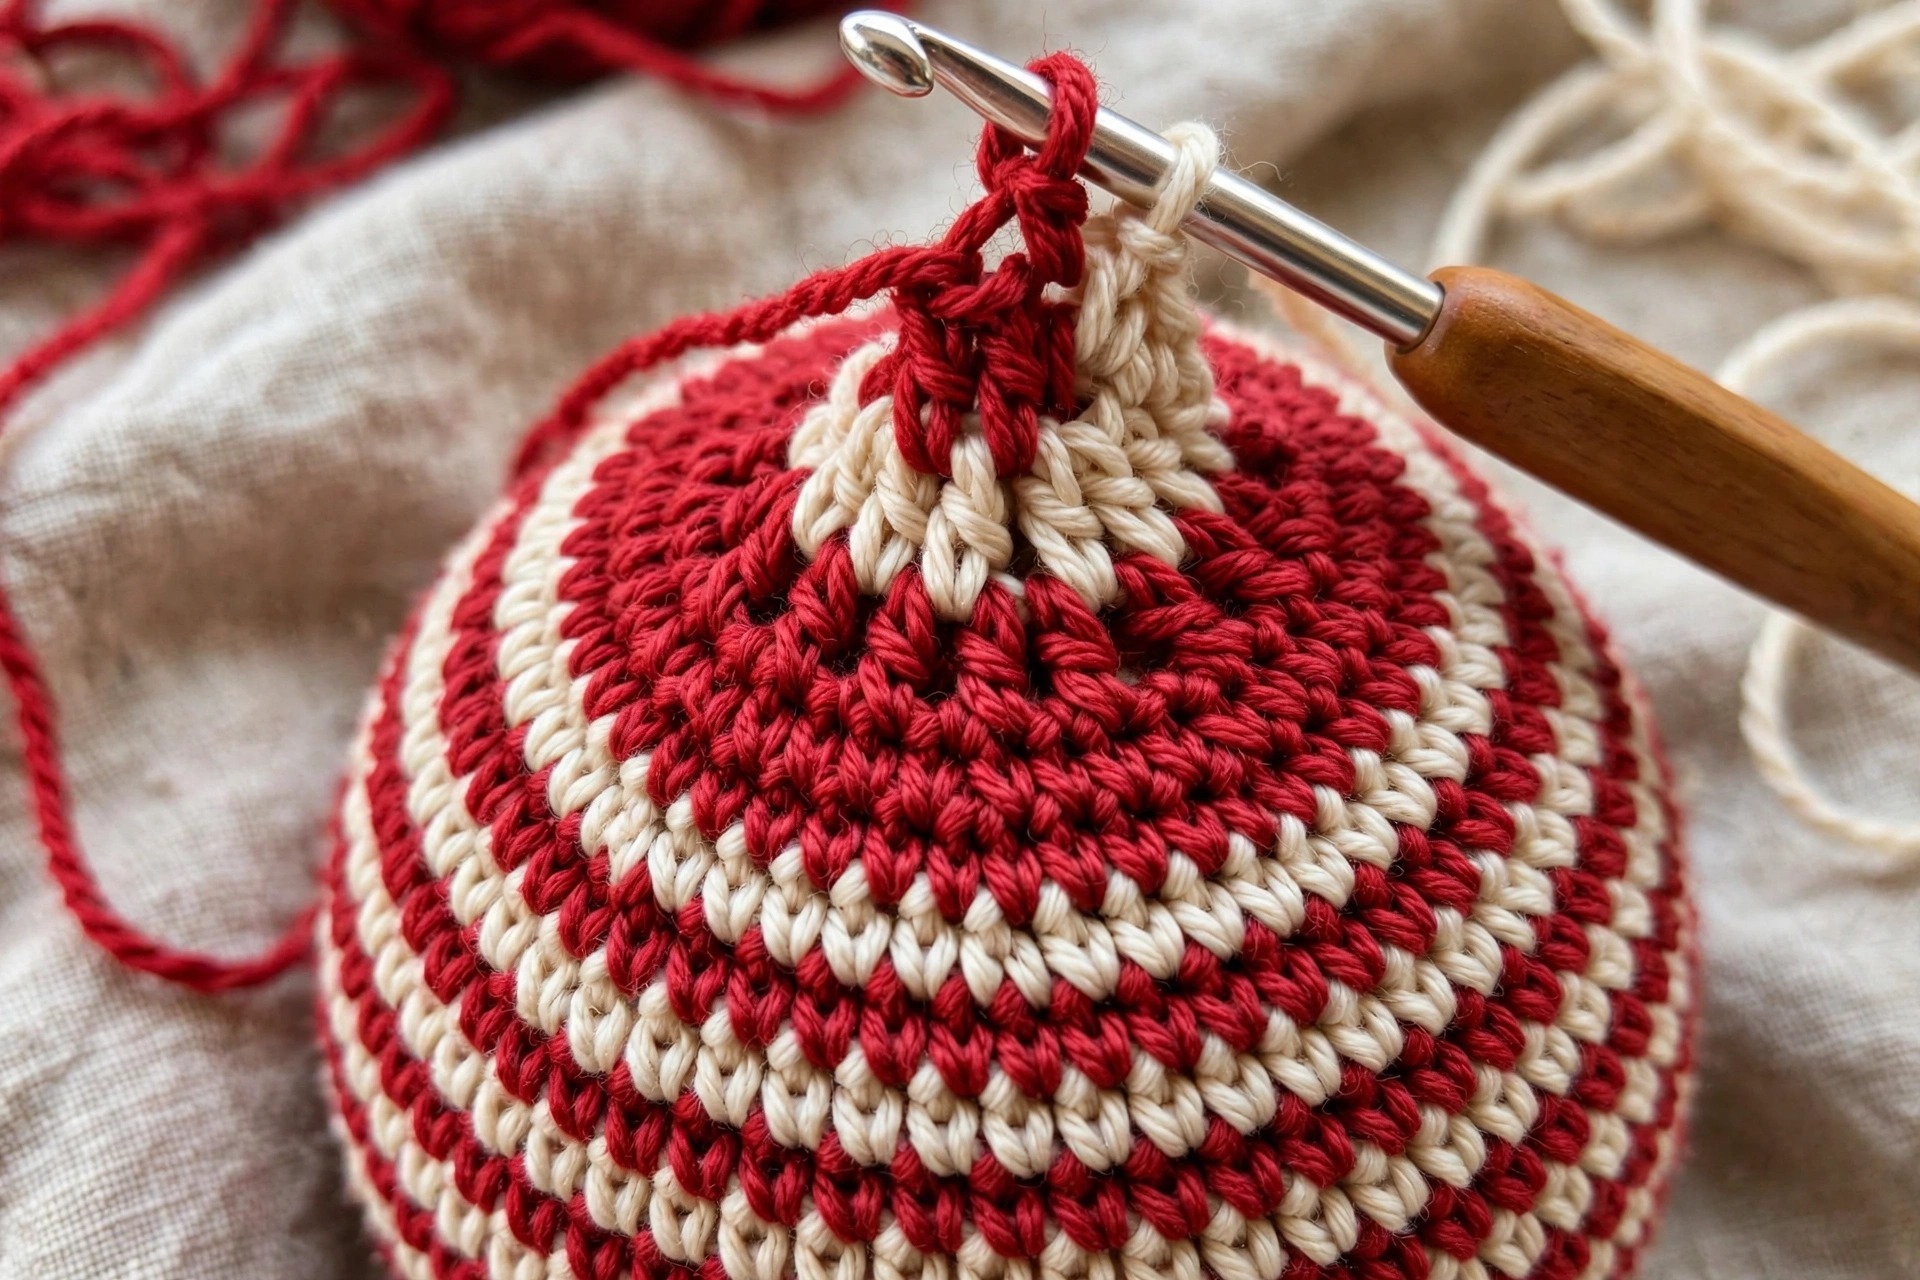
Now decrease to shape top, keep two-round stripe sequence. Rnd 17 (A): *Sc in next 6 sts, dec over next 2 sts; rep from * around. (42 sts). Rnd 18 (A): *Sc in next 5 sts, dec over next 2 sts; rep from * around. (36 sts). Rnd 19 (B): *Sc in next 4 sts, dec over next 2 sts; rep from * around. (30 sts). Rnd 20 (B): *Sc in next 3 sts, dec over next 2 sts; rep from * around. (24 sts).
At this point, begin stuffing ball. Add stuffing gradually and shape into round ball before continue decreasing — much harder to shape evenly once opening small.
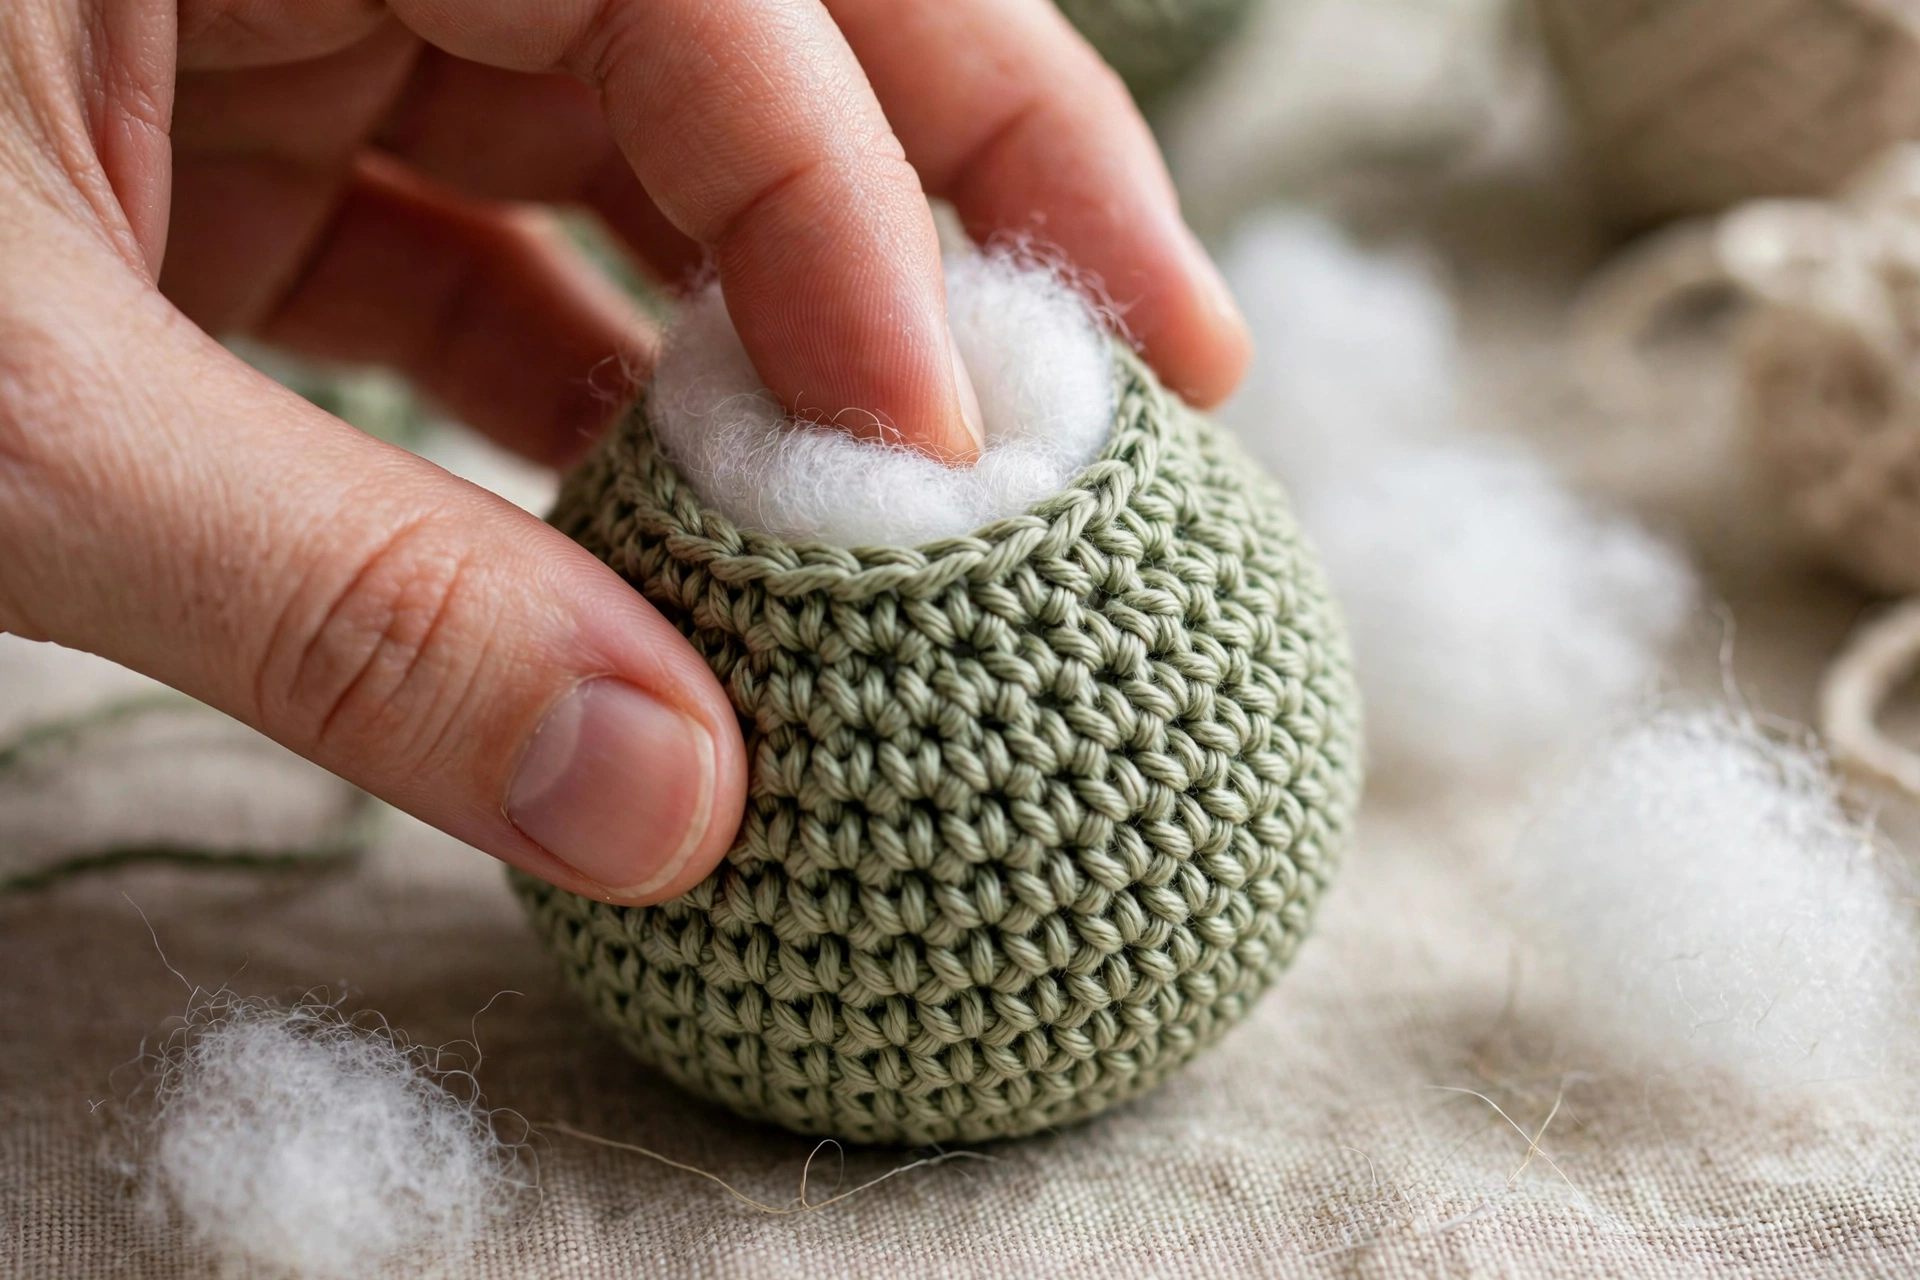
Rnd 21 (A): *Sc in next 2 sts, dec over next 2 sts; rep from * around. (18 sts). Add little more stuffing if needed, firm and round, but not so full stitches stretch open. Rnd 22 (A): *Sc in next st, dec over next 2 sts; rep from * around. (12 sts). Rnd 23 (A): Dec over next 2 sts, 6 times. (6 sts). Sl st in next st to even off round. Fasten off, leaving long tail about 20 cm for closing. Stitch Count Check: Increases 6→12→18→24→30→36→42→48; Straight 48 for Rnds 9–16; Decreases 48→42→36→30→24→18→12→6. Each increase adds 6 and each decrease removes 6, shaping symmetrical.
Finishing / Assembly — Stuffing
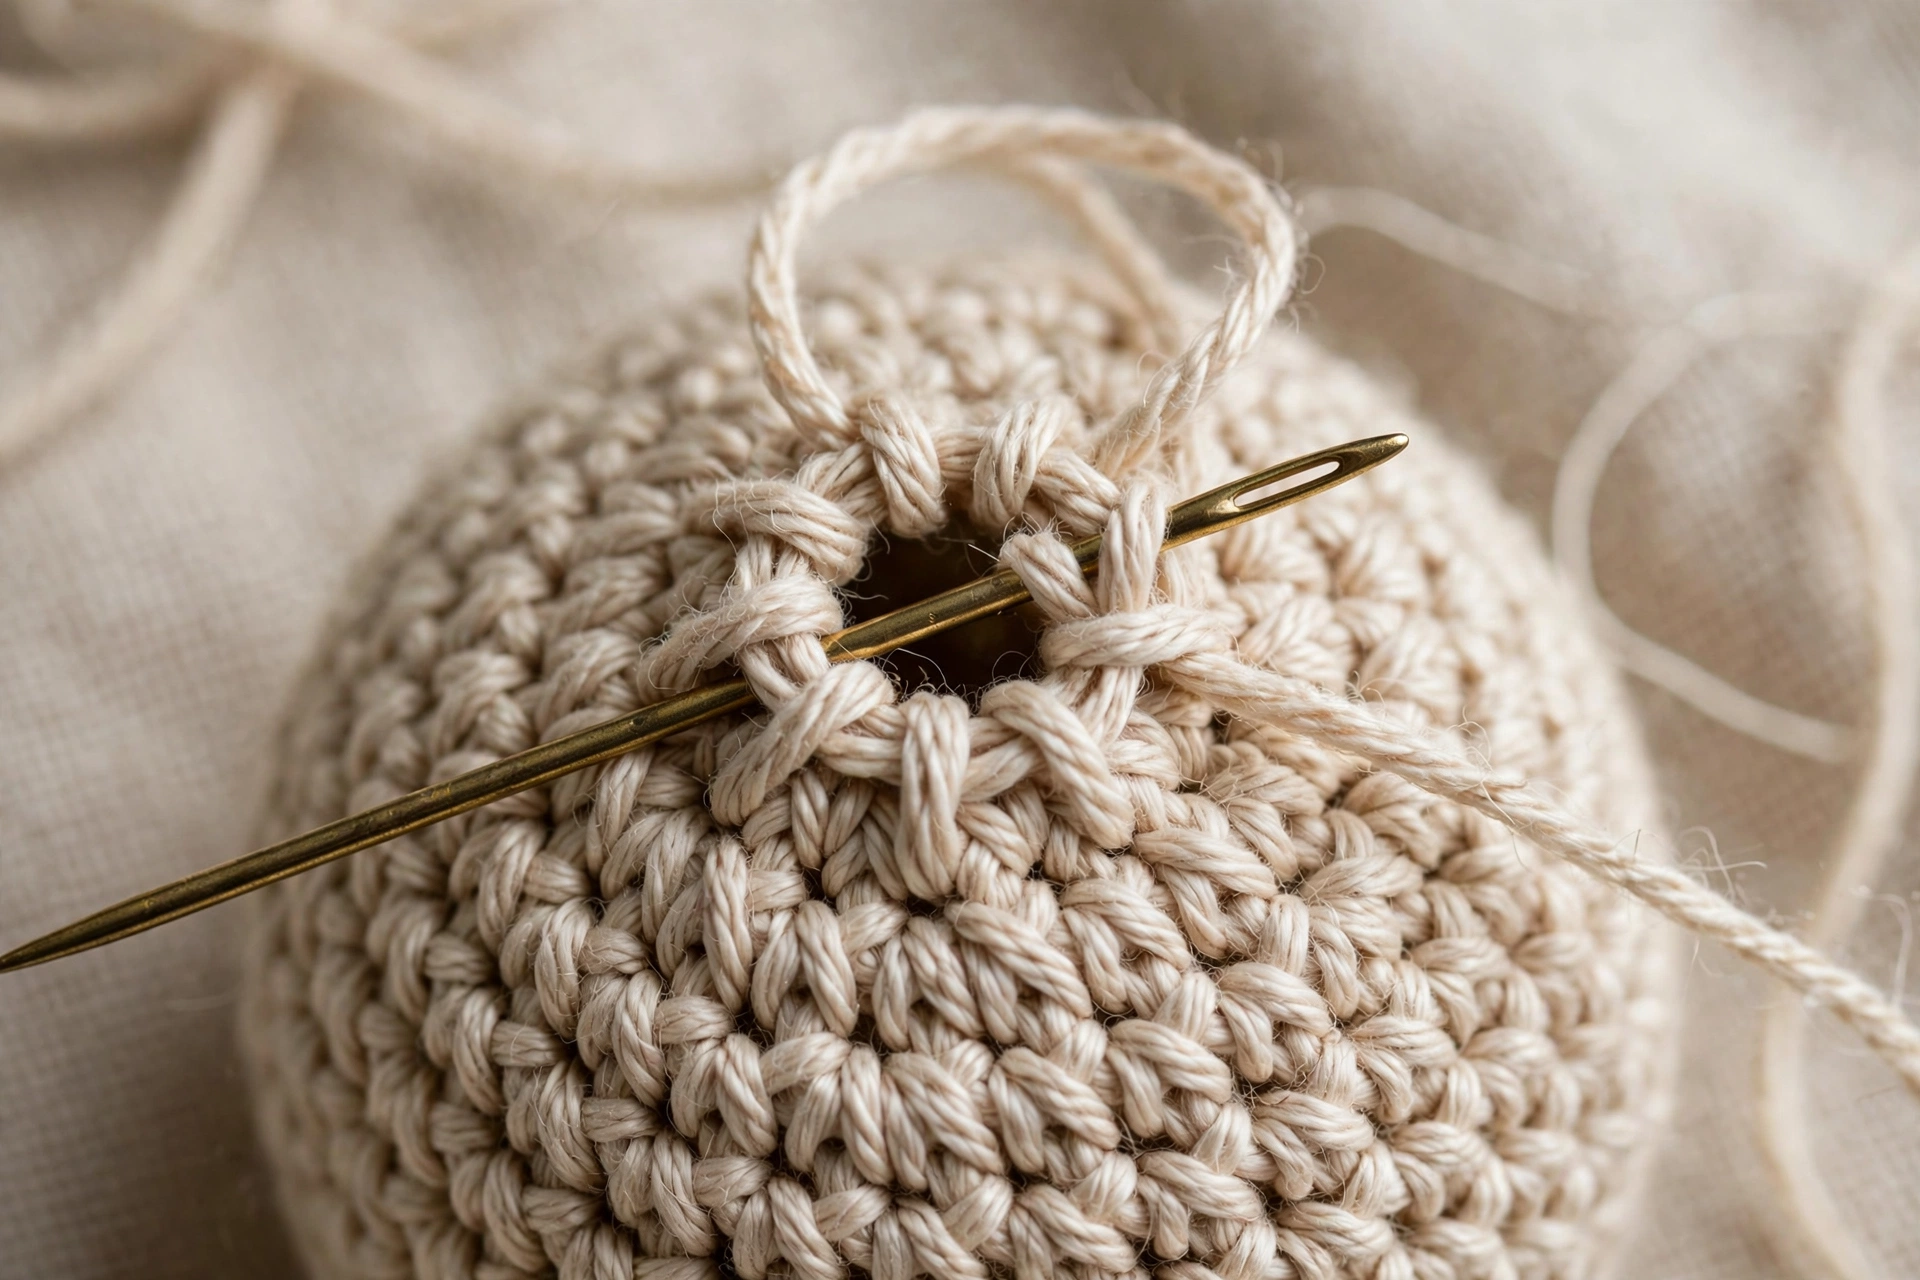
Before closing, check shape from all sides. Add or remove small pinches of stuffing until ball round and firm, no flat spots or lumps. Top opening should still be easy to close. Closing Top: Thread long tail onto tapestry needle. Working through front loop only of each final 6 stitches, pass needle through all 6 loops in turn. Pull gently but firmly to draw opening closed, like drawstring. Pass needle through centre of closure once or twice to secure, then weave end inside ball and trim close.
Hanging Loop
Using Colour A or B, leaving tail about 10 cm at start: 1. Join yarn with sl st at top centre of closed ball, close to closure point. 2. Ch 22. 3. Sl st back into same top-centre point to form loop. 4. Fasten off, leaving tail about 10 cm. 5. Thread each tail onto tapestry needle and weave securely inside ball, pulling base of loop snug against top so sits neatly. Finished loop about 10 cm around outside when folded, giving loop roughly 5 cm long for hanging. For longer drop, chain more — e.g. ch 30 for loop roughly 7 cm long — check loop still feels secure before trimming tails.
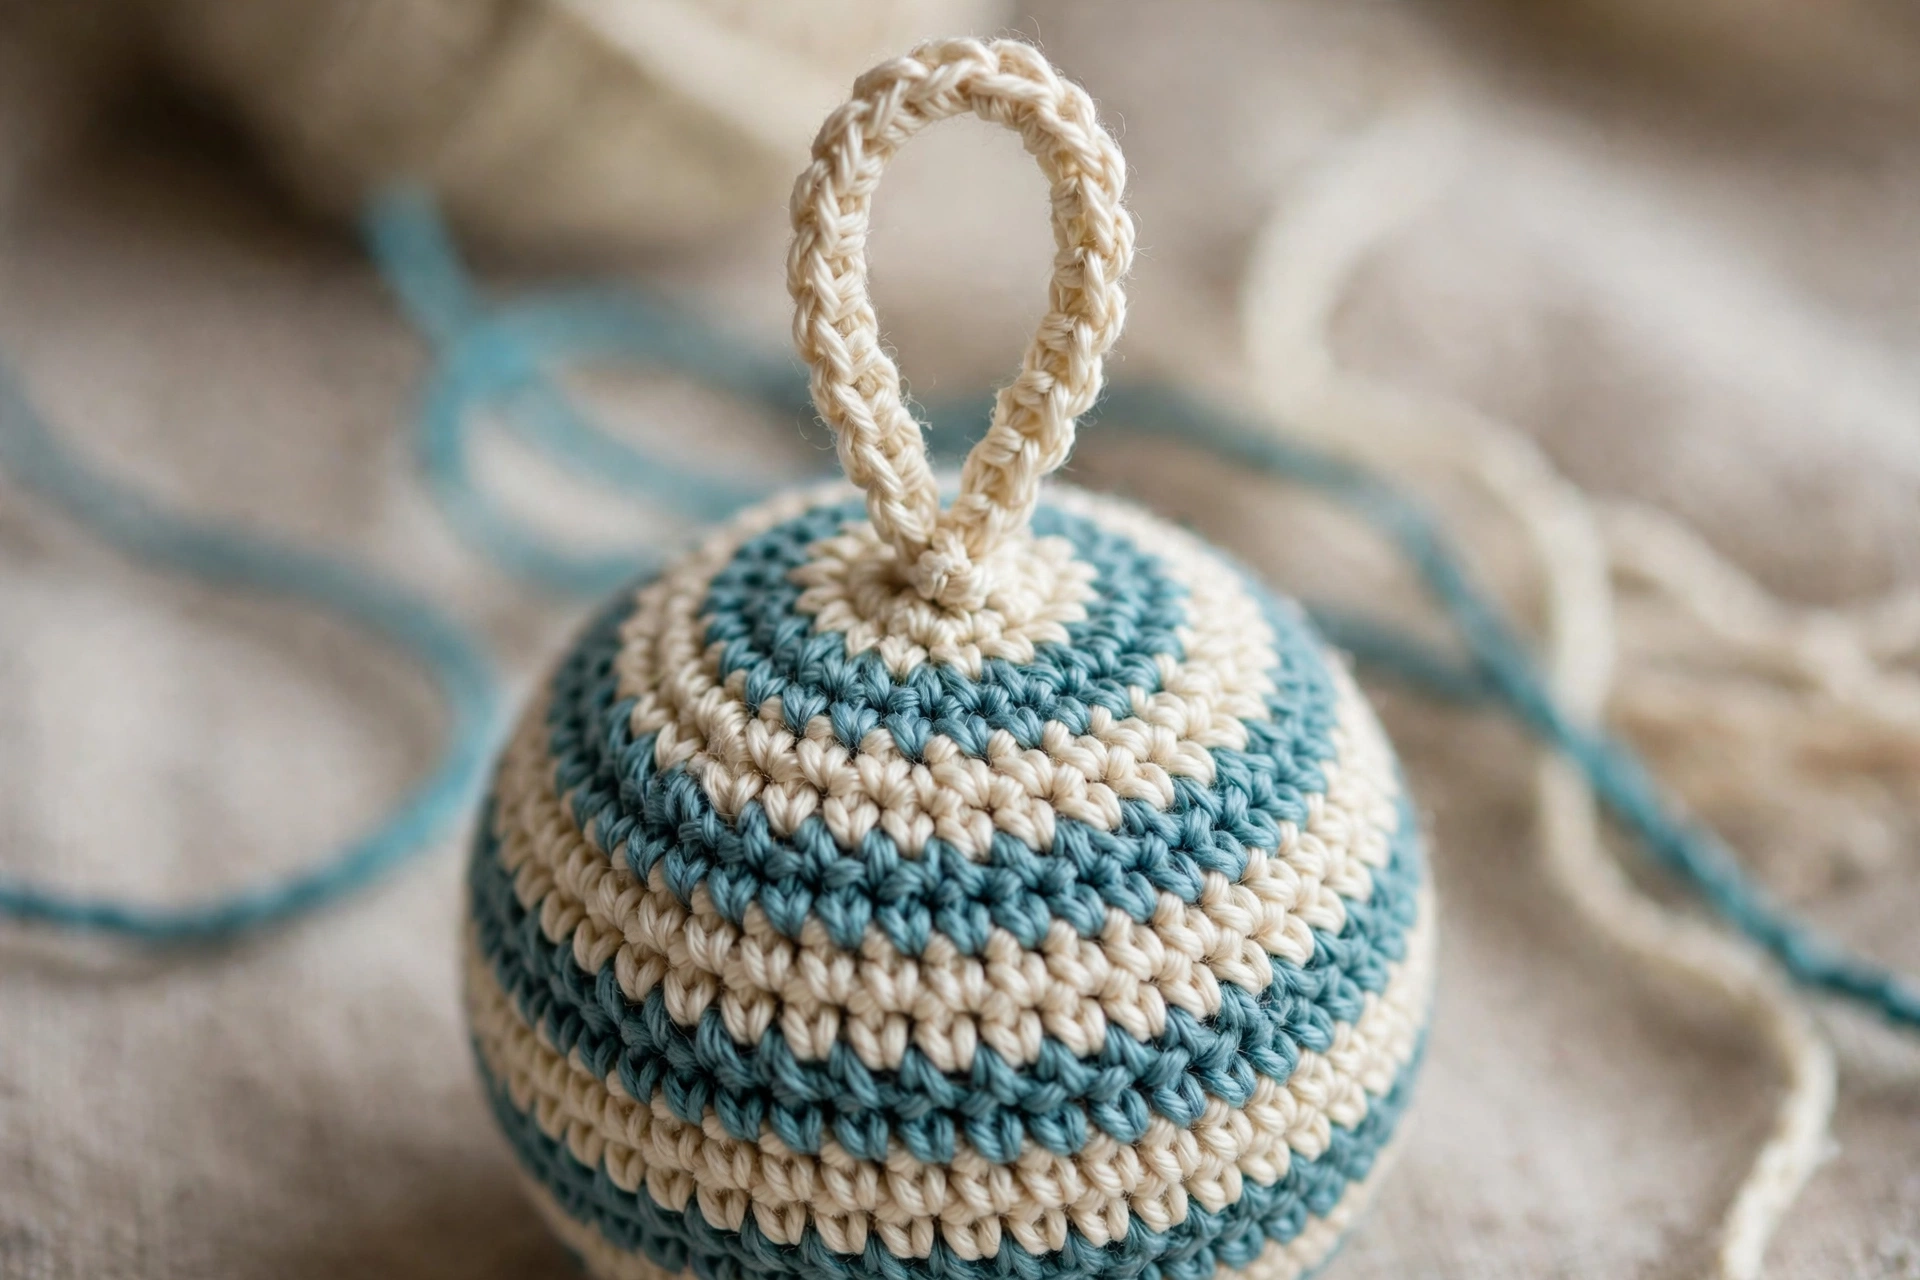
Weave in any remaining stripe-change tails inside ball. Gently roll finished bauble between hands to even out stuffing and restore round shape.
Tips
Keep tension even — tight even sc gives smoothest ball and hides stuffing best; if tend to crochet loosely, use 3.5 mm hook. Move marker every round — in spiral rounds easy to lose track where round starts, can throw off stripe changes and counts. Use invisible decrease — through front loops only makes neater, less holey decrease, matters on closing rounds. Stuff in stages — add most stuffing at Rnd 20, then top up at Rnd 21; overstuffing at last minute can distort shape. Neaten stripe joins — when change colour, pull new colour snugly on first stitch and keep old tail inside ball, so join sits flat. Make set — work same pattern in different colour pairs, or reverse Colours A and B, for varied set that still looks coordinated. For firmer ornament, use slightly smaller hook and little extra stuffing; for softer squashier bauble, use stated hook and lighter fill.
FAQ
Can beginner crochet bauble? Yes, only need magic ring, single crochet, increases and decreases, simple chain loop; counting carefully on increase and decrease rounds main skill. Can I use different yarn weight? Yes, DK weight with 3.5 mm hook smaller bauble about 7 cm across, chunky with 5.0 mm hook larger; keep tension tight enough stuffing does not show, adjust stuffing to suit new size. How do I make bauble bigger? Continue increase sequence one or two more rounds — e.g. round *sc in next 7 sts, inc in next st* (54 sts), then *sc in next 8 sts, inc in next st* (60 sts) — work extra straight rounds at that count, then mirror decreases in reverse; always end with round of decreases to 6 stitches before closing. Is bauble washable? Depends on yarn; if machine-washable acrylic, hand wash gently in cool water and reshape while damp; if wool or delicate yarn, spot clean only and air dry. How do I stop stripes looking stepped? Small step at colour change normal in spiral rounds; keep change point at back of bauble when display, pull first stitch of new colour snugly to minimise jog. Can children play with baubles? Soft and light, safer than glass ornaments, but hanging loop and yarn could still be hazard for very young children; hang out of reach of babies and toddlers, check loop firmly secured.