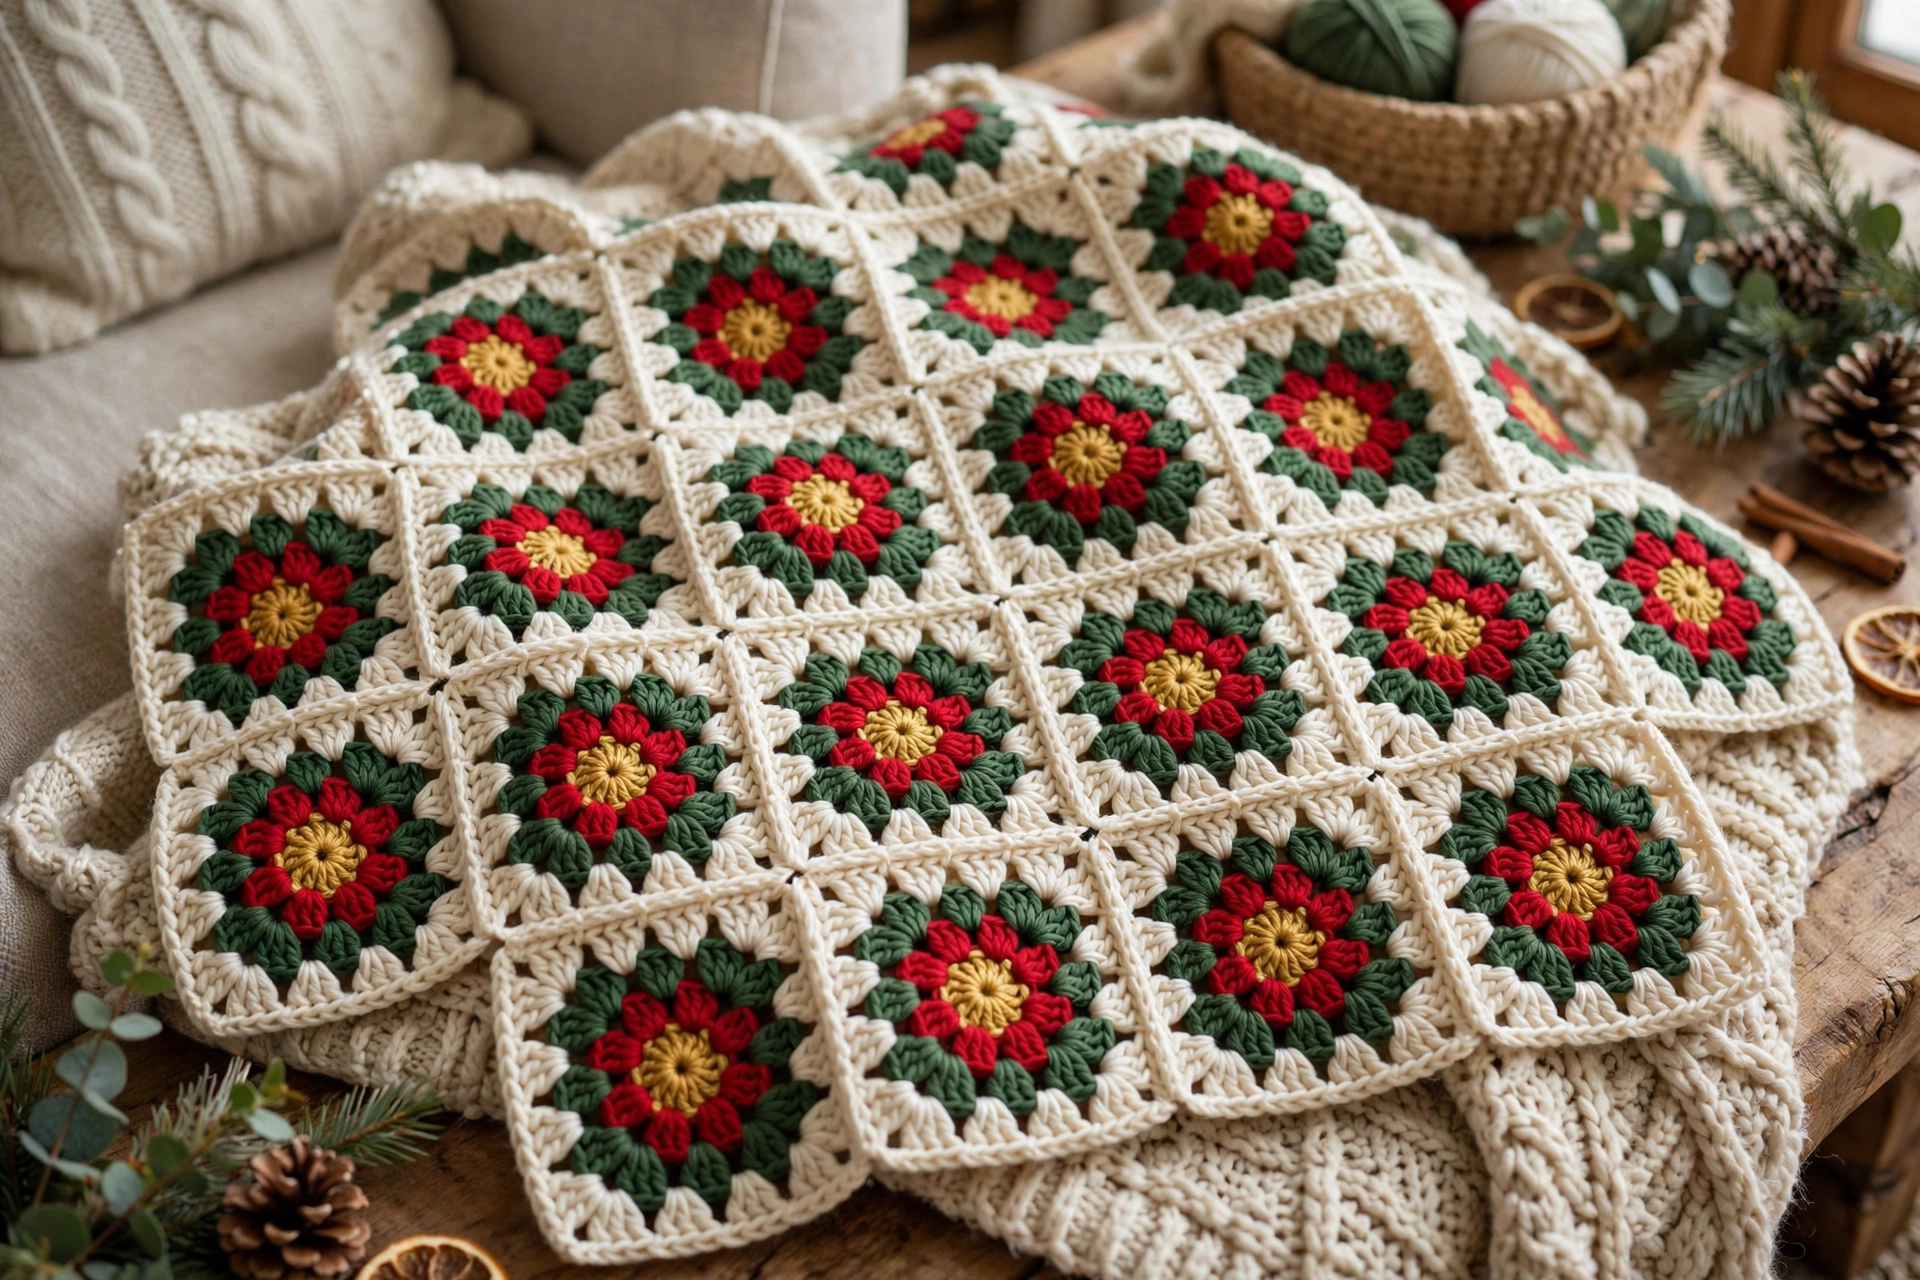
Crochet Christmas Granny Square Pattern: Festive Star-Centre Square
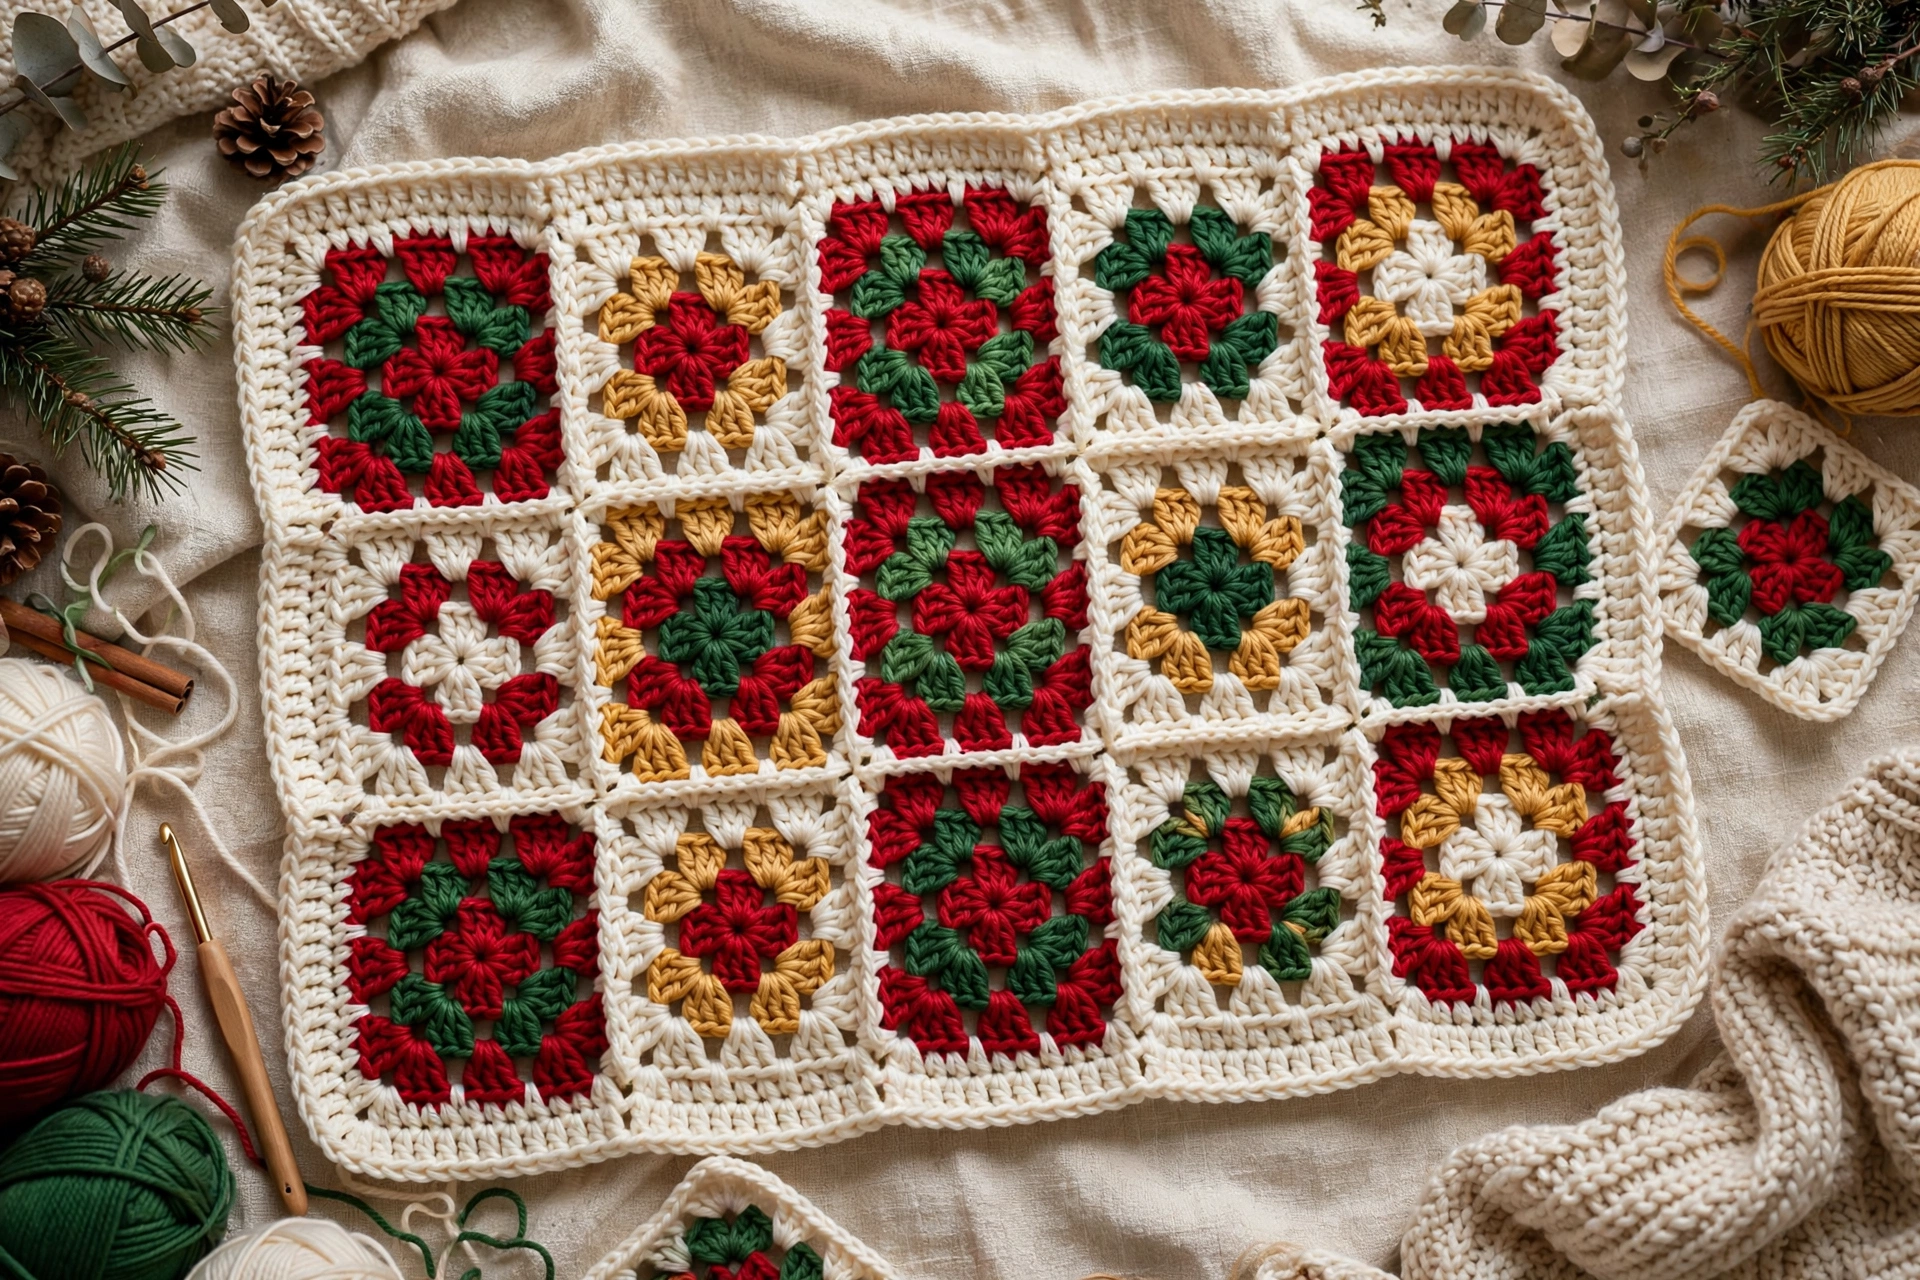
This Christmas granny square is cheerful, beginner-friendly project perfect for using up small amounts of festive yarn. Starts with small gold centre, grows into red round that reads as poinsettia or bauble centre, then squared off in cream before classic granny-stitch rounds in holly green, red, and cream finish design. Because square worked in rounds and each round uses single colour, easy to keep track — and easy to customise. Make just one for coaster or tree decoration, or join lots together for table runner, cushion cover, or blanket. Pattern below complete for one square, with stitch counts checked at end of every round.
Materials
DK (light worsted / 8-ply) yarn in four colours, per square: Yarn A — Cream approx. 10 g (approx. 22 m); Yarn B — Christmas Red approx. 8 g (approx. 18 m); Yarn C — Holly Green approx. 7 g (approx. 15 m); Yarn D — Gold approx. 3 g (approx. 7 m). 4.0 mm crochet hook (US G-6). Yarn needle, scissors, pins and blocking mat (optional, helpful for squaring). Amounts approximate per square; for larger joined project, multiply per-square amounts by number of squares, allow little extra for joining and border.
Gauge
Gauge not critical for single decorative square, but matters if want all squares to join neatly. Rounds 1–3 measure approx. 7 cm (2.75 in) across, after light blocking. In double crochet, approx. 16 stitches and 8 rows = 10 cm (4 in), using 4.0 mm hook. If first three rounds much larger or smaller than 7 cm, try hook one size smaller or larger and re-check. Keep same hook for all squares in one project.
Finished Size
One square approx. 15 cm x 15 cm (6 in x 6 in), after light blocking.
Abbreviations (US Terms)
ch — chain; sl st — slip stitch; dc — double crochet; st(s) — stitch(es); sp(s) — space(s); rep — repeat; RS — right side; beg — beginning. Pattern notes: Worked in rounds, RS facing throughout, do not turn. Beginning ch-3 counts as one dc. Chain-2 corner spaces and chain-1 side spaces do not count as stitches in counts below. 3-dc group means 3 dc worked into same stitch or space, as stated. Corner means (3 dc, ch 2, 3 dc) worked into same stitch or space. Join each round with sl st to top of beginning ch-3, unless stated otherwise. Fasten off at end of each round when changing colour, leaving short tail to weave in later.
Pattern — Round 1 — Gold centre
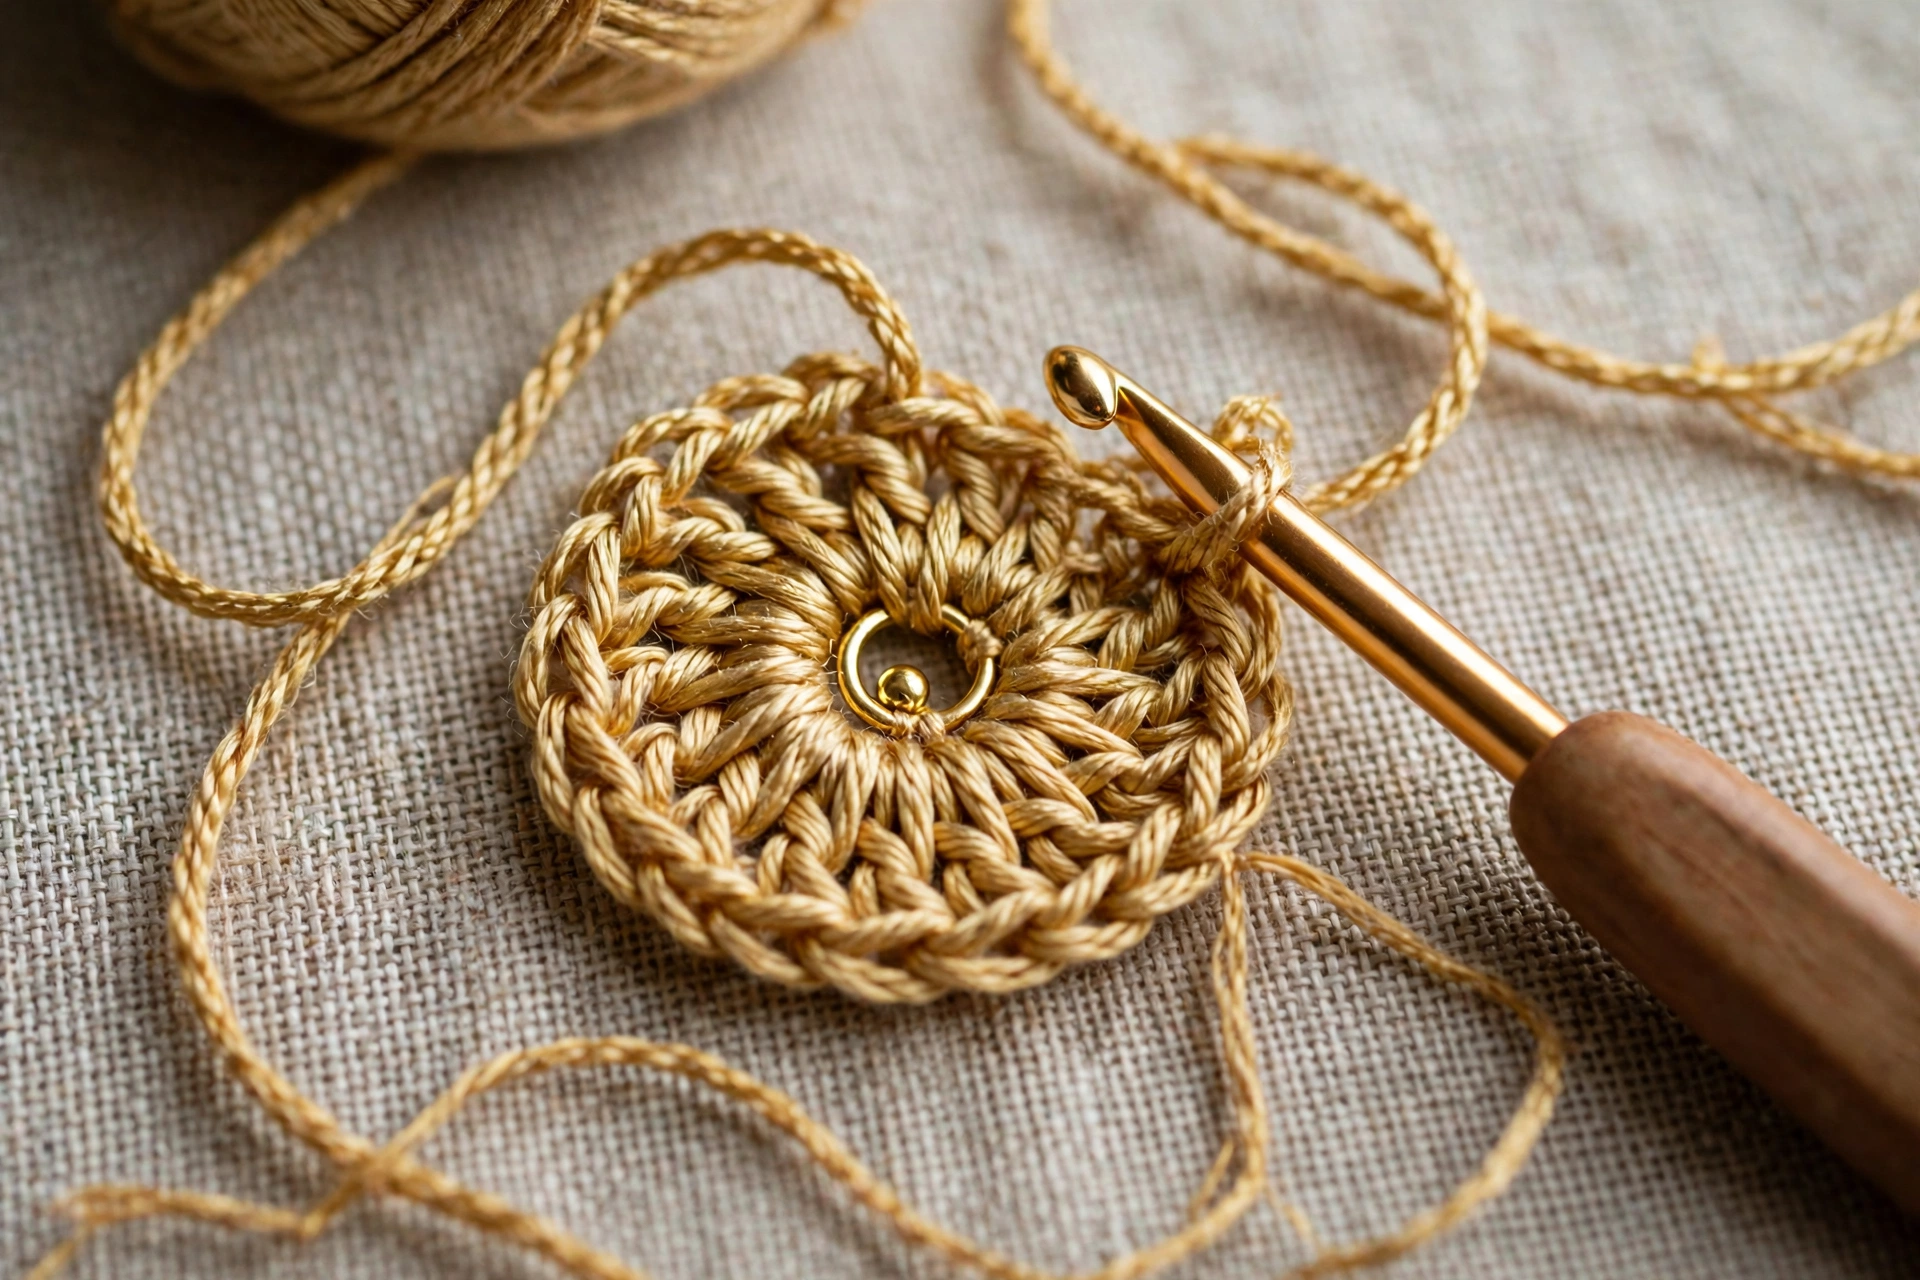
With Yarn D (Gold), make magic ring. Ch 3 (counts as dc), 11 dc in ring, sl st to top of beg ch-3 to join. Fasten off. Gently pull magic ring closed, but do not pull so tightly centre puckers. Stitch count: 12 dc.
Round 2 — Red centre round
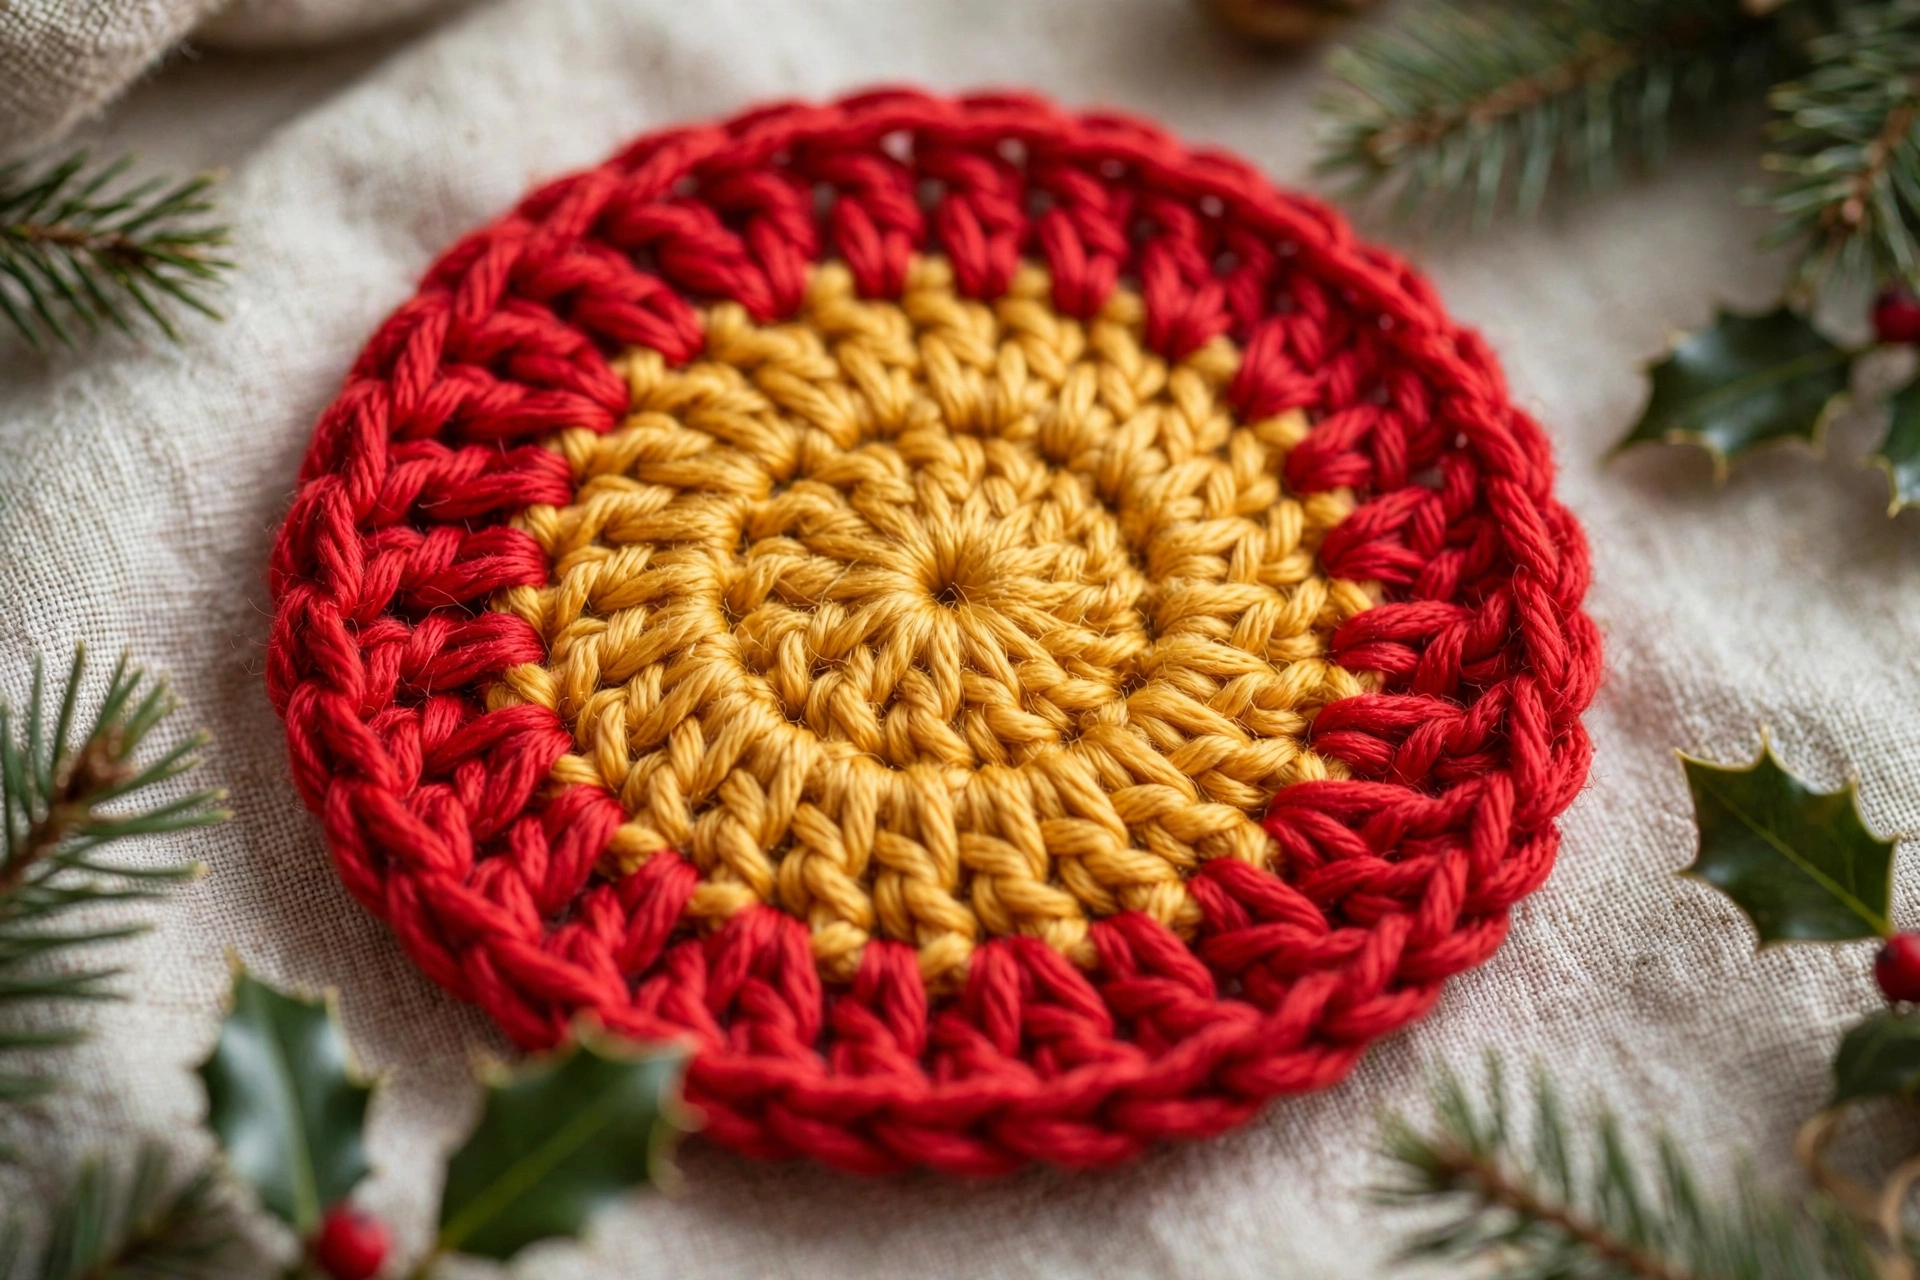
Join Yarn B (Red) with sl st in any dc. Ch 3 (counts as dc), dc in same st, 2 dc in each st around, sl st to top of beg ch-3 to join. Fasten off. This round doubles count and creates full, round red centre around gold dot. Stitch count: 24 dc.
Round 3 — Cream squaring round
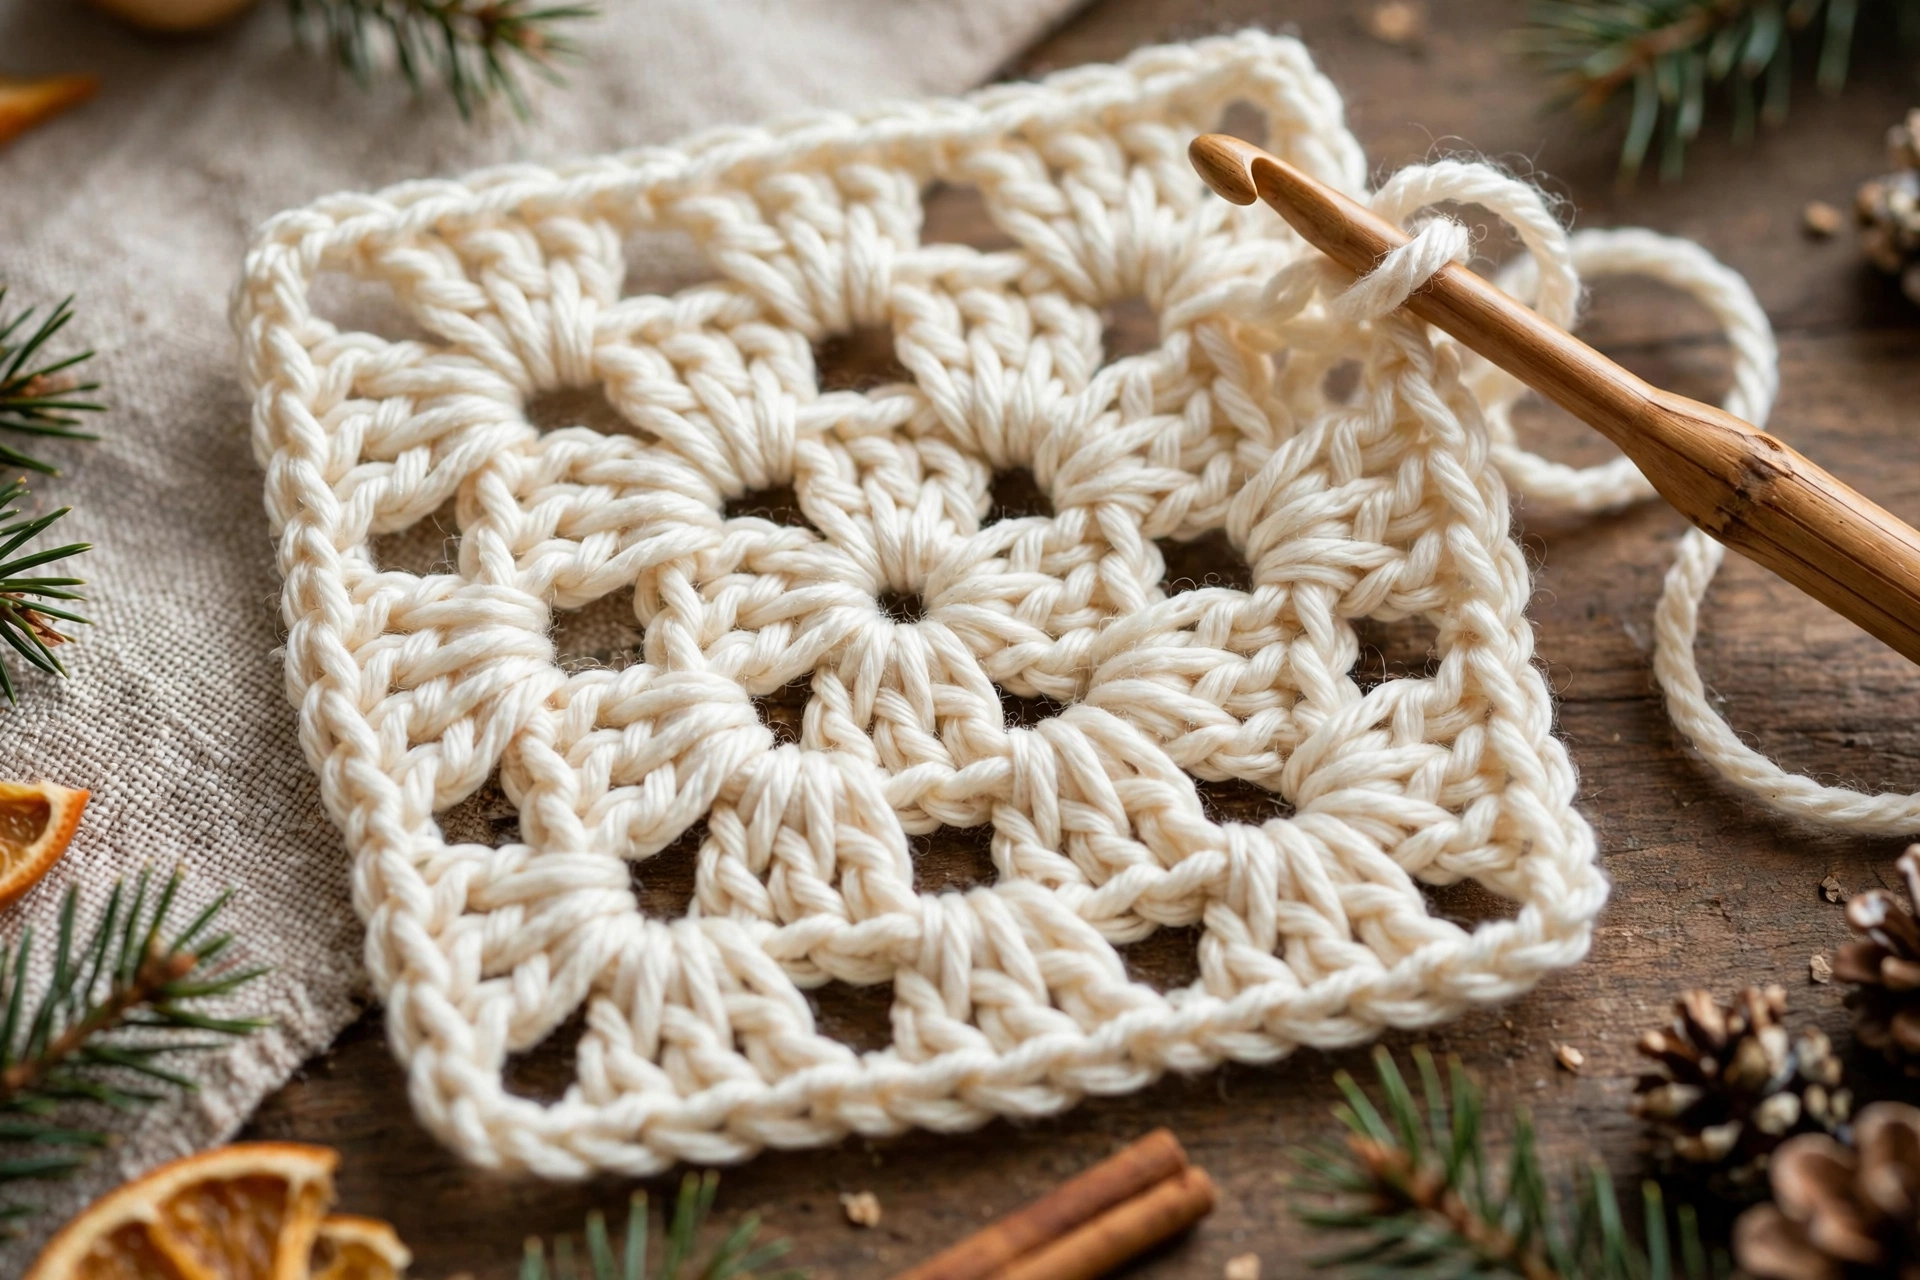
Join Yarn A (Cream) in any st. Ch 3 (counts as dc), 2 dc in same st, ch 2, 3 dc in same st — first corner made. *Ch 1, skip next 2 sts, 3 dc in next st, ch 1, skip next 2 sts, (3 dc, ch 2, 3 dc) in next st; rep from * 3 more times, then ch 1, skip next 2 sts, 3 dc in next st, ch 1, skip next 2 sts, sl st to top of beg ch-3 to join. Fasten off. Check: four corners use 4 stitches from Round 2, four side groups use 4 stitches, eight sets of 2 skipped stitches account for remaining 16 — 4+4+16=24, no stitches missed or worked twice. Stitch count: 36 dc, 4 ch-2 corner spaces, 8 ch-1 side spaces. Square shape emerging, one side group between each pair of corners.
Round 4 — Holly green granny round
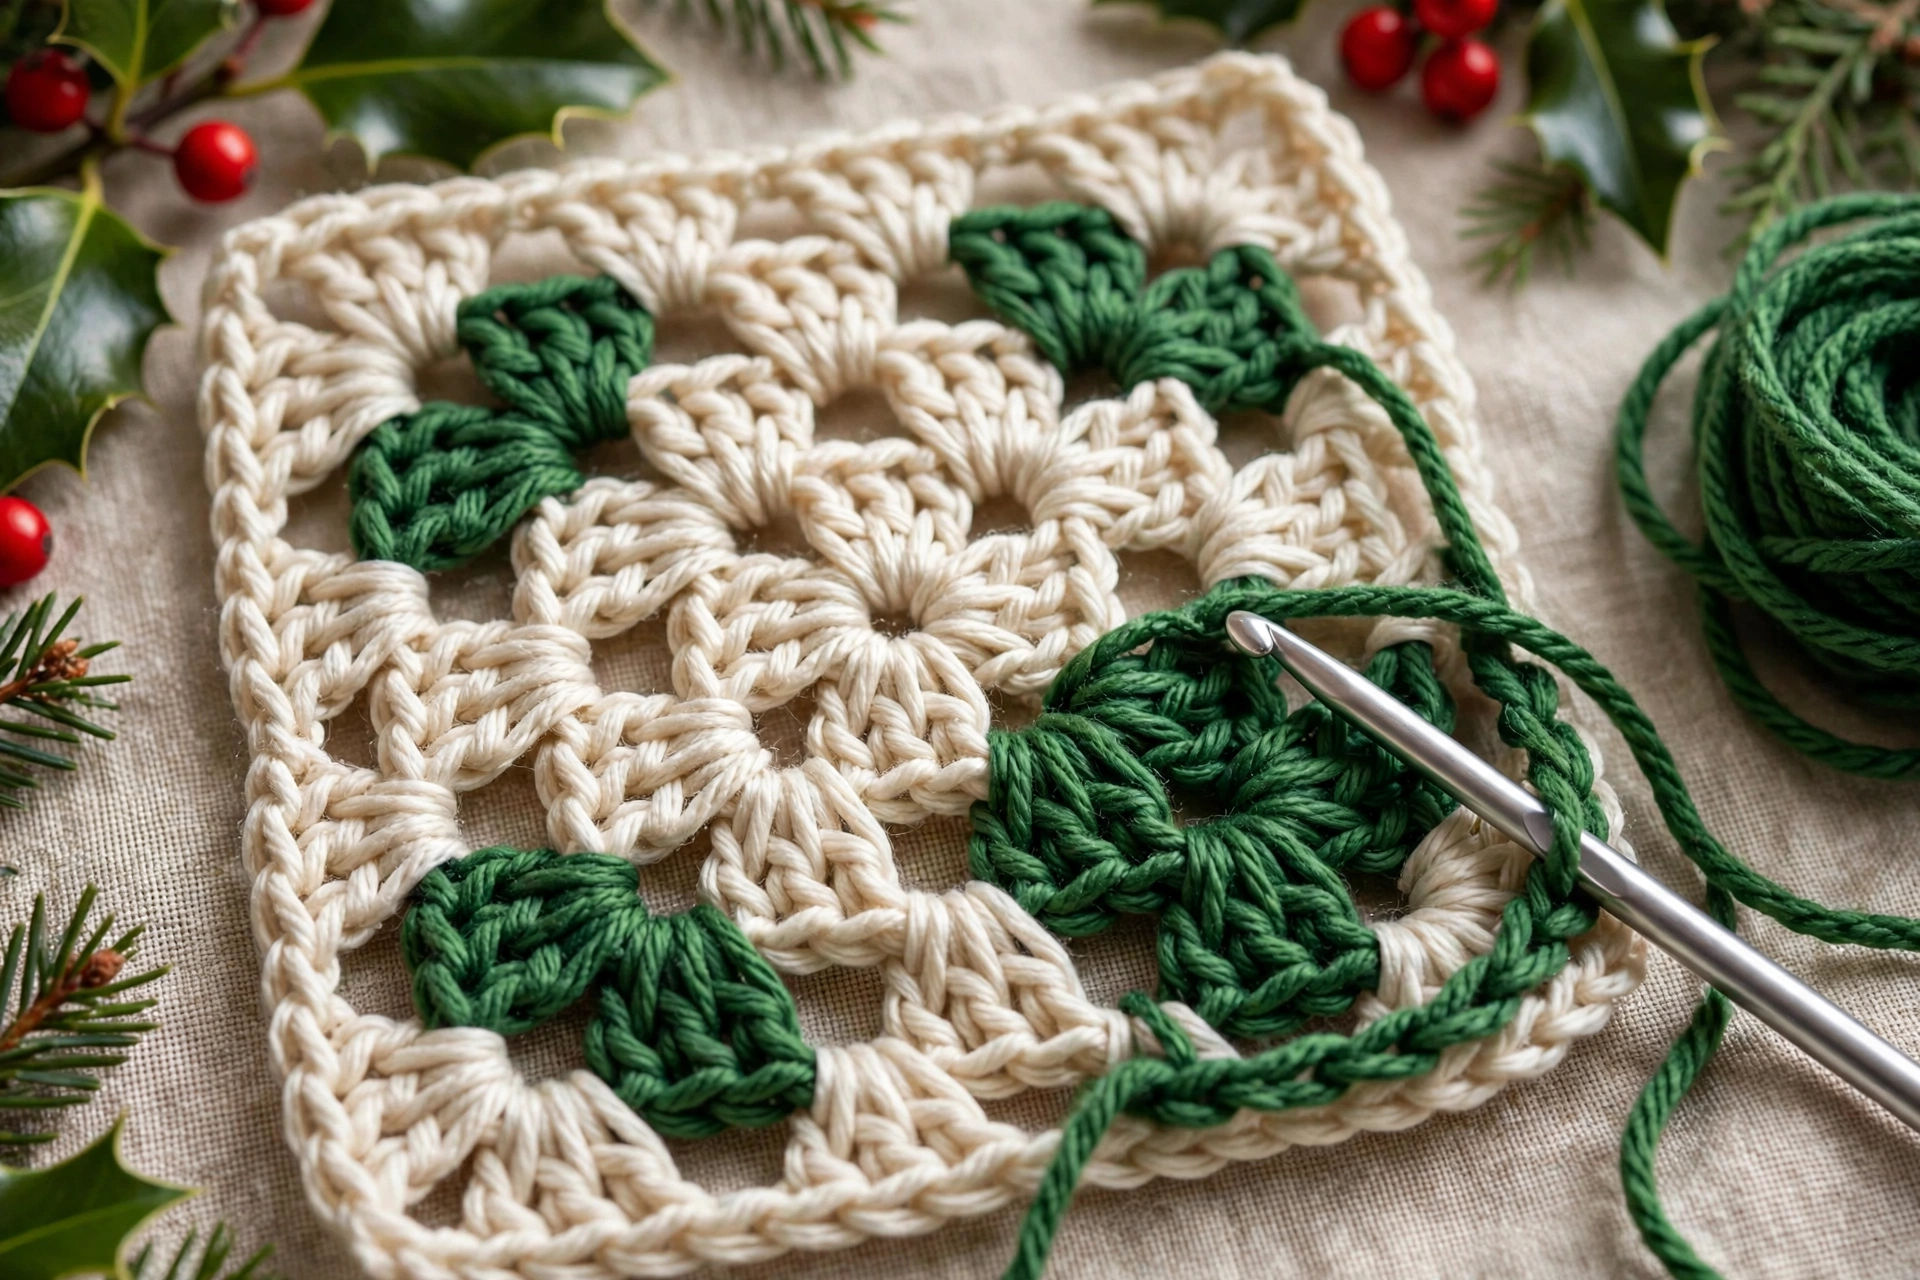
Join Yarn C (Holly Green) in any ch-2 corner space. Ch 3 (counts as dc), (2 dc, ch 2, 3 dc) in same corner space — first corner made. *Ch 1, 3 dc in next ch-1 sp, ch 1, 3 dc in next ch-1 sp, ch 1, (3 dc, ch 2, 3 dc) in next corner sp; rep from * 3 more times, then ch 1, 3 dc in next ch-1 sp, ch 1, 3 dc in next ch-1 sp, ch 1, sl st to top of beg ch-3 to join. Fasten off. Each side now has 2 side groups between corners. Stitch count: 48 dc, 4 ch-2 corner spaces, 12 ch-1 side spaces.
Round 5 — Red granny round
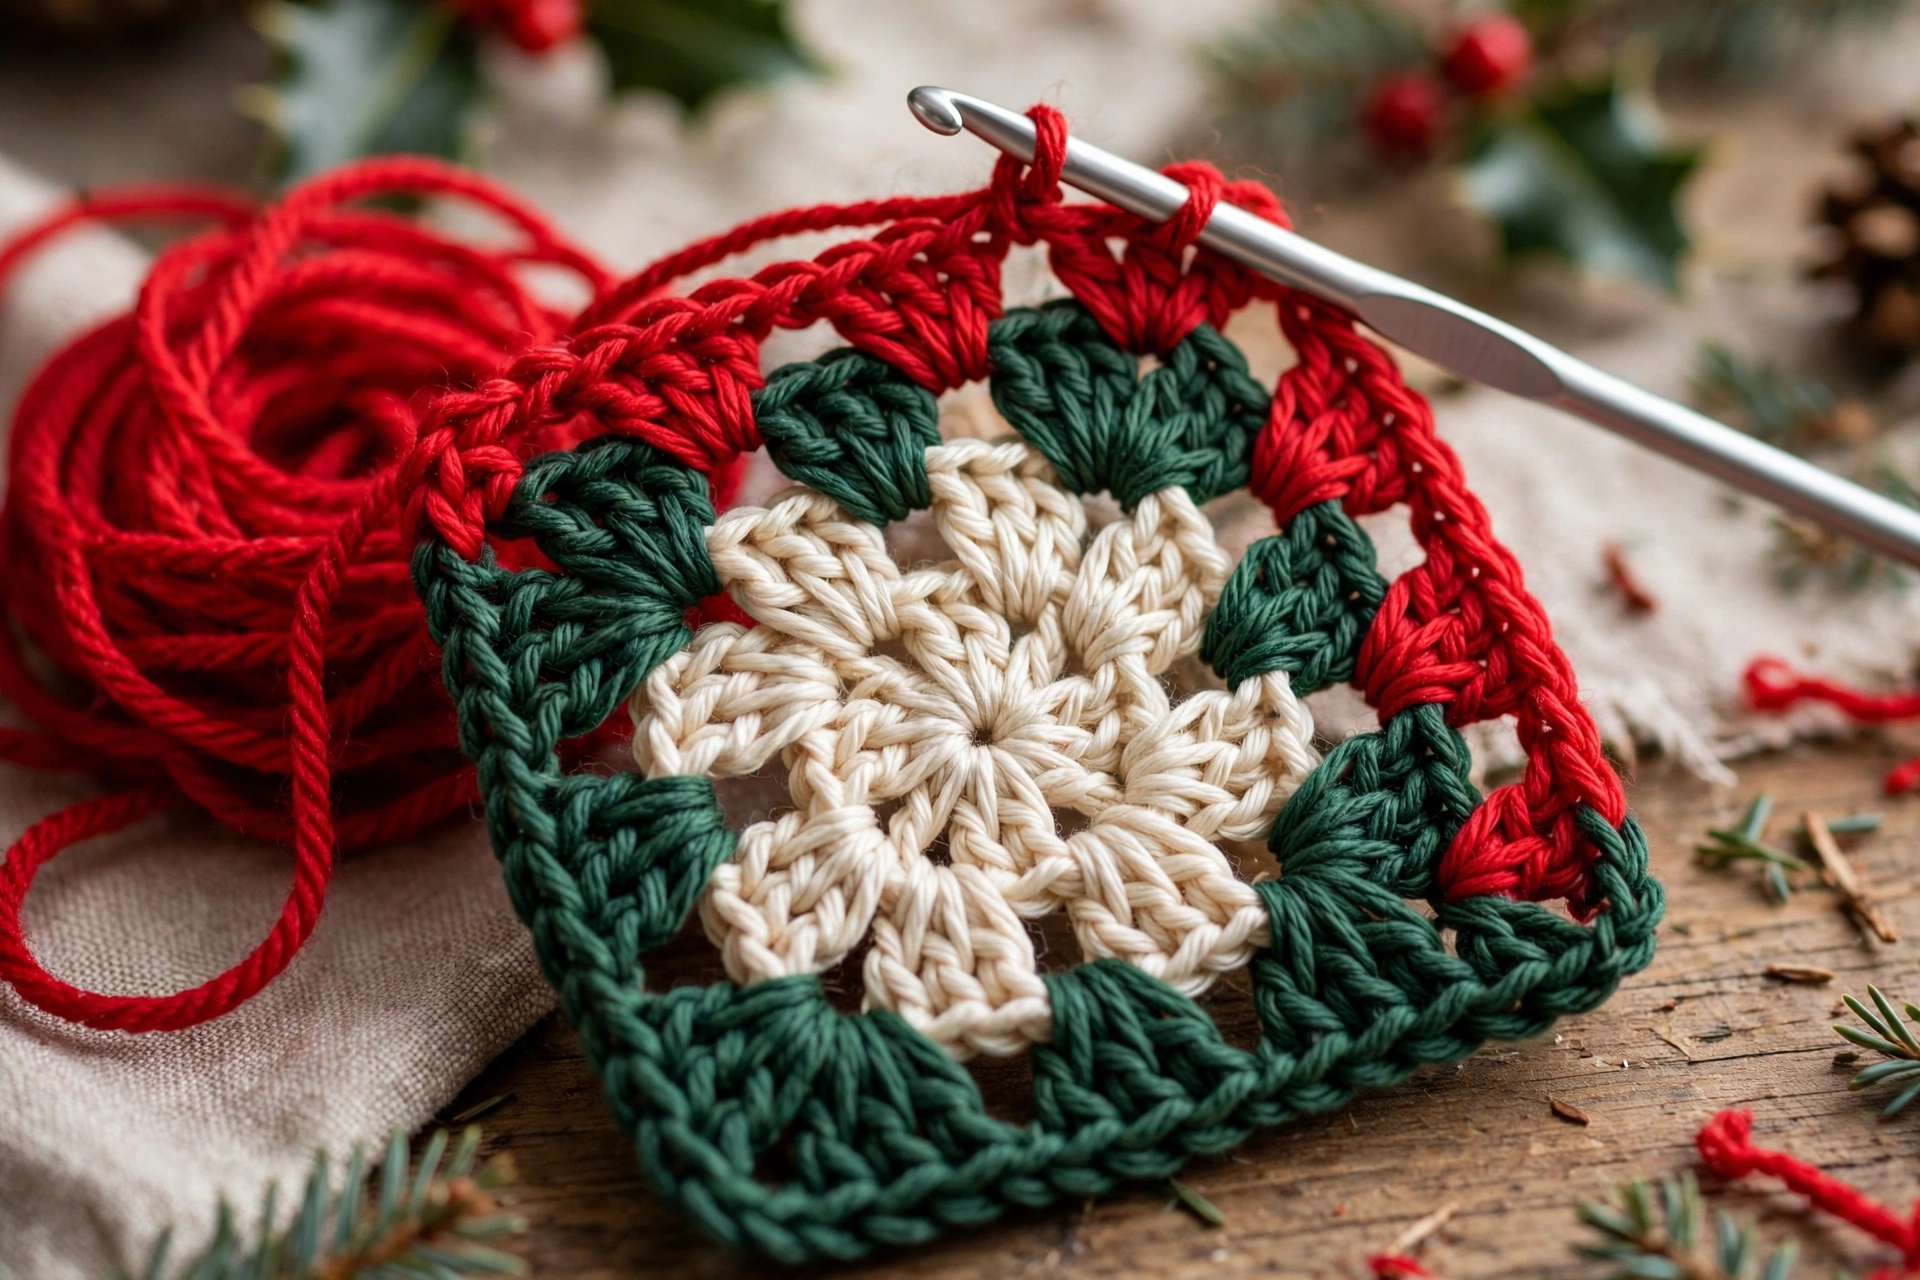
Join Yarn B (Christmas Red) in any ch-2 corner space. Ch 3 (counts as dc), (2 dc, ch 2, 3 dc) in same corner space — first corner made. *Ch 1, 3 dc in next ch-1 sp, ch 1, 3 dc in next ch-1 sp, ch 1, 3 dc in next ch-1 sp, ch 1, (3 dc, ch 2, 3 dc) in next corner sp; rep from * 3 more times, then ch 1, 3 dc in next ch-1 sp, ch 1, 3 dc in next ch-1 sp, ch 1, 3 dc in next ch-1 sp, ch 1, sl st to top of beg ch-3 to join. Fasten off. Each side now has 3 side groups. Stitch count: 60 dc, 4 ch-2 corner spaces, 16 ch-1 side spaces.
Round 6 — Cream final round
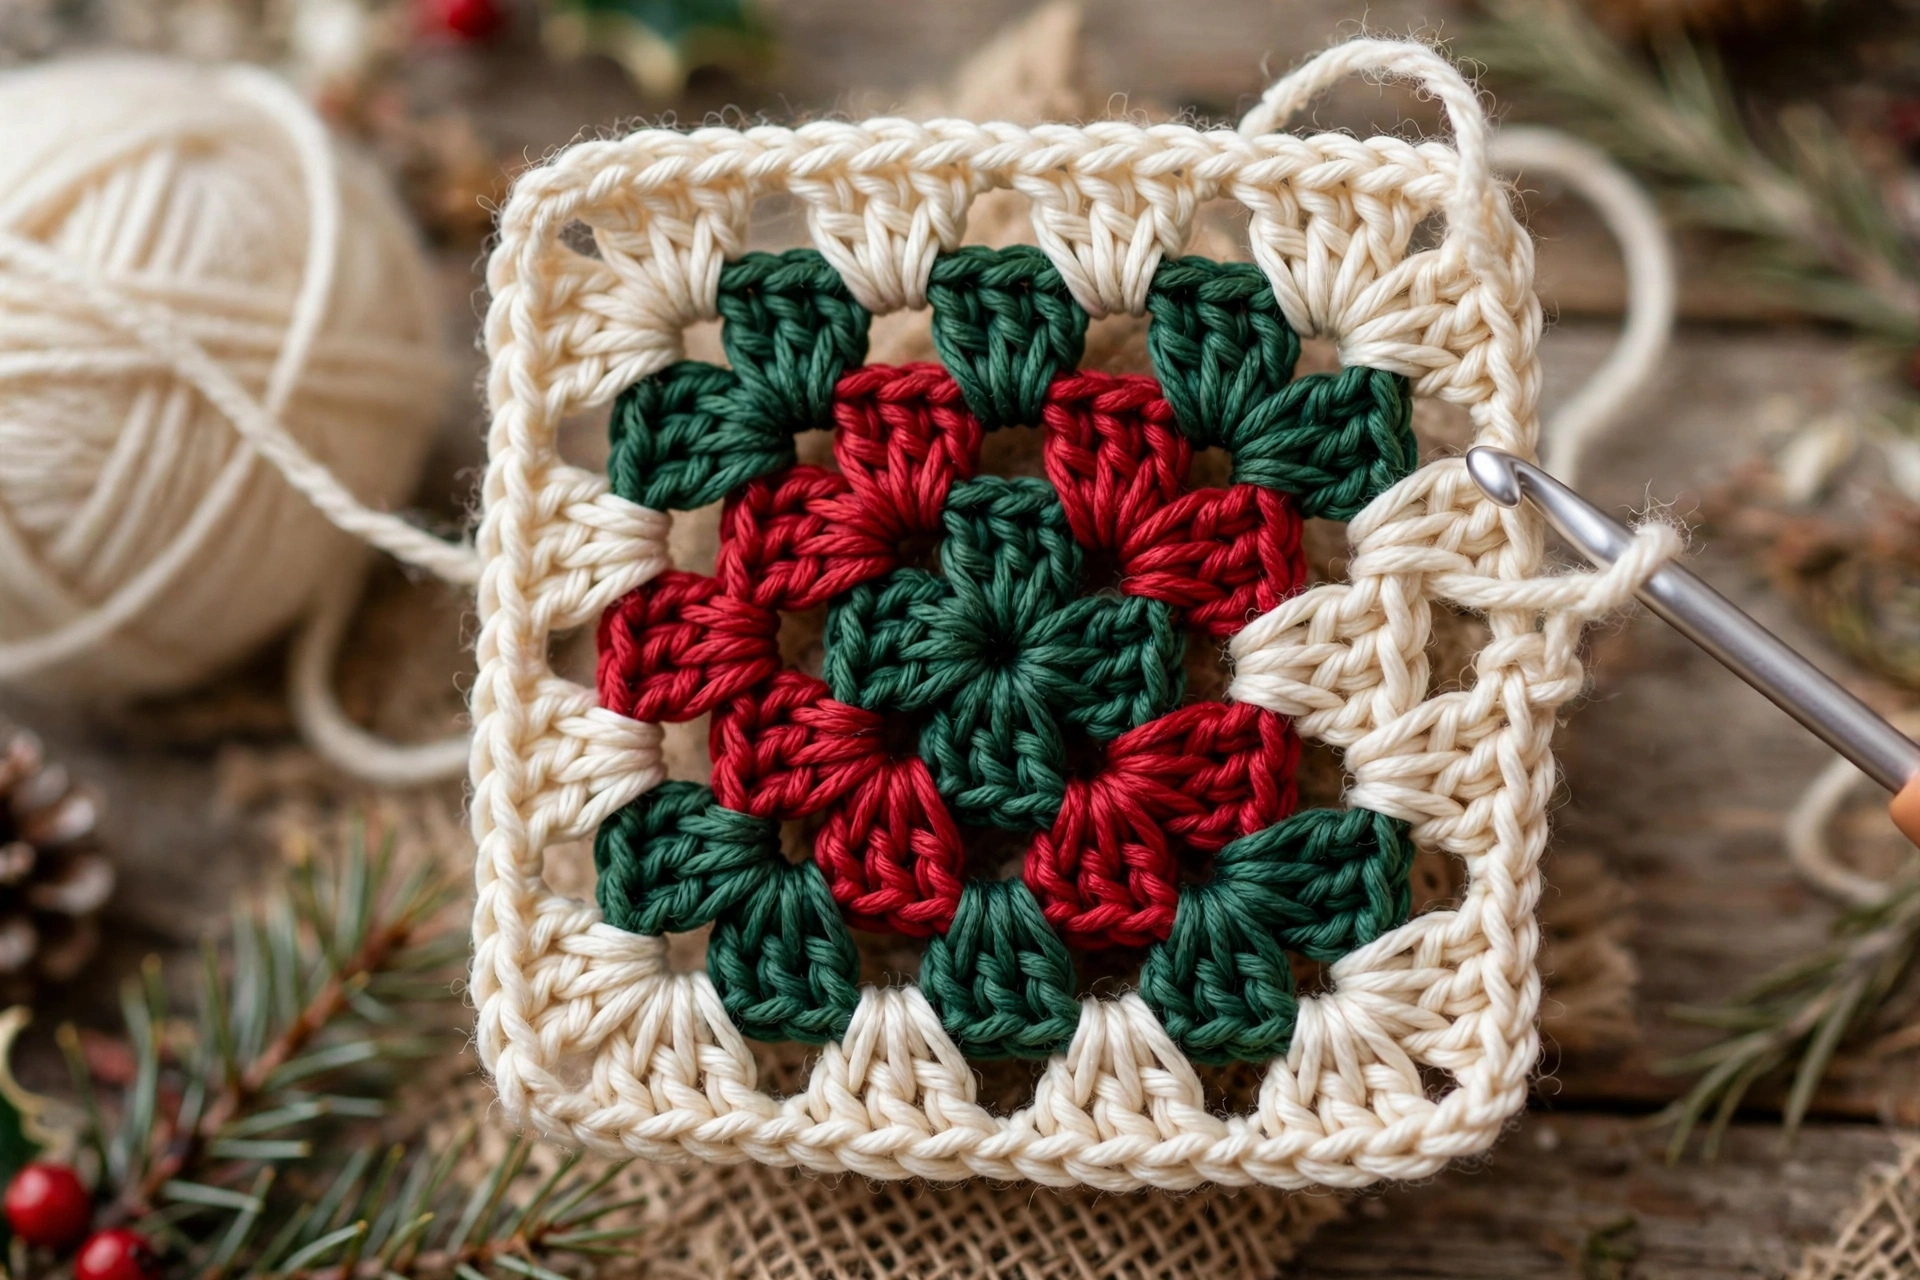
Join Yarn A (Cream) in any ch-2 corner space. Ch 3 (counts as dc), (2 dc, ch 2, 3 dc) in same corner space — first corner made. *Ch 1, 3 dc in next ch-1 sp, ch 1, 3 dc in next ch-1 sp, ch 1, 3 dc in next ch-1 sp, ch 1, 3 dc in next ch-1 sp, ch 1, (3 dc, ch 2, 3 dc) in next corner sp; rep from * 3 more times, then ch 1, 3 dc in next ch-1 sp, ch 1, 3 dc in next ch-1 sp, ch 1, 3 dc in next ch-1 sp, ch 1, 3 dc in next ch-1 sp, ch 1, sl st to top of beg ch-3 to join. Fasten off. Each side now has 4 side groups. Stitch count: 72 dc, 4 ch-2 corner spaces, 20 ch-1 side spaces. Square complete. If want larger square, continue same granny pattern, adding one extra side group per side on each new round — each additional round adds 12 dc total — and alternate colours as like.
Finishing and Assembly
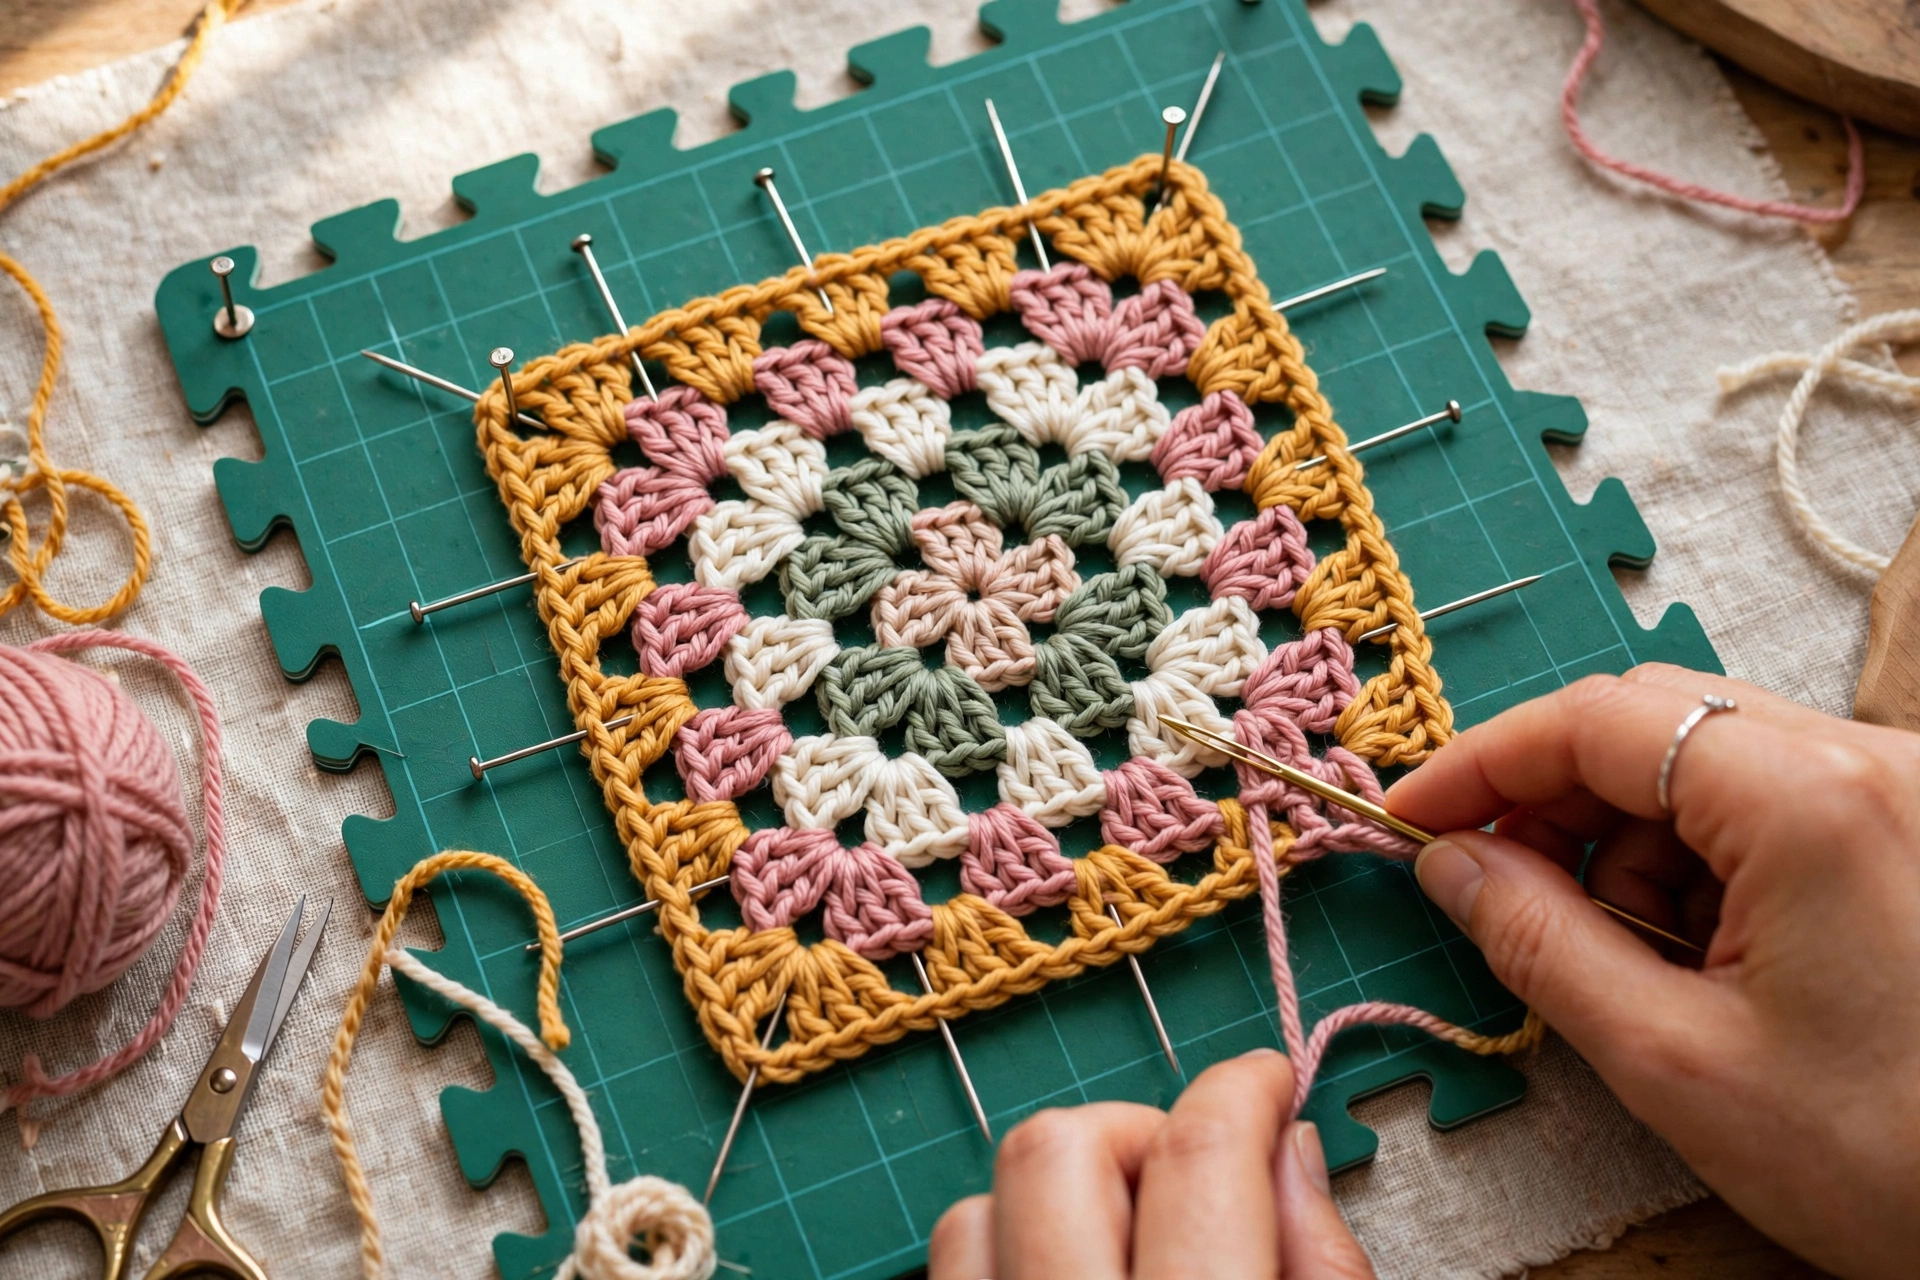
1. Weave in all yarn tails on wrong side, securing centre tail from magic ring and each colour-change tail; trim close once secured. 2. Block square lightly to approx. 15 cm x 15 cm: pin out square, corners pulled into neat right angles, steam or dampen lightly per yarn care, allow dry fully before joining.
3. To join squares into larger project, lay blocked squares out RS up in chosen arrangement and check colour placement before joining. 4. Join with simple method: Slip-stitch join — with RS together or RS facing, as preferred, using Cream or Holly Green, slip stitch through back loops only of corresponding stitches along each shared edge, one slip stitch per stitch and one stitch into each corner space at corners. Whip-stitch join — with RS together, whip stitch edges together through back loops, keeping tension even so seam lies flat. 5. Join squares into rows first, then join rows together, checking after each row squares still aligned and piece lying flat. 6. For finished edge on joined piece, work one round of single crochet evenly around whole outer edge, placing (sc, ch 1, sc) in each outer corner to keep corners square; fasten off and weave remaining ends. For small project, even short row of squares makes pretty table runner, while larger rectangle makes cushion front or cosy lap blanket; every square same size, can add rows later if want bigger piece.
Tips
Count corners — each round should have exactly four corners; if square starts to look rounded or uneven, check not missed corner space. Keep centre flat — pull magic ring closed firmly, but not so tight Round 1 cups; if Round 2 ripples, tension may be little loose — try working slightly more firmly on next square. Change colour cleanly — join new colour with sl st in stated stitch or space, weave old tail in on wrong side; keeps colour changes neat on RS. Check side groups — number per side grows by one each granny round: 1 in Round 3, 2 in Round 4, 3 in Round 5, 4 in Round 6; counting side groups quick way to check right round. Block before joining — squares blocked to same size join much more neatly, finished piece will drape better. Use up scraps — good scrap-busting square; keep gold centre and red Round 2 for consistent Christmas look, vary outer rounds in cream, green, red as like.
FAQ
Can beginner make square? Yes, square uses only chains, slip stitches, double crochet, plus simple colour changes; if can work basic granny square, can make this one — just take Round 3 slowly, as round that turns circle into square. Can I use different yarn weight? Yes, but finished size will change; chunkier yarn larger hook bigger square, finer yarn smaller hook smaller one; whatever weight choose, use same yarn and hook for every square in one joined project so squares match. Why is square curling or rippling? Curling often means tension too tight or centre ring pulled too closed; rippling often means tension too loose or extra stitches crept in; count stitches at end of each round — 12, 24, 36, 48, 60, then 72 dc — adjust tension or hook size before next square. How many squares for blanket? Depends on size want; each square approx. 15 cm (6 in), rectangle 6 squares by 8 squares would measure roughly 90 cm x 120 cm (36 in x 48 in) before any border; lay squares out first and measure, rather than guessing. How do I wash finished piece? Follow care instructions for yarn used; in general, hand wash in cool water and dry flat to help squares keep shape, especially for joined blanket or cushion cover.