Crochet Christmas Star: A Free, Easy 5-Point Star Ornament and Tree Topper Pattern
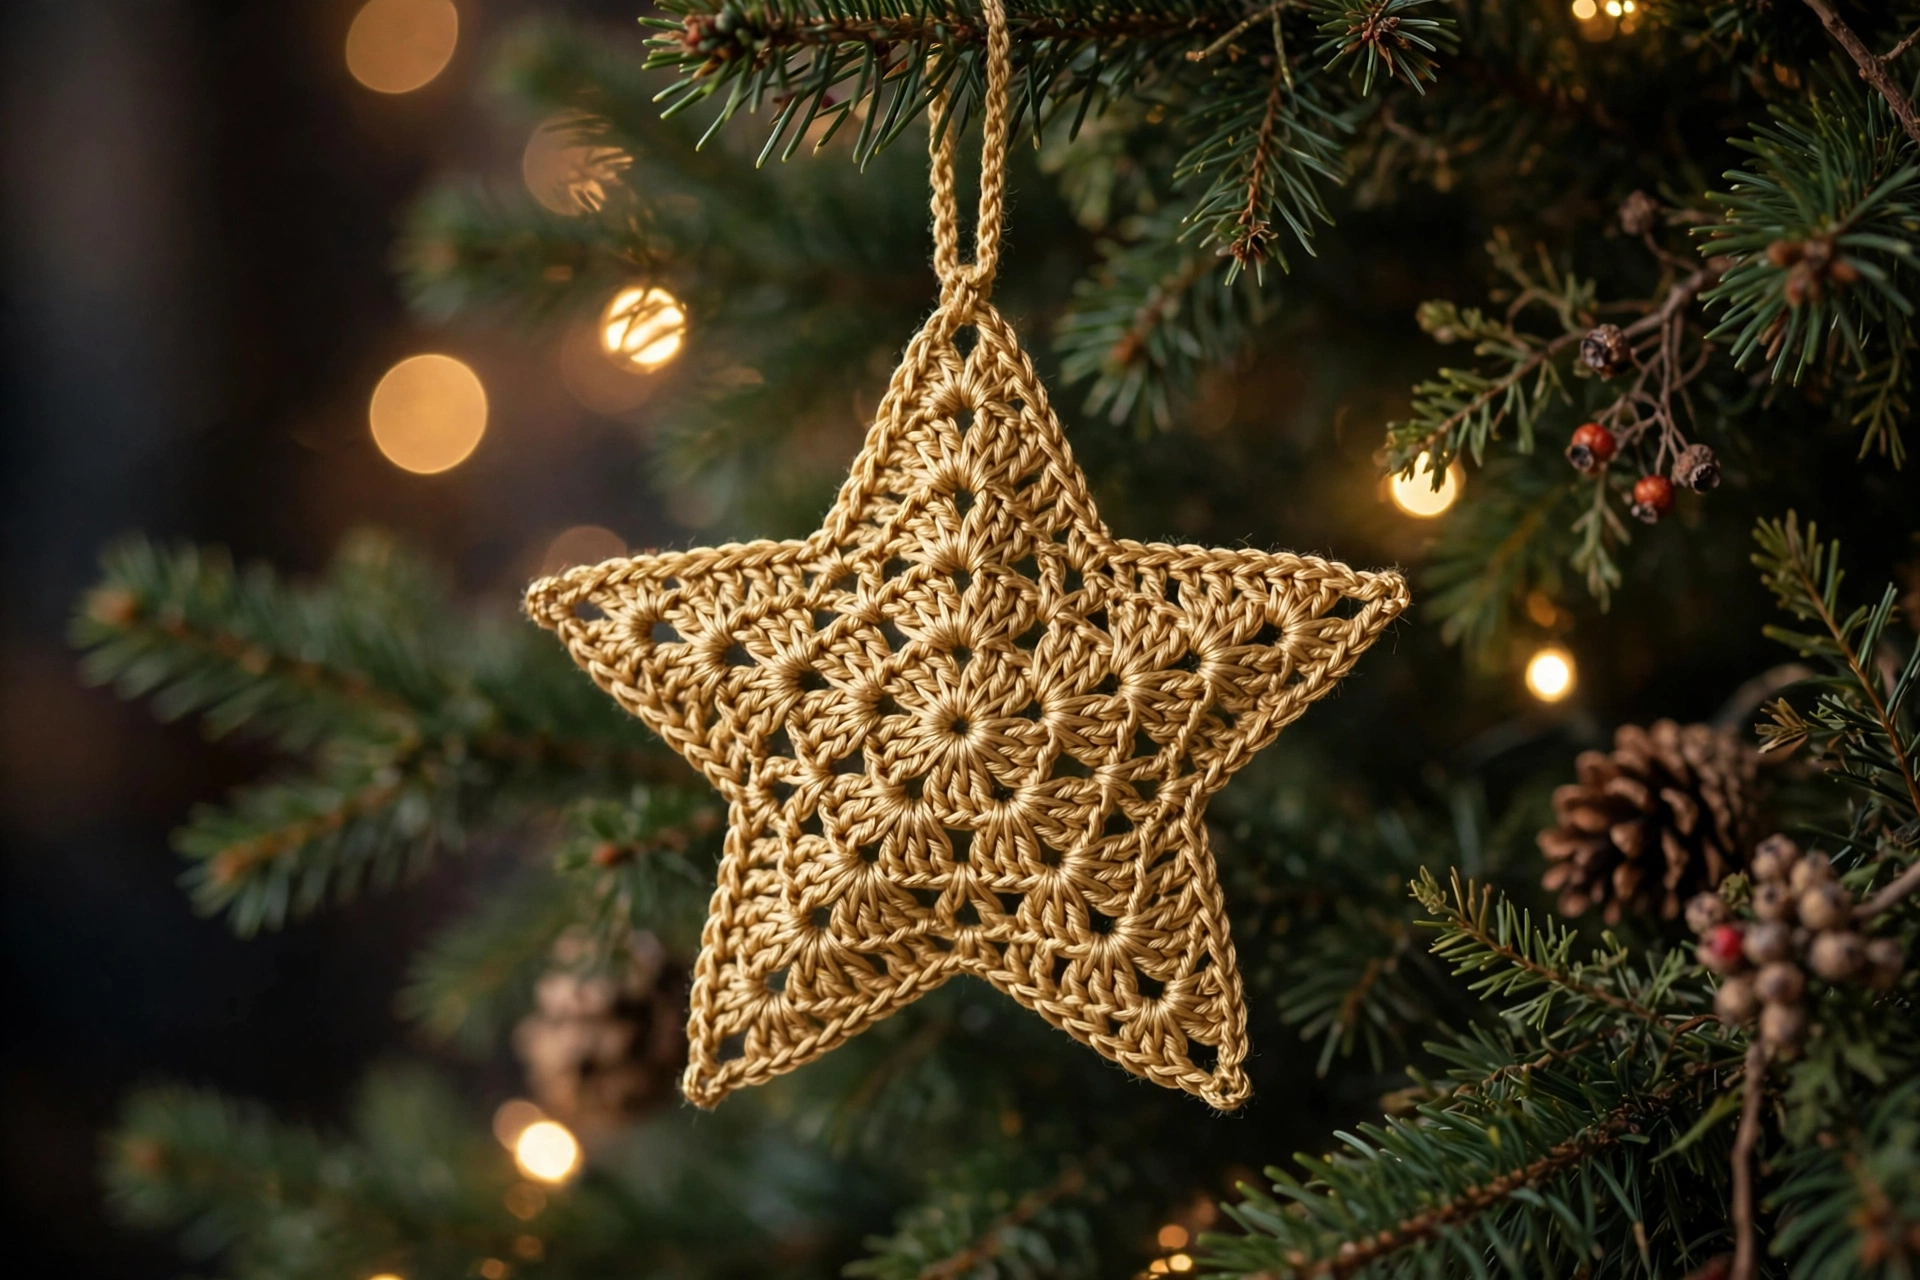
Crochet Christmas star is simple, classic shape that suits almost any tree: neat five-pointed star in single colour, with clean, tapered points and no fiddly shaping to guess at. Start with small round centre, then work each point in short rows that decrease steadily to single stitch at tip. Because centre divided evenly into five groups of five stitches, one group for each point, star stays balanced and symmetrical. Make one in gold, red, cream, or white for tree ornament, make several in different colours for garland, or work in slightly chunkier yarn and leave off hanging loop to use as topper for small tree. Good first star project if comfortable with magic ring, single crochet, and single crochet decreases. Pattern worked in US terms, every round and row that changes stitch count states its final count, so can check work as go.
Materials
Yarn: Worsted weight yarn (Category 4, medium), in one main colour. Acrylic or cotton both work well; cotton gives crisper point, acrylic gives softer drape. Approximate amount: About 35 yards (32 metres), or about 20 grams, for one star in worsted weight yarn. Allow little extra for hanging loop and weaving in ends. Hook: 4.0 mm (US G-6) crochet hook. Go down to 3.5 mm hook if stitches tend to be loose and want firmer star. Other supplies: Tapestry needle, sharp scissors, stitch marker (optional, for marking first stitch of round), blocking pins and flat blocking surface or towel, small amount steam or water for blocking. No stuffing, wire, or stiffener needed for ornament version. If want very rigid star for tree topper, block firmly and let dry completely flat.
Gauge
Gauge not critical for ornament, but does affect finished size. In single crochet, approximately 16 stitches and 18 rows = 4 inches (10 cm), using 4.0 mm hook and worsted weight yarn. After Round 5, centre should measure approximately 2.5 inches (6.5 cm) across. If centre much larger, try smaller hook; if much smaller, try larger hook. Slightly tighter gauge better than loose one here, because helps points hold shape.
Finished Size
Approximately 5.5 inches (14 cm) from tip of one point to tip of opposite point, and approximately 5 inches (12.5 cm) from tip of point to valley between two opposite points, using worsted weight yarn and 4.0 mm hook. Size will vary with yarn, hook, tension.
Abbreviations (US Terms)
ch — chain; sc — single crochet; sc2tog — single crochet two together (decrease: insert hook in next stitch, yarn over, pull through, insert hook in following stitch, yarn over, pull through, yarn over, pull through all 3 loops on hook); sl st — slip stitch; st(s) — stitch(es); RS — right side; MR — magic ring. Notes: Chain 1 at start of round or row does not count as stitch. Join each centre round with slip stitch to first stitch of round, unless pattern says otherwise. Stitch count in parentheses at end of round or row is number of stitches in that round or row after complete; check before moving on.
Step 1: Centre — Rounds 1–2
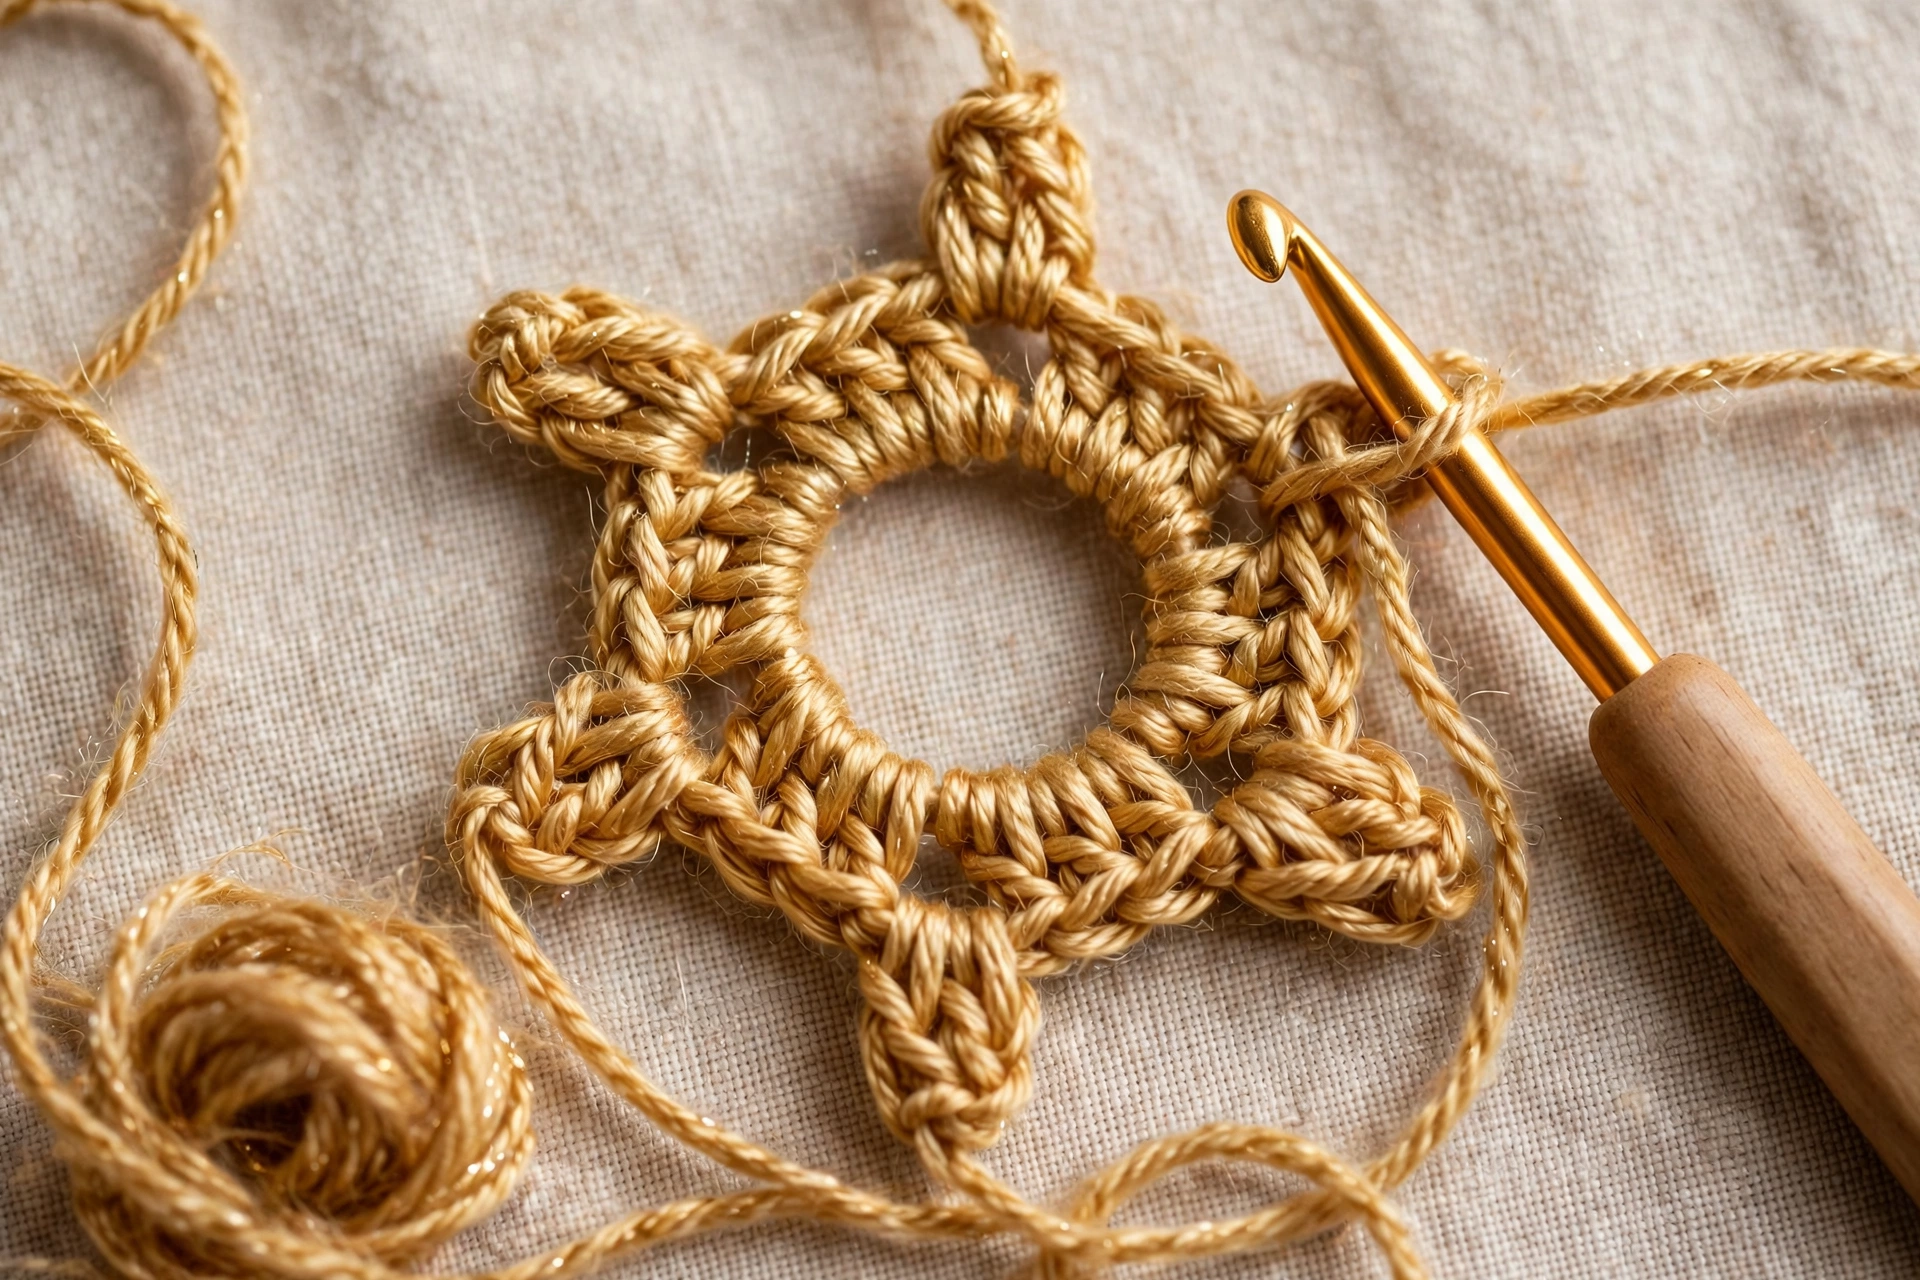
Work centre in joined rounds, do not turn at end of round. Round 1: Make magic ring, ch 1, work 5 sc into ring. Pull ring closed. Sl st to first sc to join. (5 sc). Round 2: Ch 1, work 2 sc in each st around. Sl st to first sc to join. (10 sc).
Step 2: Centre — Rounds 3–5
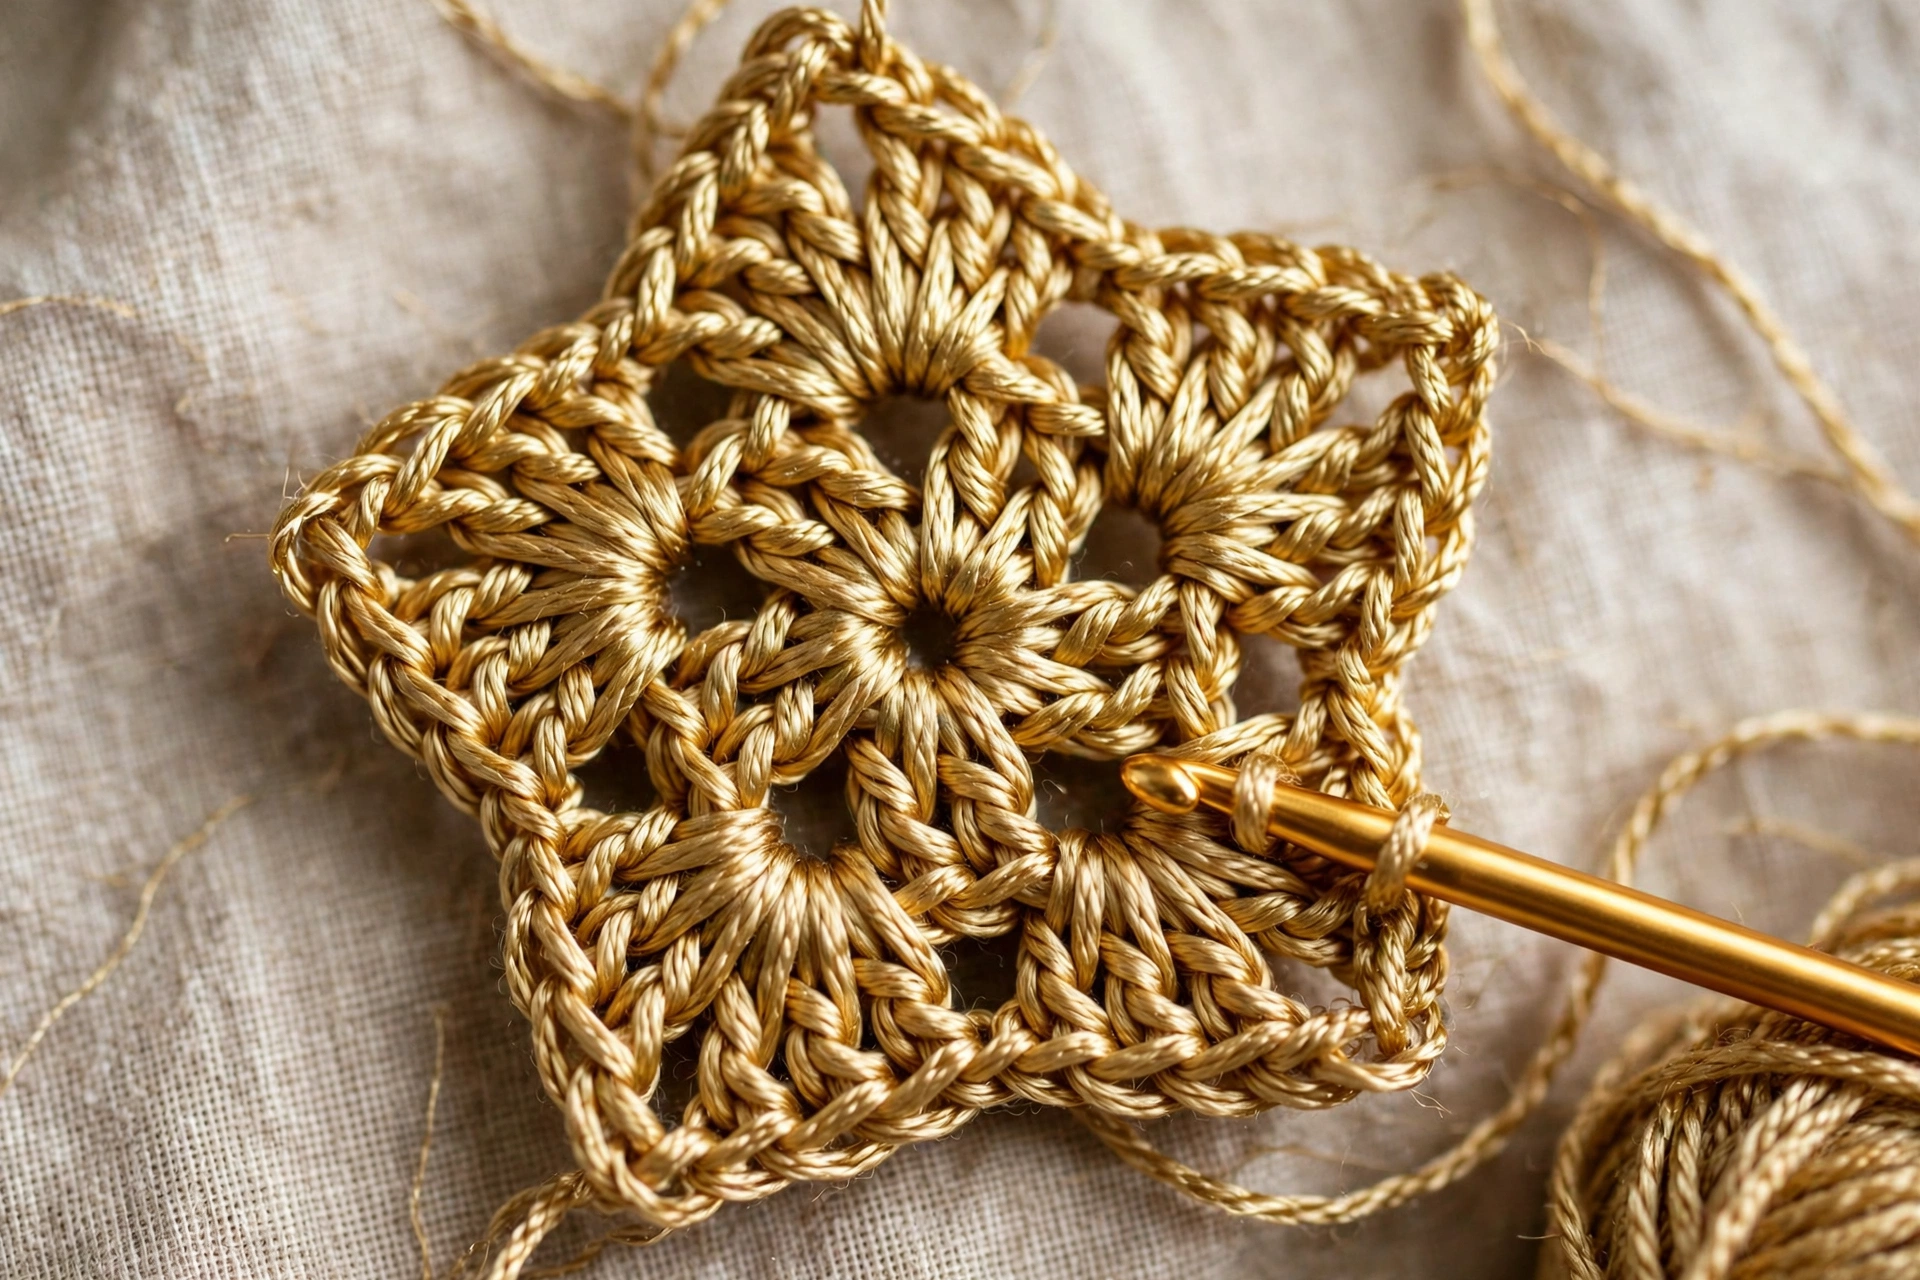
Round 3: Ch 1, *sc in next st, 2 sc in next st; repeat from * around. Sl st to first sc to join. (15 sc). Round 4: Ch 1, *sc in next 2 sts, 2 sc in next st; repeat from * around. Sl st to first sc to join. (20 sc). Round 5: Ch 1, *sc in next 3 sts, 2 sc in next st; repeat from * around. Sl st to first sc to join. (25 sc). Do not fasten off yet if about to start first point from this yarn. If prefer to fasten off and rejoin for every point, fasten off now and follow joining instructions in Point Row 1 below. 25 stitches of Round 5 divide evenly into five groups of 5 stitches. Each group becomes one point. Work points in order around centre, taking next unworked group of 5 stitches each time. Helps to count off groups before start: stitches 1–5 are Point 1, stitches 6–10 Point 2, stitches 11–15 Point 3, stitches 16–20 Point 4, stitches 21–25 Point 5.
Step 3: First Point — Rows 1–5
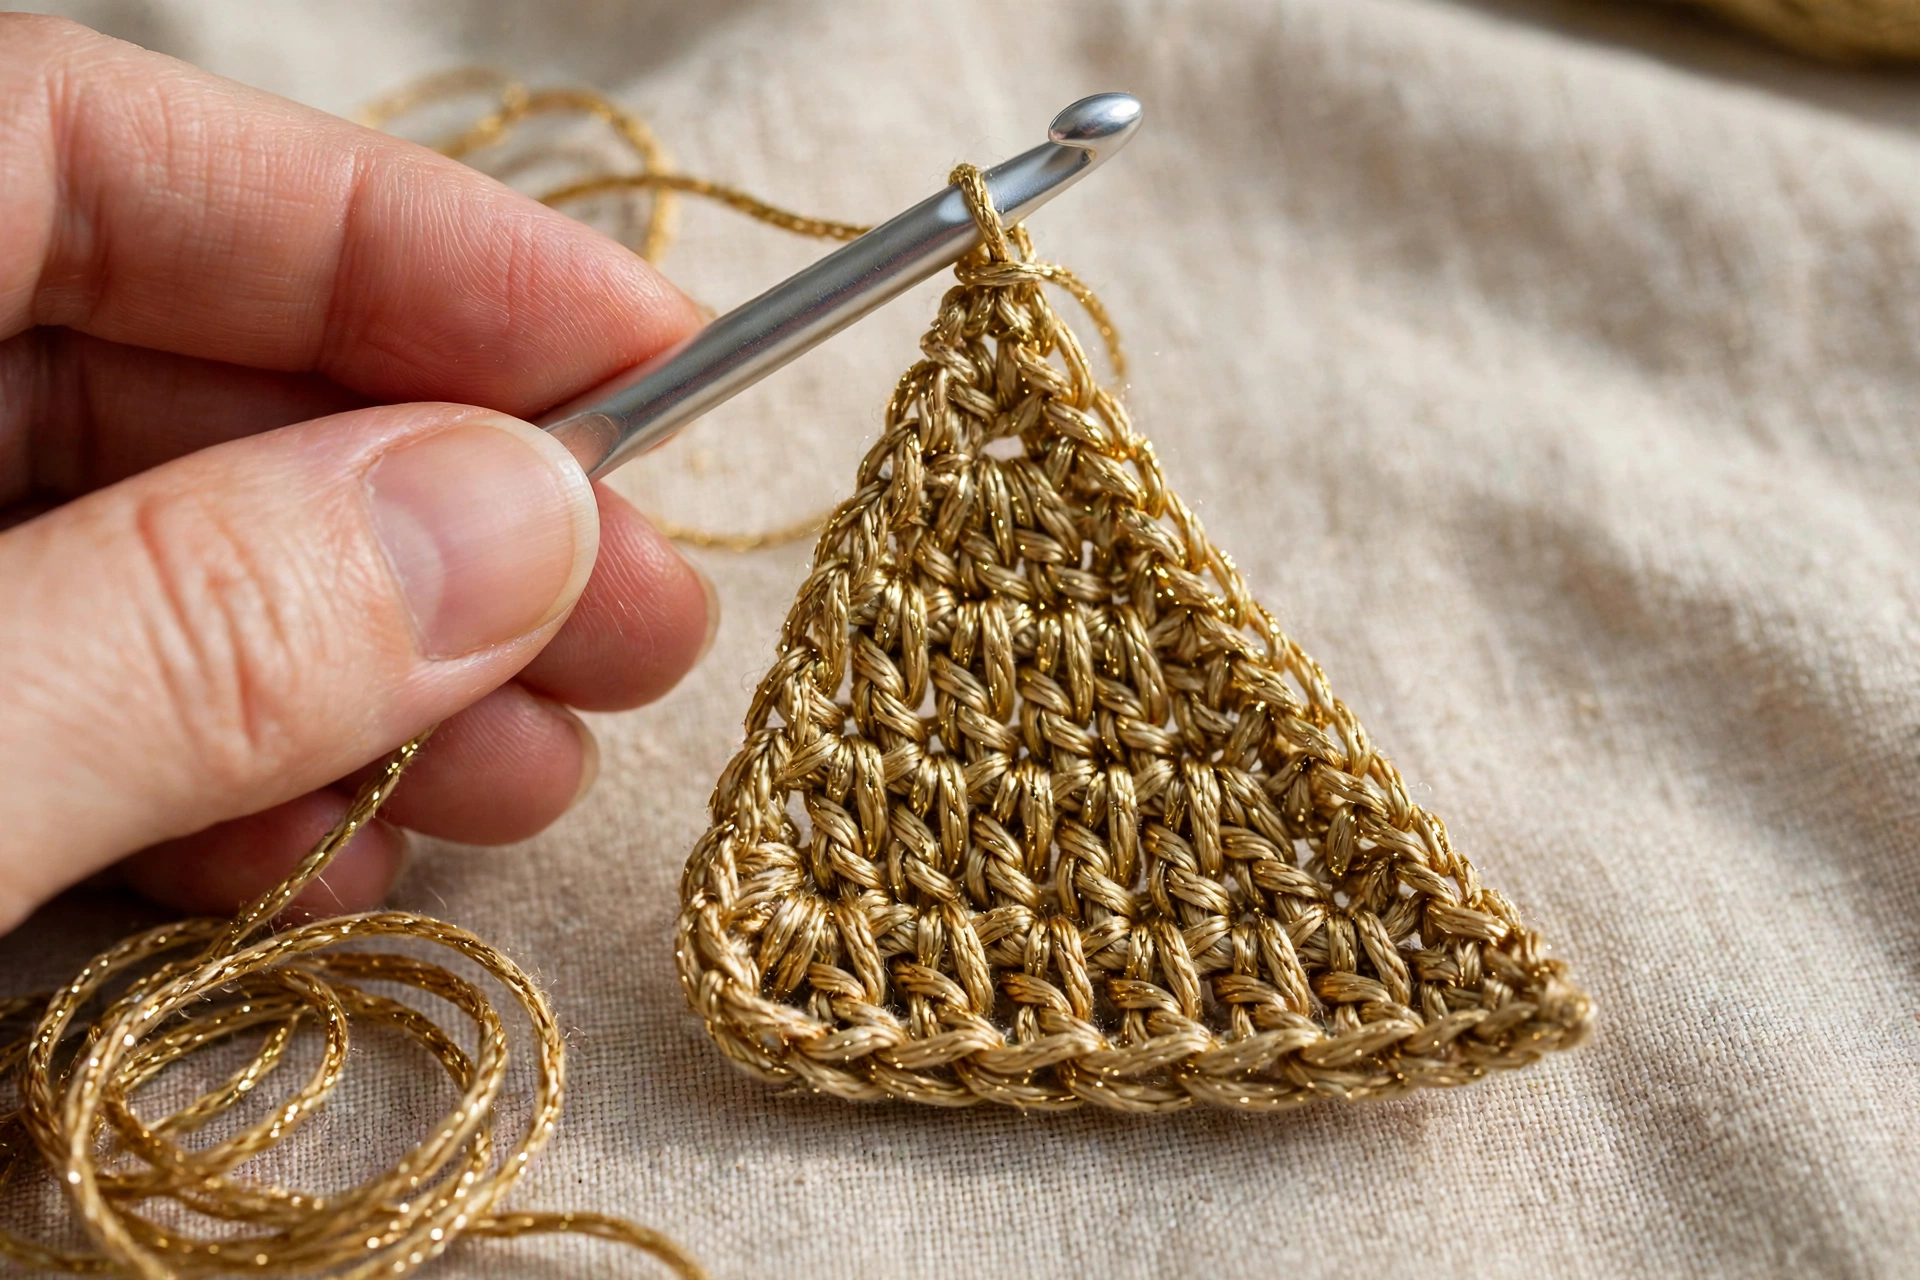
Each point worked back and forth in rows over 5 stitches, decreasing by one stitch on each row until single stitch remains at tip. Turn at end of every row, where pattern says chain 1 and turn. First Point — Row 1: If have not fastened off, continue from join of Round 5. Ch 1, sc in same st (first st of Round 5) and in next 4 sts. Ch 1, turn. (5 sc). Row 2: Sc2tog, sc in next 3 sts. Ch 1, turn. (4 sc). Row 3: Sc in next 2 sts, sc2tog. Ch 1, turn. (3 sc). Row 4: Sc2tog, sc in next st. Ch 1, turn. (2 sc). Row 5: Sc2tog. (1 sc). Fasten off after Row 5, leaving short tail about 4 inches (10 cm) to weave in. Do not chain after final decrease; single stitch from Row 5 is tip of point. Pattern At a Glance: Centre: 5 rounds, increasing by 5 stitches per round, from 5 sc to 25 sc. Each point: 5 rows, decreasing by 1 stitch per row, from 5 sc to 1 sc. Total points: 5.
Step 4: Remaining Four Points
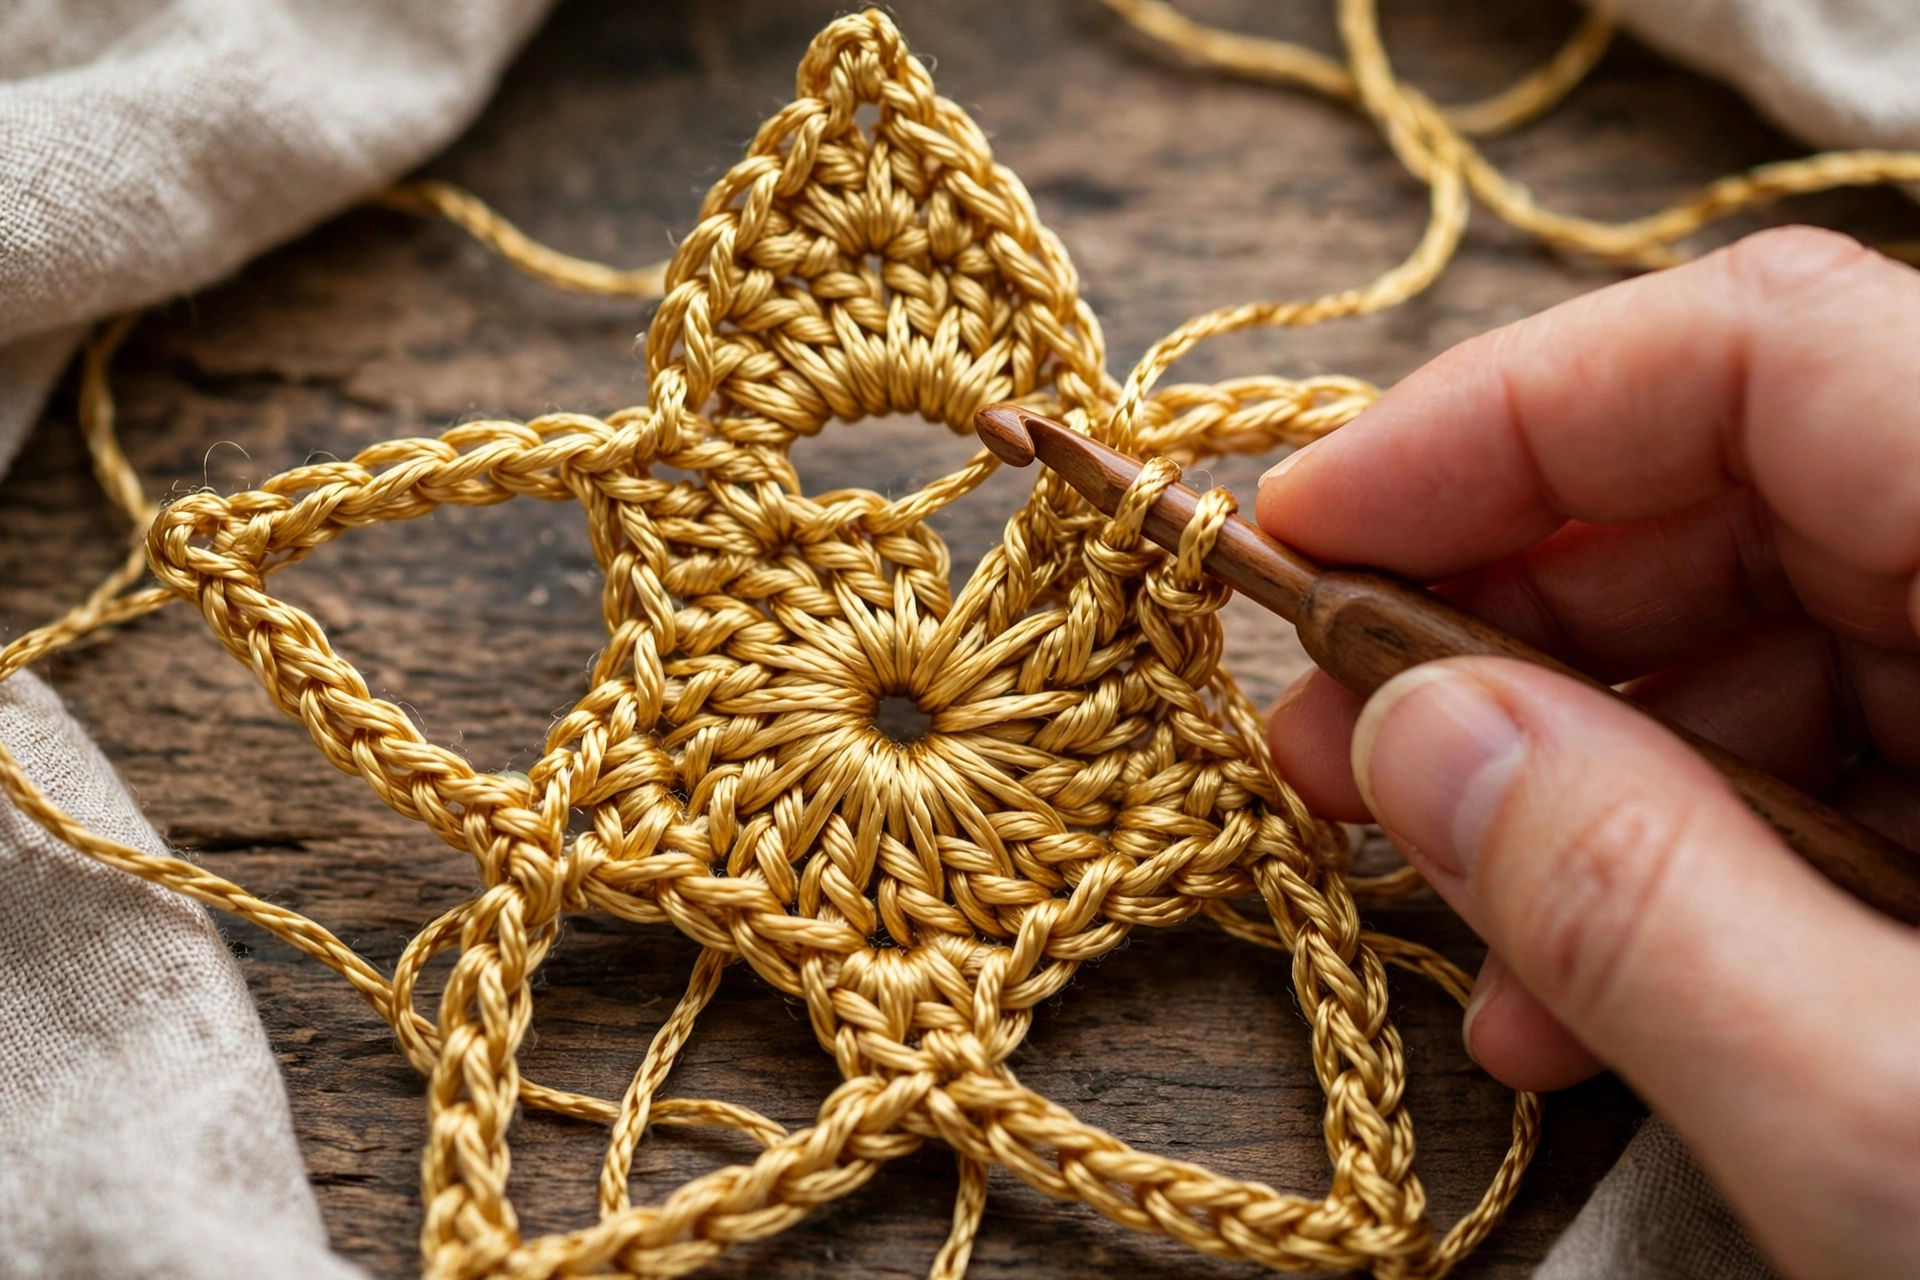
For Points 2–5 — Row 1: Join yarn with slip stitch in first unworked st of next group of 5 stitches, ch 1, sc in same st and in next 4 sts. Ch 1, turn. (5 sc). Row 2: Sc2tog, sc in next 3 sts. Ch 1, turn. (4 sc). Row 3: Sc in next 2 sts, sc2tog. Ch 1, turn. (3 sc). Row 4: Sc2tog, sc in next st. Ch 1, turn. (2 sc). Row 5: Sc2tog. (1 sc). Fasten off after Row 5 of each point, leaving short tail about 4 inches (10 cm) to weave in. Repeat for remaining groups until five points total. Check after each point that a fresh group of 5 centre stitches was used and no centre stitch was used twice or skipped. After the fifth point, all 25 centre stitches should be used, with no gaps between bases of points except natural valleys.
Step 5: Weave In Ends
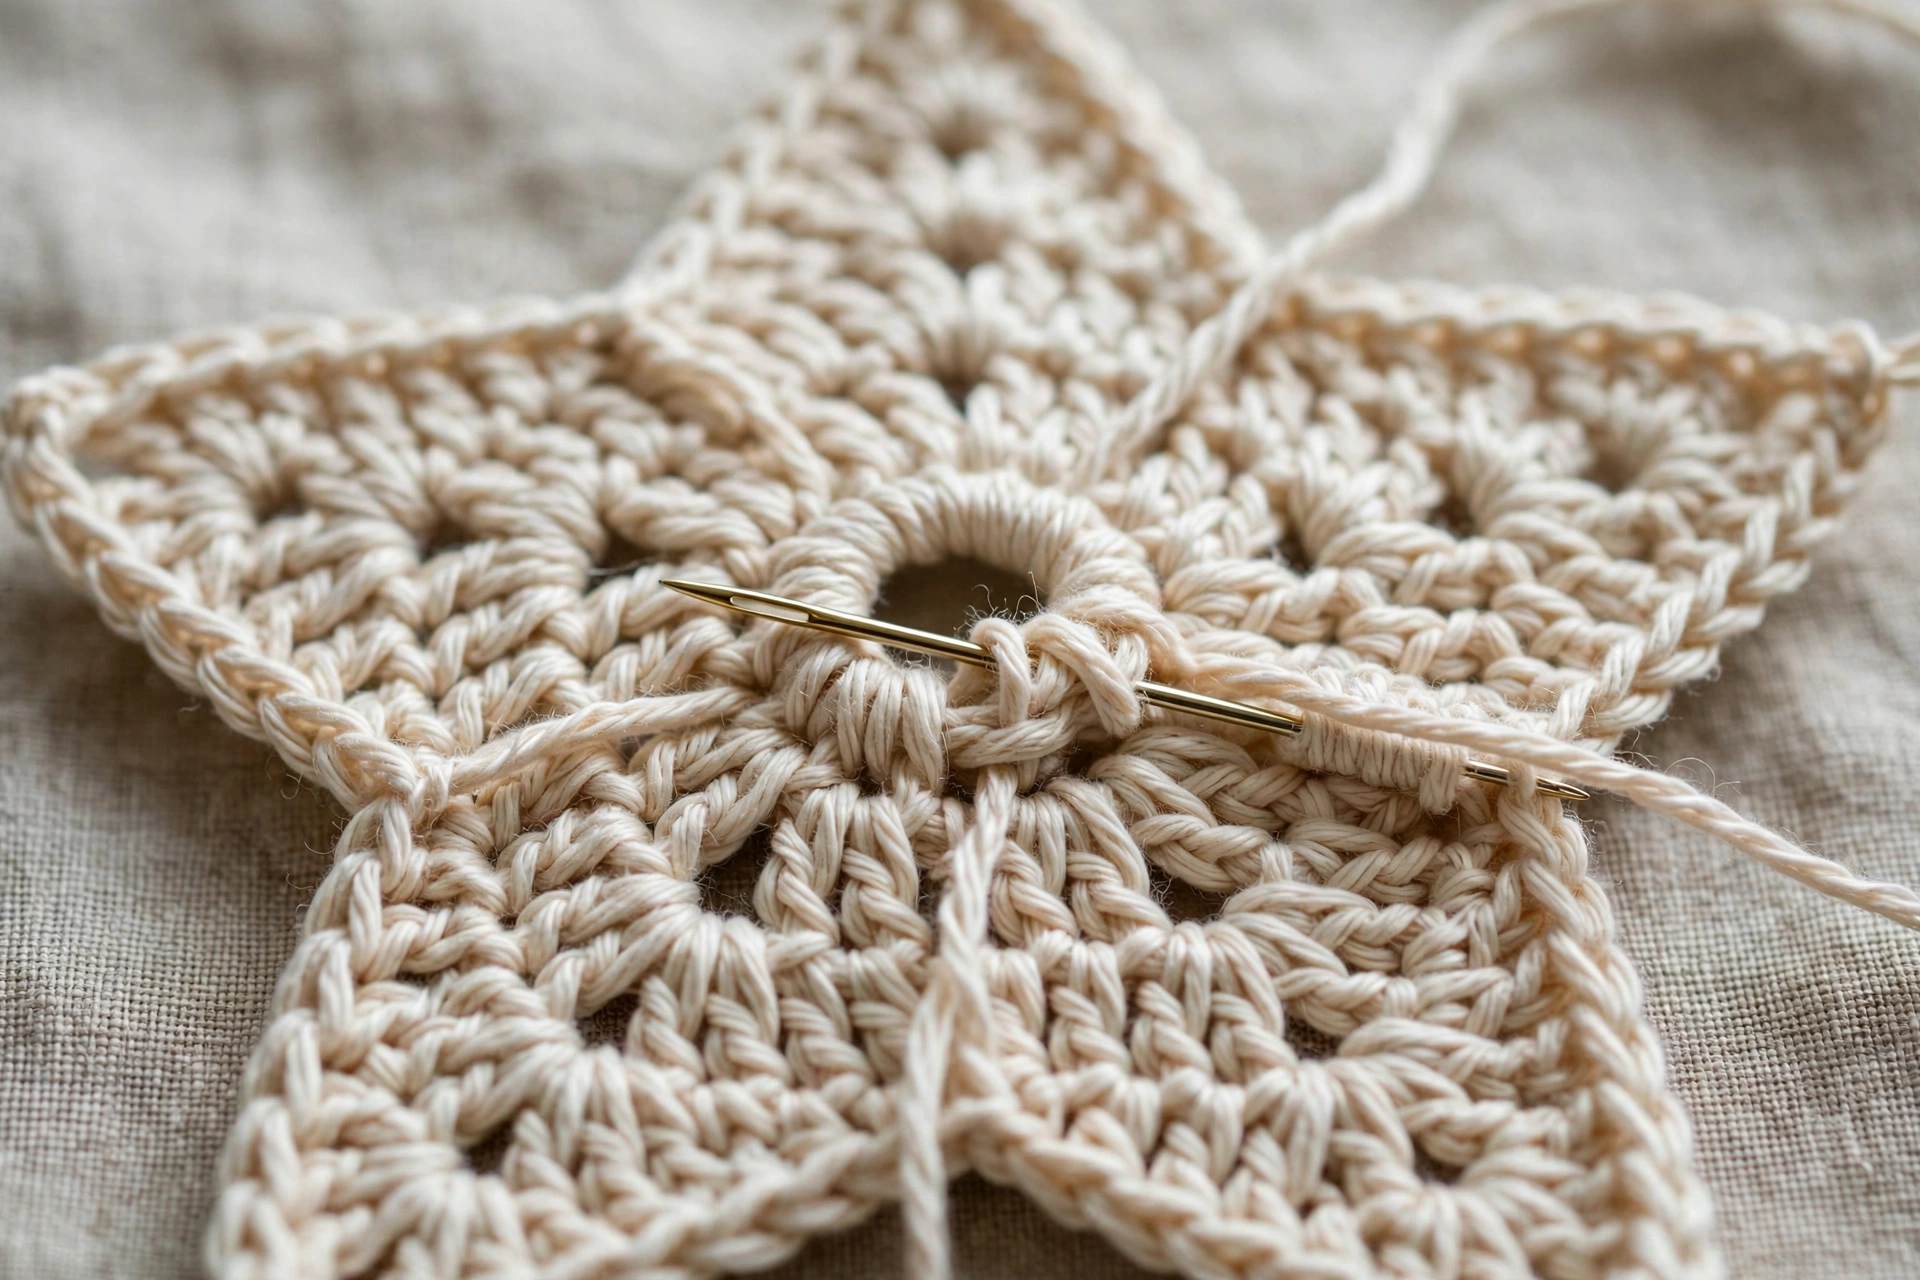
Weave in tail from magic ring first, pulling gently so centre closes fully without puckering. Then weave in tail from each point, following edge of point for a stitch or two so tip is not pulled out of shape. Trim tails close to work, taking care not to cut a stitch. Turn star over and check back: all tails hidden, no centre stitch left loose.
Step 6: Block Star Flat
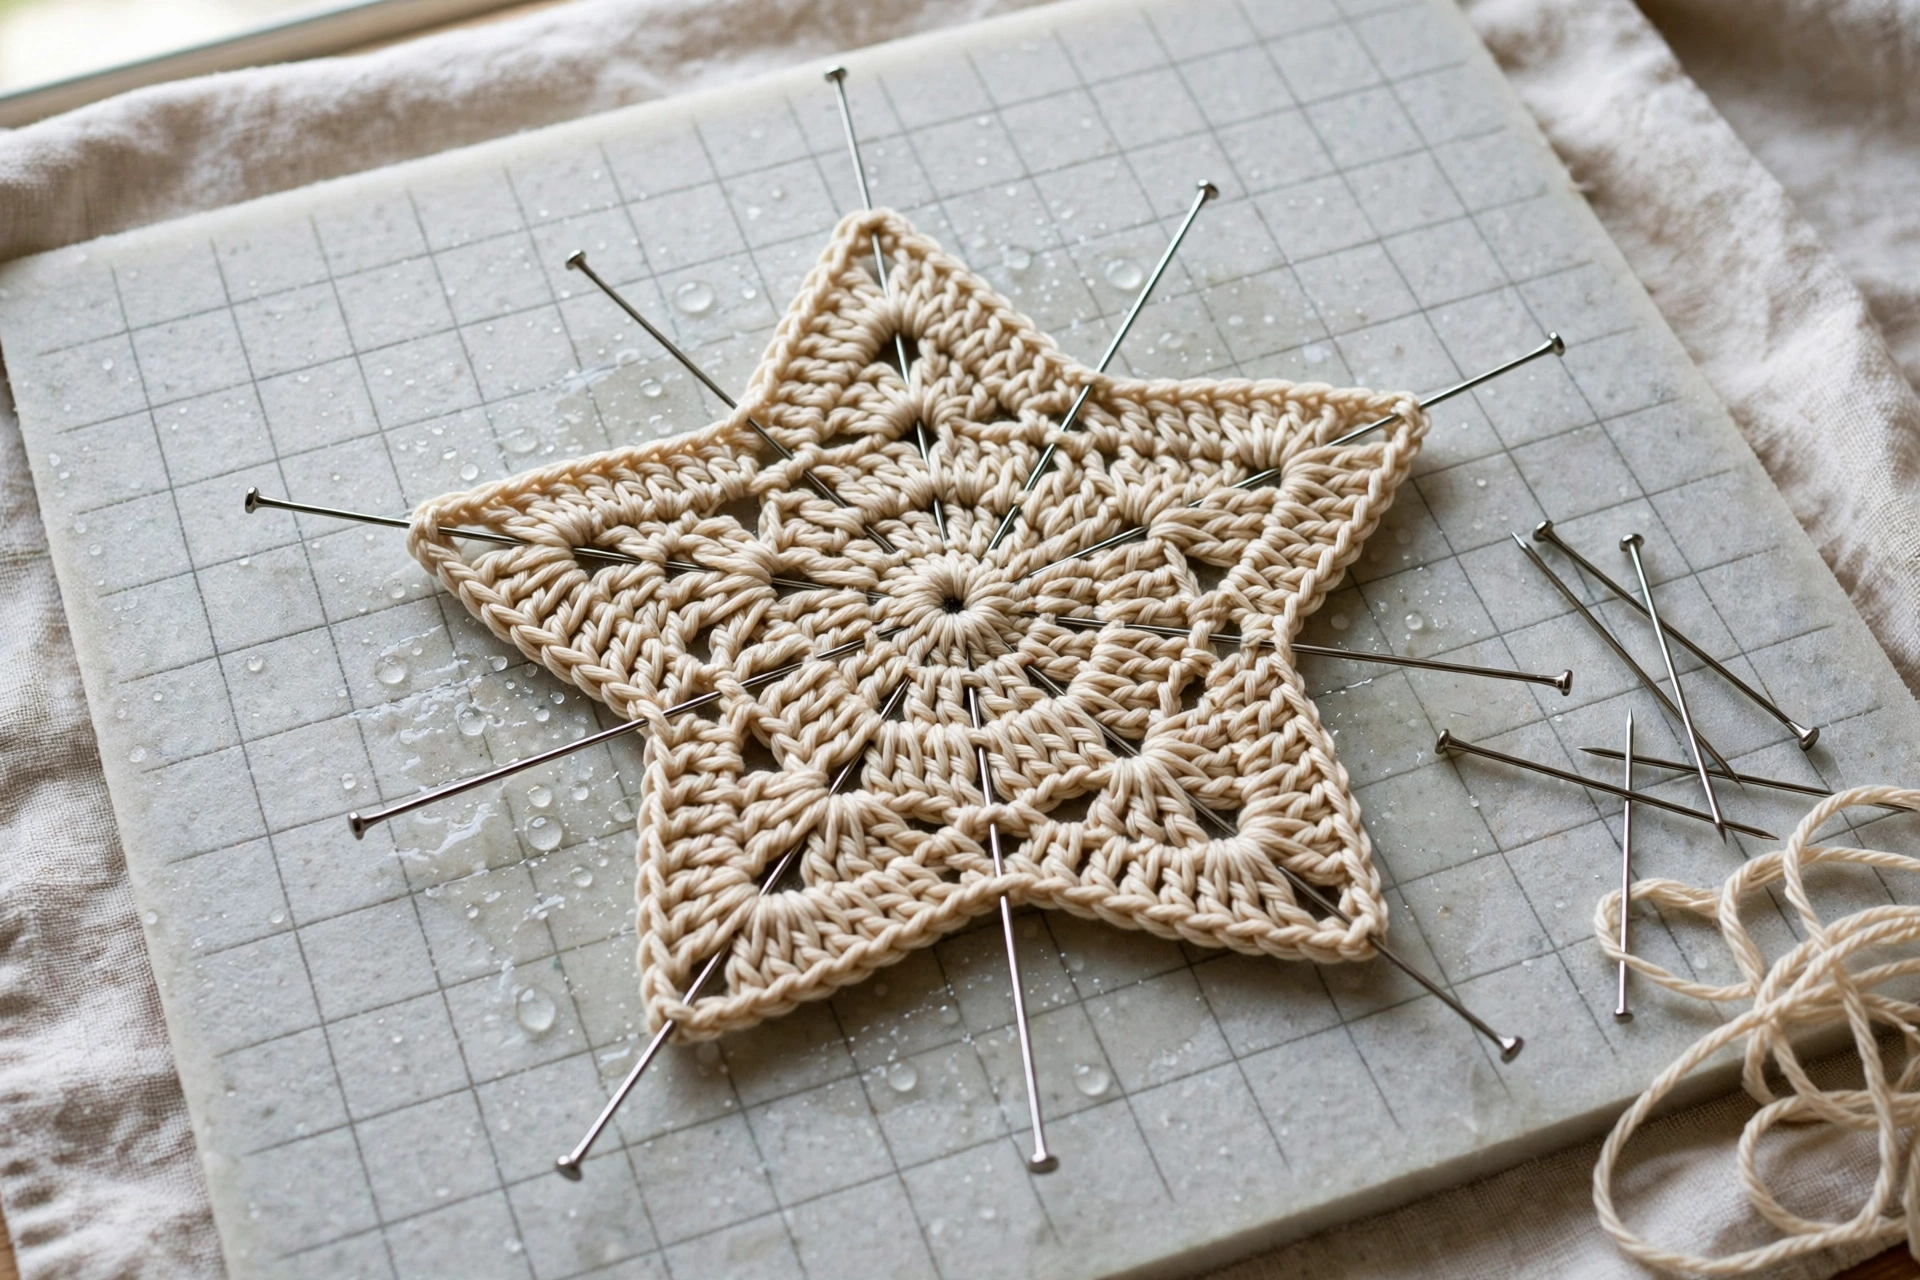
Lay star flat on towel or blocking surface, right side up. Gently shape into symmetrical five-pointed star, pulling each point straight out from centre, opposite points evenly spaced, no point bent to one side. Pin each point at tip, pin centre lightly if needed to keep flat. Do not stretch star, shaping not enlarging. Lightly mist with water, or hold steam iron a short distance above it without pressing directly on yarn, following yarn label care; acrylic responds well to light steam, cotton to misting with water. Leave pinned until completely dry, then remove pins; star should lie flat with straight points. If it curls at edges after blocking, block again and let dry fully flat; a star that still curls usually needs slightly tighter gauge or firmer block, rather than a change to the pattern.
Step 7: Hanging Loop
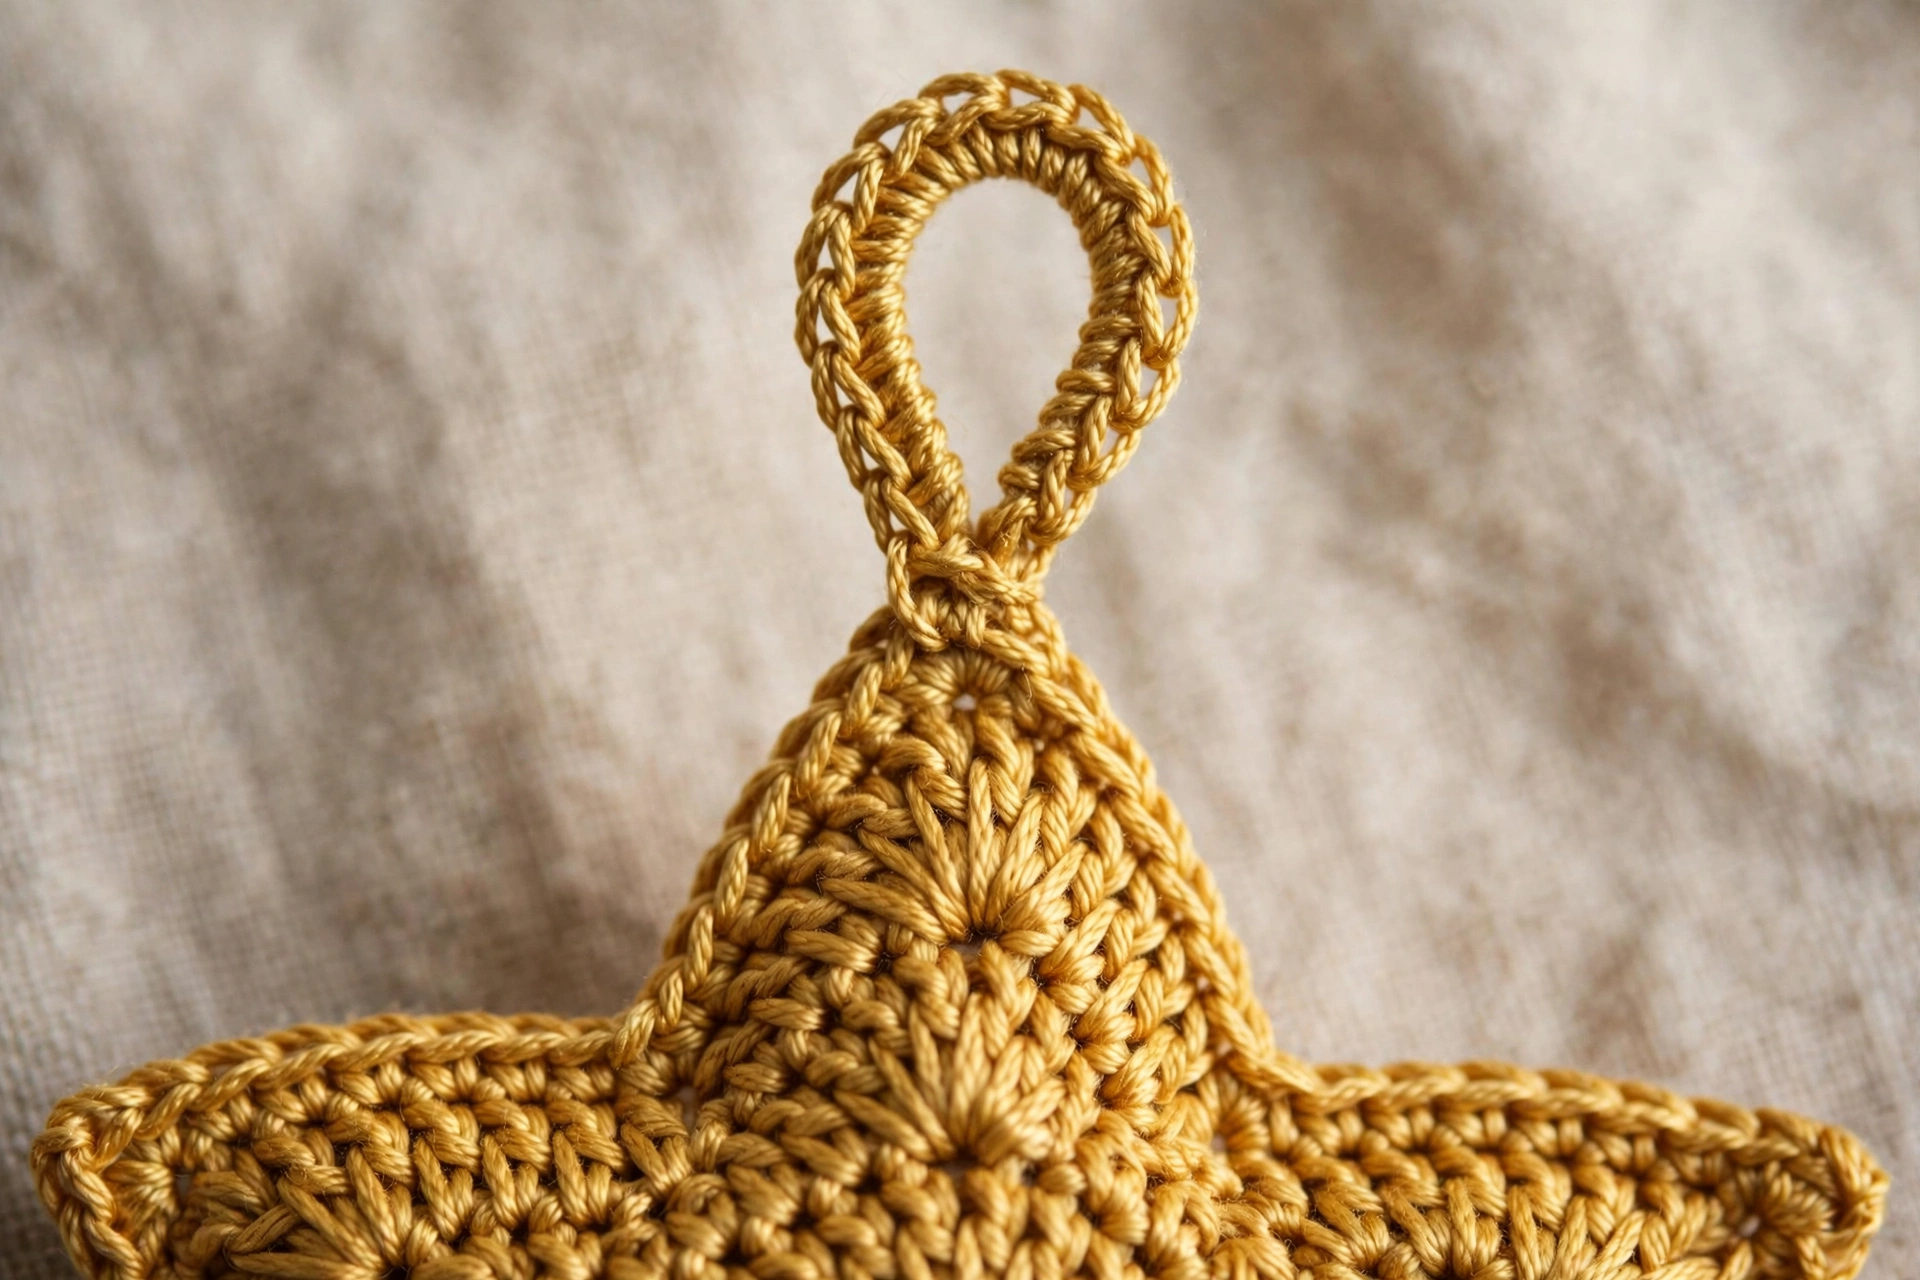
For a tree ornament, add hanging loop to tip of one point after blocking. Join yarn with slip stitch to tip stitch of point wanted at top. Chain 20, making a loop about 3 inches (7.5 cm) when folded, long enough to slip over a small branch or ornament hook. Slip stitch into same tip stitch to close loop. Fasten off and weave both ends neatly on back of star. For a shorter loop for a small tree, chain 14 instead, for a longer drop, chain 26; exact chain number does not change the star itself.
Step 8: Finish and Display
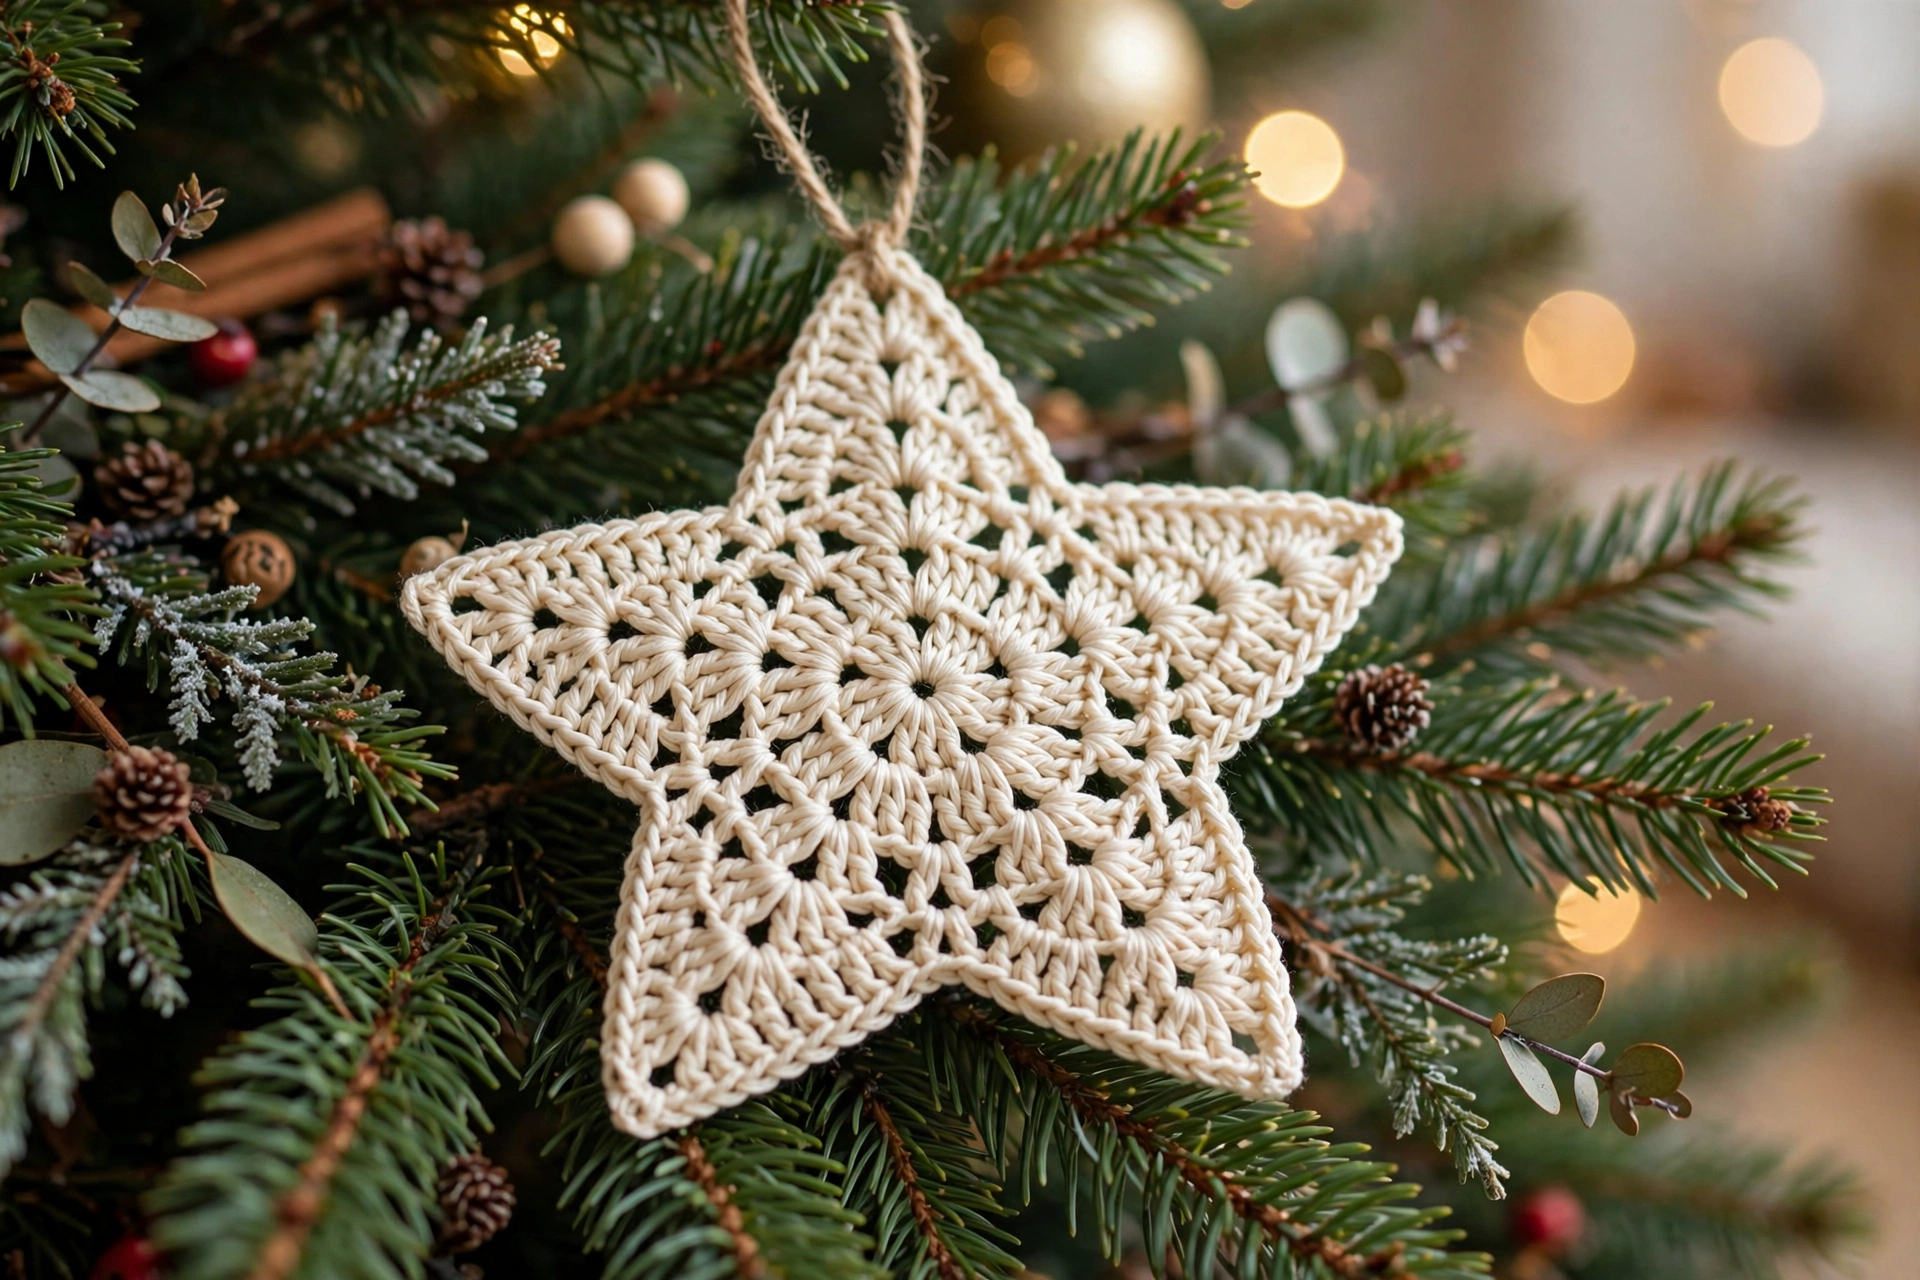
Check star lies flat with five even points, then hang as ornament or, without loop, attach as small tree topper. Tree Topper Variation: omit hanging loop, block very firmly so it holds shape, attach to top of tree by sewing or tying back of centre to top branch with short length of yarn. For a larger tree, work same pattern in bulky weight yarn with 6.0 mm hook; star will be larger, but stitch counts do not change.
Finishing and Assembly
Weave in ends as in Step 5, block flat as in Step 6, add hanging loop as in Step 7 for an ornament, or omit loop and attach back of centre to a top branch for a small tree topper, as in Step 8.
Tips
Count centre first — if Round 5 does not have 25 stitches, points will not divide evenly; count before start points, not after first point looks wrong. Mark groups — if hard to keep track of five groups of 5 stitches, place stitch marker or short piece of contrasting yarn in first stitch of each group after Round 5. Keep decreases same rhythm — each point row decreases by exactly one stitch; if row ends with wrong count, check worked only one decrease in that row, and it was in position pattern states. Alternate decrease side — notice Row 2 decreases at start, Row 3 decreases at end, Row 4 decreases at start again; keeps point centred instead of leaning to one side. Do not pull magic ring too tight — pull closed firmly, but stop before first round puckers; puckered centre will make star cup instead of lying flat. Use same tension for every point — points worked more loosely than others will look longer; if one point looks noticeably different, check row counts first, then compare tension with other points. Make set — star works well in set of five or six in coordinating colours; because each star uses only about 35 yards of yarn, good way to use up leftover worsted weight yarn.
FAQ
Is star suitable for beginner? Yes, if can work magic ring, single crochet, and single crochet decrease; shaping just one increase per repeat in centre and one decrease per row in points, every count given so can check work. Why does star have four points, or six points, instead of five? Almost always means centre count wrong; centre must end Round 5 with 25 stitches, which divides into five groups of 5; if have 20 or 30 stitches, will get four or six groups instead; count Round 5 and, if needed, go back and check Rounds 2–4, which should be 10, 15, 20 stitches. Why are points leaning to one side? Leaning point usually comes from decreasing on same side every row, or turning inconsistently; follow decrease positions in Rows 2–4 exactly, always chain 1 and turn at end of row, so every row starts from same edge rhythm. Why won’t star lie flat? Check three things: centre not puckered from over-tight magic ring, points all have correct decreasing counts, star has been blocked and left to dry completely flat; star only slightly curled often flattens fully after blocking. Can I make star bigger or smaller? Yes, use thinner yarn smaller hook for smaller ornament, or thicker yarn larger hook for larger star or topper; stitch counts stay same; only finished size changes; to make much larger, chunkier star, can also work centre and points in double crochet, but that is different pattern and counts in this article apply to single crochet only. Can I use two colours? Yes, work centre in one colour and points in another, changing colour at start of Point Row 1, or work each point in different colour for scrappy star; fasten off and rejoin with new colour at start of each point, as described in Point Row 1.