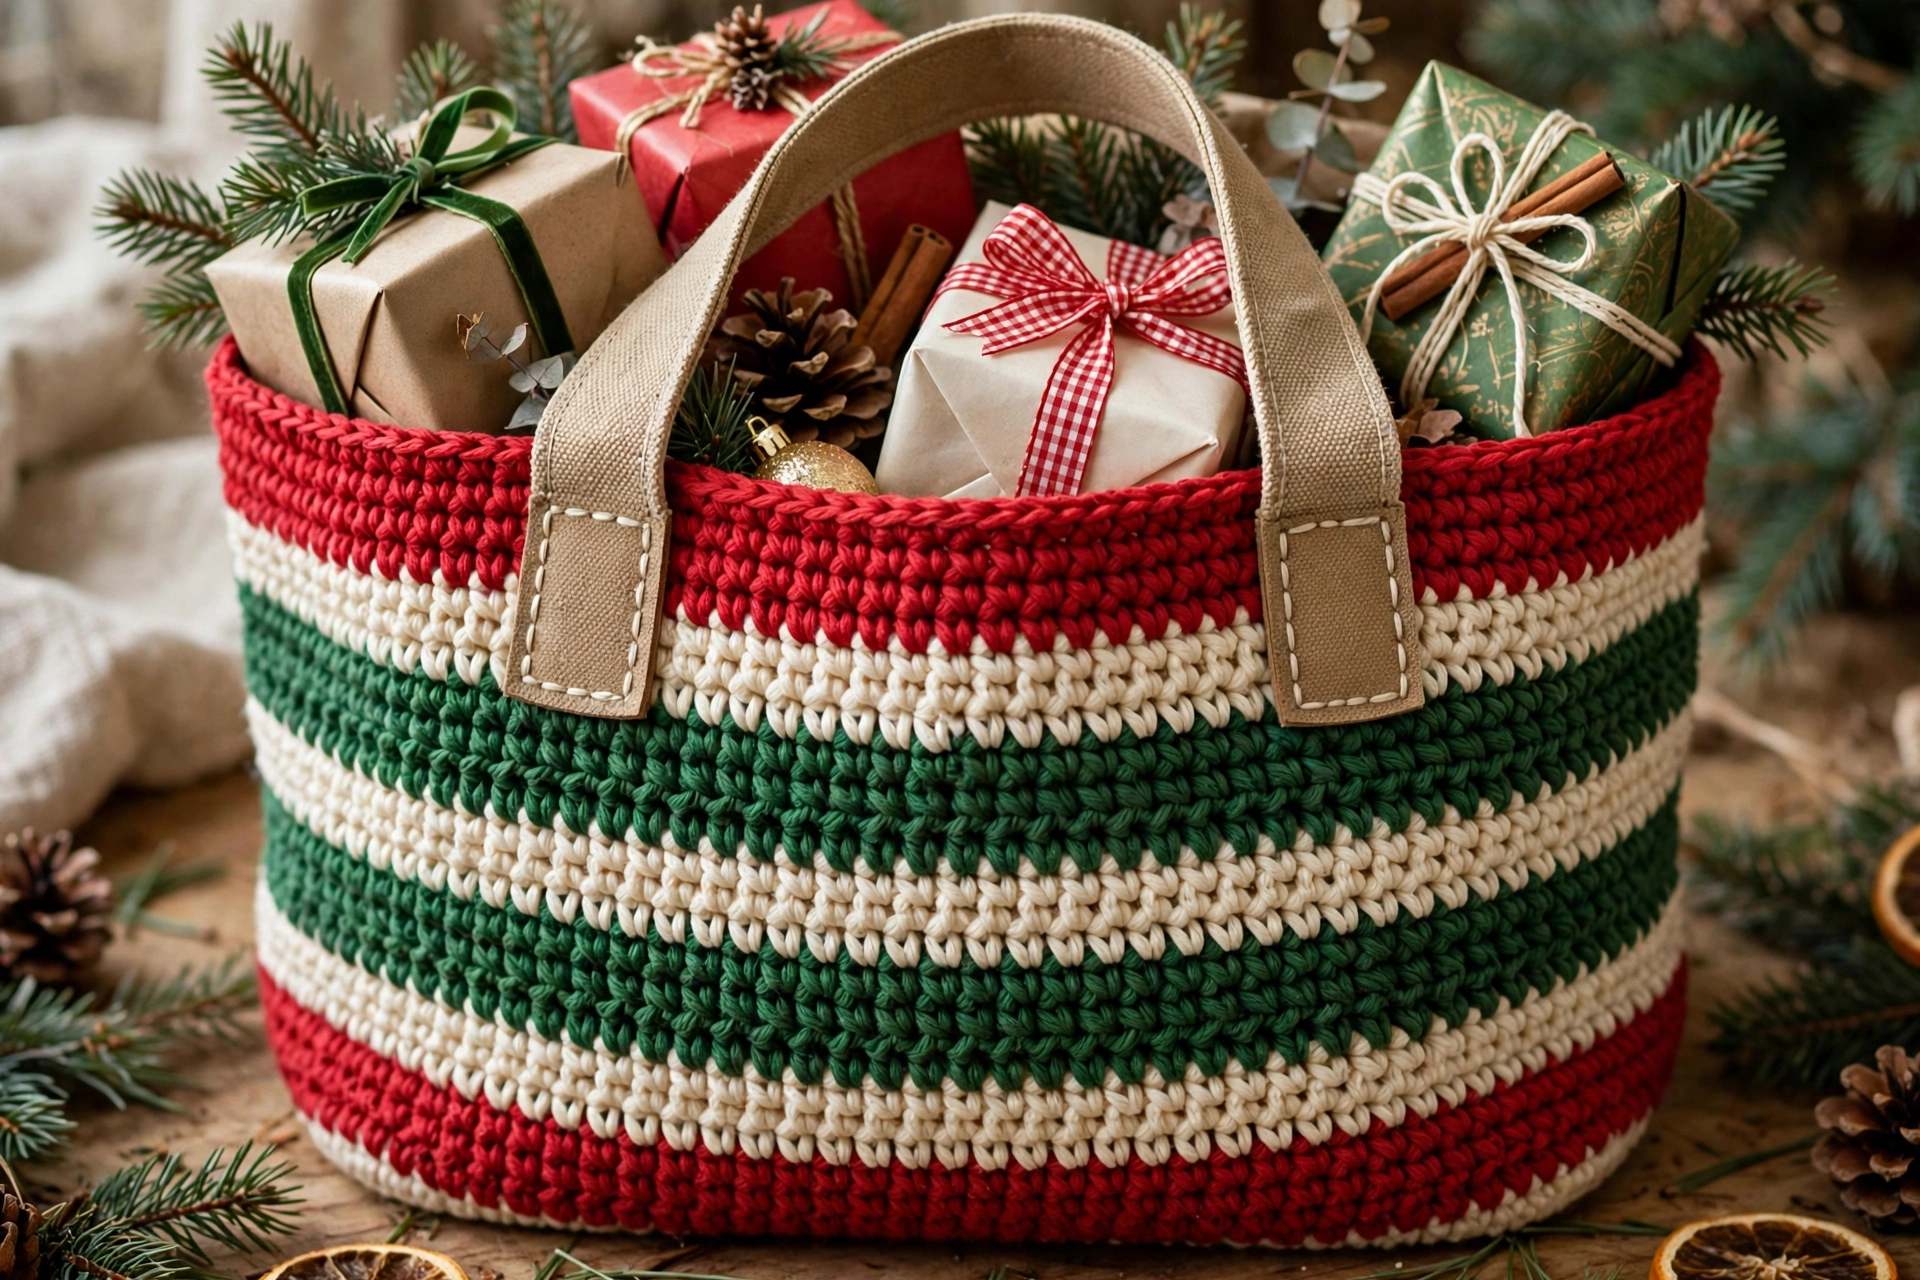
Crochet Christmas Bag Pattern: A Festive Striped Tote for the Holidays
Crochet Christmas bag is practical tote with proper festive feel. Worked from flat rectangular base, up through bold red, green and cream stripes, finished with two sturdy sewn-on handles. Roomy enough for wrapped gifts, market shopping, craft supplies, or everything need for Christmas visit, and dense single crochet fabric helps hold shape. Pattern written for confident beginner. If can chain, single crochet and slip stitch, and can keep count at end of round, can make bag. Stripes do all decorating, so no complicated colourwork to follow, handles made separately and sewn on, which keeps top edge neat and strong. Make one in classic Christmas colours, or try softer palette for winter bag can carry all season.
Materials
Worsted weight yarn, medium weight (4), in three colours: Colour A — Christmas red approx. 350 yards (320 m); Colour B — Festive green approx. 250 yards (229 m); Colour C — Cream approx. 120 yards (110 m). Amounts approximate; buy little extra if tension loose. Crochet hook: 5.0 mm (US H-8). Tapestry needle for weaving ends and sewing handles, scissors, stitch markers (optional, helpful for marking first stitch of each round). Optional: small amounts of Colours A, B and C for three small pom-poms, and piece of cardboard for winding them.
Gauge
14 single crochet stitches and 16 rows = 4 inches (10 cm) in single crochet, using 5.0 mm hook. Check gauge before start. If have more stitches than this in 4 inches, try larger hook; if fewer stitches, try smaller hook. Tighter fabric will make sturdier bag; looser fabric will make larger, softer bag.
Finished Size
Approximately 12 inches wide x 11 inches tall x 4 inches deep (30.5 cm x 28 cm x 10 cm), excluding handles. Handle drop: approximately 9 inches (23 cm), measured from top edge of bag to inside top of handle loop.
Abbreviations (US Terms)
ch — chain; sc — single crochet; sl st — slip stitch; st(s) — stitch(es); rep — repeat; RS — right side. Pattern Notes: Pattern uses US crochet terms. Bag worked in three parts: base, body in joined rounds, and two separate handles sewn on at end. Chain-1 at start of each row or round does not count as stitch. Body rounds are joined: at end of each round, slip stitch to first single crochet of that round. To change colour, work last stitch of old colour until final yarn-over, then yarn over with new colour and pull through to complete stitch. Fasten off old colour and weave in end later, unless continuing with that colour again in later stripe — in this pattern, each stripe block is finished and fastened off before next colour begins, which keeps inside tidy. Colour key: A = red, B = green, C = cream. Stitch counts given in parentheses at end of every row or round.
Step 1: Base — Flat Rectangular Base
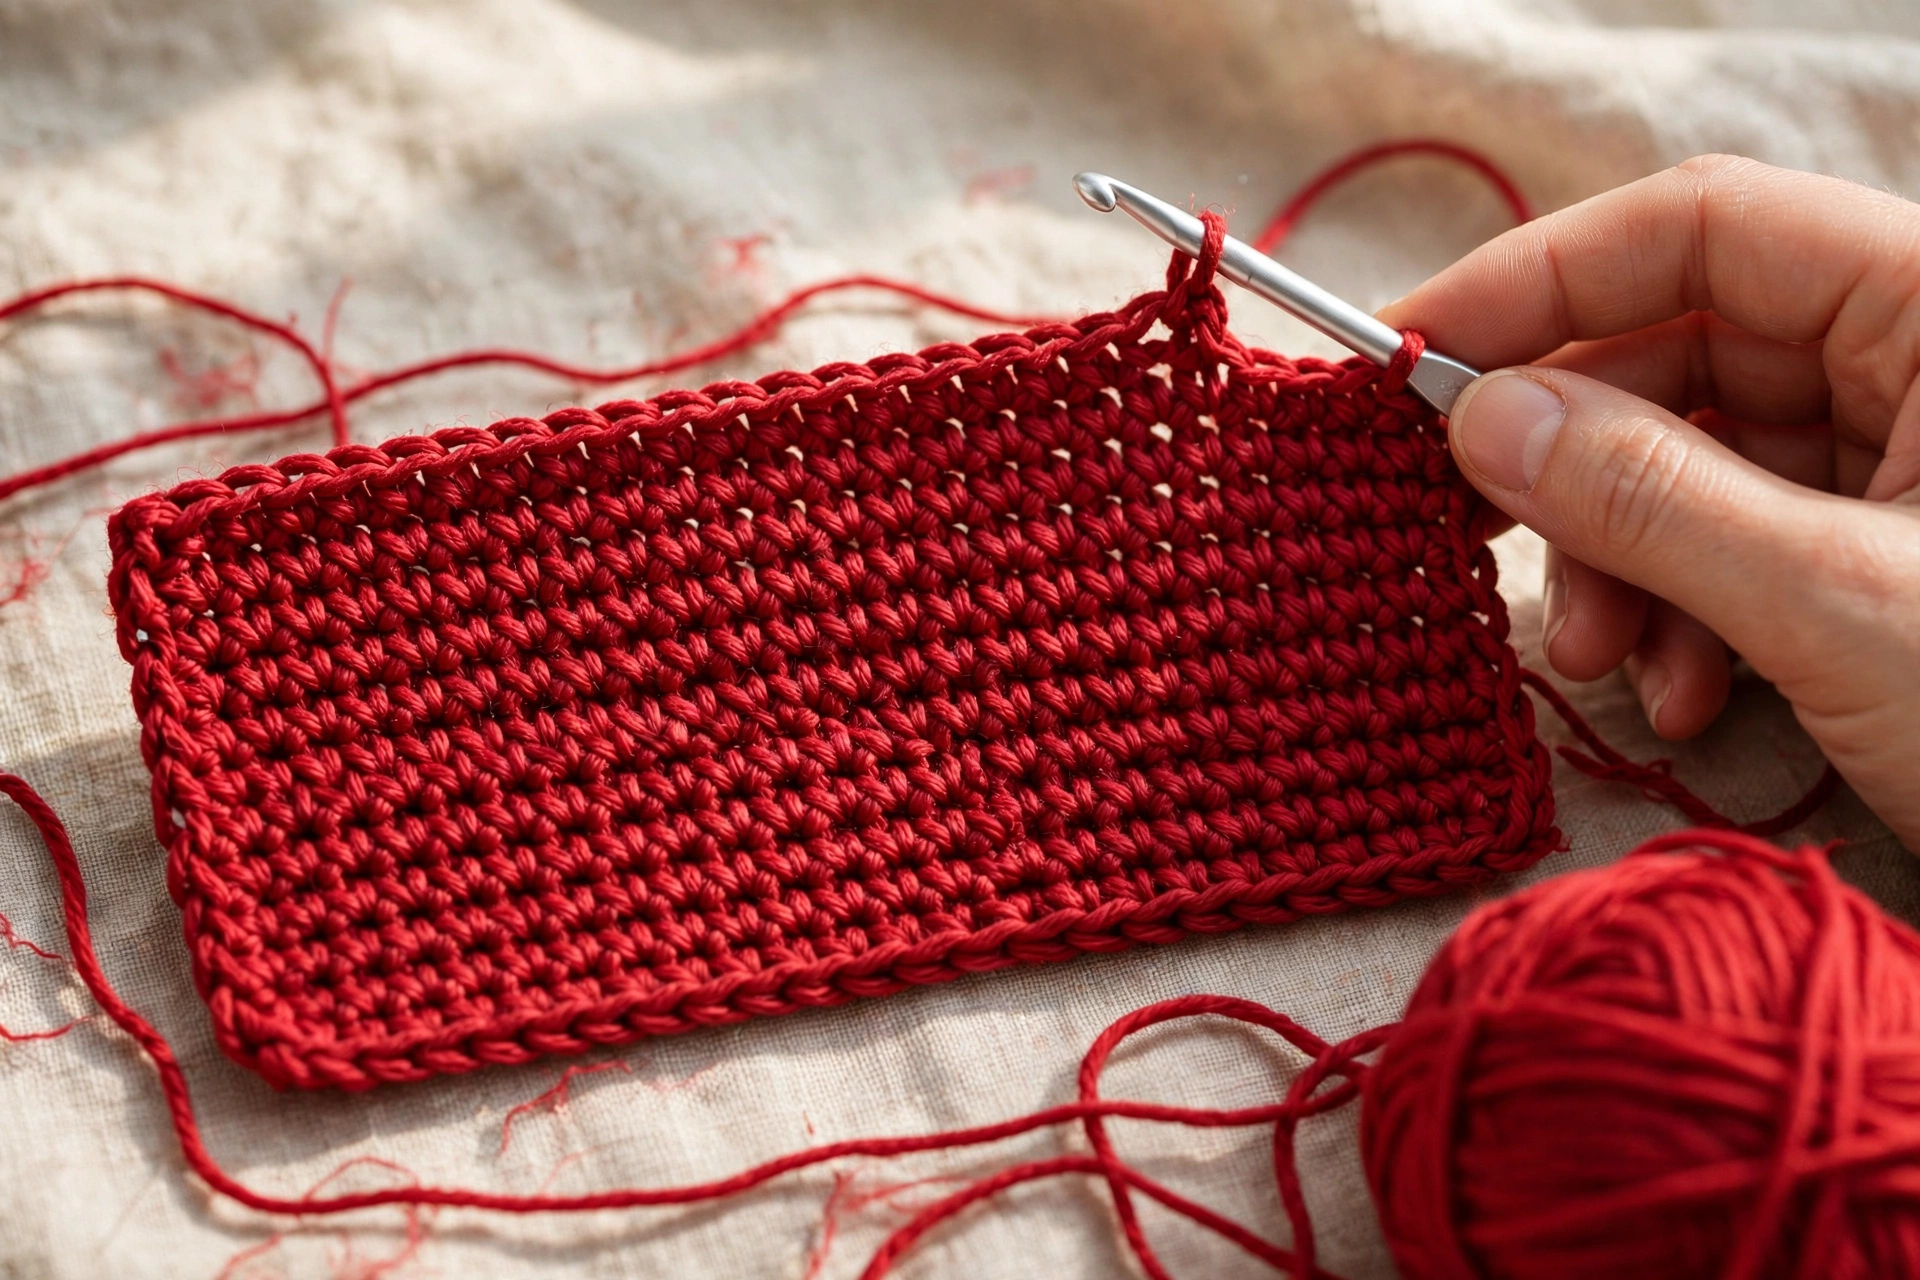
Worked flat in rows, with Colour A (red). Chain 43. Row 1: Sc in 2nd chain from hook and each chain across. (42 sc). Rows 2–16: Ch 1, turn, sc in each st across. (42 sc). Do not fasten off. Base now 12 inches long and 4 inches deep. You will now work around all four edges of rectangle to begin body.
Step 2: Body — First Round Around the Base
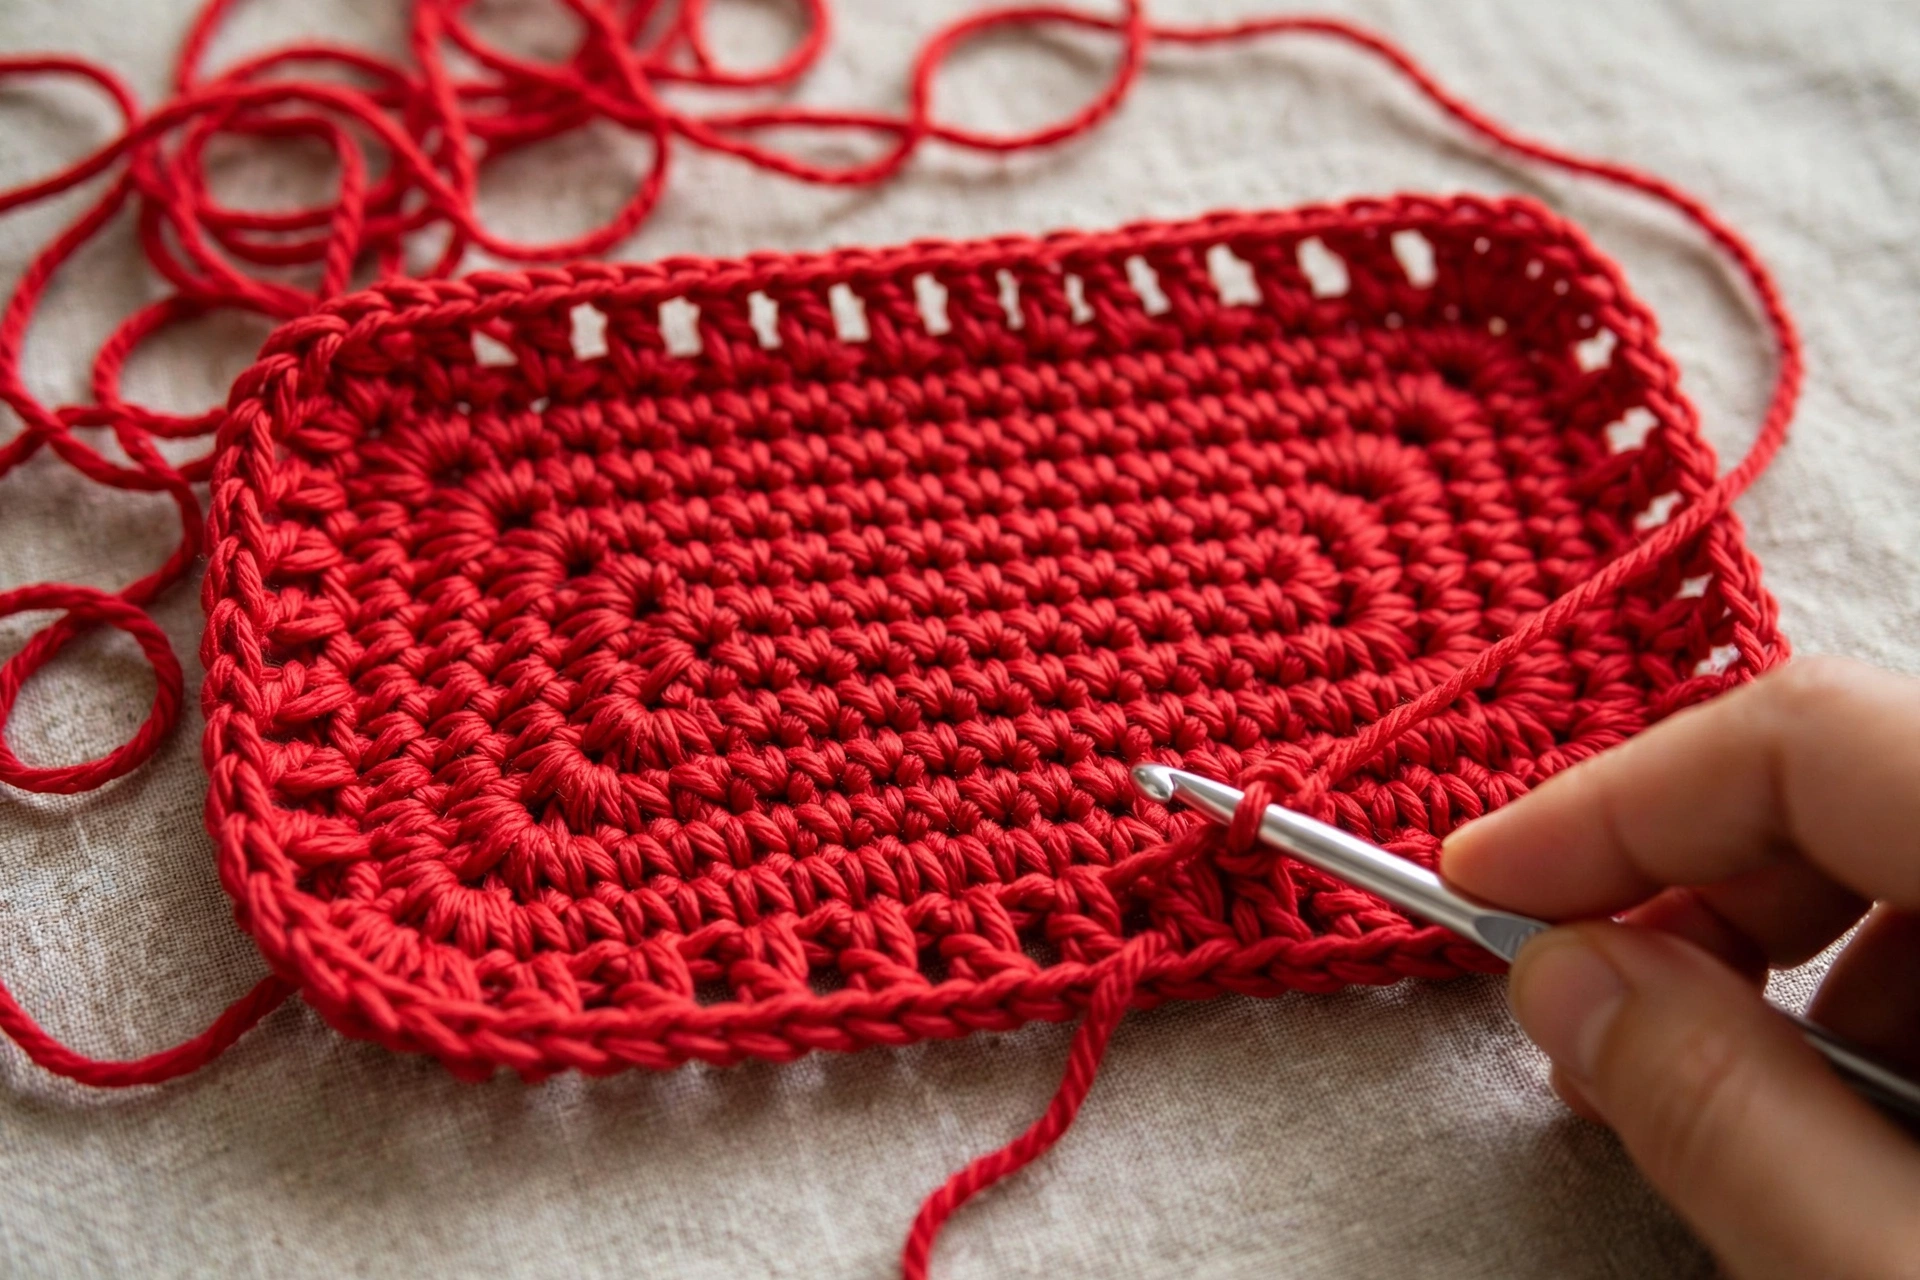
Round 1 (RS): With Colour A still attached, ch 1, then work around base as follows: work 16 sc evenly down first short side (1 sc in end of each row), 42 sc across foundation-chain edge, 16 sc evenly up other short side, and 42 sc across Row 16. Sl st to first sc of round. (116 sc). Body now continuous round of 116 stitches. From here, work each round as: ch 1, sc in each st around, sl st to first sc.
Step 3: Striped Body — Joined Rounds
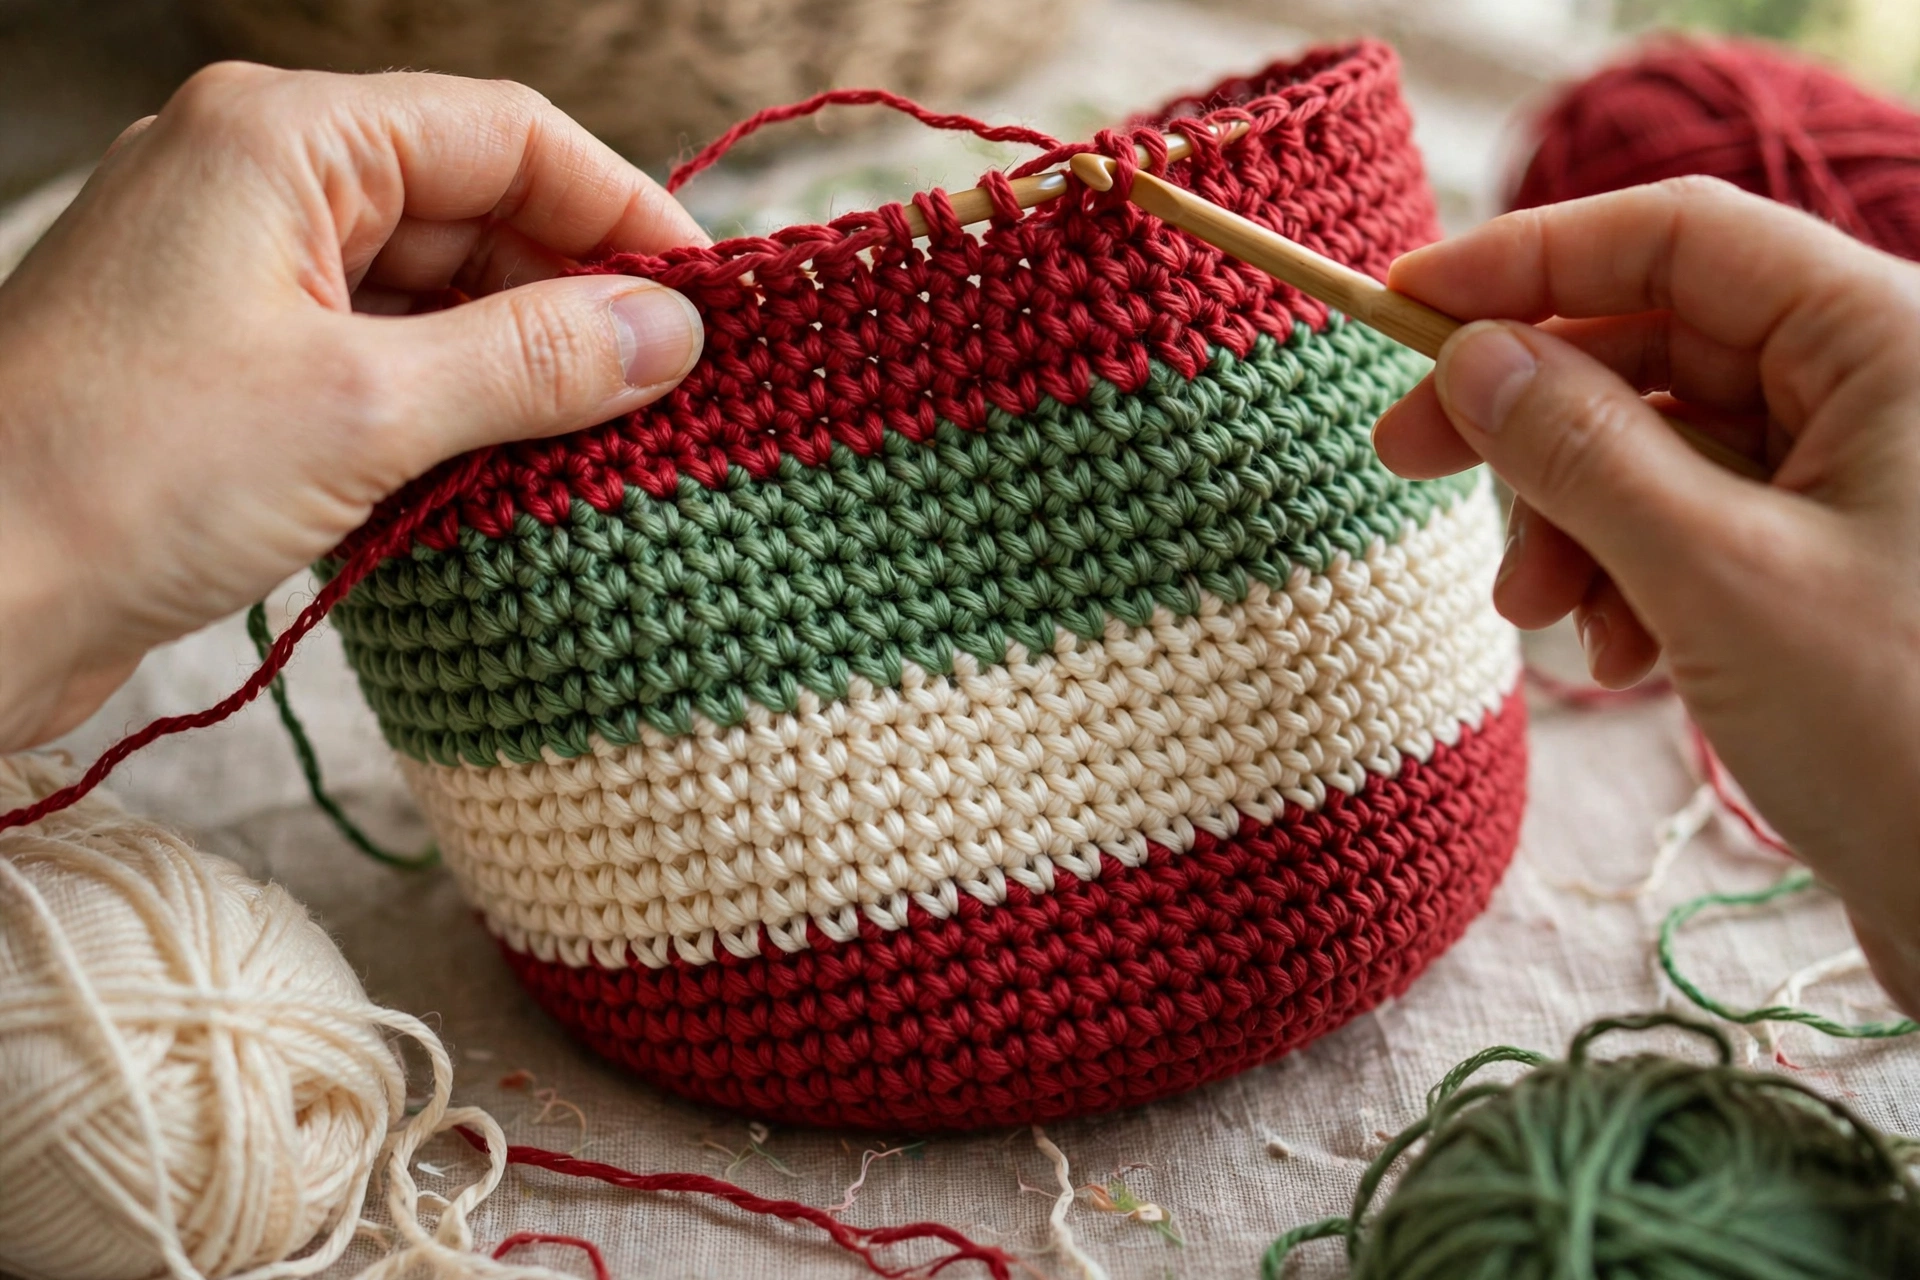
Rounds 2–12: With Colour A, sc in each st around. (116 sc). Fasten off Colour A. Rounds 13–16: Join Colour C, sc in each st around. (116 sc). Fasten off Colour C. Rounds 17–28: Join Colour B, sc in each st around. (116 sc). Fasten off Colour B. Rounds 29–32: Join Colour C, sc in each st around. (116 sc). Fasten off Colour C. Rounds 33–44: Join Colour A, sc in each st around. (116 sc). Stripe summary: Rounds 1–12 red (12 rounds), Rounds 13–16 cream (4 rounds), Rounds 17–28 green (12 rounds), Rounds 29–32 cream (4 rounds), Rounds 33–44 red (12 rounds) — 44 rounds total, which gives body height approximately 11 inches at stated gauge.
Step 4: Top Edge and Completed Body
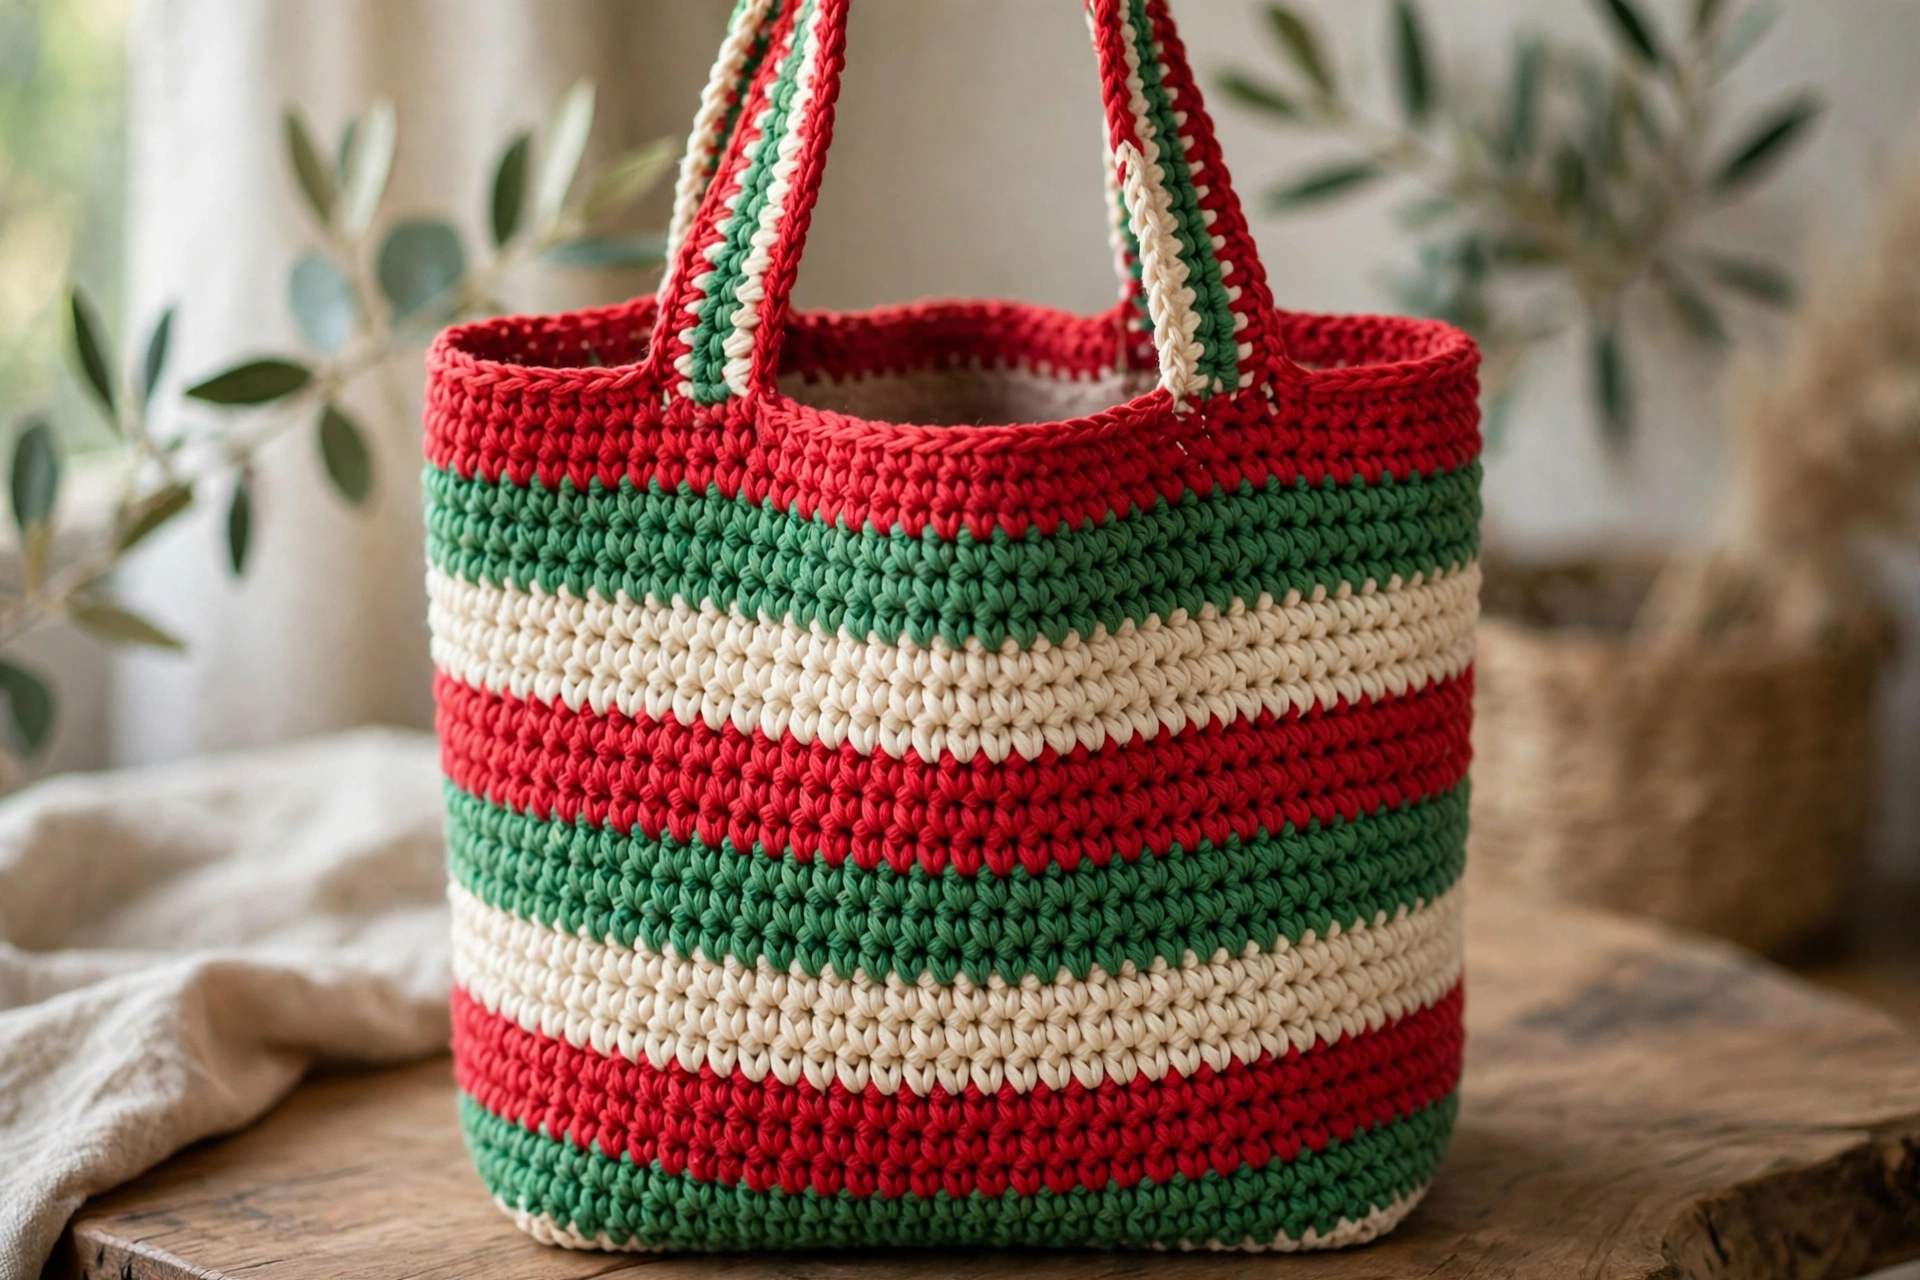
After Round 44, fasten off Colour A and weave in ends for body, leaving top edge as finished edge of bag. The completed striped tote should now stand upright and empty, with red, cream, green, cream and red stripe blocks in order.
Step 5: Handles (Make 2)
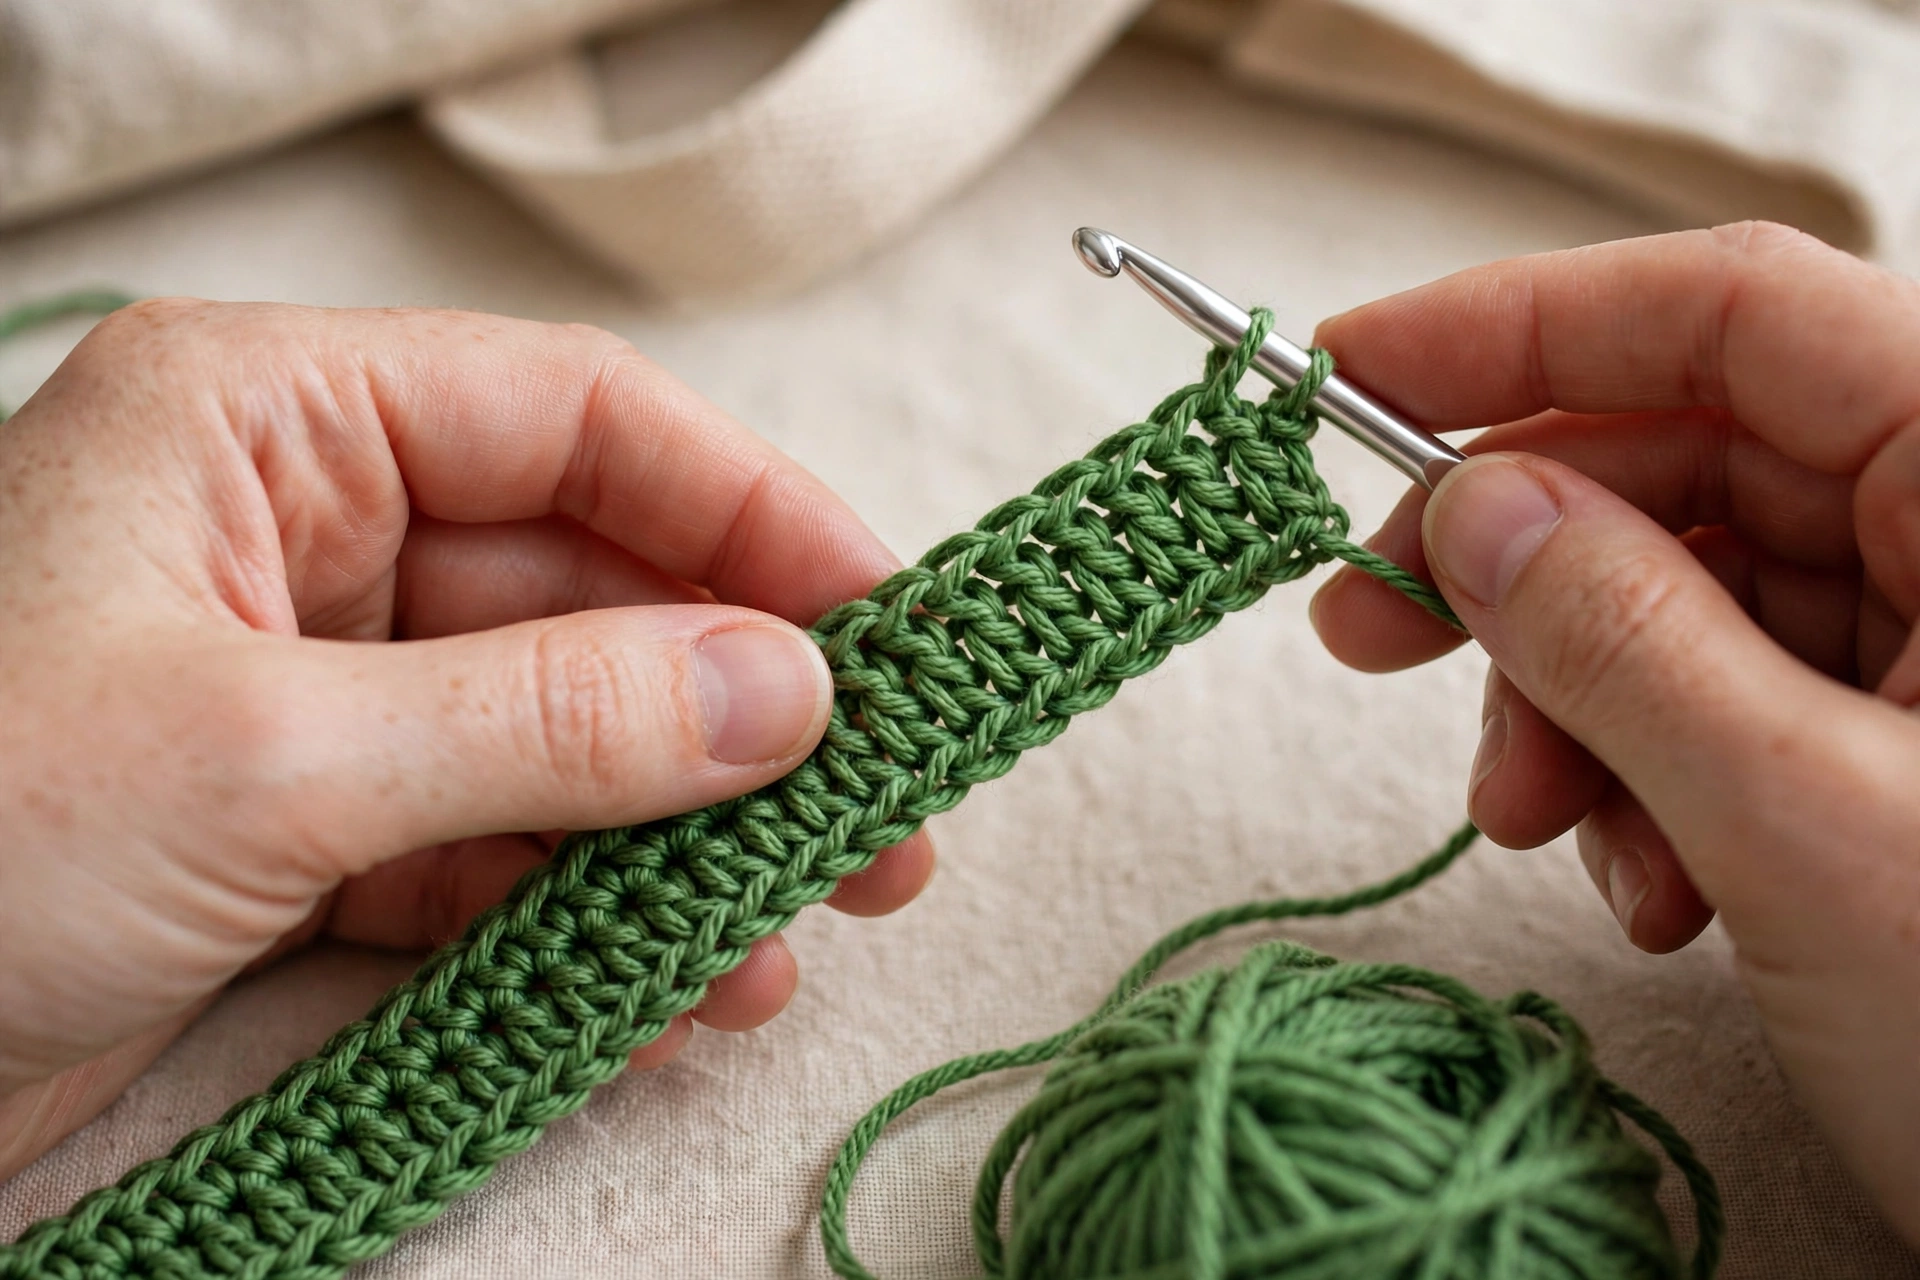
Worked flat in rows, with Colour B (green). Chain 6. Row 1: Sc in 2nd chain from hook and each chain across. (5 sc). Rows 2–80: Ch 1, turn, sc in each st across. (5 sc). Each handle now 80 rows long, which measures approximately 20 inches at stated gauge. Fasten off, leaving long tail on each handle for sewing.
Step 6: Sew First Handle to Front
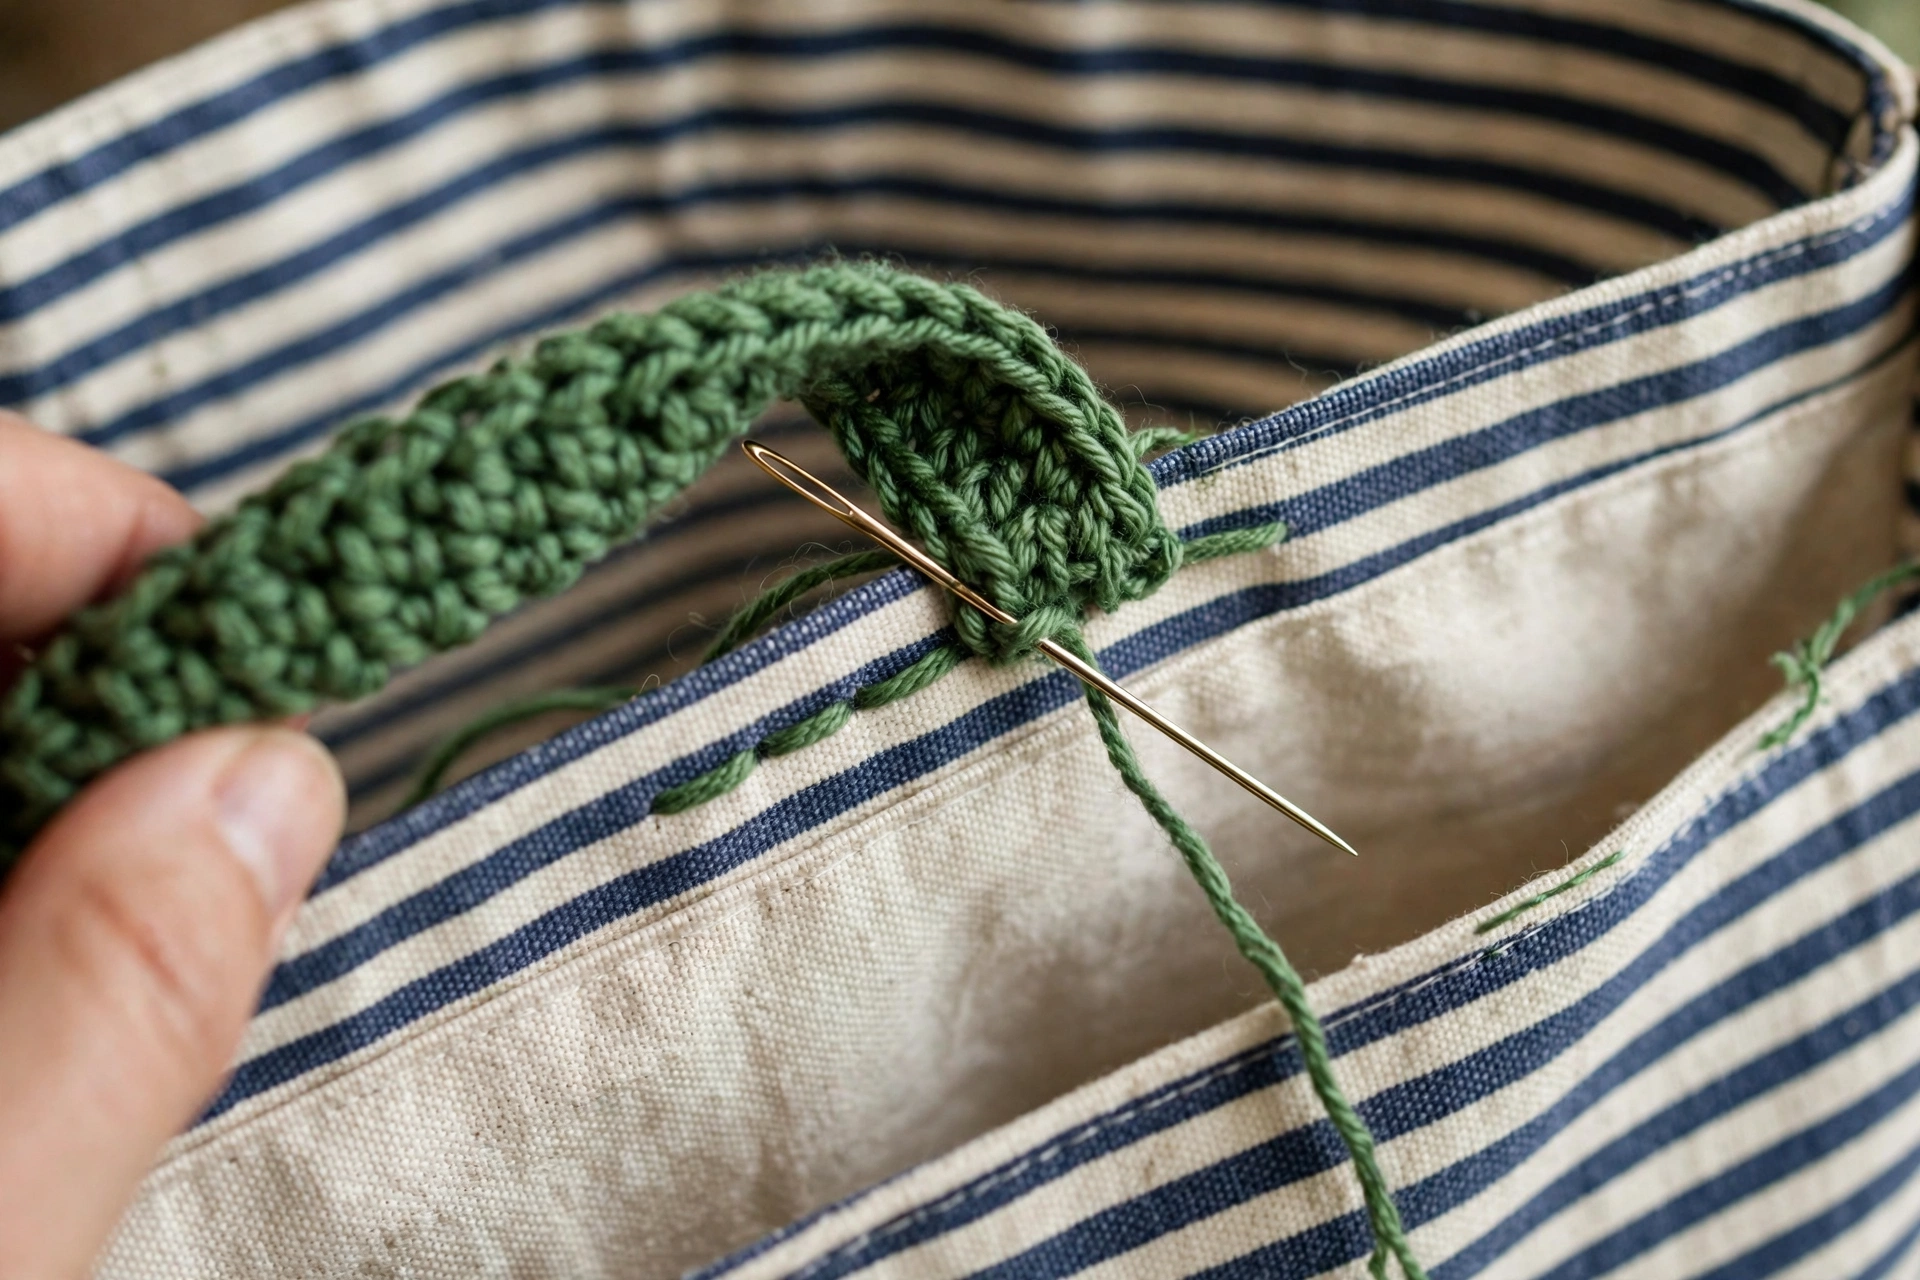
Mark handle positions first: on front of bag, mark two points along top edge, each 2½ inches in from side edges. Place one end of handle on inside of front of bag, with about 1 inch of handle overlapping inside top edge and outer edge lined up with mark. Using long tail and tapestry needle, sew handle end firmly in place with several passes through both handle and top two rounds of bag, forming small rectangle of stitching. Repeat with other end of same handle on other mark on front.
Step 7: Sew Second Handle to Back and Check Alignment
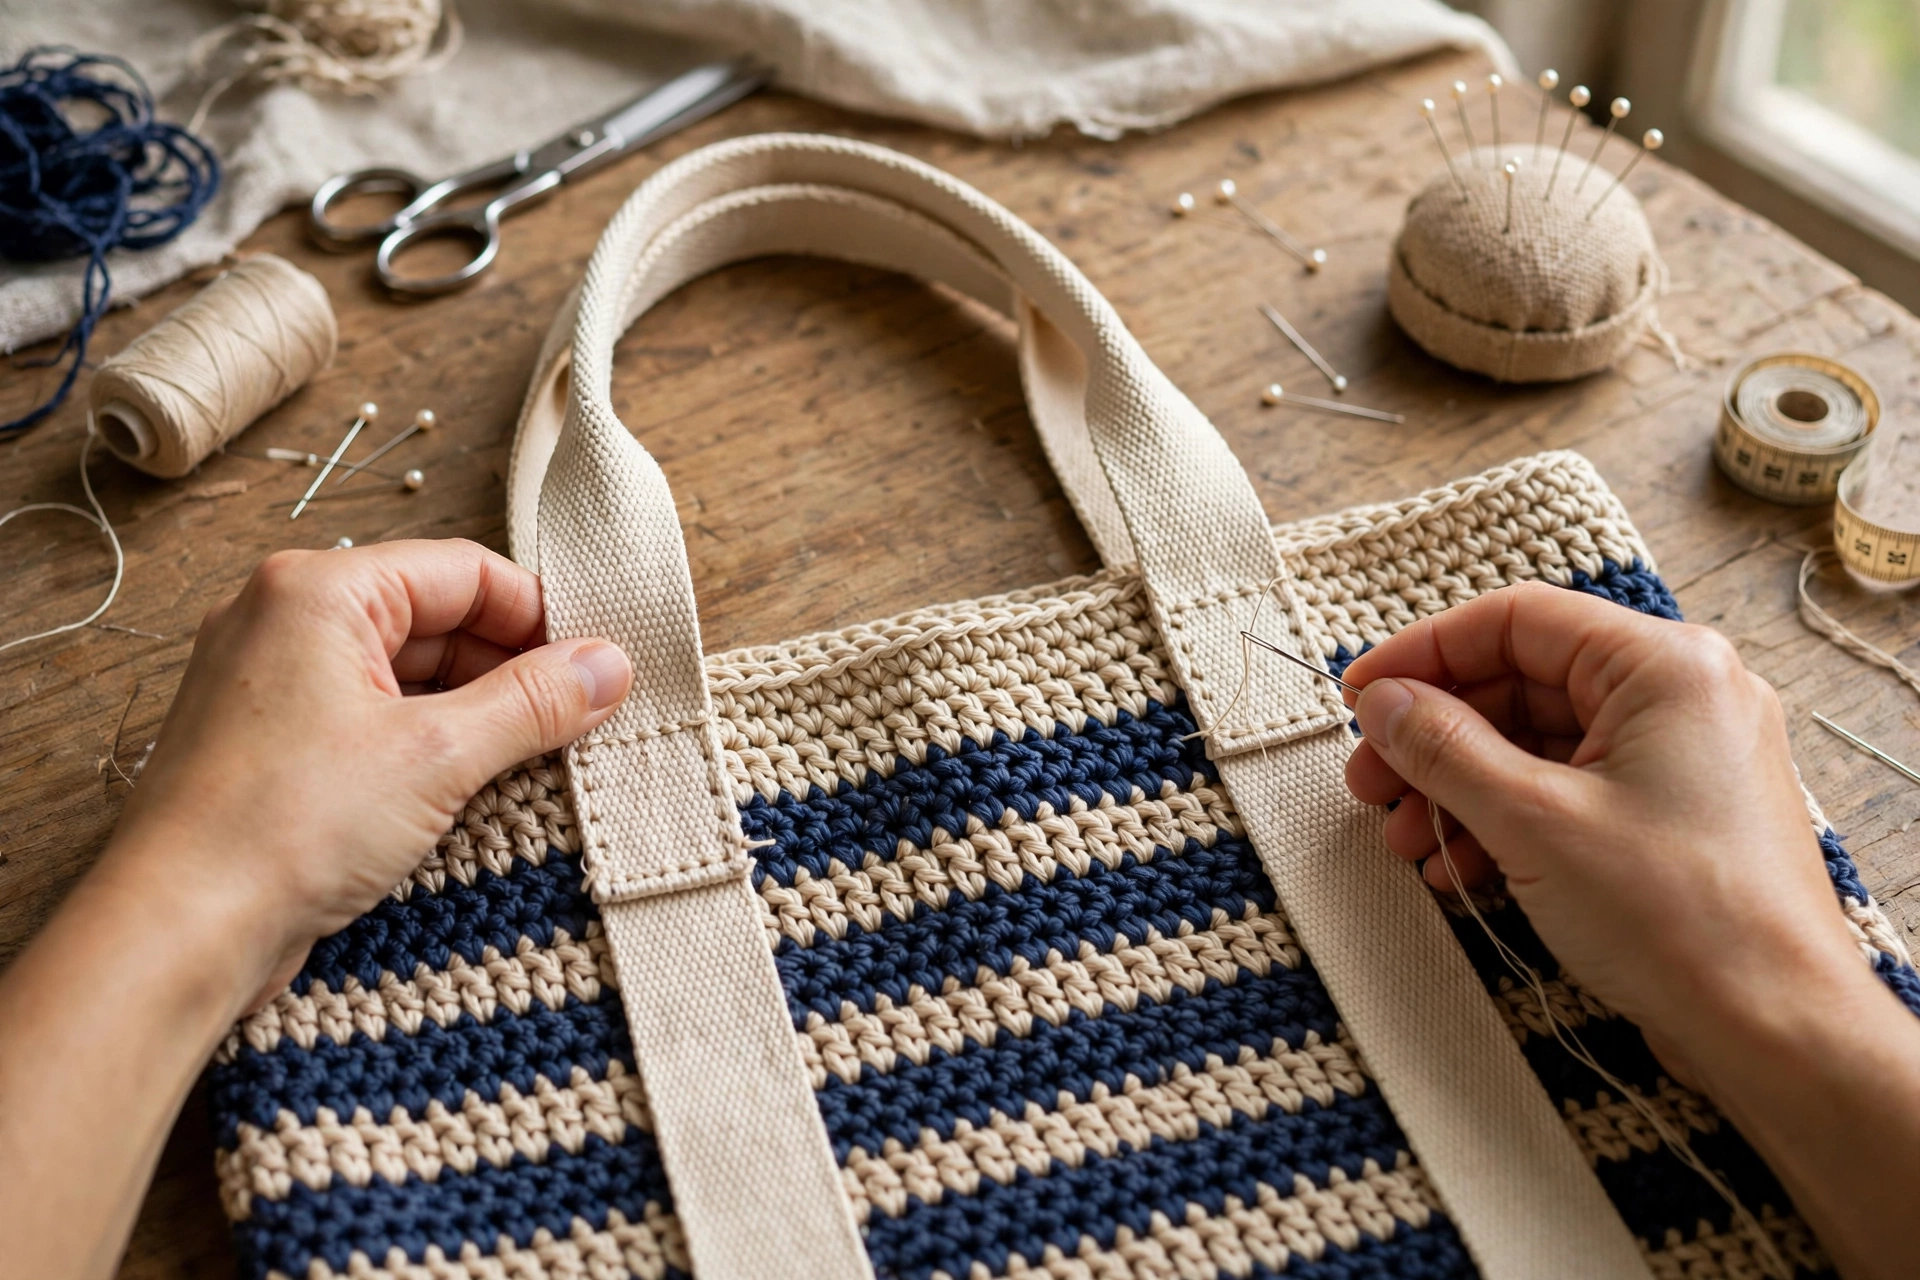
Repeat Step 6 on back of bag, marking two points each 2½ inches in from side edges and sewing both ends of the second handle through the top two rounds. Check second handle lines up with first so bag hangs evenly. With both handles attached and 1 inch of each end sewn inside, exposed loop of each handle is approximately 18 inches long, giving handle drop approximately 9 inches.
Step 8: Optional Pom-Poms and Final Shaping Check
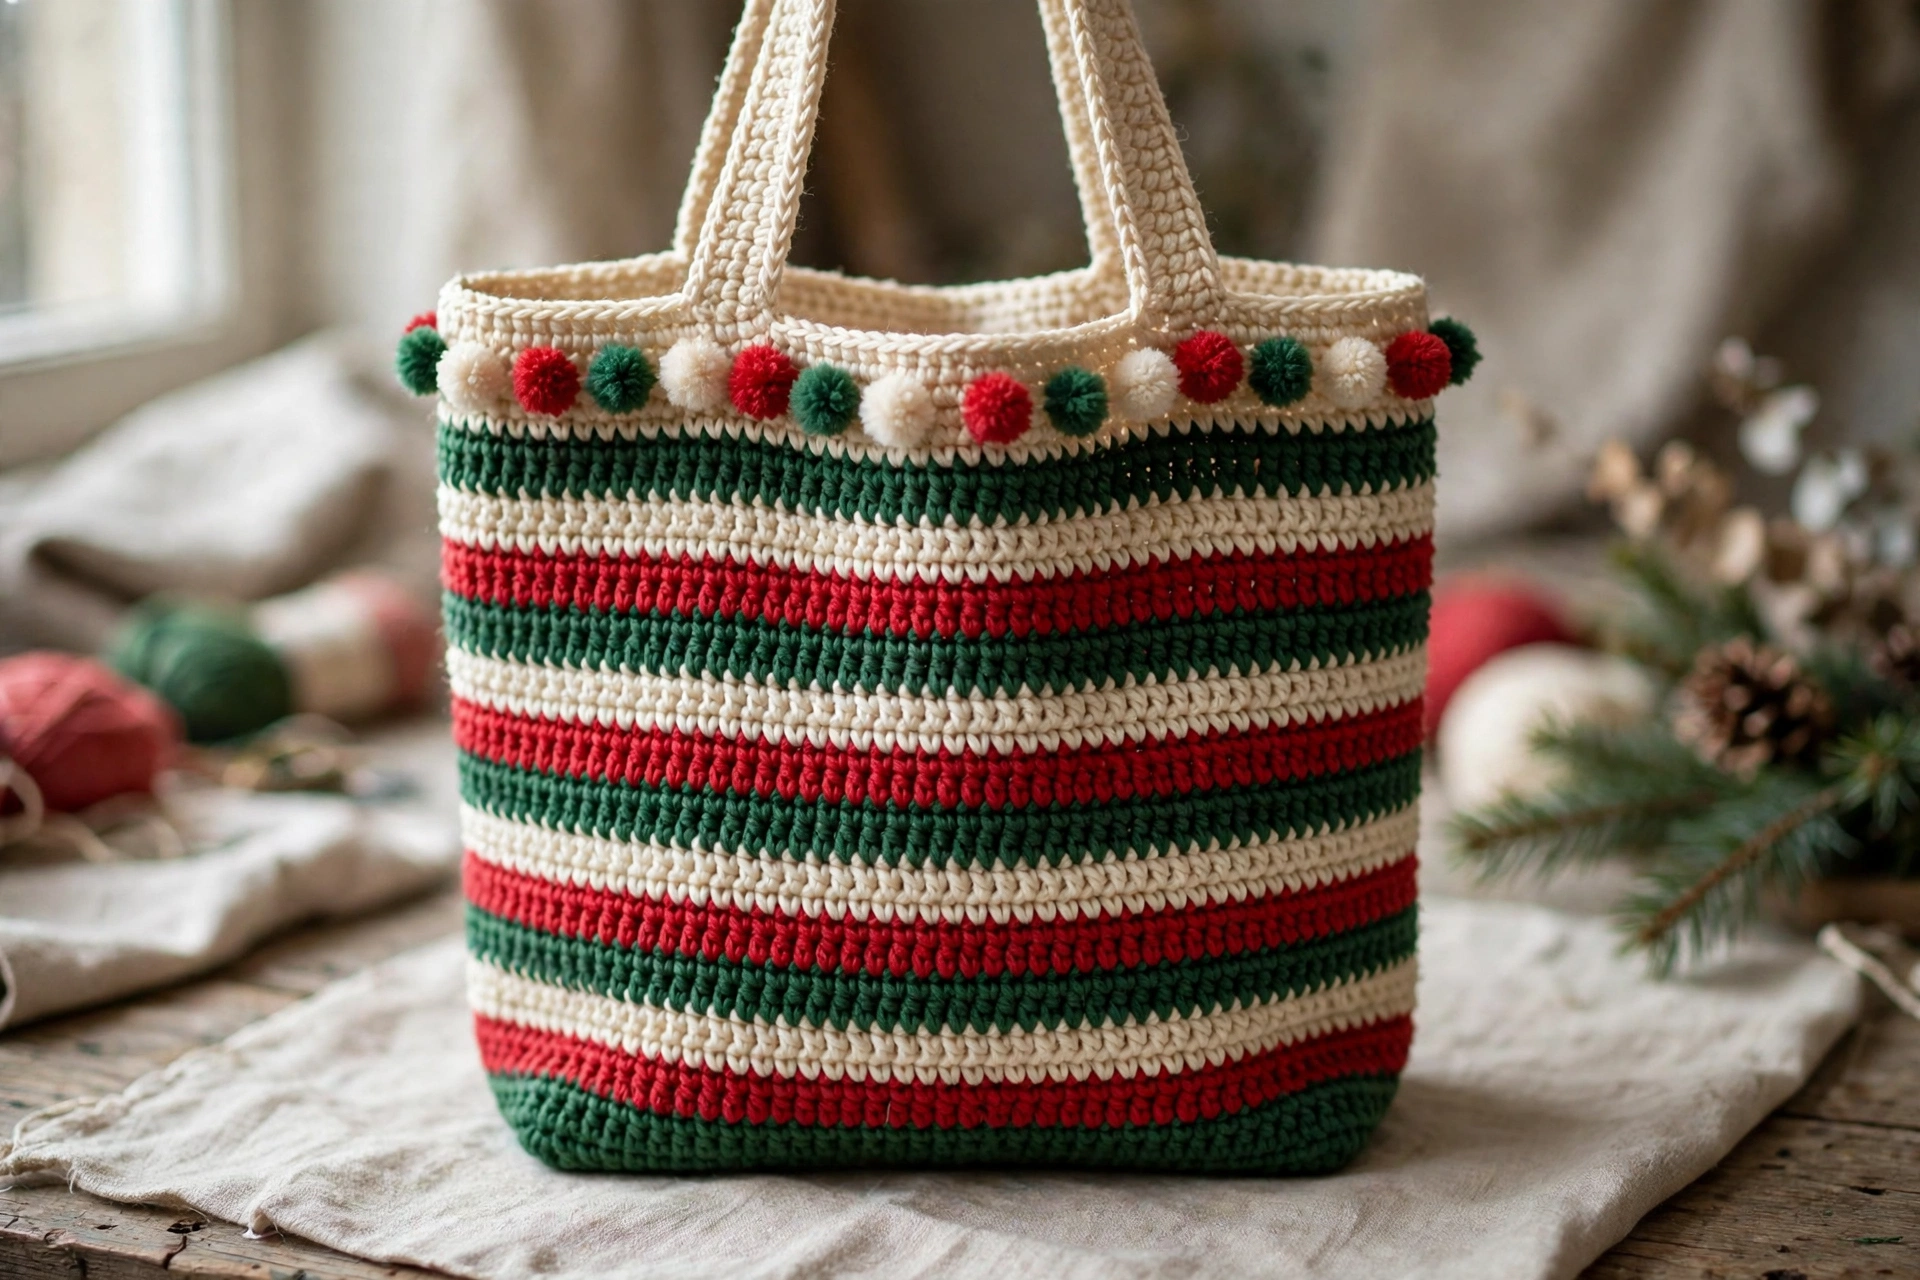
If like, make three small pom-poms, one in each of Colours A, B and C, by winding yarn around small piece of cardboard, tying tightly in middle, cutting loops and trimming into round shape. Sew one pom-pom to each end of front handle area, or space all three evenly along front top edge, sewing firmly through top round of bag. Final check: turn bag right side out again, smooth out stripes, check both handles secure and bag stands upright when set down.
Finishing and Assembly
Weave in all loose ends from base, body and colour changes on inside of bag, taking care not to pull stripes out of shape. Turn bag right side out. Push corners of base out gently so bottom sits flat, ease sides into neat rectangle, 12 inches wide and 4 inches deep. Mark handle positions as in Steps 6 and 7, sew on first handle to the front, then second handle to the back, check drop as in Step 7, add optional pom-poms and do the final check as in Step 8.
Tips
Keep tension even — single crochet can tighten up as work around base; pause after Round 1 of body and count to 116 before continue — catching mistake there saves unravelling stripes later. Mark first stitch — in joined rounds easy to lose start of round; stitch marker in first single crochet of each round keeps join same place and stripes level. Make bag sturdier — for firmer tote, work with slightly tighter tension than usual, or use cotton yarn, which tends to stretch less than acrylic when bag full. Adjust handle length — for shorter handbag-style drop, work fewer handle rows: every 4 rows is about 1 inch, so working 64 rows instead of 80 gives handle about 16 inches long total; for longer shoulder drop, add rows in multiples of 4. Adjust size — to make wider bag, add stitches to base in multiples that keep body count even, and work same number of rounds around base; to make taller bag, add extra rounds to any stripe block, keeping count at 116 stitches per round. Line it if wish — simple fabric lining, sewn in by hand along top edge, will stop small items slipping through stitches and help bag keep shape; optional and does not change crochet instructions.
FAQ
What skill level is bag pattern? Confident beginner — need chain, single crochet, slip stitch and basic sewing with tapestry needle; no shaping beyond rectangular base, stripes worked in whole rounds. How long does it take? Depends on speed, but most crocheters can finish over relaxed weekend; base and handles quick, striped body repetitive once round count established. Can I use different yarn weight? Yes, but finished size and yarn amounts will change; bulky yarn larger hook bigger, chunkier bag, while DK yarn smaller hook smaller, finer one; always make gauge swatch first and adjust base chain if need particular finished width. How do I wash bag? Follow washing instructions for yarn used; in general, hand wash in cool water and lay flat to dry, reshaping base and sides while damp; avoid hanging wet bag by handles, as weight of water can stretch them. Can I make bag without pom-poms? Yes, pom-poms entirely optional; red, green and cream stripes give bag Christmas look on their own, leaving them off makes plainer tote can use all year round. Will bag stretch when full? Little stretch normal, especially with acrylic yarn; working tightly, using cotton yarn, and sewing handles through two rounds of bag all help hold shape; avoid overloading with very heavy items.