Crochet Christmas Gnome Pattern — Easy Amigurumi Gnome for Christmas
Crochet Christmas gnome is soft, cheerful little decoration that looks wonderful on mantel, shelf, windowsill, or beside Christmas tree. He has plump green body, tall red pointed hat with cream brim, long cream beard, and round peach nose peeking out from under hat. Gnome worked mainly in single crochet rounds, friendly project for confident beginner who knows how to increase and decrease. Make five simple pieces — body, hat, beard, nose, and base — then sew together. No complicated colour changes inside body, hat shaped with easy gradual increases. Make one in classic Christmas colours, or try different hat and body combination. Sweet handmade gift.
Materials
Worsted weight (medium 4) yarn: Forest green (body and base) approx. 100 g / 220 yards (200 metres); Red (hat) approx. 50 g / 110 yards (100 metres); Cream or white (hat brim and beard) approx. 50 g / 110 yards (100 metres); Peach or light skin tone (nose) small amount approx. 10 g / 22 yards (20 metres). 3.5 mm crochet hook (US E-4). Polyester fiberfill stuffing approx. 80–100 g. Tapestry needle, stitch marker, scissors, pins for positioning before sewing. Optional: small amount black yarn or embroidery thread for embroidered eyes, if desired. Safety eyes: No safety eyes needed. Gnome face is just nose and beard, with hat pulled low, traditional gnome look. If would like eyes peeking out from under hat, embroider them instead as safer alternative — see Finishing. Embroidered features recommended if gnome is for young child.
Gauge
18 single crochet stitches and 20 rounds = 4 inches (10 cm), worked in single crochet in rounds with 3.5 mm hook, unstretched. Gauge not critical for decoration, but try crochet tightly enough stuffing does not show through. If fabric looks loose or holey, go down hook size; if very stiff and hard to work, go up hook size. Changing gauge will change finished size.
Finished Size
Approximately 9.5 inches (24 cm) tall from base to tip of hat when hat standing upright, and approximately 3.5 inches (9 cm) wide at base. Hat can be bent gently to one side for floppy look, which will make gnome little shorter.
Abbreviations (US Terms)
BLO — back loop only; ch — chain; dec — single crochet decrease (sc 2 together); inc — increase (work 2 sc in same stitch); MR — magic ring; rep — repeat; Rnd(s) — round(s); Row(s) — row(s); sc — single crochet; sl st — slip stitch; st(s) — stitch(es); [] — work instructions inside brackets number of times stated. Notes: Body, hat, nose, base worked in continuous rounds, do not join at end of each round unless stated, place stitch marker in first stitch of each round and move up. Beard worked in rows, turning at end of each row. Stitch count given in parentheses at end of every round or row where count changes, and also after plain rounds and rows. Stuff as go, especially body and nose, before opening gets too small to fill neatly.
Step 1: Body — Base and Sides
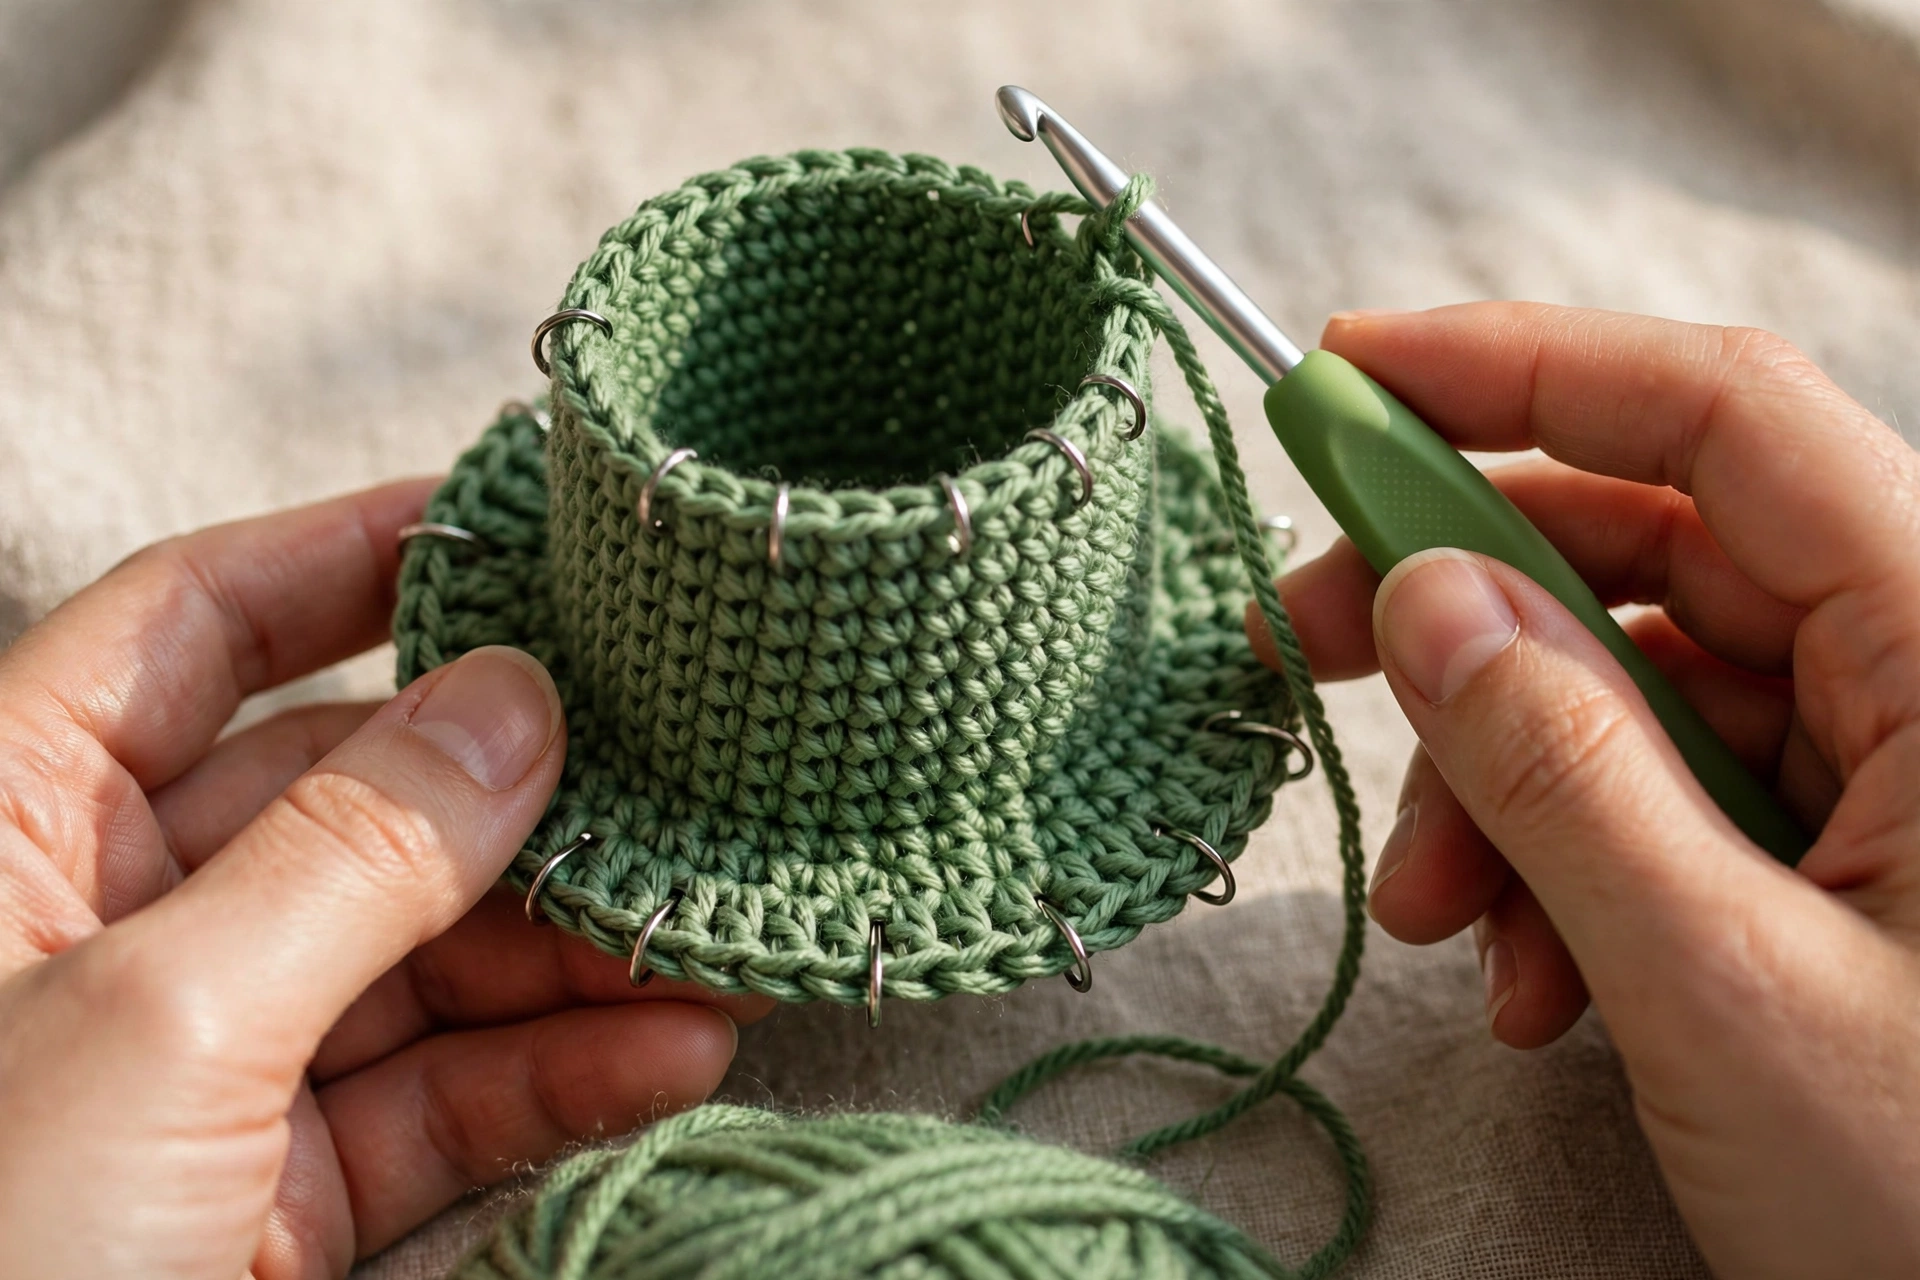
Start with magic ring, worked from base upward, widening first to make flat bottom, then straight up sides, then decreased at top to close. Rnd 1: 6 sc in MR. (6). Rnd 2: Inc each st. (12). Rnd 3: [Sc next st, inc] x6. (18). Rnd 4: [Sc next 2, inc] x6. (24). Rnd 5: [Sc next 3, inc] x6. (30). Rnd 6: [Sc next 4, inc] x6. (36). Rnd 7: [Sc next 5, inc] x6. (42). Rnd 8: [Sc next 6, inc] x6. (48). Rnd 9: Sc in BLO each st. (48). Rnds 10–20: Sc each st. (48) — 11 rounds straight. Rnd 21: [Sc next 6, dec] x6. (42). Rnd 22: Sc each st. (42). Rnd 23: [Sc next 5, dec] x6. (36). Rnd 24: Sc each st. (36). Rnd 25: [Sc next 4, dec] x6. (30). Rnd 26: [Sc next 3, dec] x6. (24). Rnd 27: [Sc next 2, dec] x6. (18).
Step 2: Stuff Body and Close Top
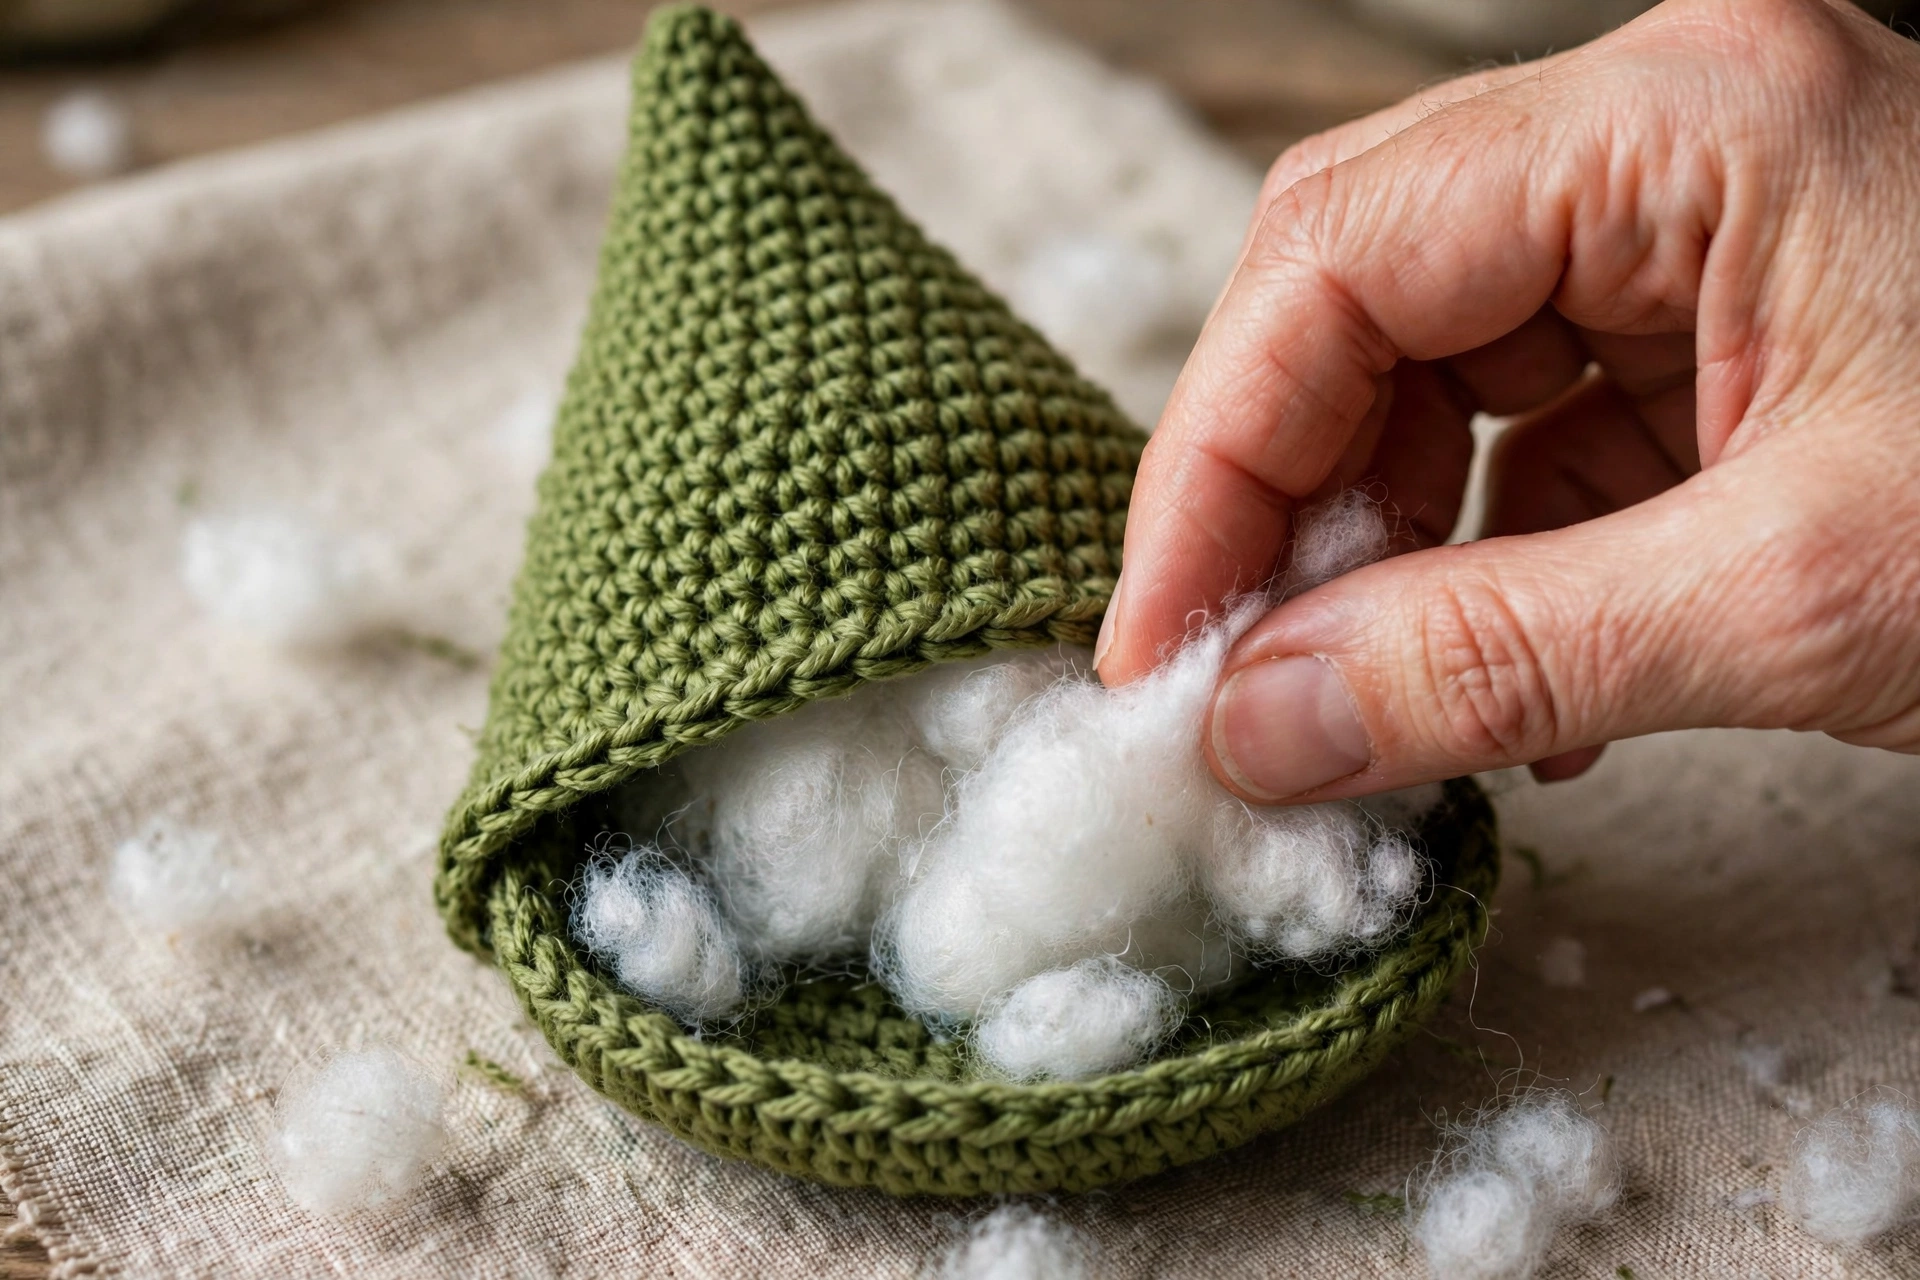
Begin stuffing firmly now, especially at base so gnome sits flat; continue adding stuffing as decrease, keeping body plump and evenly shaped. Rnd 28: [Sc next st, dec] x6. (12). Rnd 29: Dec 6 times. (6). Fasten off, leaving short tail. Thread tail through front loops of remaining 6 stitches, pull gently to close top, weave in end. Top will be covered by hat.
Step 3: Hat — Pointed Red Hat with Cream Brim
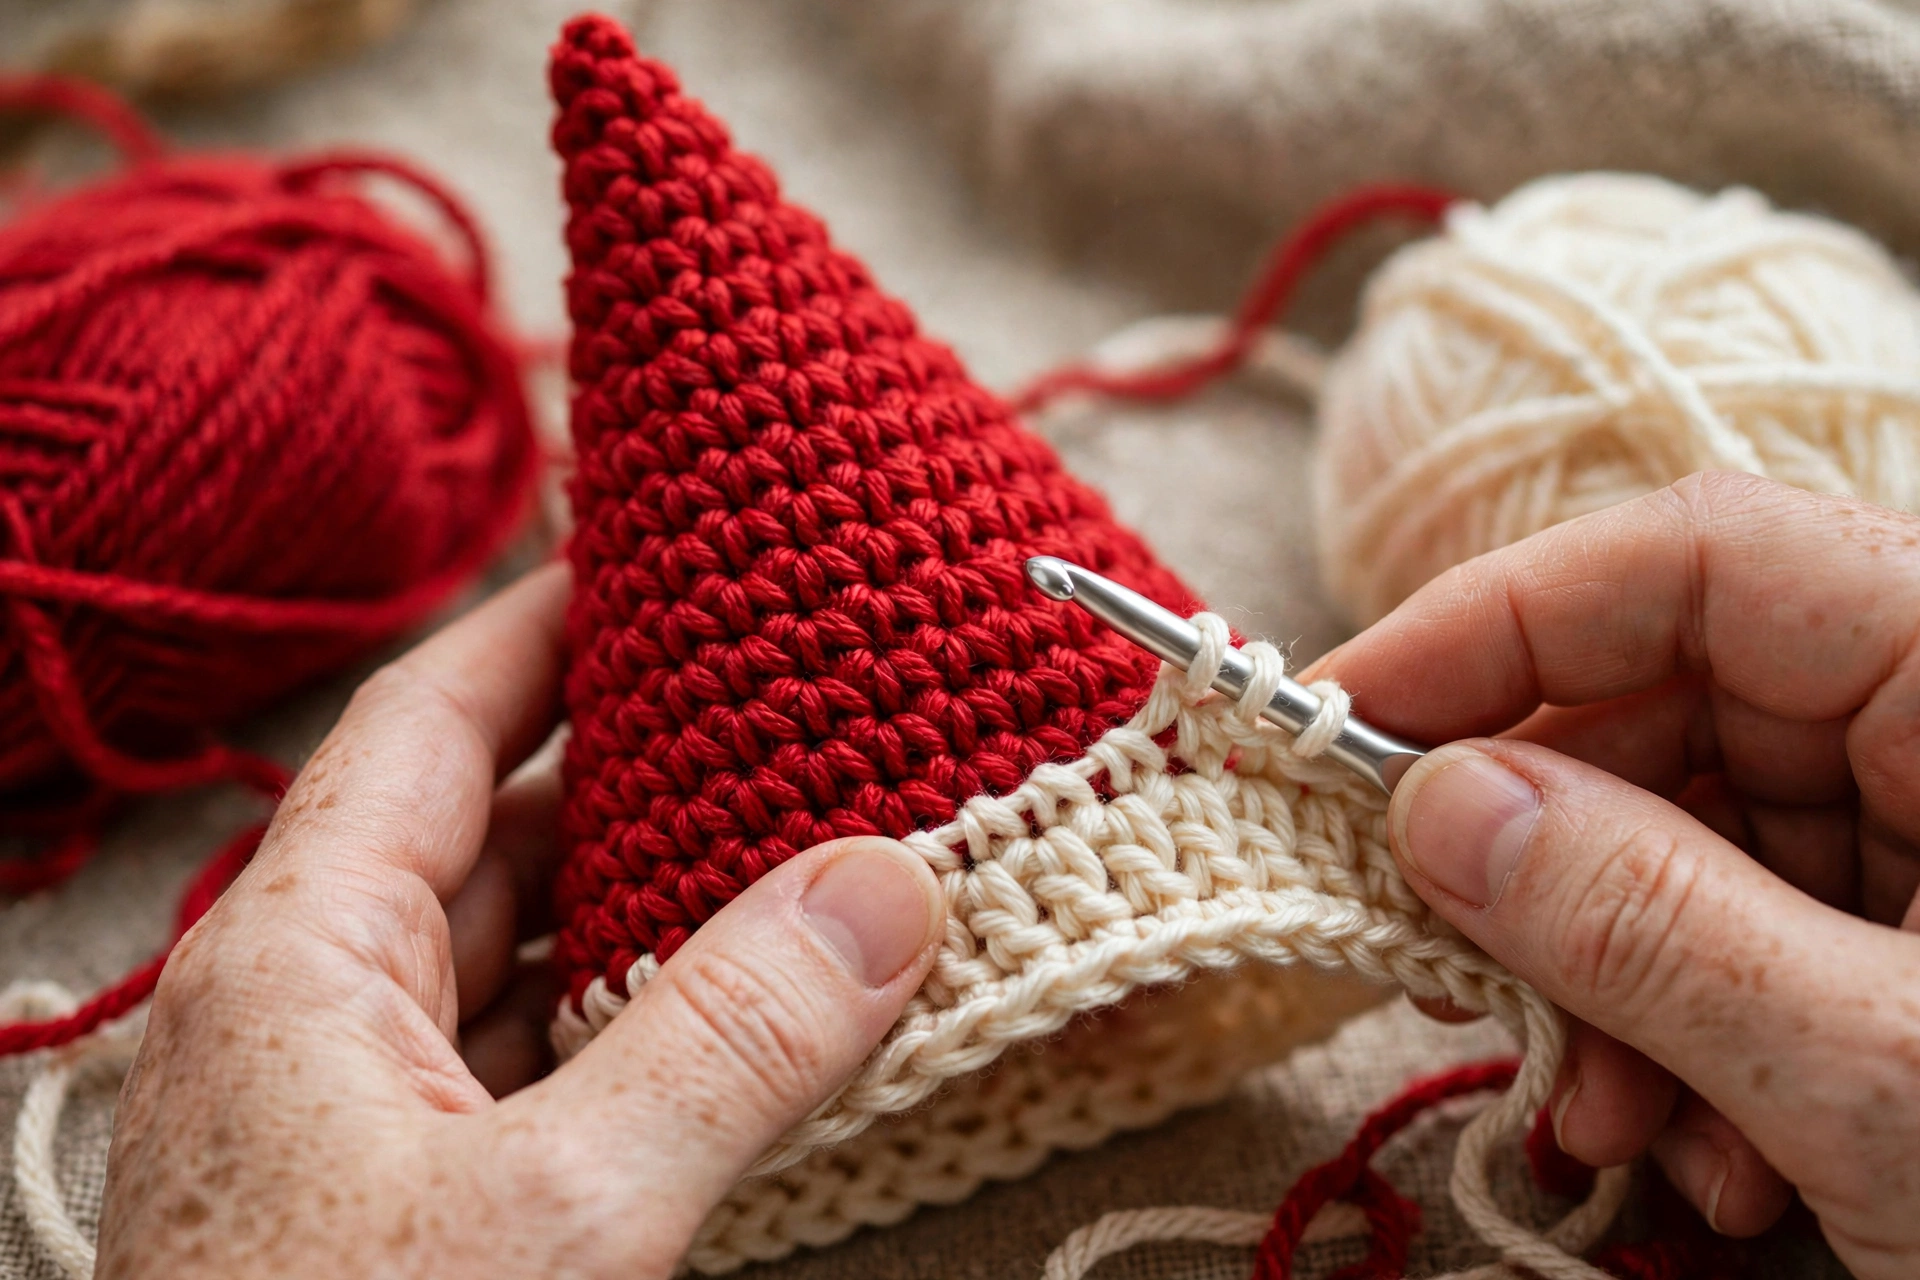
Worked from pointed tip downward, increasing gradually so flares out to fit over top of body. Work in red until brim rounds, then change to cream. Rnd 1: 6 sc in MR. (6). Rnd 2: Sc each st. (6). Rnd 3: [Sc next st, inc] x3. (9). Rnd 4: Sc each st. (9). Rnd 5: [Sc next 2, inc] x3. (12). Rnd 6: Sc each st. (12). Rnd 7: [Sc next 3, inc] x3. (15). Rnd 8: Sc each st. (15). Rnd 9: [Sc next 4, inc] x3. (18). Rnd 10: Sc each st. (18). Rnd 11: [Sc next 5, inc] x3. (21). Rnd 12: Sc each st. (21). Rnd 13: [Sc next 6, inc] x3. (24). Rnd 14: Sc each st. (24). Rnd 15: [Sc next 3, inc] x6. (30). Rnd 16: Sc each st. (30). Rnd 17: [Sc next 4, inc] x6. (36). Rnd 18: Sc each st. (36). Rnd 19: [Sc next 5, inc] x6. (42). Rnd 20: Sc each st. (42). Rnd 21: [Sc next 6, inc] x6. (48). Rnd 22: Sc each st. (48). Rnd 23: [Sc next 7, inc] x6. (54). Rnds 24–25: Sc each st. (54) — 2 rounds. Change to cream for brim. Rnd 26: [Sc next 8, inc] x6. (60). Rnds 27–28: Sc each st. (60) — 2 rounds. Fasten off, leaving long tail for sewing. Do not stuff hat. Pointed tip can be left standing upright or folded gently to one side when sew on.
Step 4: Beard (Cream)
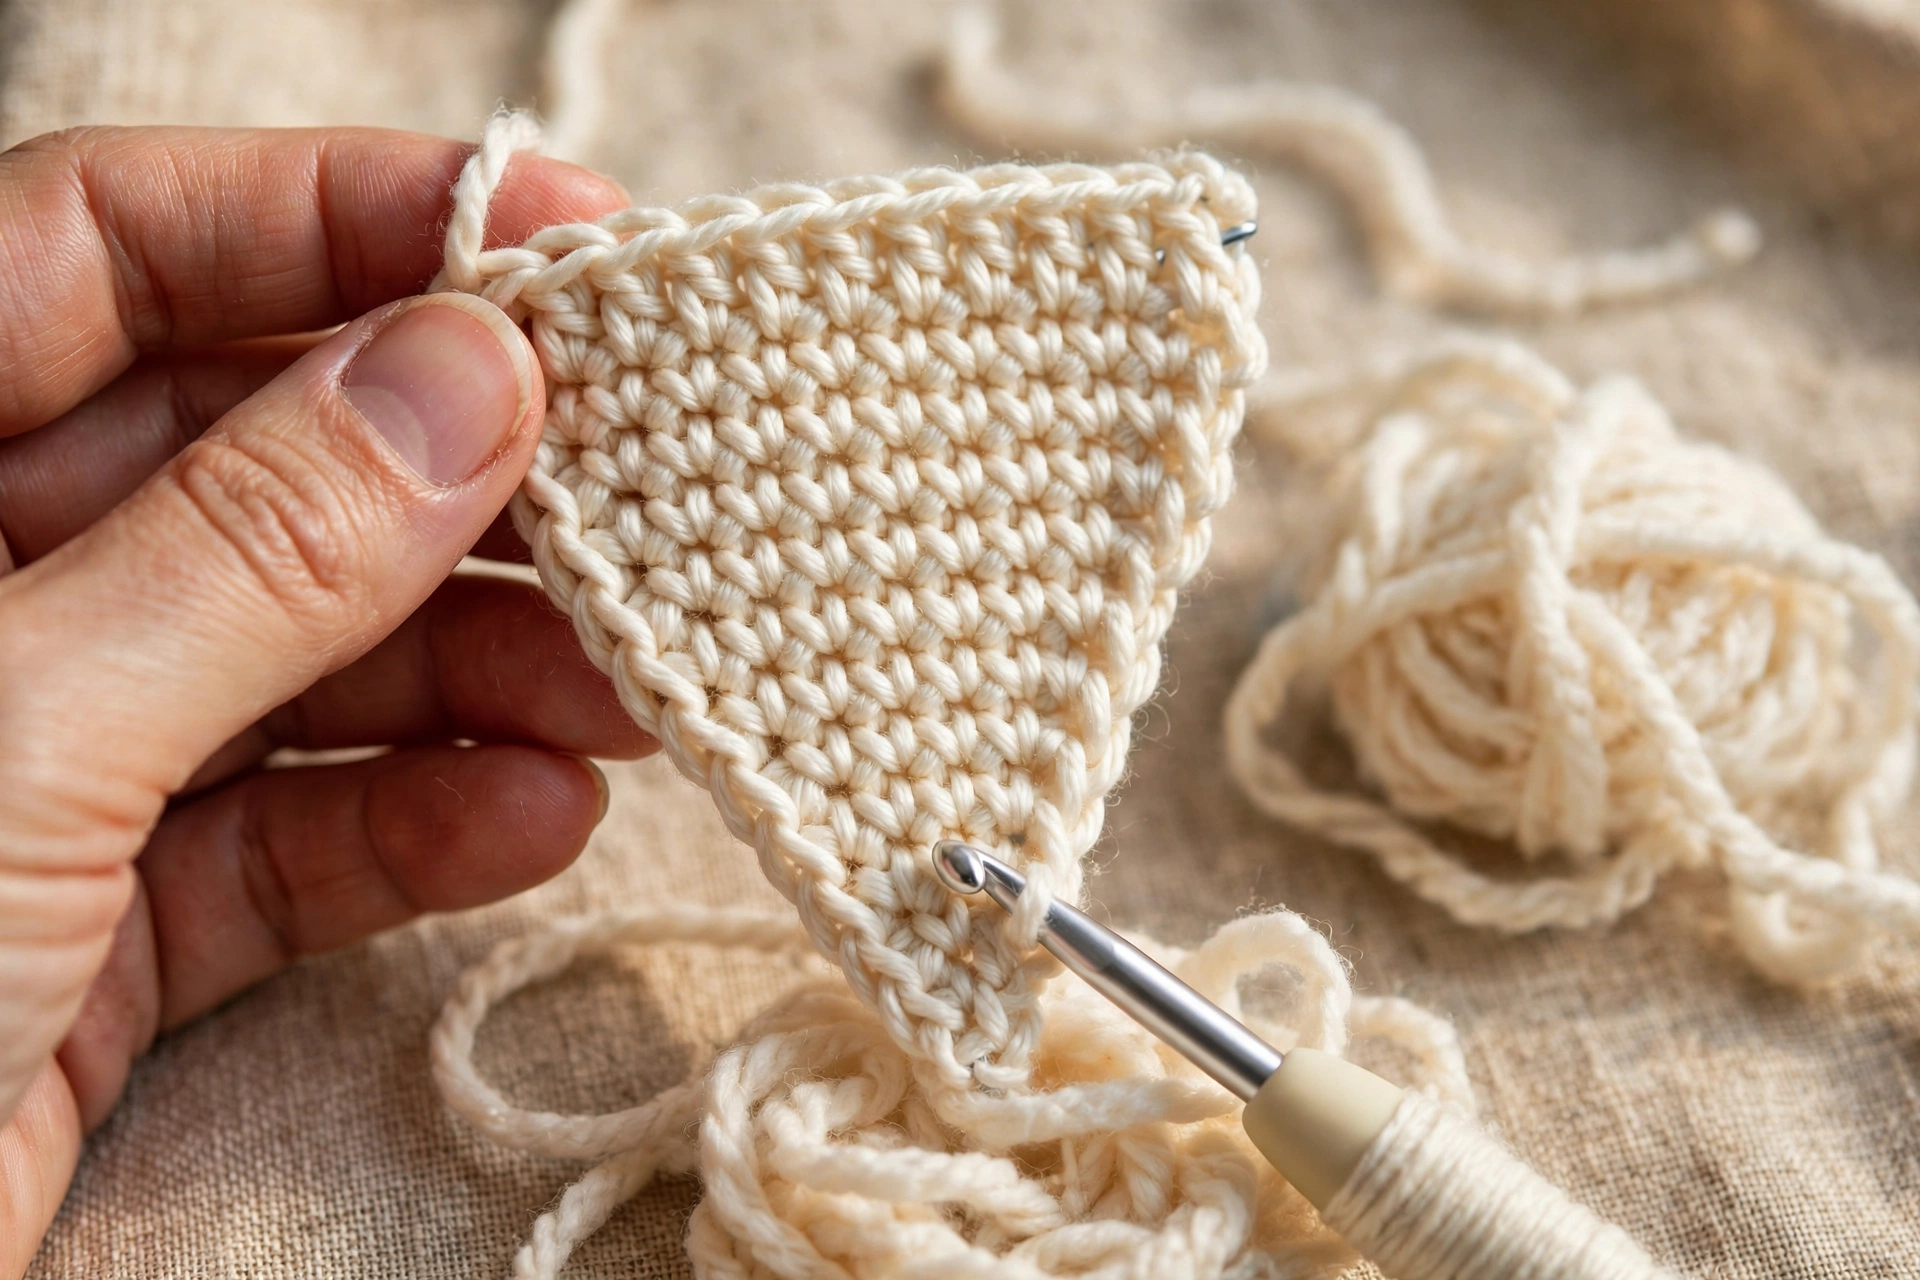
Worked in rows, starting wide at top and decreasing gradually to point at bottom. Chain 1 at end of each row does not count as stitch. Turn at end of each row. Ch 19. Row 1: Sc in 2nd ch from hook and each ch across. (18). Row 2: Dec, sc next 14, dec. (16). Row 3: Sc each st. (16). Row 4: Dec, sc next 12, dec. (14). Row 5: Sc each st. (14). Row 6: Dec, sc next 10, dec. (12). Row 7: Sc each st. (12). Row 8: Dec, sc next 8, dec. (10). Row 9: Sc each st. (10). Row 10: Dec, sc next 6, dec. (8). Row 11: Sc each st. (8). Row 12: Dec, sc next 4, dec. (6). Row 13: Sc each st. (6). Row 14: Dec, sc next 2, dec. (4). Row 15: Sc each st. (4). Row 16: Dec, dec. (2). Row 17: Dec. (1). Fasten off, leaving long tail for sewing. Optional fluffier beard: add few short strands of cream yarn along sides and bottom as fringe after sewing, trimming to even length; optional, does not change counts.
Step 5: Nose and Base
Nose (Peach)
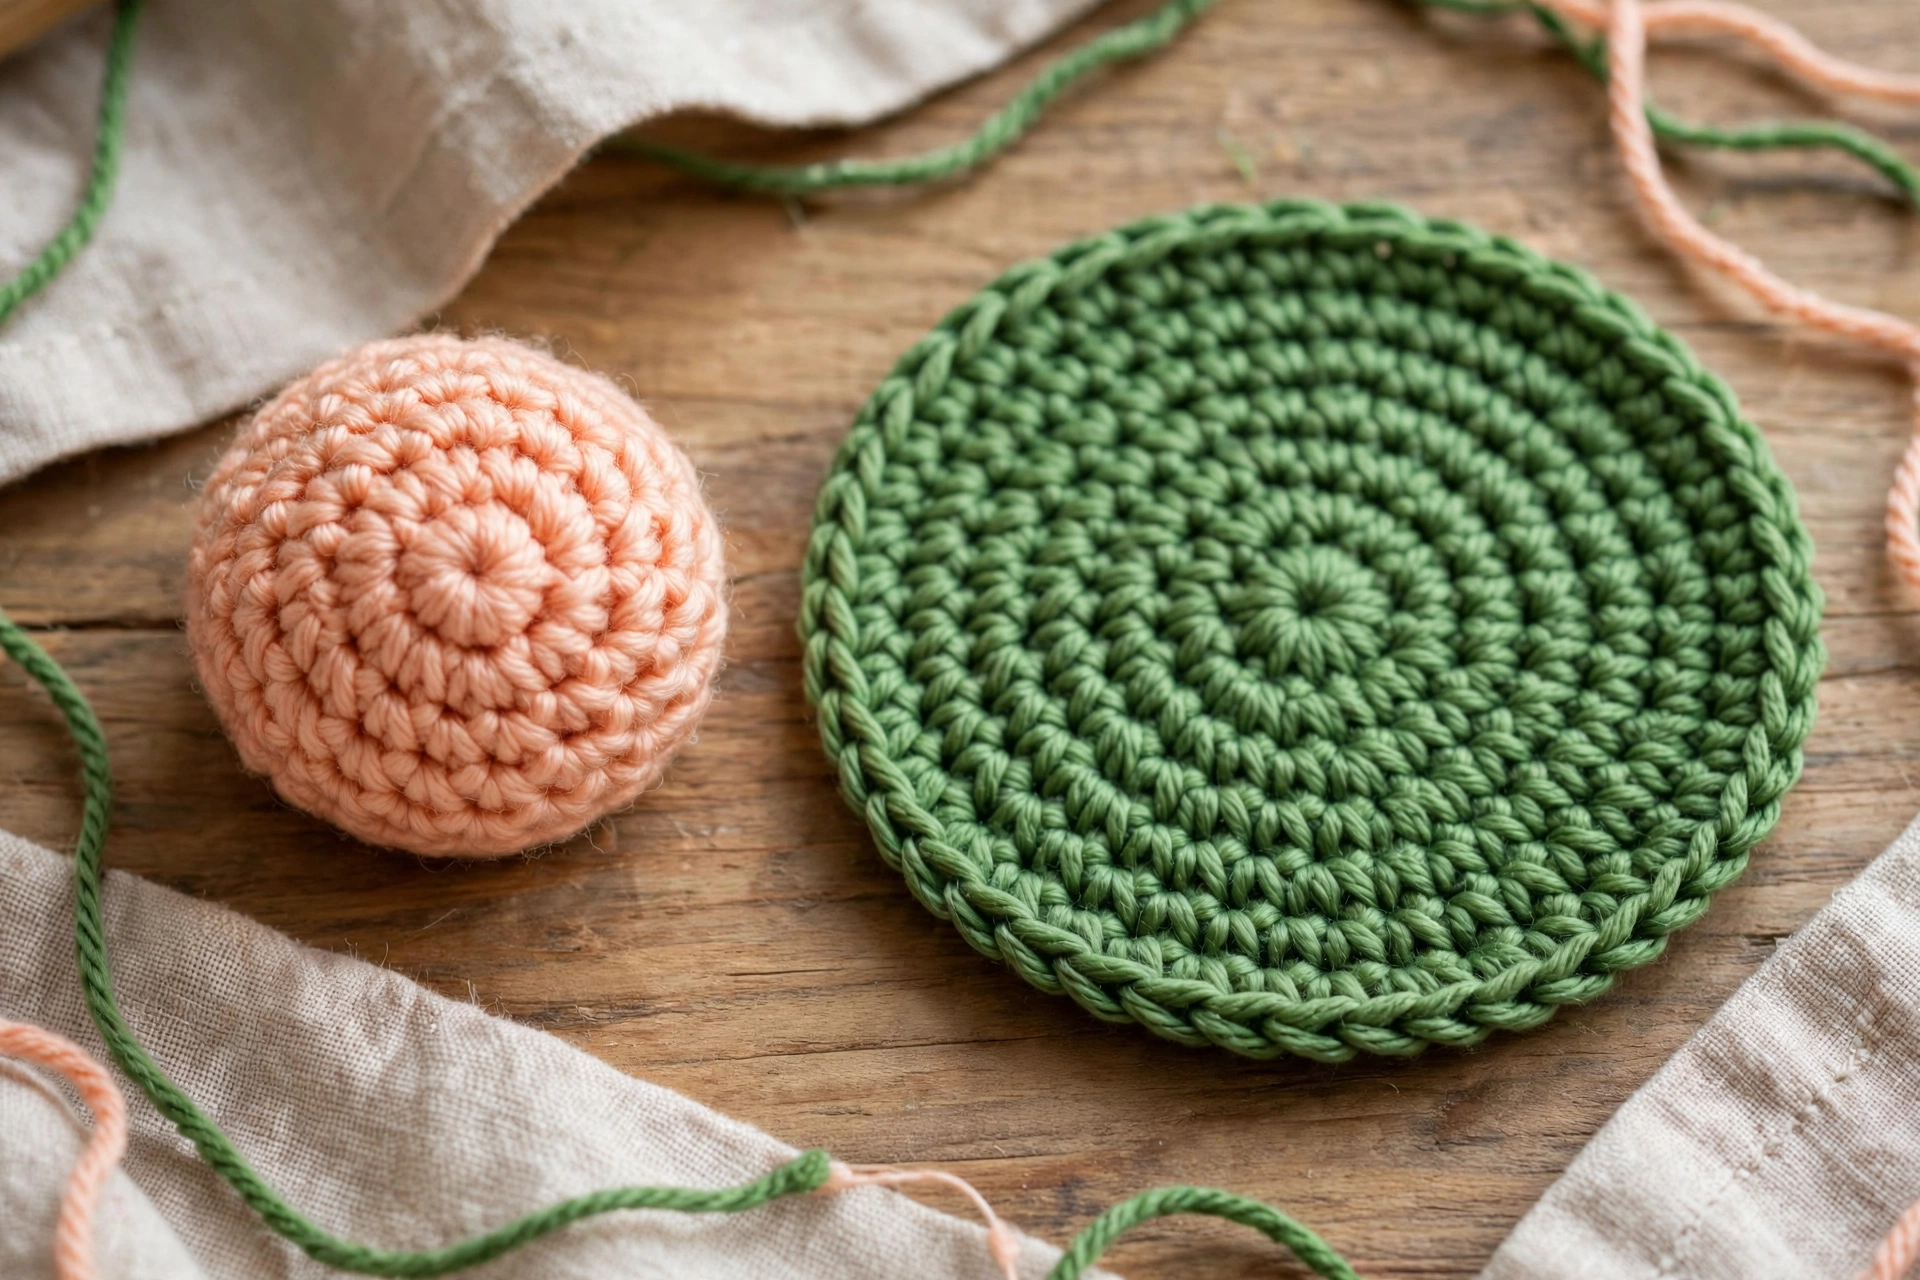
Small round ball, stuffed lightly. Rnd 1: 6 sc in MR. (6). Rnd 2: Inc each st. (12). Rnd 3: [Sc next st, inc] x6. (18). Rnds 4–5: Sc each st. (18) — 2 rounds. Rnd 6: [Sc next st, dec] x6. (12). Stuff lightly with small amount fiberfill so nose keeps soft round shape. Rnd 7: Dec 6 times. (6). Fasten off, leaving long tail for sewing. Thread tail through front loops of remaining 6 stitches, pull gently to close, keep tail for sewing nose in place.
Base (Forest Green)
Flat circle sewn under body to give neat stable bottom that sits flat. Rnd 1: 6 sc in MR. (6). Rnd 2: Inc each st. (12). Rnd 3: [Sc next st, inc] x6. (18). Rnd 4: [Sc next 2, inc] x6. (24). Rnd 5: [Sc next 3, inc] x6. (30). Rnd 6: [Sc next 4, inc] x6. (36). Rnd 7: [Sc next 5, inc] x6. (42). Rnd 8: [Sc next 6, inc] x6. (48). Fasten off, leaving long tail for sewing. Do not stuff base. Its 48 stitches match widest round of body, so fits neatly over bottom of body.
Step 6: Finishing and Assembly — Sew Base, Beard and Nose
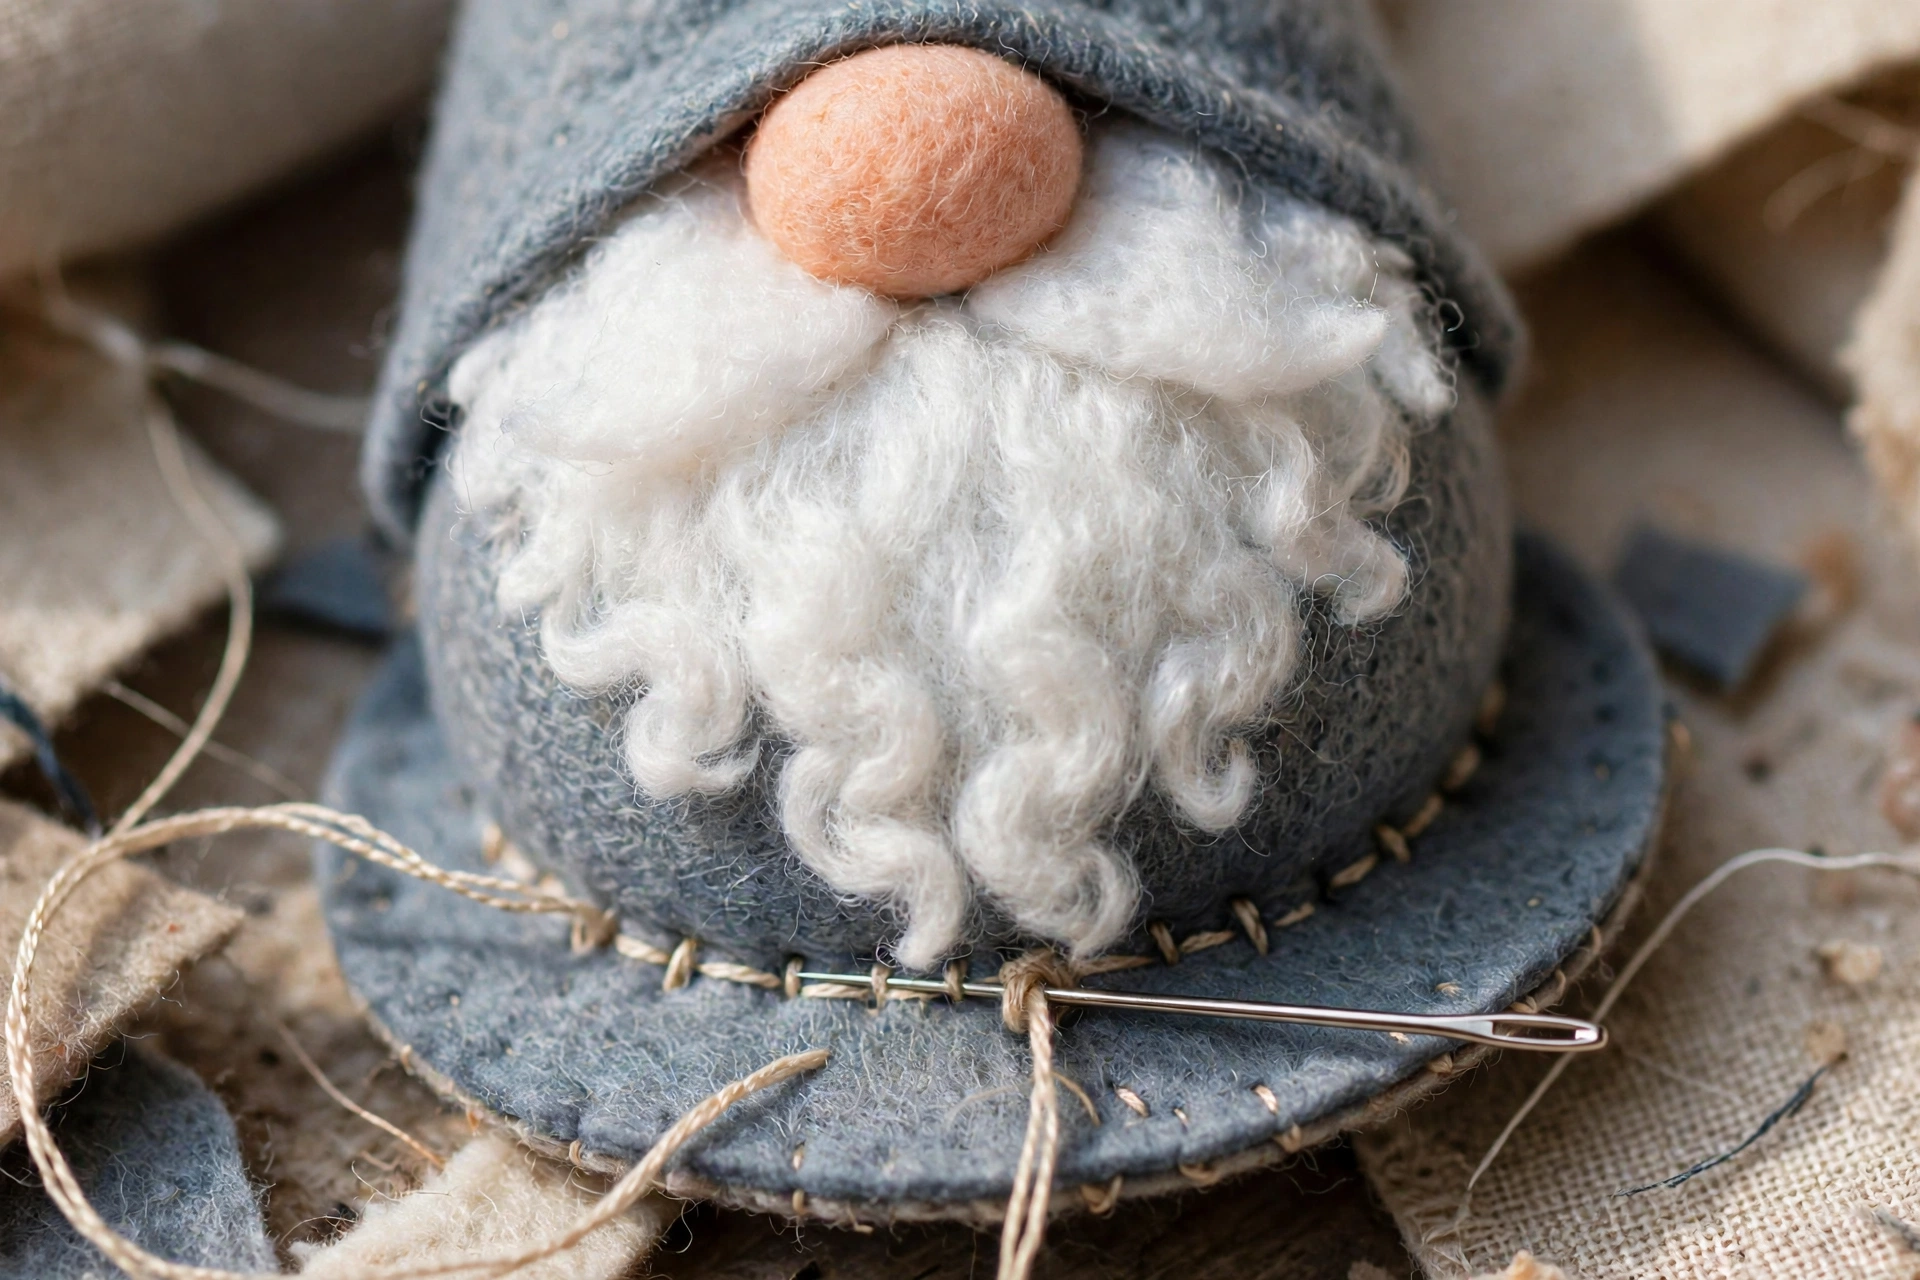
Work in this order: 1. Attach base: Place base circle flat against bottom of stuffed body, right side facing outward. Using long tail and tapestry needle, whip stitch around edge, joining base to bottom round of body. Sew all way around so gnome sits flat and does not wobble. Weave in end. 2. Attach beard: Decide which side is front. Pin beard to front of body with wide top edge roughly one-third way down from top of body, centred side to side. Pointed end should hang down toward base, covering lower front of body. Sew top edge and short way down each side to body, leaving pointed lower part free so hangs naturally. Weave in end. 3. Attach nose: Pin nose to centre of top edge of beard, so sits like round button just above beard. Sew around back of nose, joining it to both beard below and body behind it, so held firmly and does not roll. Weave in end. 4. Optional embroidered eyes: If would like eyes, embroider two small French knots or short straight stitches in black yarn just above nose, one on each side, peeking out from under where hat brim will sit. Keep small and even. Skip for classic no-eyes gnome look, or for gnome for young child.
Step 7: Attach Hat
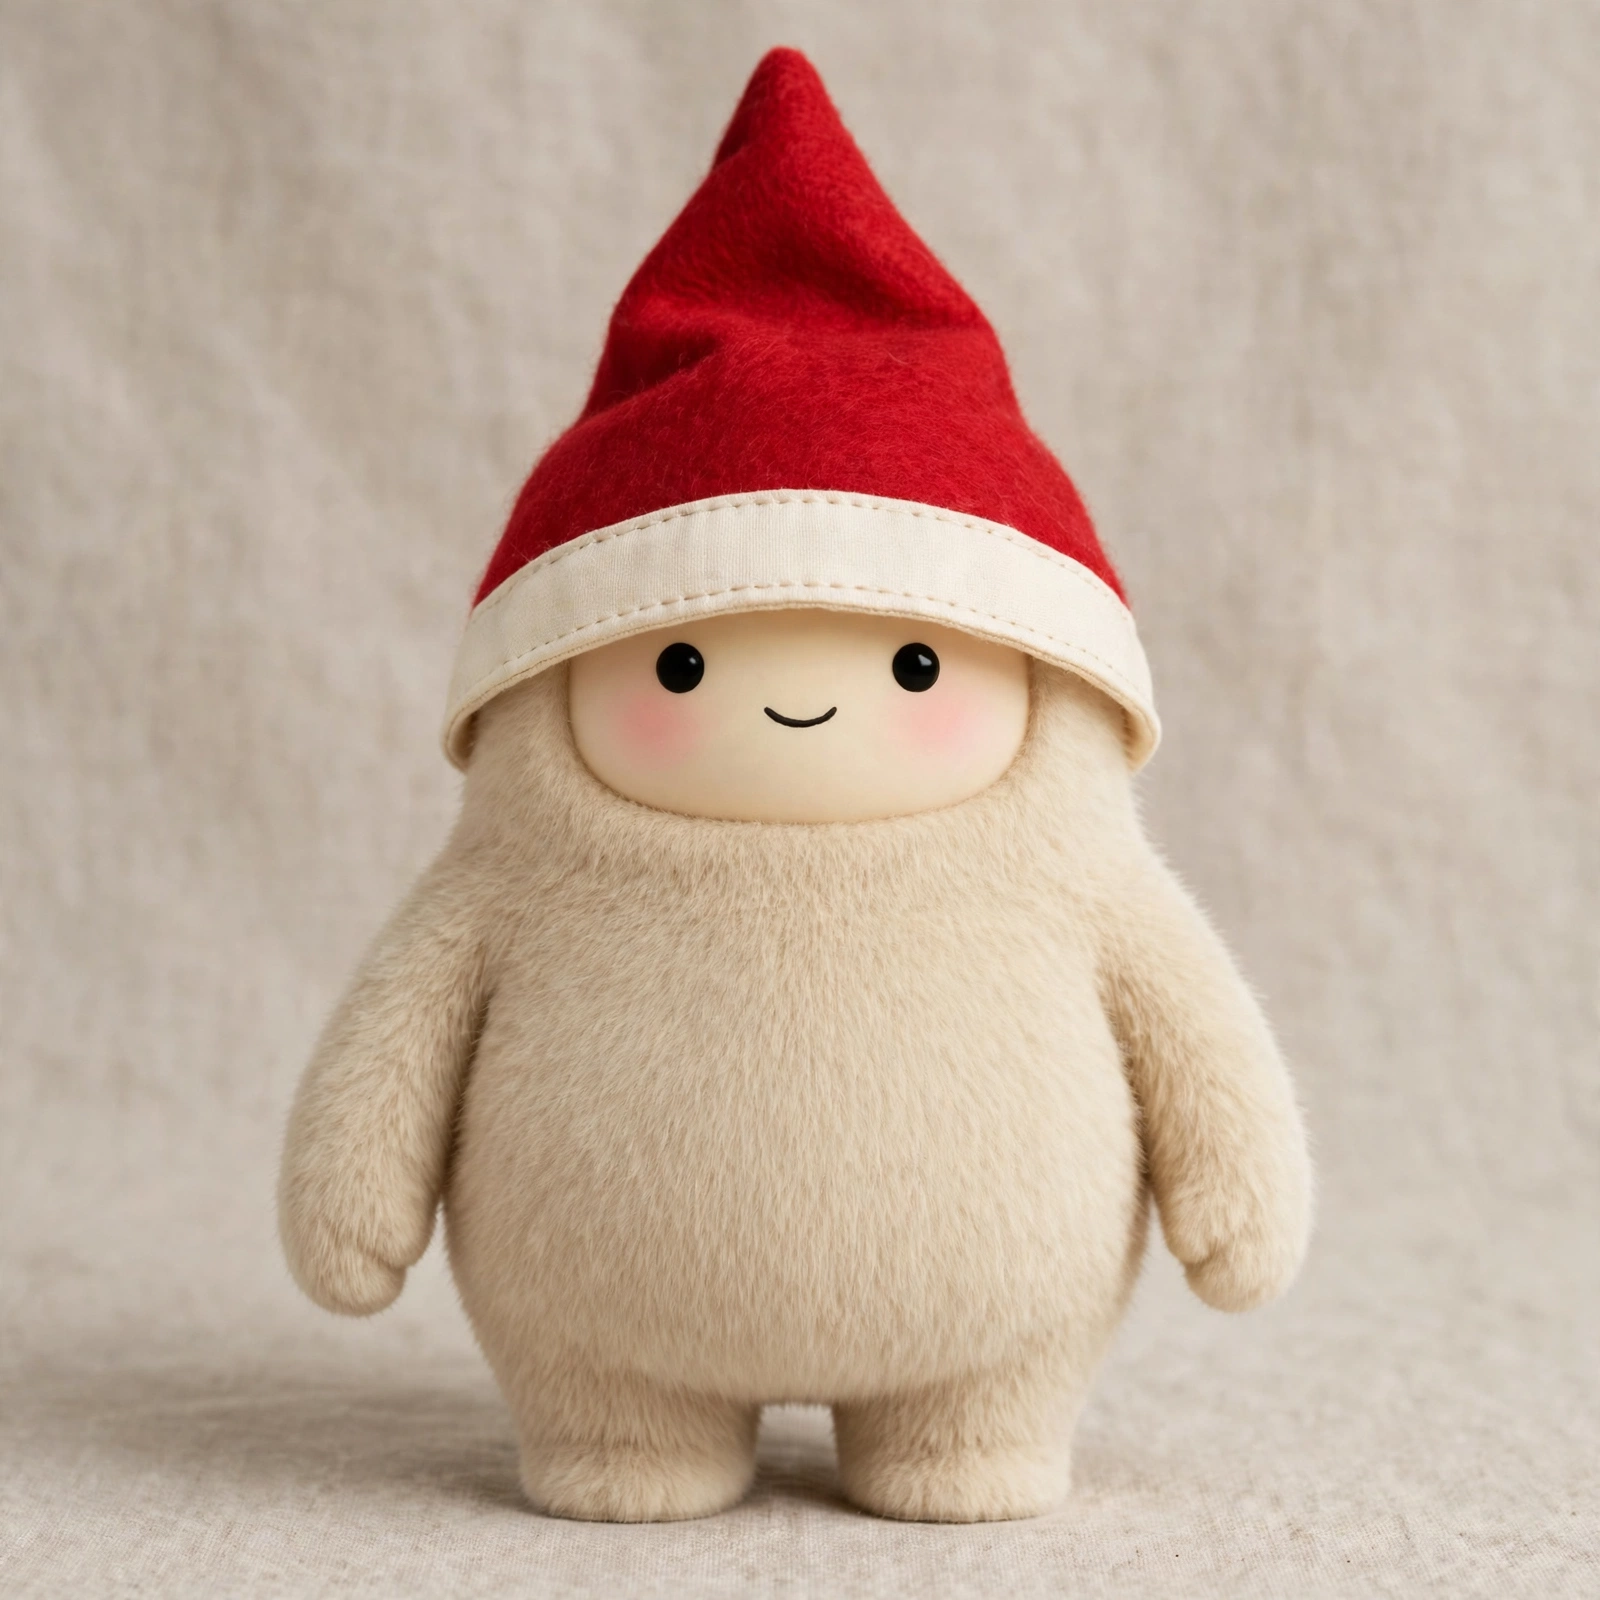
5. Attach hat: Place hat over top of body, pulling cream brim down so sits just above nose and slightly overlaps top edge of beard. Brim should sit evenly all way around, covering closed top of body. Pin in place, then sew brim to body all way around with long tail, using small neat stitches through brim and body. If want floppy hat, bend pointed tip gently to one side before sewing, or tack tip down to side of hat with stitch or two after brim sewn on. Weave in all remaining ends.
Step 8: Finished Gnome — Final Check

6. Final check: Stand gnome on flat surface and check sits level. Fluff beard gently with fingers, straighten hat brim, trim loose yarn ends.
Tips
Keep tension even and fairly tight — gnomes look best when stuffing hidden; if can see stuffing through stitches, try smaller hook. Stuff base firmly, top softly — firm base helps gnome stand up; stuff upper body little less firmly so hat sits down neatly. Pin before sew — pinning beard, nose, hat first makes much easier to get everything centred and level, especially nose. Count after each increase and decrease round — easier to fix count in round where it went wrong than several rounds later. Make hat your own — try striped hat by changing colour every two rounds, or taller hat by adding extra plain rounds before brim; just keep final brim count at 60 stitches so still fits body. Brush beard lightly if like — soft brush or fine-toothed comb, used very gently, can fluff up acrylic beard yarn; brush only beard, away from sewn top edge, stop before stitches loosen.
FAQ
Is gnome suitable for beginners? Yes, if can work single crochet, increases, decreases in rounds; pieces simple shapes, assembly just sewing flat pieces together; take time with stitch counts and pin pieces before sewing. Can I use different yarn weight? Yes, chunkier yarn larger hook bigger gnome, finer yarn smaller hook smaller one; proportions stay same, but may need little more or less yarn and stuffing; always check fabric tight enough to hide stuffing. Does gnome stand up on its own? Yes, when body stuffed firmly at base and flat base circle sewn on evenly; if leans, check base flat and add little more stuffing to lower body. How do I wash gnome? Spot-clean with damp cloth and mild soap, let air-dry; if need wash fully, hand-wash gently in cool water, reshape while damp, air-dry flat; avoid machine washing and tumble drying, which can flatten hat and beard. Can I make gnome without nose, or different nose colour? Yes, nose sewn on separately, so can use any skin-tone, red, or cream yarn, or leave nose off for simpler beard-only look; hat and beard still read clearly as gnome.