7 Crochet Christmas Wreath Patterns: Free, Easy and Festive
A handmade wreath is the first thing guests see on your door or wall, and these 7 crochet Christmas wreath patterns make it easy to hang something unique. Every pattern comes with full round-by-round instructions, stitch counts and finished sizes, from a tiny tree ornament to a big padded door wreath.
All the wreaths use basic stitches (single crochet, half double crochet, double crochet, increases and slip stitches), and several of them share the same base ring, so once you have made one you can easily make the rest.
The 7 Wreaths at a Glance
| # | Wreath | Skill level | Time | Finished size |
|---|---|---|---|---|
| 1 | Padded Ring Wreath | Easy | 4 hours | 22 cm (8.5 in) |
| 2 | Mini Flat Ring Ornament | Beginner | 45 minutes | 7 cm (2.75 in) |
| 3 | Holly Wreath on a Metal Ring | Easy | 4 hours | 25 cm (10 in) |
| 4 | Candy-Stripe Wreath | Easy | 4 hours | 22 cm (8.5 in) |
| 5 | Pom-Pom Wreath | Beginner | 5 hours | 22 cm (8.5 in) |
| 6 | Scalloped Doily Wreath | Easy | 2 hours | 13 cm (5 in) |
| 7 | Poinsettia Wreath | Intermediate | 6 hours | 22 cm (8.5 in) |
Before You Start
Abbreviations (US terms)
- ch: chain
- sl st: slip stitch
- sc: single crochet
- hdc: half double crochet
- dc: double crochet
- inc: increase (2 stitches in the same stitch)
- dec: decrease (sc 2 stitches together)
- MR: magic ring
- sk: skip
- FO: fasten off
- ( ) x N: repeat the instructions in brackets N times
- [ ]: stitch count at the end of the round
General Notes
- Rings are worked in joined rounds unless the pattern says otherwise. Do not turn between rounds.
- The first chain of each round (ch 1 for sc, ch 2 for hdc) does not count as a stitch.
- Sizes are approximate. If your finished ring is smaller or larger than expected, change the hook size.
- Use cotton or acrylic worsted yarn. Cotton holds its shape better, and acrylic is soft and cheaper.
- Flat rings tend to ruffle if increases are uneven, so count your stitches at the end of every round.
Wreath 1: Padded Ring Wreath
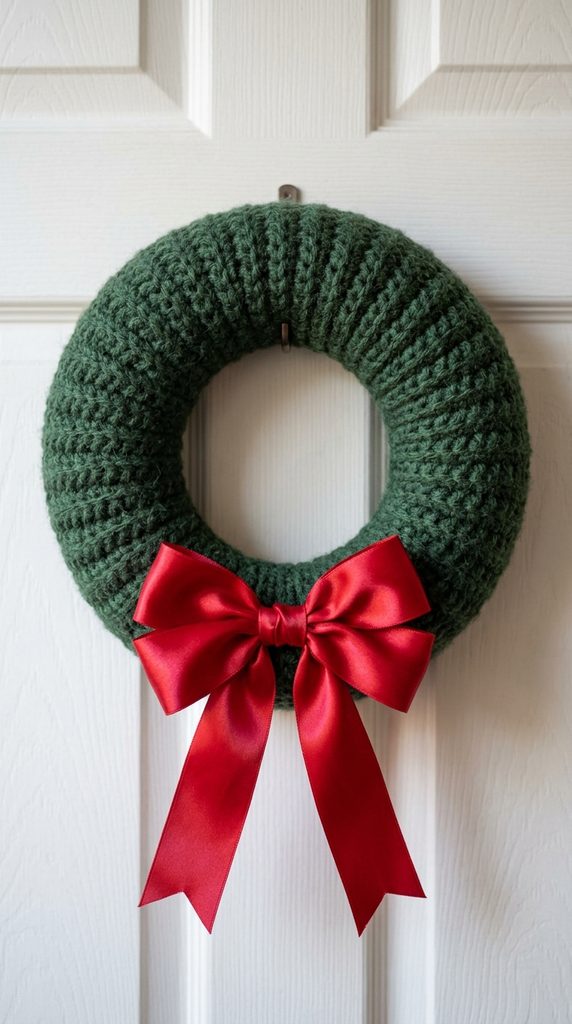
The base design for the collection: two flat hdc rings joined and stuffed to make a soft, round wreath.
- Size: about 22 cm (8.5 in) across, with a 14 cm (5.5 in) hole
- Yarn: about 140 m (155 yd) of green worsted yarn
- Hook: 5.0 mm (H/8)
- Other: fiberfill, tapestry needle, 60 cm (24 in) of red ribbon
Ring (make 2, identical)
- Foundation: ch 64. Join with a sl st to the first ch to form a ring, being careful not to twist the chain.
- R1: ch 2, hdc in the same ch as the join and in each ch around, sl st to the first hdc [64]
- R2: ch 2, (7 hdc, inc) x 8, sl st to the first hdc [72]
- R3: ch 2, (8 hdc, inc) x 8, sl st to the first hdc [80]
- R4: ch 2, (9 hdc, inc) x 8, sl st to the first hdc [88]
- R5: ch 2, (10 hdc, inc) x 8, sl st to the first hdc [96]
FO and weave in the ends.
Joining: Place the rings with wrong sides together and the stitches lined up. With the yarn attached, work sc through both loops of both rings around the inner edge (64 sts), then sl st to the first sc. Continue along the outer edge: sc through both loops (96 sts), stopping about 10 cm (4 in) before the end. Stuff the ring firmly and evenly, then finish the round and sl st to join. FO.
Finishing: Tie the ribbon into a bow at the bottom and sew a loop of ribbon to the top for hanging.
Wreath 2: Mini Flat Ring Ornament
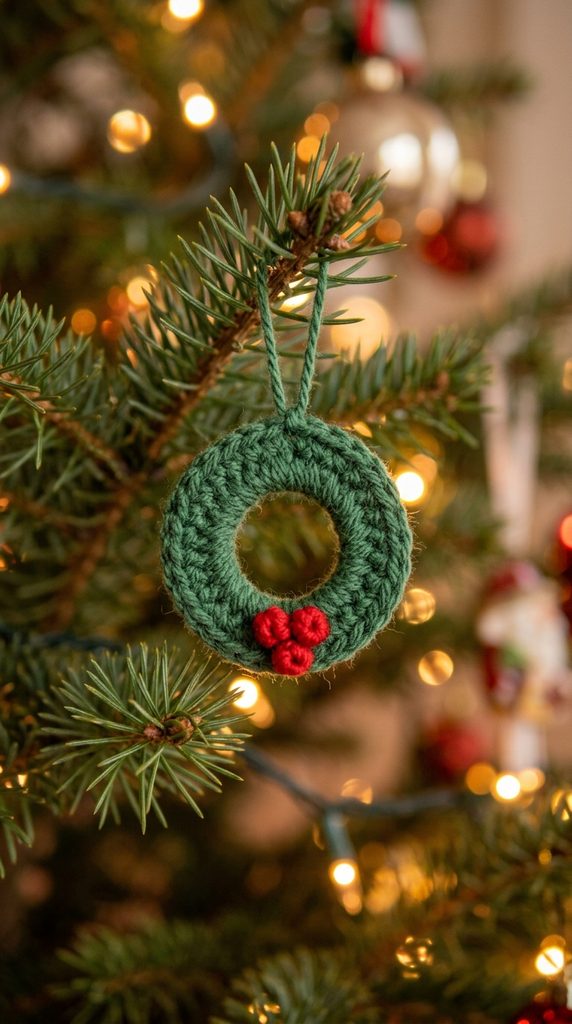
A tiny wreath that needs no frame. It is perfect for tree ornaments, gift tags and garlands.
- Size: about 7 cm (2.75 in) across, with a 4.5 cm (1.75 in) hole
- Yarn: about 8 m (9 yd) of green worsted yarn and 2 m of red
- Hook: 3.5 mm (E/4)
Ring
- Foundation: ch 24. Join with a sl st to the first ch to form a ring, without twisting.
- R1: ch 1, sc in the same ch and in each ch around, sl st to the first sc [24]
- R2: ch 1, (3 sc, inc) x 6, sl st to the first sc [30]
- R3: ch 1, (4 sc, inc) x 6, sl st to the first sc [36]
FO leaving a tail.
Berries (make 3 per ornament, red)
- R1: MR, 6 sc [6]
- R2: sc in each st around [6]
- R3: dec x 3 [3]
FO, pull the tail through the last stitches and close. Sew the berries in a small cluster on the ring. For the hanging loop, attach green yarn to the top of the ring, ch 12, and sl st back into the same stitch.
Wreath 3: Holly Wreath on a Metal Ring
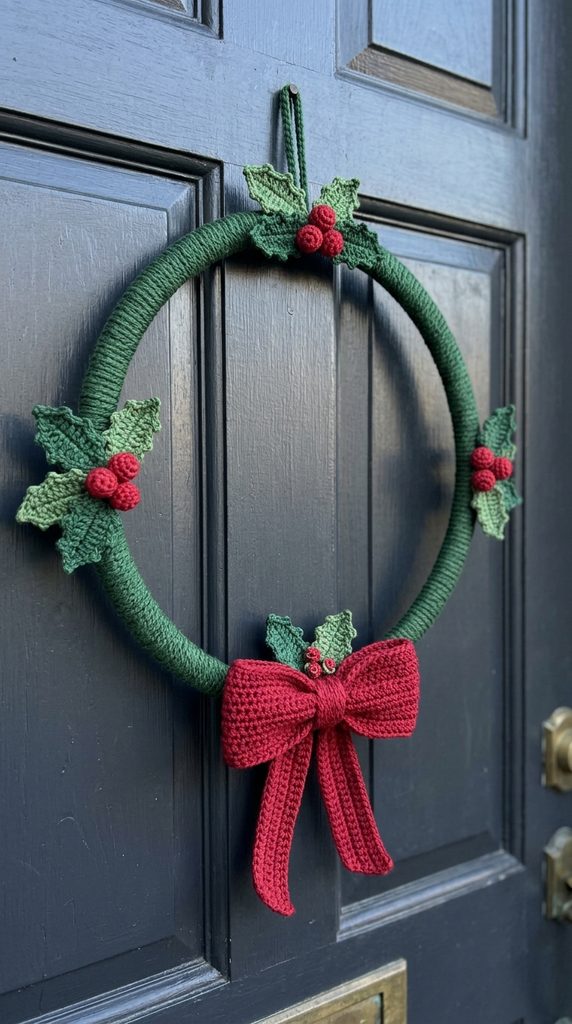
The classic crochet wreath: a metal ring wrapped in single crochet, with holly leaves and red berries.
- Size: about 25 cm (10 in) across
- Yarn: about 120 m (130 yd) of green worsted yarn and 10 m of red
- Hook: 4.0 mm (G/6)
- Other: one 25 cm (10 in) metal wreath ring, fiberfill or scrap yarn for the berries, tapestry needle
Ring cover
- Tie the green yarn to the ring with a secure knot.
- Work sc around the ring, wrapping each stitch around the metal and pushing the stitches tightly together so the metal is completely hidden. This takes roughly 150 sc, depending on yarn thickness.
- Sl st to the first sc, FO and weave in the ends.
Holly leaf (make 12, green)
- Ch 9
- Round: sc in the 2nd ch from the hook, sc in the next ch, hdc in the next ch, dc in the next 2 chs, hdc in the next ch, sc in the next ch, 3 sc in the last ch
- Working along the other side of the foundation chain: sc in the next ch, hdc in the next ch, dc in the next 2 chs, hdc in the next ch, sc in the next 2 chs
- Sl st to the first sc and FO, leaving a tail
Berries (make 15, red): Work as for the berries in Wreath 2.
Assembly: Make 4 clusters of 3 leaves and 3 or 4 berries each. Sew a cluster at each quarter of the ring, overlapping the leaves slightly. Add a red bow at the bottom if you like.
Recommended Product
25 cm (10 in) metal wreath ring. It is the sturdy frame this wreath is built on, so the finished piece keeps its round shape and has a built-in hanging point. As an Amazon Associate I earn from qualifying purchases.


Wreath 4: Candy-Stripe Wreath
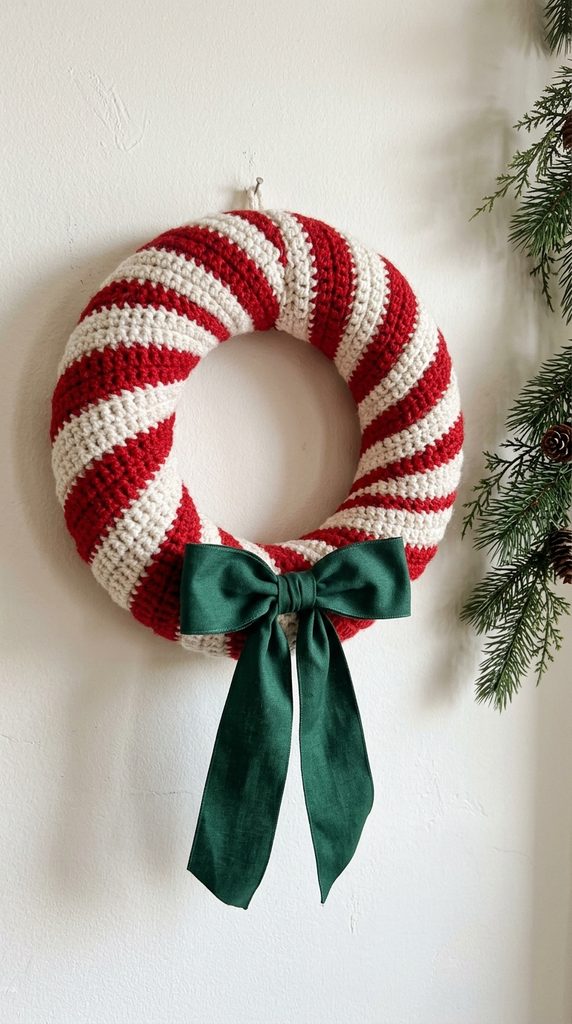
The same padded ring as Wreath 1, worked in red and white stripes like a peppermint candy.
- Size: about 22 cm (8.5 in) across
- Yarn: about 80 m (88 yd) of red and 60 m (65 yd) of white worsted yarn
- Hook: 5.0 mm (H/8)
- Other: fiberfill, tapestry needle, green ribbon
Ring (make 2, identical)
Follow the ring pattern for Wreath 1 (foundation and rounds 1 to 5), changing colour at the end of every round by pulling the new colour through the final sl st:
- Foundation and R1: red
- R2: white
- R3: red
- R4: white
- R5: red
FO and weave in the ends.
Joining: Join and stuff the rings as in Wreath 1, using white yarn for the sc joining round on the inner and outer edges.
Finishing: Tie a green ribbon bow at the bottom and add a hanging loop.
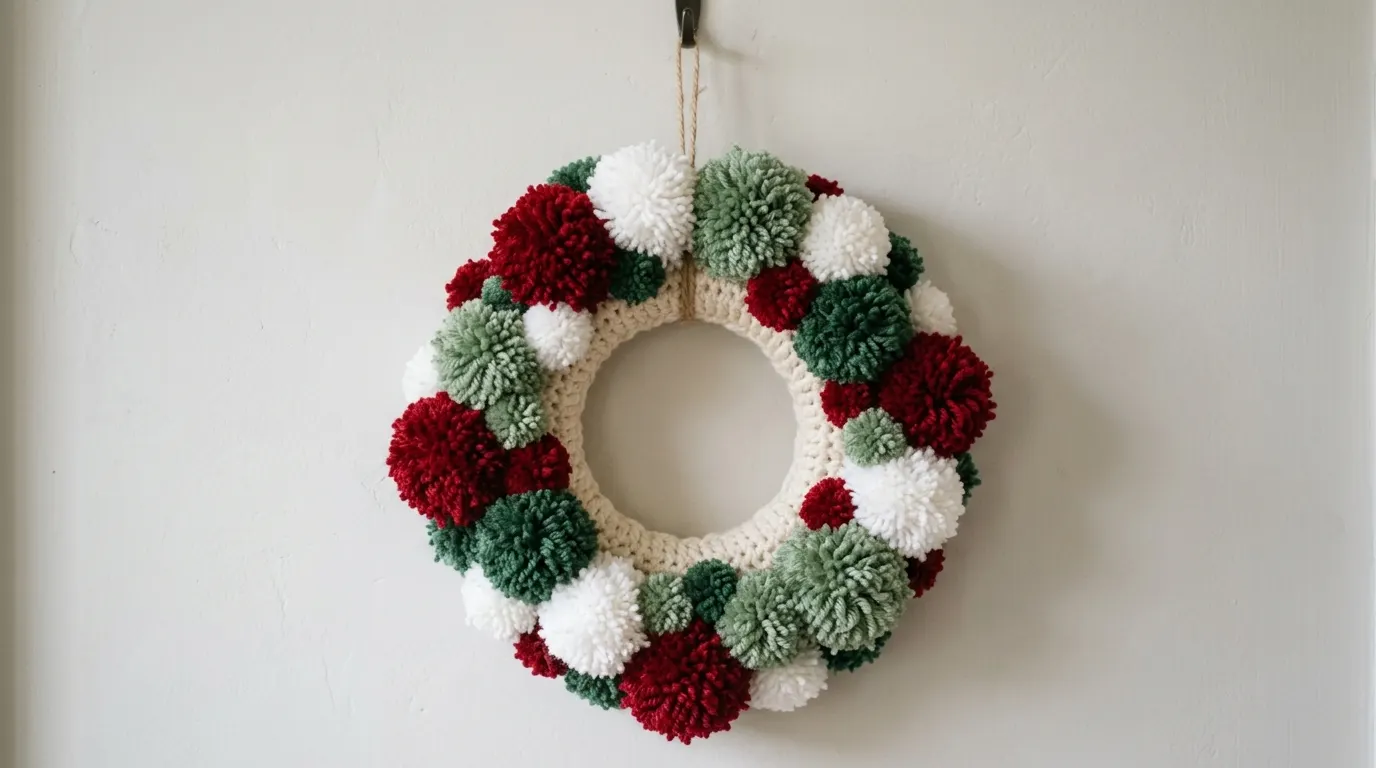
Wreath 5: Pom-Pom Wreath
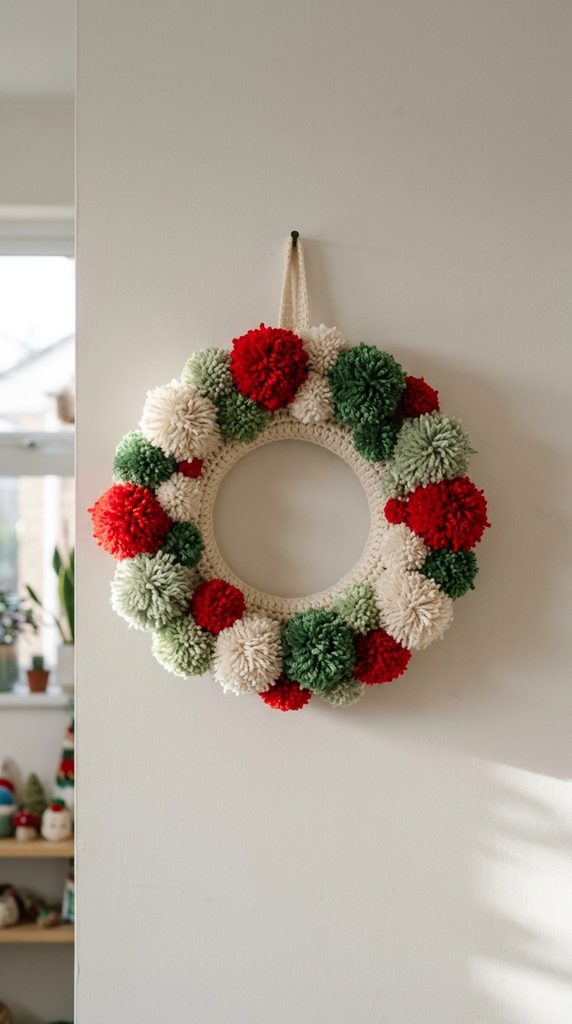
A soft, fluffy wreath made from a cream ring covered in pom-poms in red, white and green.
- Size: about 22 cm (8.5 in) across
- Yarn: about 140 m (155 yd) of cream worsted for the ring and about 120 m (130 yd) of red, white and green for the pom-poms
- Hook: 5.0 mm (H/8)
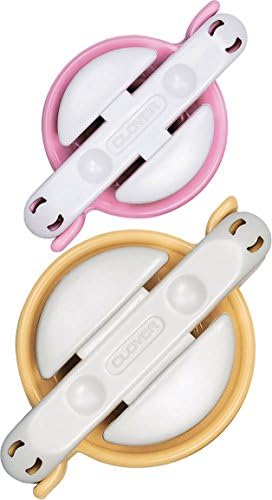
- Other: fiberfill, tapestry needle, 45 mm pom-pom maker
Ring: Make the padded ring as in Wreath 1, in cream.
Pom-poms (make 24: 8 red, 8 white, 8 green)
- Open both halves of a 45 mm (1.75 in) pom-pom maker. Wind yarn around one half until it is full, then do the same on the other half.
- Close the maker and cut the yarn along the central slot.
- Tie a 30 cm (12 in) strand tightly around the centre and knot it twice.
- Open the maker, remove the pom-pom and trim it into a neat round, keeping the tying strand as a tail.
Assembly: Thread each pom-pom’s tail through the ring with a needle, from front to back, and tie it securely at the back. Place the pom-poms in an even pattern, alternating colours, and fill any gaps with the remaining ones.
Recommended Product
Clover Pom-Pom Maker, 45 mm. It makes round, even pom-poms in minutes, and each pom-pom is tied in the middle for a secure fit on the wreath. As an Amazon Associate I earn from qualifying purchases.


Wreath 6: Scalloped Doily Wreath
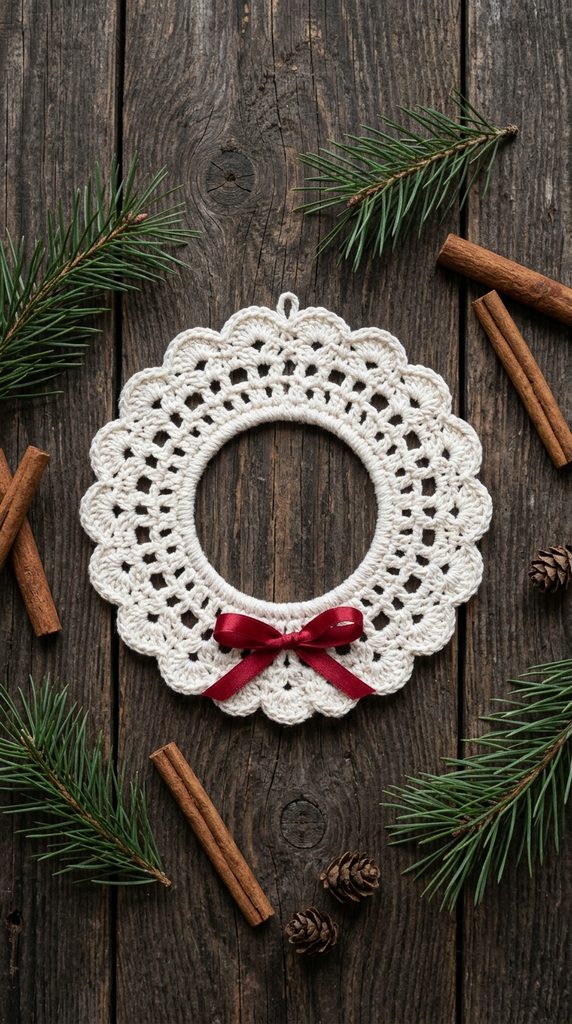
A lacy flat wreath with a shell edge, ideal for white cotton and a pretty red bow.
- Size: about 13 cm (5 in) across, with a 6.5 cm (2.5 in) hole
- Yarn: about 25 m (27 yd) of white cotton worsted yarn
- Hook: 3.5 mm (E/4)
- Other: tapestry needle, optional fabric stiffener or starch, red ribbon
Ring
- Foundation: ch 36. Join with a sl st to the first ch to form a ring, without twisting.
- R1: ch 1, sc in the same ch and in each ch around, sl st to the first sc [36]
- R2: ch 1, (5 sc, inc) x 6, sl st to the first sc [42]
- R3: ch 1, (6 sc, inc) x 6, sl st to the first sc [48]
- R4: ch 1, (7 sc, inc) x 6, sl st to the first sc [54]
- R5: ch 1, (8 sc, inc) x 6, sl st to the first sc [60]
- R6 (shell edge): sl st in the first st. Sk 1 st, 5 dc in the next st, sk 1 st, sl st in the next st. Repeat from * 14 more times, ending with the final sl st in the first st [15 shells]
FO and weave in the ends.
Finishing: Block the wreath flat, dip it in fabric stiffener or spray it with starch if you want it firm, and let it dry on a flat surface. Tie a red bow at the bottom and add a ribbon loop at the top.
Wreath 7: Poinsettia Wreath
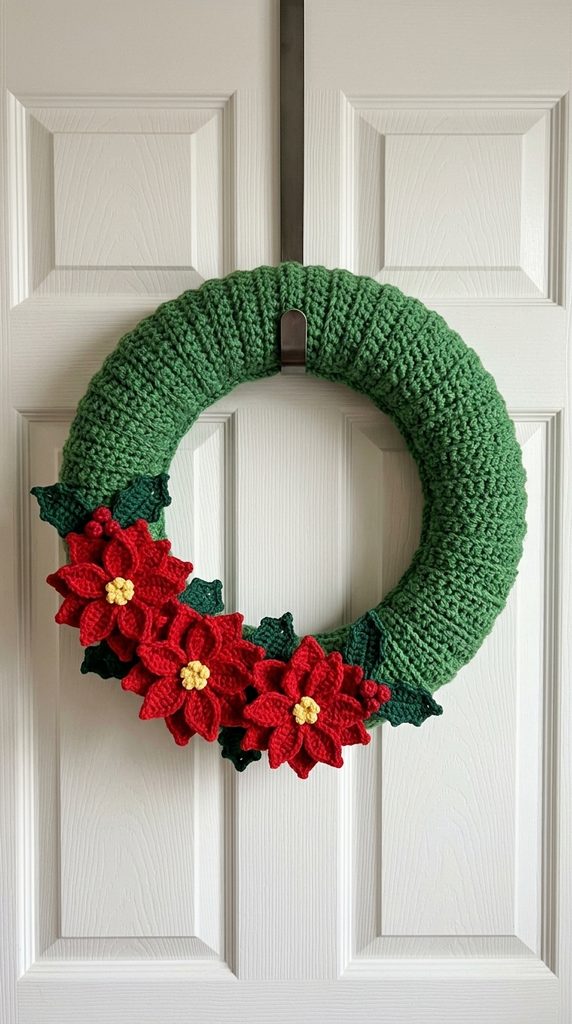
A padded green ring with three red poinsettia flowers and holly leaves. The most decorative wreath in the collection.
- Size: about 22 cm (8.5 in) across
- Yarn: about 140 m (155 yd) of green worsted, 40 m (44 yd) of red and 3 m (3 yd) of yellow
- Hook: 5.0 mm (H/8) for the ring and 4.0 mm (G/6) for the leaves
- Other: fiberfill, tapestry needle, over-the-door wreath hanger
Ring: Make the padded ring as in Wreath 1, in green.
Leaf (make 24 red and 6 green, 4.0 mm hook)
- Ch 9
- Round: sc in the 2nd ch from the hook, sc in the next ch, hdc in the next ch, dc in the next 2 chs, hdc in the next ch, sc in the next ch, 3 sc in the last ch
- Working along the other side of the foundation chain: sc in the next ch, hdc in the next ch, dc in the next 2 chs, hdc in the next ch, sc in the next 2 chs
- Sl st to the first sc and FO, leaving a tail
Poinsettia (make 3)
- Sew 5 red leaves in a star shape, with the pointed ends outward and the bases meeting in the centre.
- Sew 3 more red leaves on top, centred between the first leaves.
- Sew 3 small yellow French knots or a few yellow beads in the centre.
Assembly: Sew the 3 poinsettias to the ring, evenly spaced across the top and sides. Tuck the 6 green leaves around and between the flowers, sewing each one at its base.
Recommended Product
Over-the-door wreath hanger. It holds the wreath securely at the right height and protects both the door and the yarn from nails and hooks. As an Amazon Associate I earn from qualifying purchases.


Tips for Beautiful Crochet Wreaths
- Match the stitch counts. Even increases keep rings flat and prevent ruffling.
- Stuff evenly. Add the filling in small amounts and keep the ring round.
- Block flat pieces. Steam or starch the doily and mini rings so they lie perfectly flat.
- Hang wreaths safely. Keep them away from candles, fireplaces and heaters.
- Store carefully. Keep wreaths in a bag or box, flat, to prevent crushing.
Frequently Asked Questions
What is the easiest crochet wreath for beginners? The Mini Flat Ring Ornament and the Scalloped Doily Wreath only use single crochet and double crochet in rounds.
How do I make the padded wreath bigger? Add 8 stitches to the foundation chain for each extra 2 cm of ring size, and work more increase rounds in the same way.
Which yarn is best? Worsted cotton gives crisp shapes. Acrylic is softer and cheaper.
Can I make a wreath in other colours? Yes. White, silver, gold and pastel wreaths all look great.
Final Thoughts
Crochet wreaths are quick to make, easy to personalize and lovely to give as gifts. Make one for your door, a mini version for the tree or a whole set for the holidays. Happy crocheting, and Merry Christmas!
Pattern notes: These patterns are for personal use. If you sell finished items, please credit the pattern designer.