Crochet Christmas Pillow: A Cozy Tree Cushion Cover Pattern
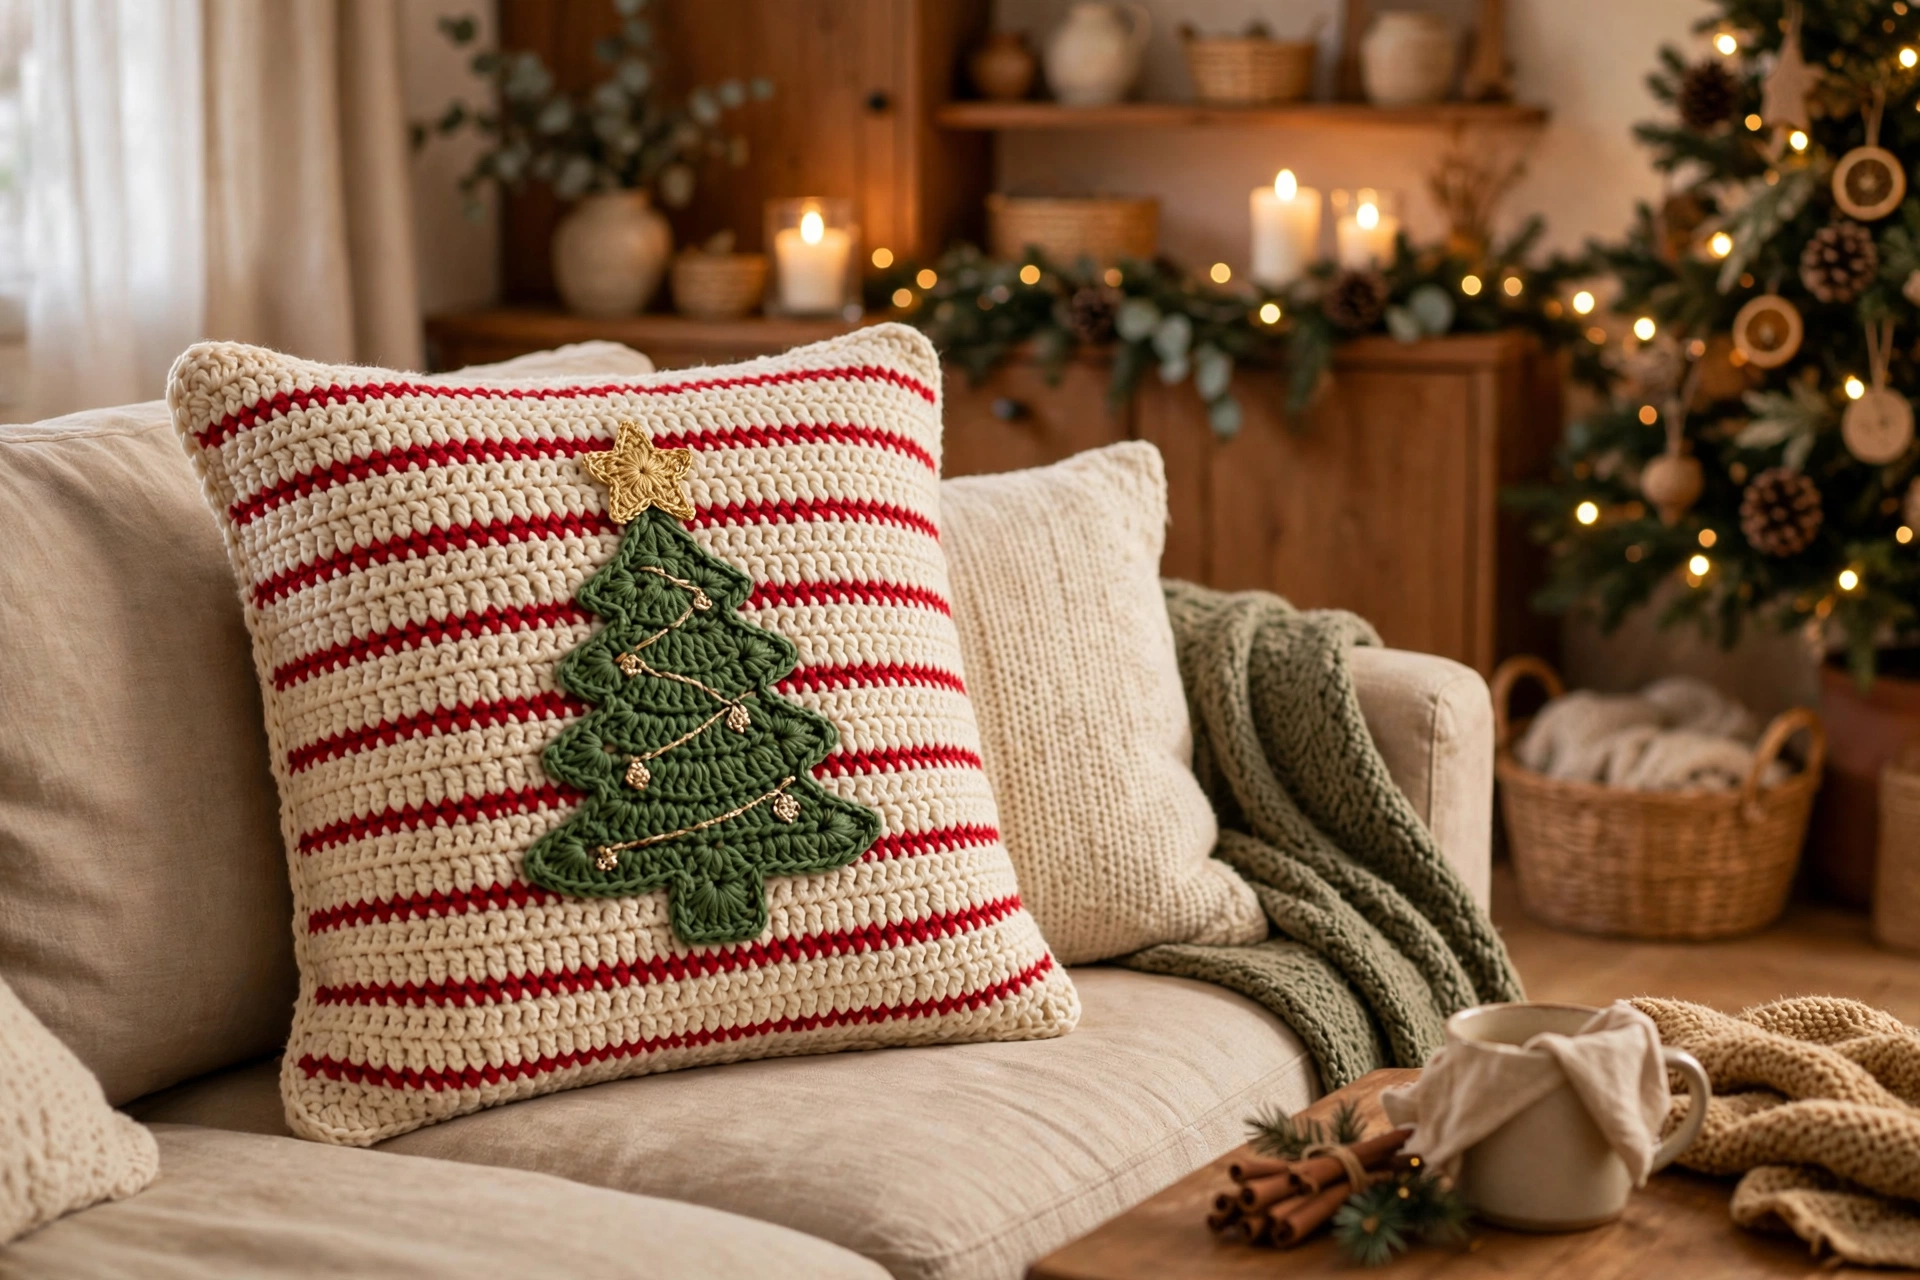
This crochet Christmas pillow is simple, cheerful way to bring season into living room. Front is soft cream panel with red stripes at top and bottom and classic green Christmas tree applique in centre, finished with small star and red baubles. Back uses two overlapping panels, so no buttons or zips — simply slide cushion insert in through envelope opening. Worked in half double crochet, so grows quickly, tree made separately and sewn on, making colour changes easy even if new to applique. Make one for sofa, or pair for matching armchairs.
Materials
Worsted-weight yarn (medium / #4): Cream (main colour) approx. 480 yards (440 m), approx. 260 g; Cranberry red approx. 140 yards (128 m), approx. 75 g; Forest green approx. 110 yards (100 m), approx. 60 g; Brown approx. 20 yards (18 m) for trunk; Gold approx. 10 yards (9 m) for star. 5.5 mm (US I-9) crochet hook. One 16-inch (40 cm) square cushion insert. Tapestry needle, scissors, stitch markers and pins for placing applique.
Gauge
13 half double crochet stitches and 10 rows = 4 inches (10 cm), worked in half double crochet with 5.5 mm hook, unblocked. Check gauge before start: if panel wider than 16 inches, go down hook size; if narrower, go up hook size. Single crochet applique pieces not gauge-critical, but work with same hook and yarn so tree sits neatly on front panel.
Finished Size
Approx. 16 x 16 inches (40 x 40 cm), to fit standard 16-inch (40 cm) square cushion insert snugly.
Abbreviations (US Terms)
ch — chain; sl st — slip stitch; sc — single crochet; hdc — half double crochet; sc2tog — single crochet two together (decrease); st(s) — stitch(es); RS — right side; WS — wrong side; rep — repeat. Pattern notes: Turning chain does not count as stitch unless stated. At end of each row, stitch count given in parentheses where count changes or to confirm row. Work front and back panels with right side facing on odd-numbered rows.
Pattern — Front Panel
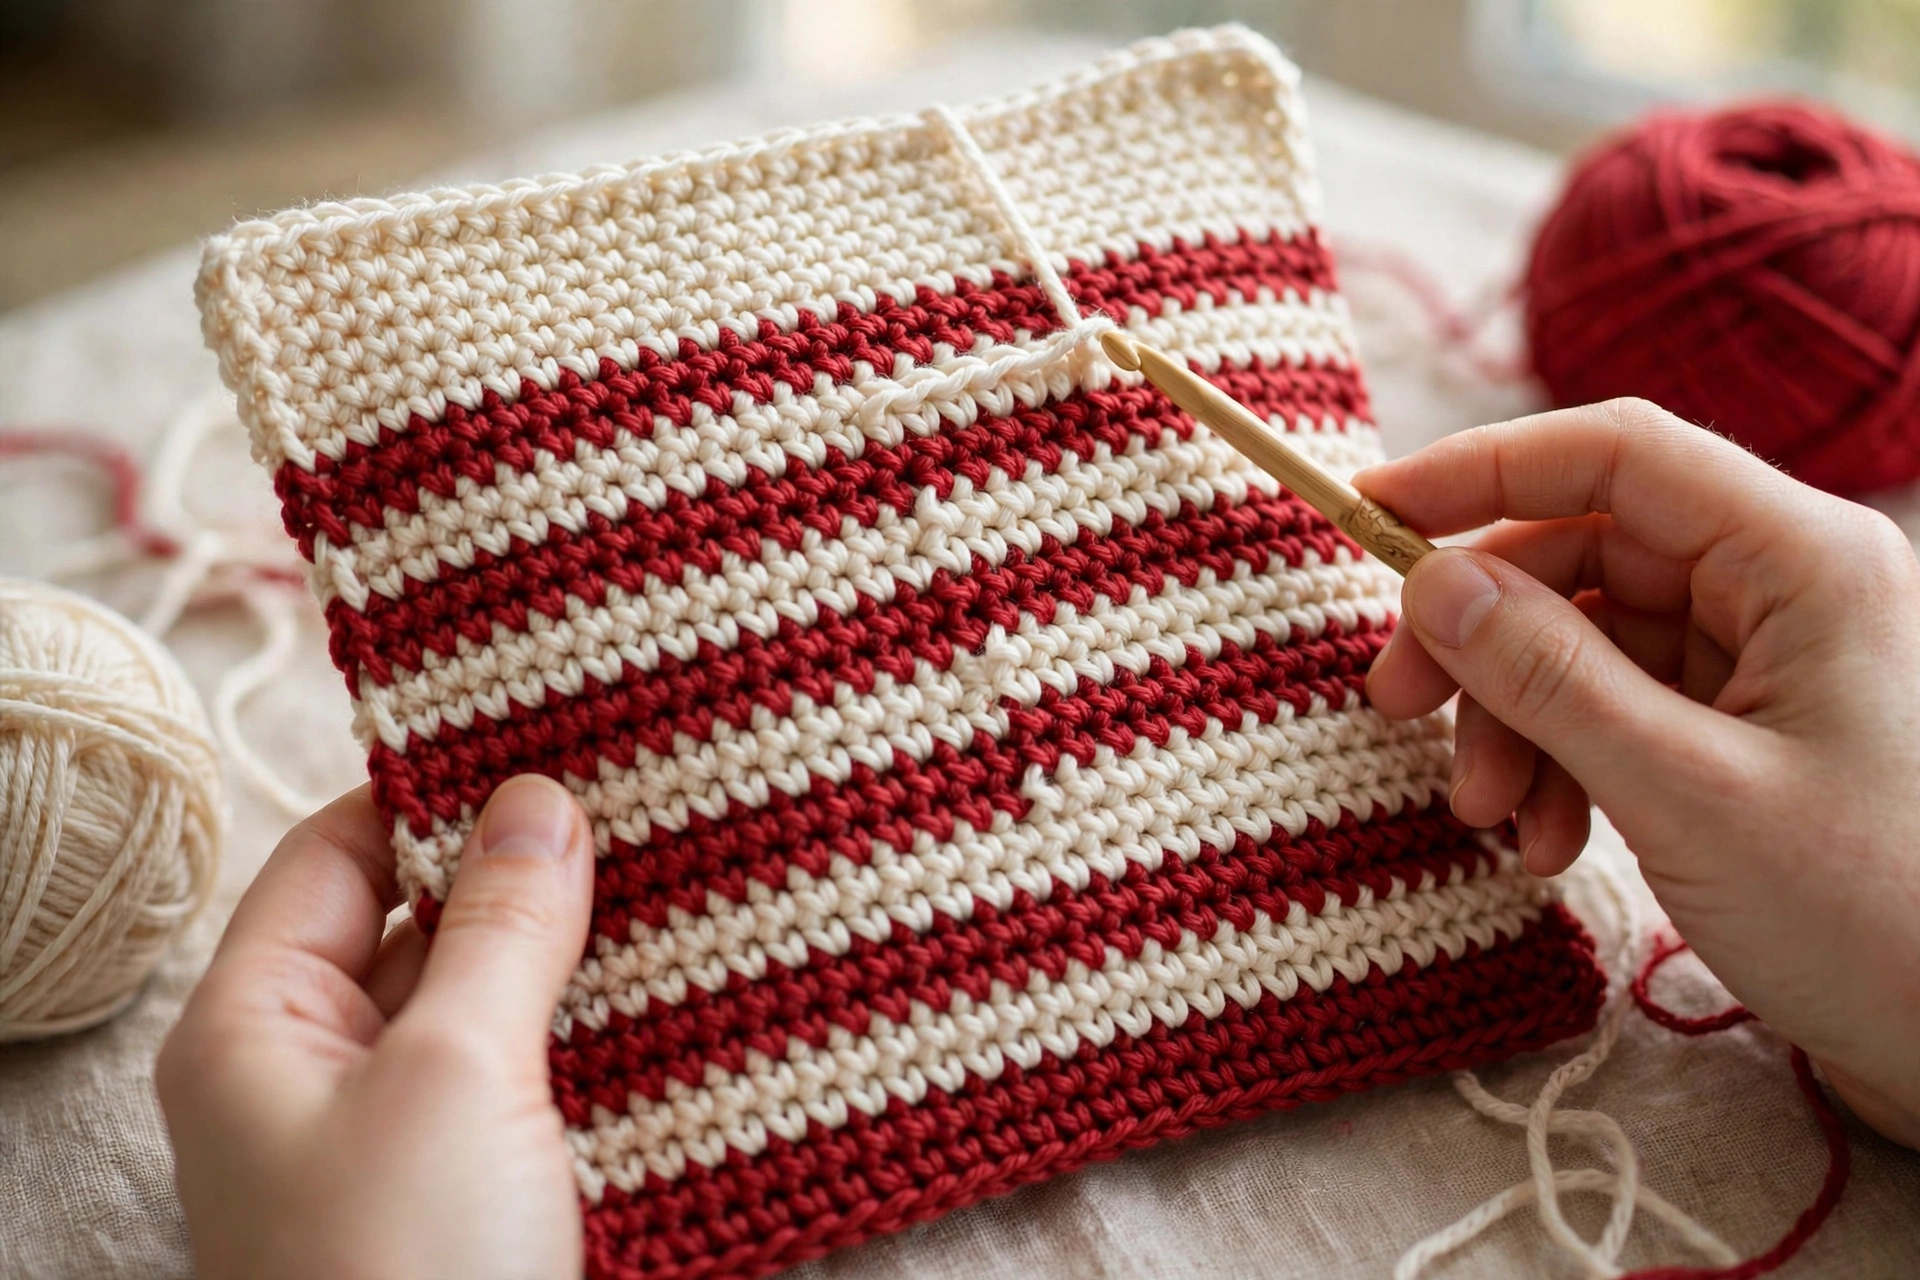
Worked bottom to top in rows of half double crochet. Bottom four rows red, middle cream, top four rows red. Bottom stripe — red: Ch 54. Row 1: Hdc in 3rd ch from hook and in each ch across. (52 hdc). Rows 2–4: Ch 2, turn, hdc in each st across. (52 hdc per row). Main field — cream: Join cream at end of Row 4. Rows 5–36: Ch 2, turn, hdc in each st across. (52 hdc per row). That is 32 rows cream. Together panel now 36 rows tall. Top stripe — red: Join red at end of Row 36. Rows 37–40: Ch 2, turn, hdc in each st across. (52 hdc per row). Fasten off and weave in ends. Front panel complete: 52 stitches wide and 40 rows tall.
Back Panels (Envelope Back, Make 2)
Both back panels worked in cream and identical. Each 52 stitches wide and 26 rows tall. When layered over front panel, they overlap in middle by equivalent of 12 rows, leaving opening for insert. Ch 54. Row 1: Hdc in 3rd ch from hook and in each ch across. (52 hdc). Rows 2–26: Ch 2, turn, hdc in each st across. (52 hdc per row). Fasten off and weave ends. Make second panel exactly same way. Check: 26 + 26 − 12 overlap = 40 rows, same height as front panel.
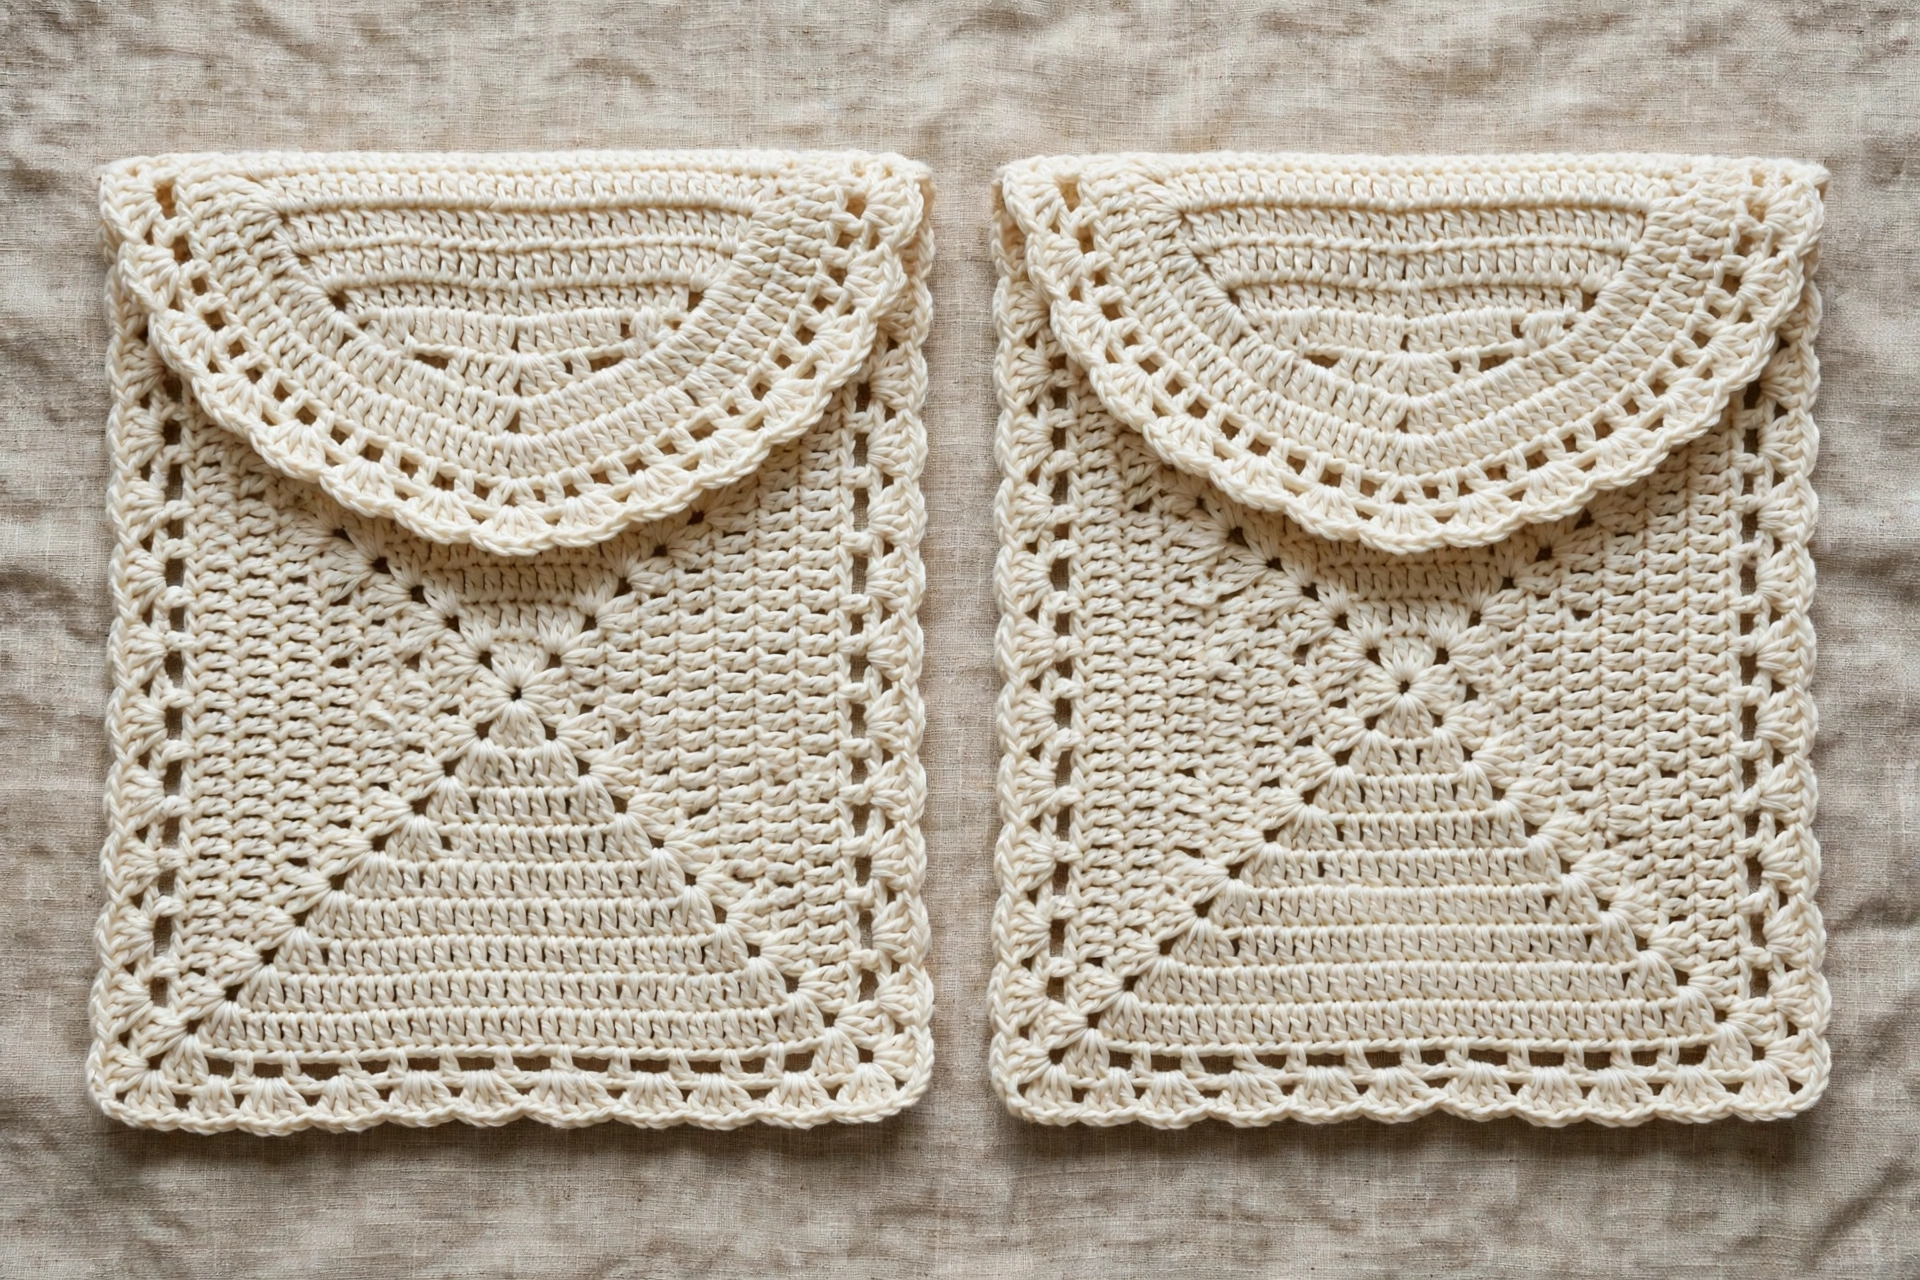
Christmas Tree Applique (Forest Green)
Worked bottom to top in rows of single crochet. Decrease rows reduce count by 2; straight rows keep count same. Ch 34. Row 1: Sc in 2nd ch from hook and in each ch across. (33 sc). Row 2: Ch 1, turn, sc in each st across. (33 sc). Row 3: Ch 1, turn, sc2tog, sc in each st across to last 2 sts, sc2tog. (31 sc). Row 4: sc across. (31 sc). Row 5: decrease both ends. (29 sc). Row 6: sc across. (29 sc). Row 7: decrease. (27 sc). Row 8: sc across. (27 sc). Row 9: decrease. (25 sc). Row 10: sc across. (25 sc). Row 11: decrease. (23 sc). Row 12: sc across. (23 sc). Row 13: decrease. (21 sc). Row 14: sc across. (21 sc). Row 15: decrease. (19 sc). Row 16: sc across. (19 sc). Row 17: decrease. (17 sc). Row 18: sc across. (17 sc). Row 19: decrease. (15 sc). Row 20: sc across. (15 sc). Row 21: decrease. (13 sc). Row 22: sc across. (13 sc). Row 23: decrease. (11 sc). Row 24: sc across. (11 sc). Row 25: decrease. (9 sc). Row 26: sc across. (9 sc). Row 27: decrease. (7 sc). Row 28: sc across. (7 sc). Row 29: decrease. (5 sc). Row 30: sc across. (5 sc). Row 31: Ch 1, turn, sc2tog, sc in next st, sc2tog. (3 sc). Row 32: Ch 1, turn, sc in each st across. (3 sc). Fasten off, leaving long tail for sewing if wish. Finished tree approx. 9 inches wide at base and approx. 7.5 inches tall. Note: each decrease row is sc2tog at start and end, straight row is sc in each st across.
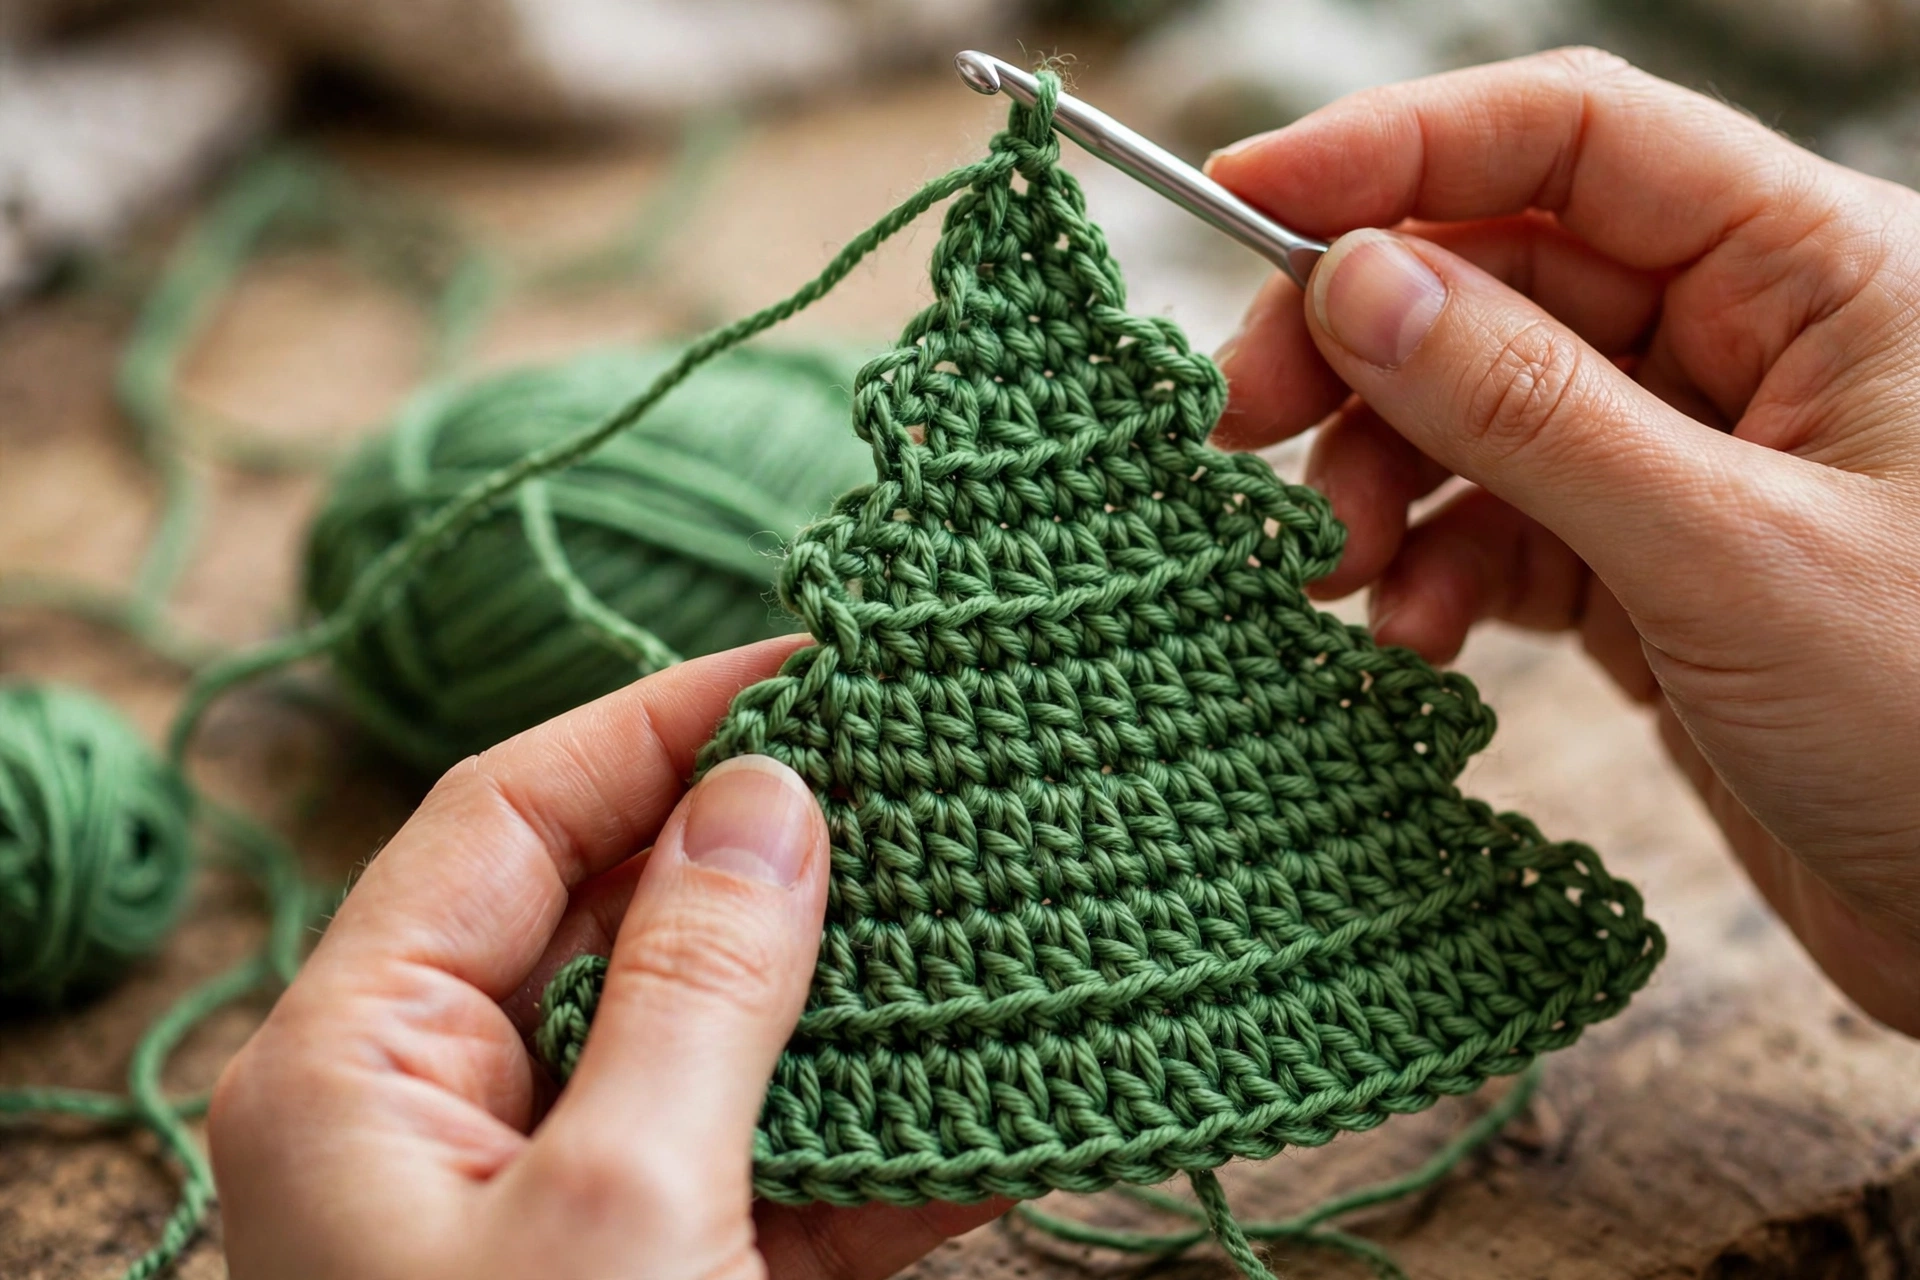
Trunk (Brown)
Ch 6. Row 1: Sc in 2nd ch from hook and in each ch across. (5 sc). Rows 2–5: Ch 1, turn, sc in each st across. (5 sc per row). Fasten off, leaving tail for sewing.
Baubles (Red, Make 6)
Worked in round. Do not join at end of Round 1; work Round 2 directly into stitches of Round 1, using stitch marker if helps. Round 1: Work 6 sc into magic ring. (6 sc). Round 2: Work 2 sc in each st around. (12 sc). Sl st in next st to close, fasten off, leave tail for sewing. Make 6 baubles total.
Star Topper (Gold)
Worked in round, then into points. Round 1: Work 5 sc into magic ring, sl st to first sc to join. (5 sc). Points: *Ch 3, sc in 2nd ch from hook, hdc in next ch, sl st in next st of Round 1; rep from * 4 more times, for 5 points total. Fasten off, leaving tail for sewing.
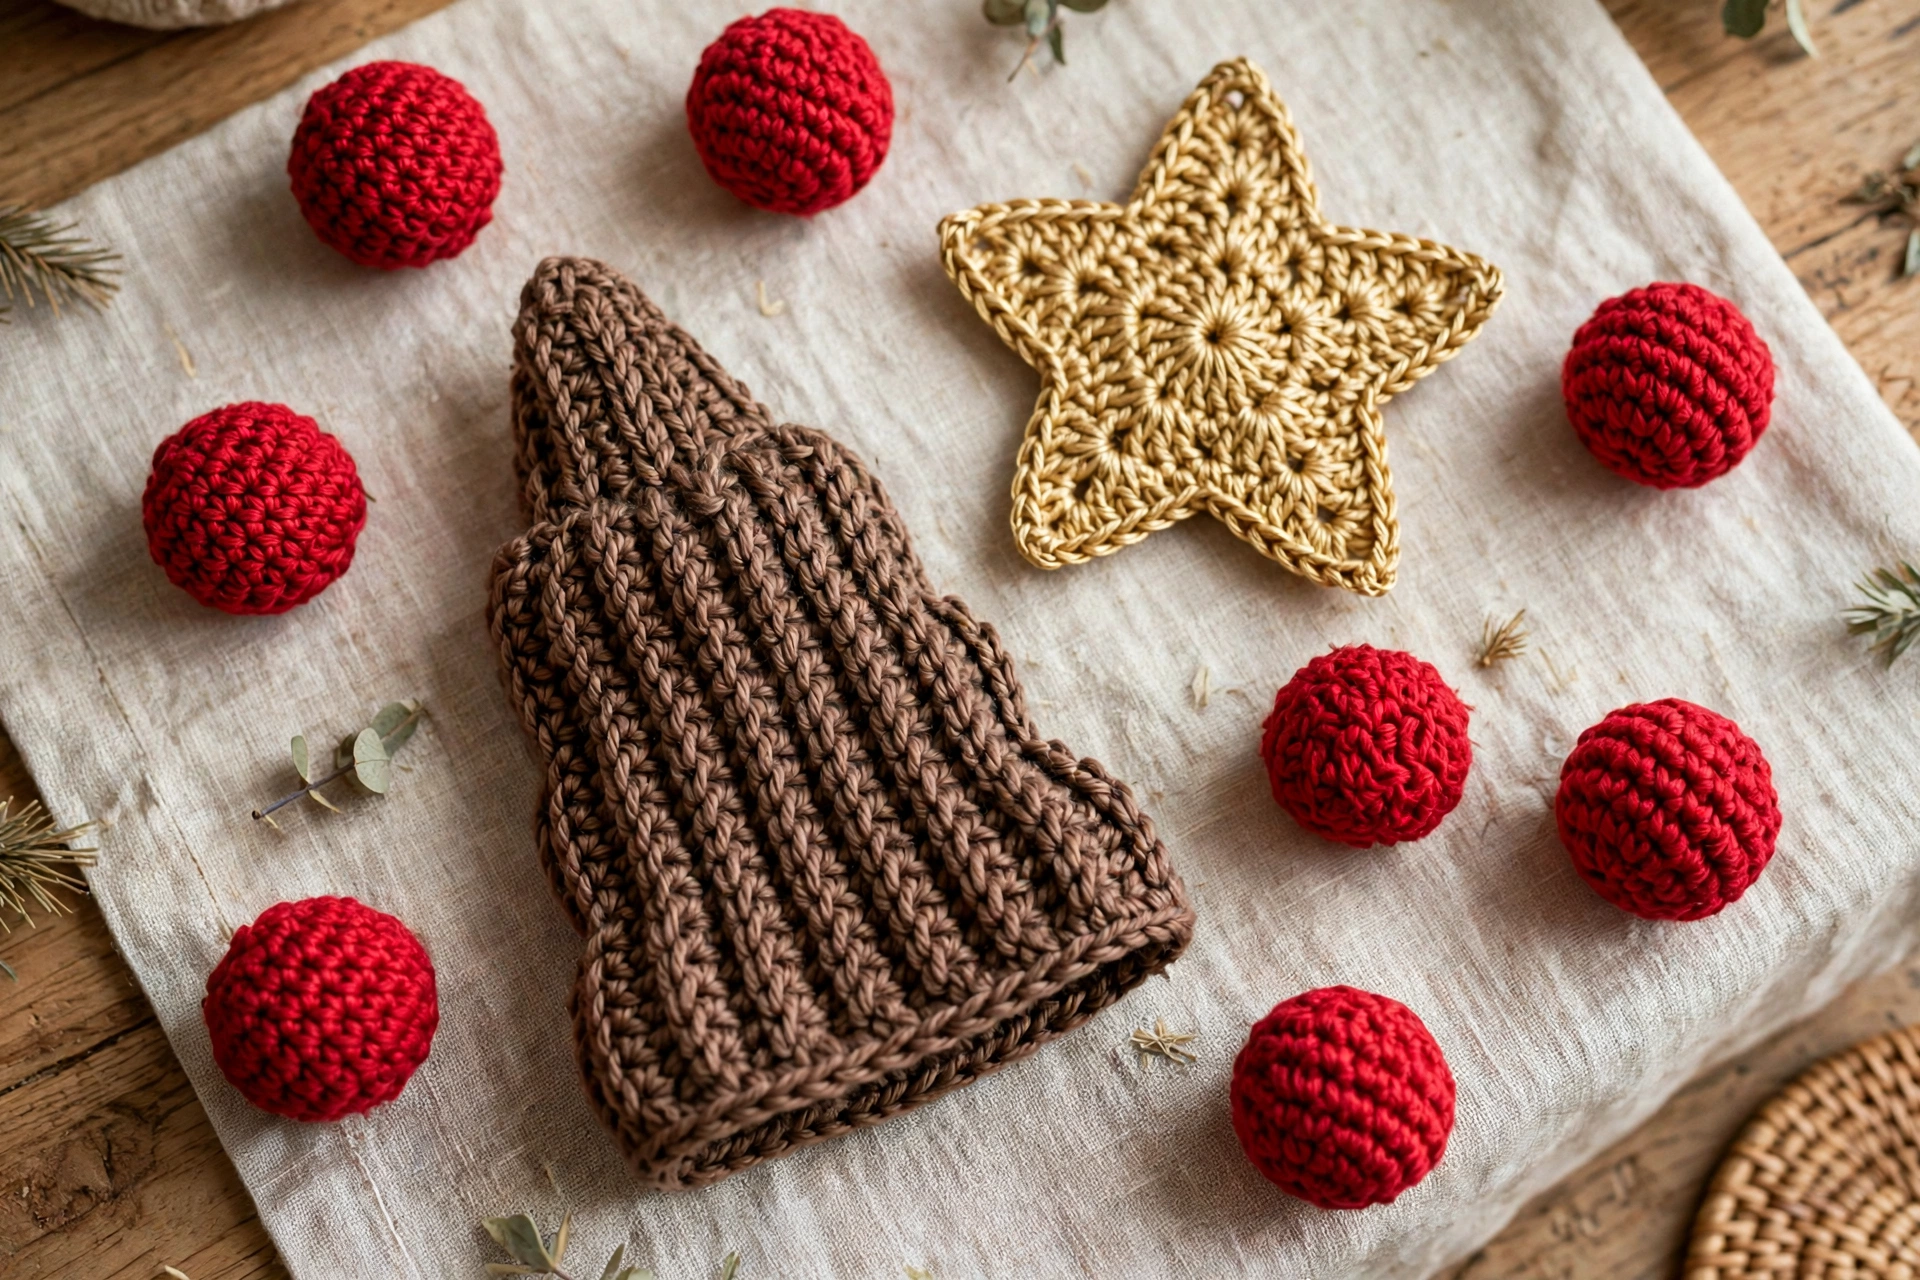
Finishing and Assembly — Sew Applique to Front Panel
1. Lay front panel right side up, red stripe at bottom and red stripe at top. 2. Place trunk in centre of cream field, lower edge about 2.5 inches above bottom red stripe. 3. Place tree directly above trunk, centred left to right, tree base sits just above trunk and tree point faces top stripe. 4. Place star at top point of tree. 5. Pin trunk, tree, star in place, sew each piece to front panel with tail yarn and tapestry needle, working just inside edge of each piece so stitches do not show on front. 6. Arrange 6 red baubles evenly over tree, pin, sew each on same way. Weave in all remaining ends on wrong side of front panel.
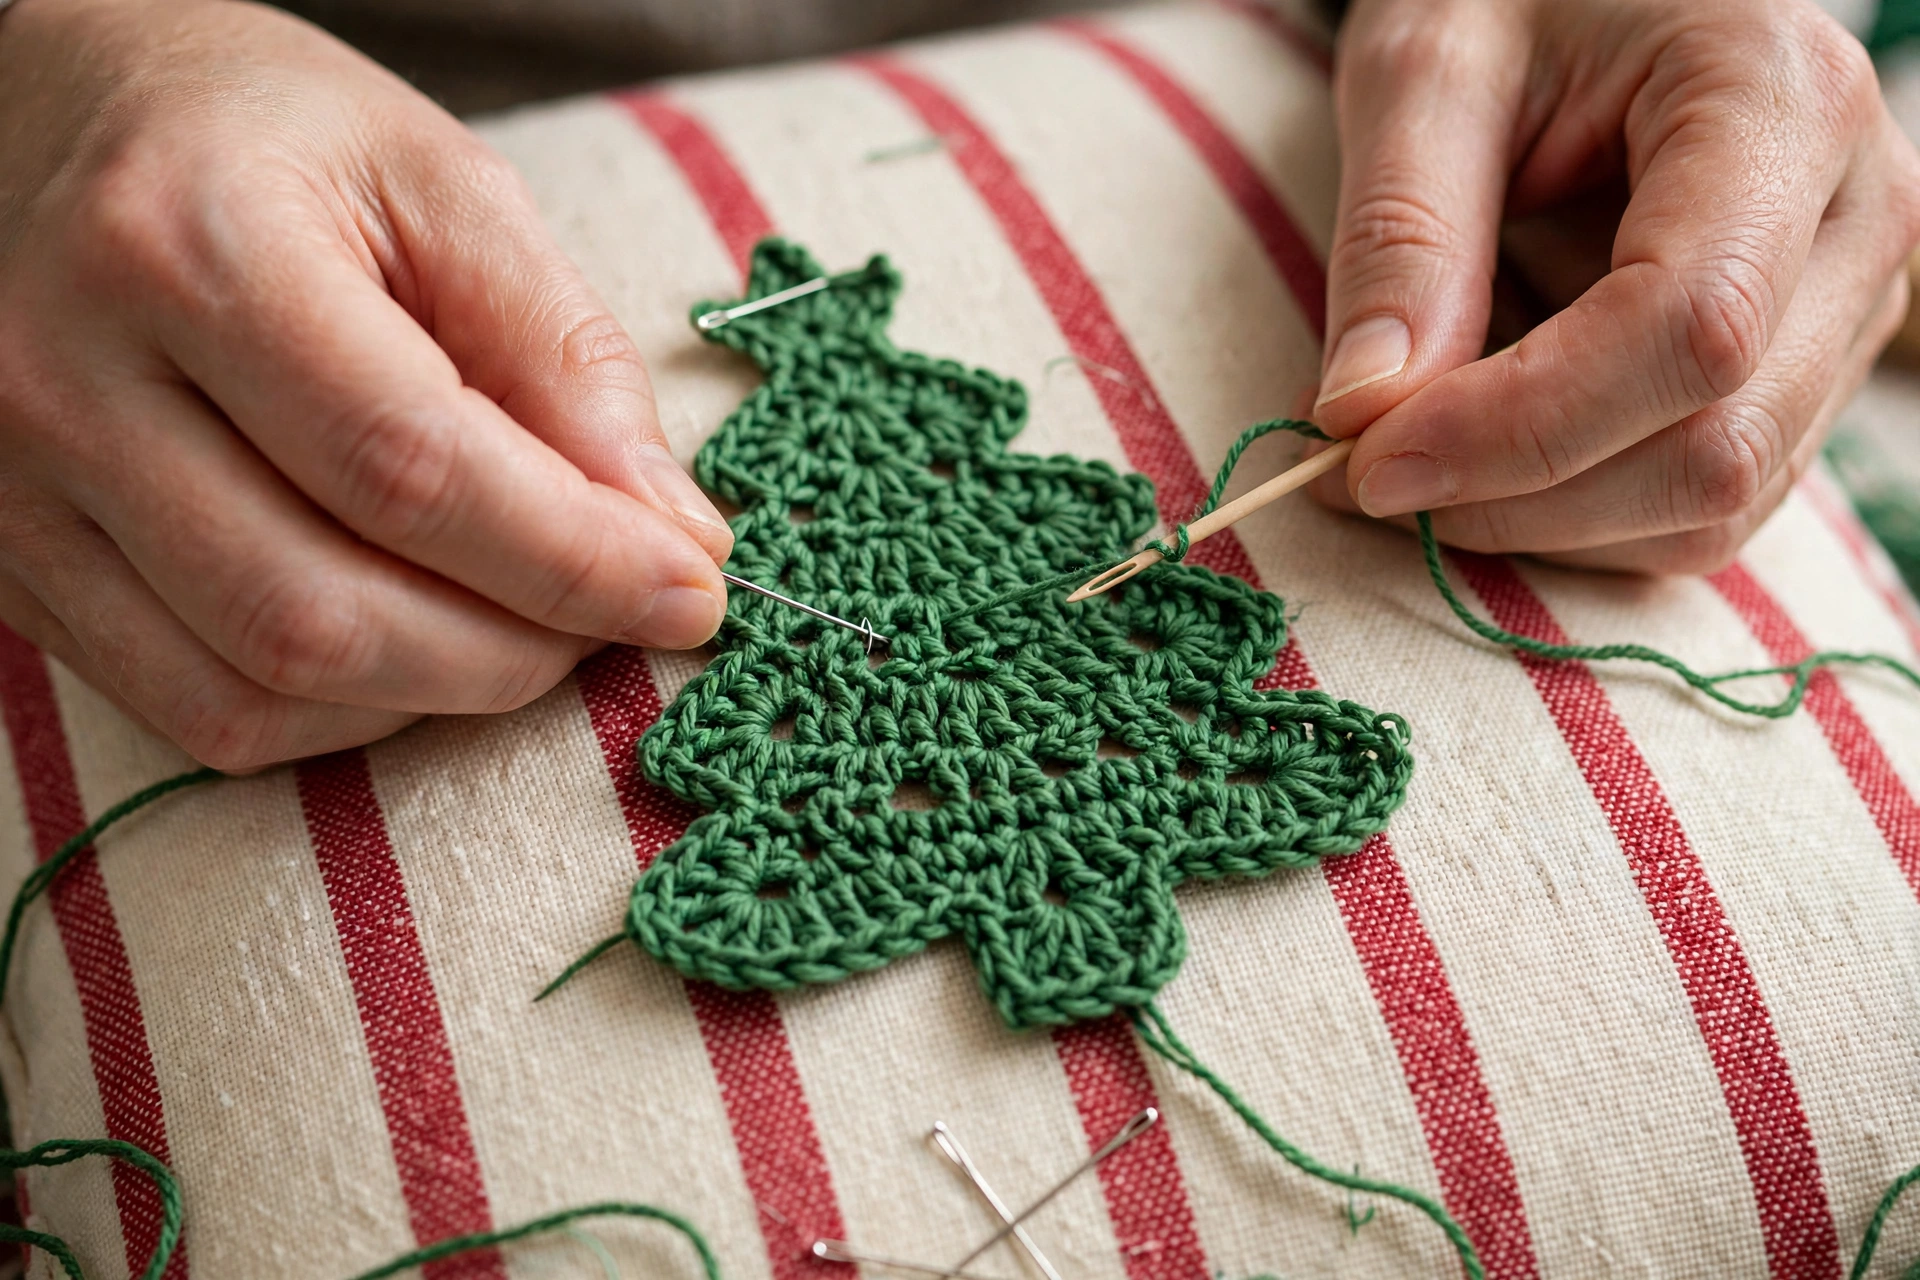
Join Cover and Fit Insert
Envelope back, no zip or buttons needed. 1. Lay finished front panel right side up on flat surface. 2. Place one back panel right side down over front panel, lining up lower edge and side edges with front panel. This panel covers bottom half of pillow. 3. Place second back panel right side down over front panel, lining up upper edge and side edges with front panel. It will overlap first back panel in middle by about 12 rows. Pin all around outer edge.
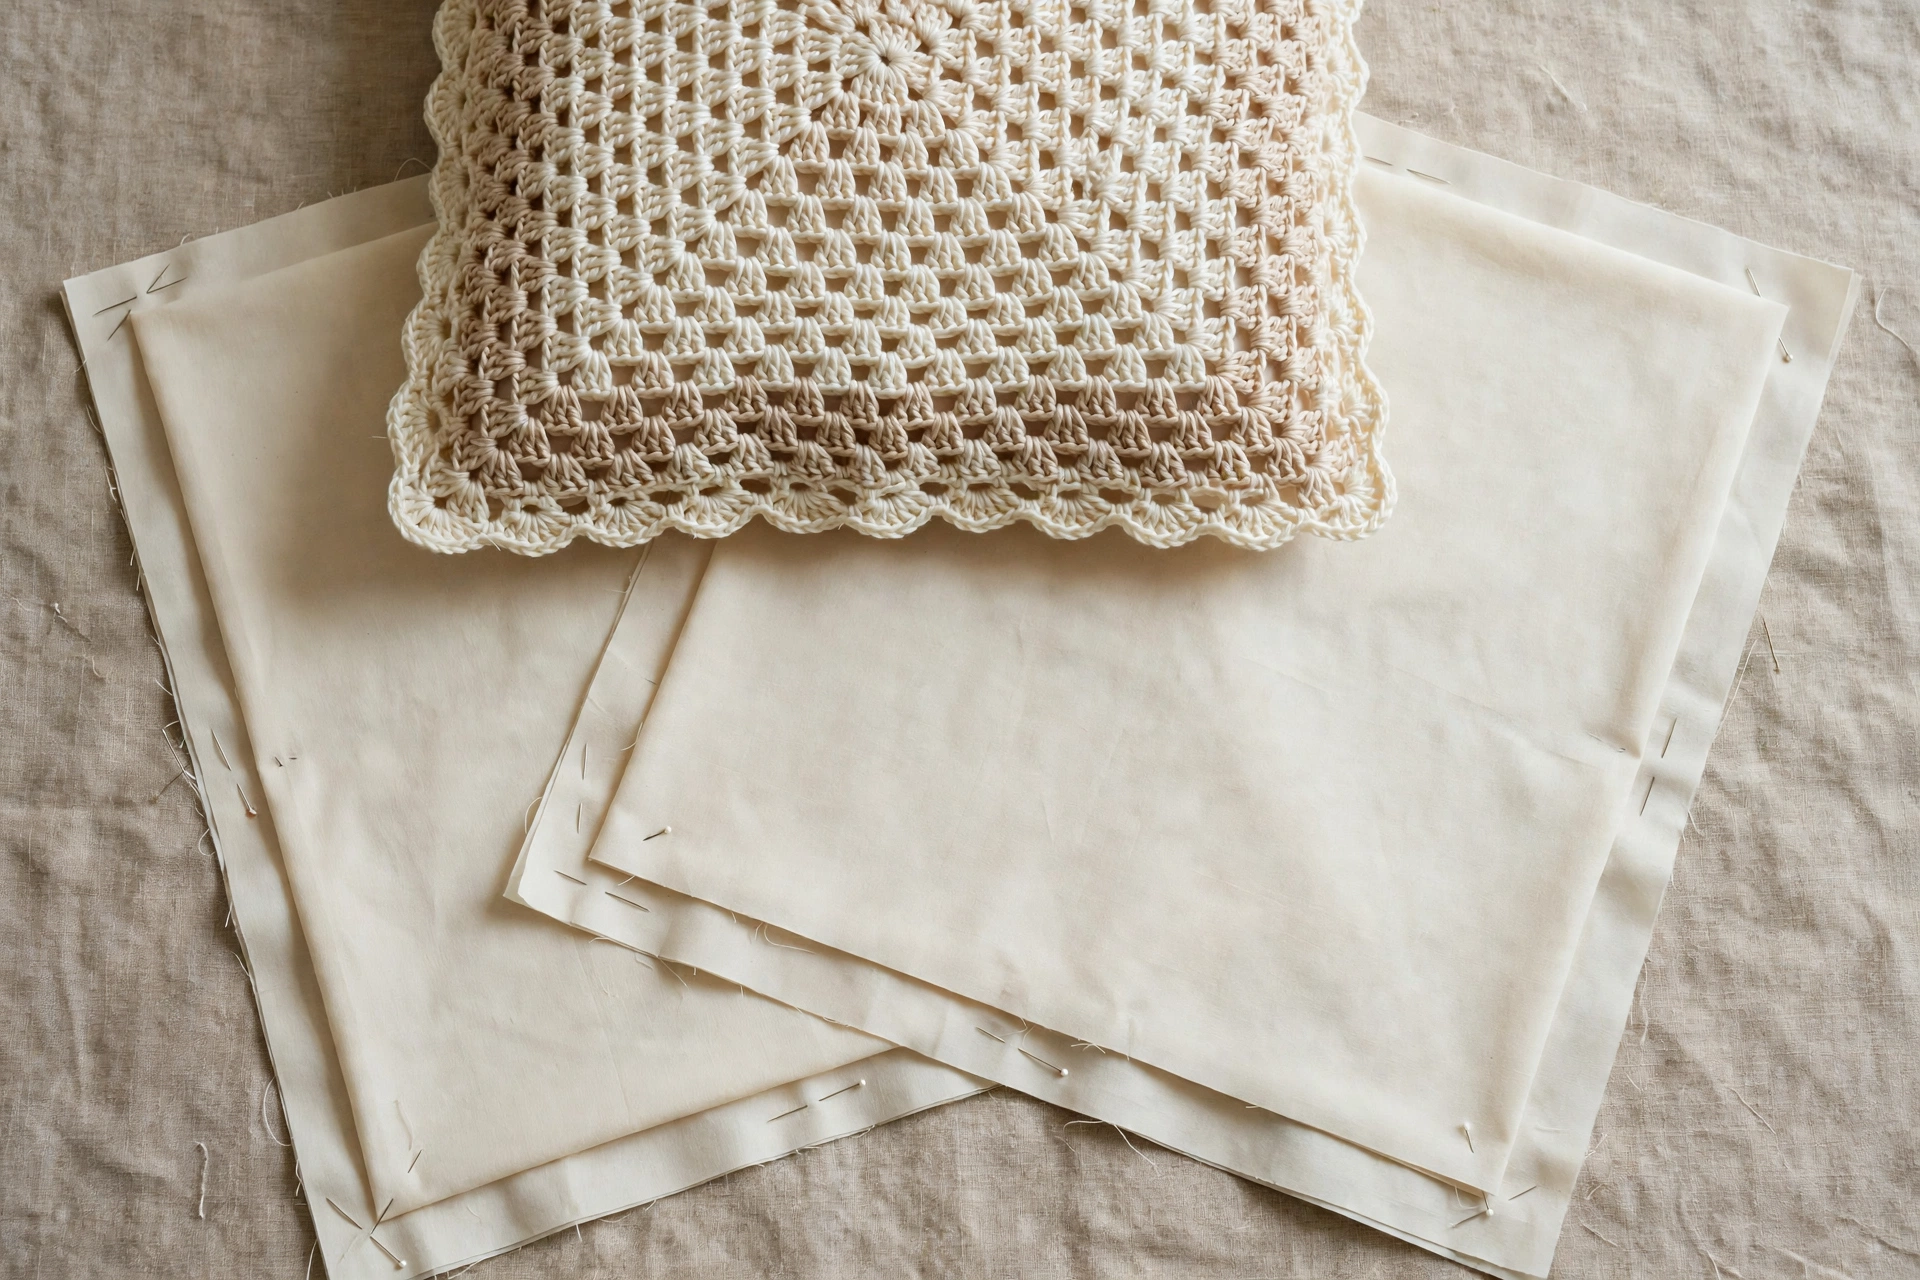
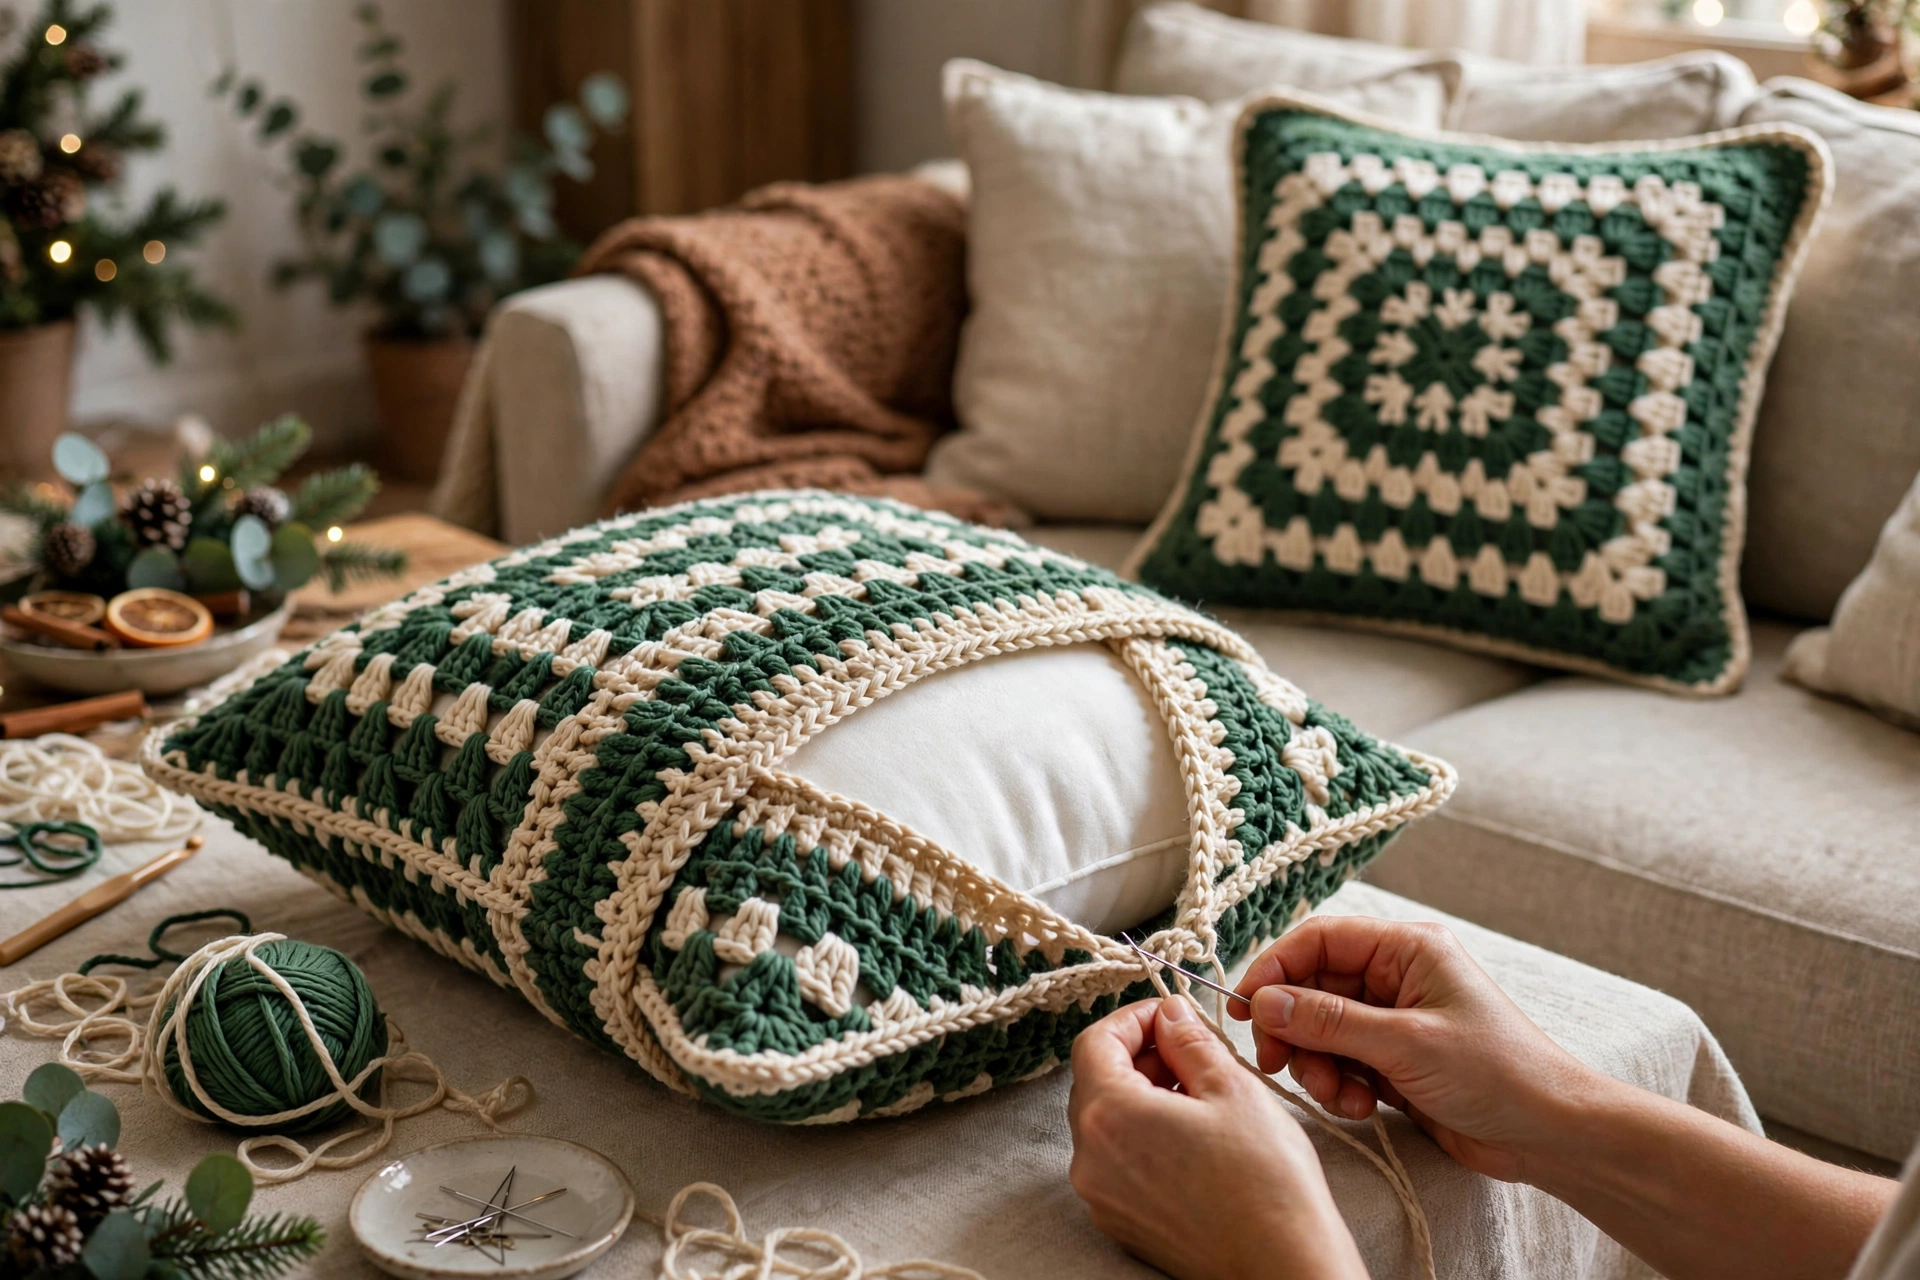
4. Using cream yarn and tapestry needle, whip stitch (or mattress stitch) around all four outer edges through both layers, keeping stitches even and close to edge. Do not sew overlapping back panels together in middle — that overlap is opening. 5. Turn cover right side out through back opening. Push corners out gently so cover is square. 6. Slide 16-inch cushion insert in through back opening, pushing fully into corners. Smooth two back flaps flat over insert so they overlap neatly in middle. Cover ready to use.
Tips
Count first row of each panel carefully — if front panel starts with 52 hdc, every following row should also have 52 unless pattern says otherwise. Keep tree applique flat while sewing on — pinning first stops points curling or shifting. If back panels feel tight when turning cover, check you have not accidentally caught overlap in side seams. For fuller look, use insert same size as cover, rather than smaller; slightly plump insert fills corners best. Spot clean or hand wash gently and lay flat to dry to keep applique flat and stripes even.
FAQ
What size cushion insert does pattern fit? Standard 16-inch (40 cm) square; finished cover approx. 16 x 16 inches. Do I need zip or buttons? No, back is two overlapping panels, cover closes by itself and insert slides in through middle overlap. Can beginner make pillow? Yes, panels simple half double crochet rows, tree single-colour triangle with easy decreases; sewing applique on only step needing little patience. Can I change colours? Yes, keep same yarn weight and hook size so size stays same, choose any festive combination — e.g. green front panel with cream tree, or different stripe colours. How do I wash finished pillow? Remove insert first, hand wash cover gently, reshape while damp, lay flat to dry.