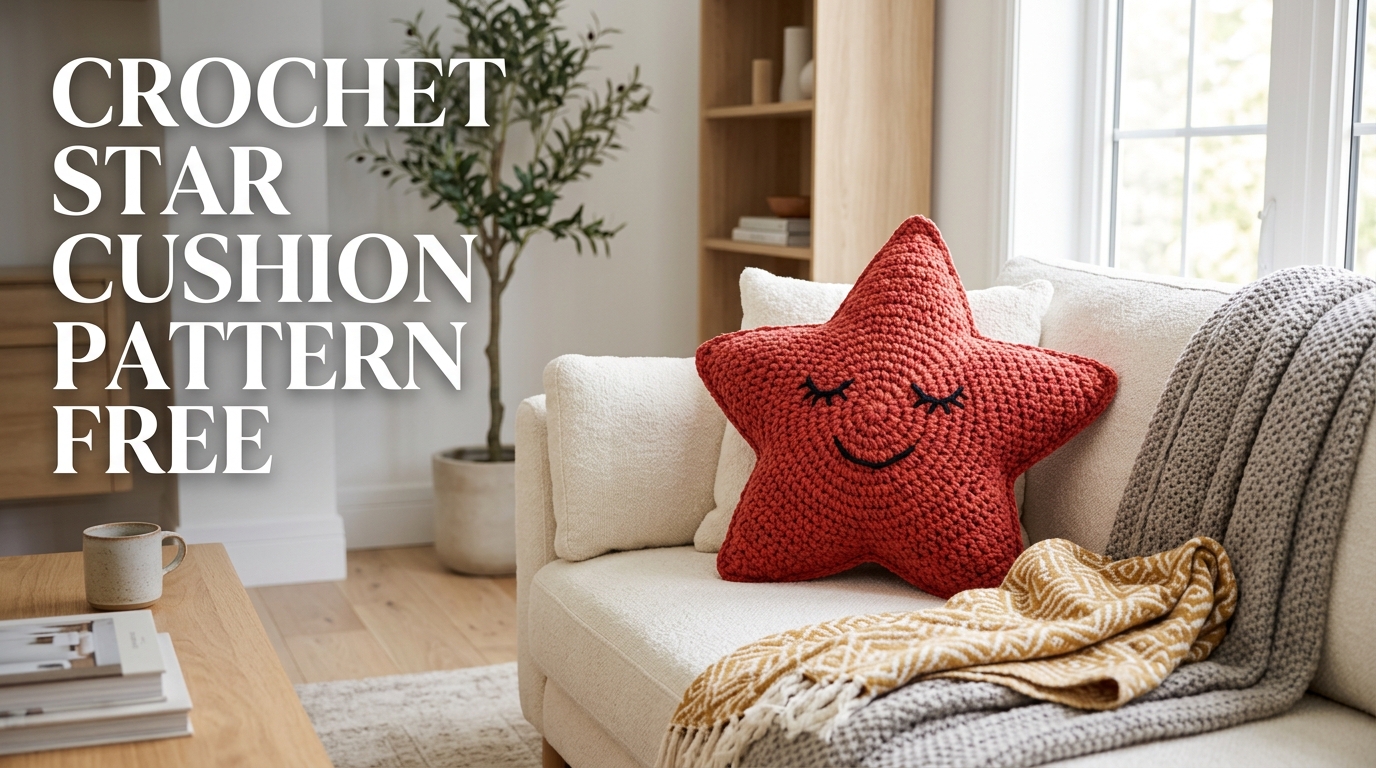
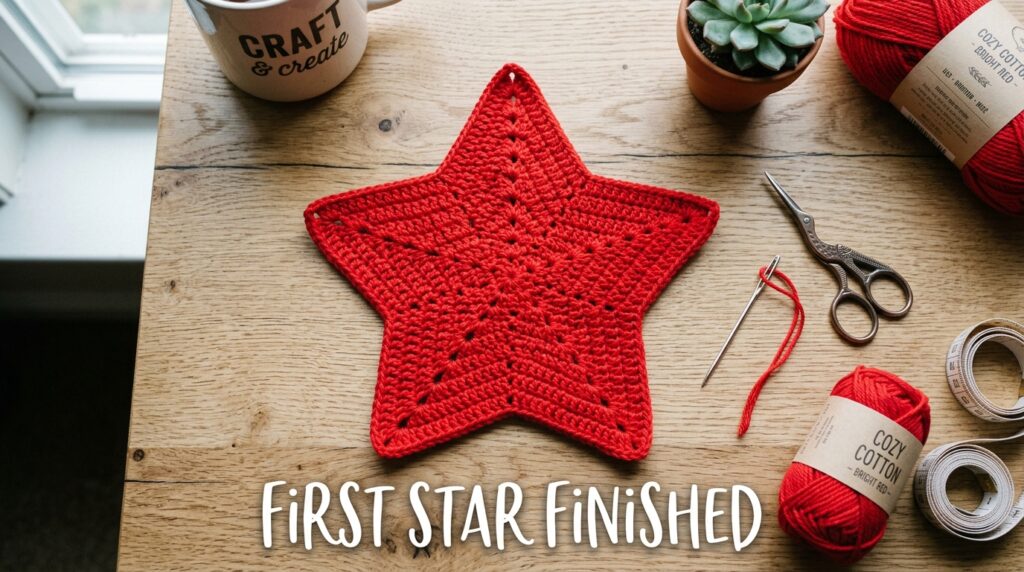
Looking for a crochet project that’s both cute and practical? This crochet star cushion is a fun way to add handmade personality to your home. With its soft stuffed shape and playful design, it’s perfect for decorating a nursery, brightening up a sofa, or creating a thoughtful handmade gift.
What makes this project especially enjoyable is that it only requires two matching star panels joined together. The shaping is simple, the stitches are beginner-friendly, and the finished result looks far more impressive than the techniques involved.
Why This Star Cushion Is Worth Making
After making several decorative crochet pillows over the years, star cushions remain one of the most satisfying projects. They work up fairly quickly, use basic stitches, and instantly become a focal point wherever they’re displayed.
This design can be customized endlessly. Use bright colors for a playful kids’ room, soft neutrals for modern home décor, or pastel shades for a dreamy nursery accessory.
Supplies You’ll Need
Before getting started, gather the following materials:
- Cotton or acrylic yarn
- 3.5 mm crochet hook
- Polyester fiberfill stuffing
- Stitch markers
- Scissors
- Tapestry needle
- Black yarn for optional facial details
Many crocheters enjoy holding two strands together throughout the project to create a thicker and more plush cushion.
Crochet Abbreviations
- MR = Magic Ring
- SC = Single Crochet
- INC = Increase (2 SC in the same stitch)
- DEC = Decrease
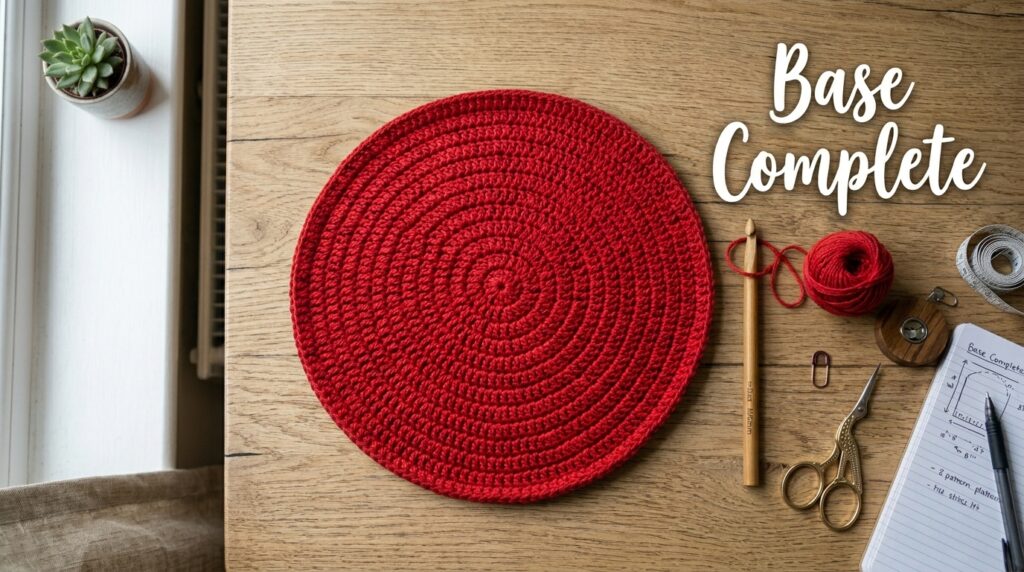
Building The Center Of The Star
The project begins with a circular foundation that gradually grows larger through evenly spaced increases. This circle becomes the base from which all five star points are created.
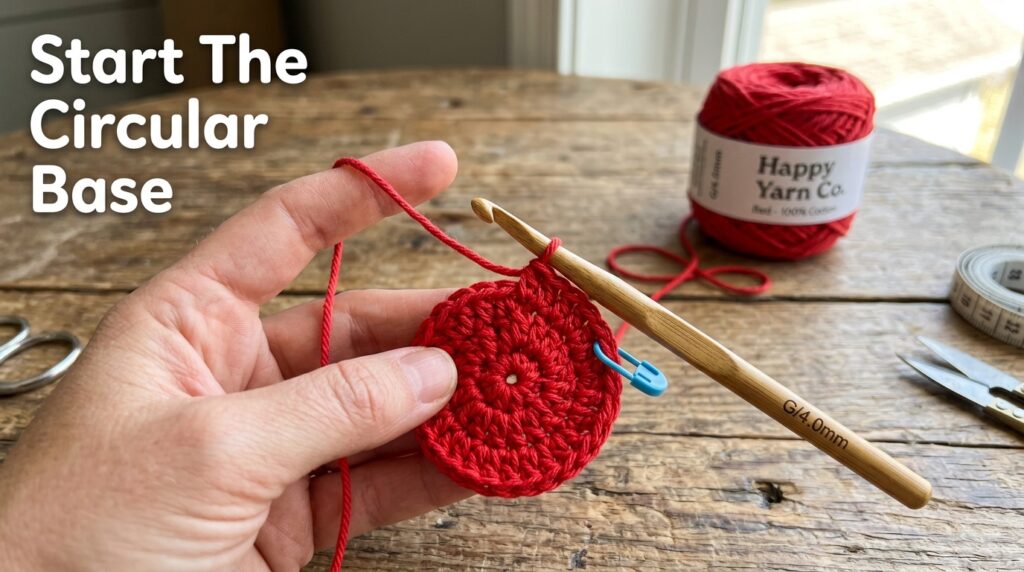
Round 1
Create a magic ring and work 6 SC into the center.
(6)
Round 2
Work an increase in every stitch.
(12)
Round 3
Alternate 1 SC and 1 INC around.
(18)
Round 4
Work 2 SC, then an increase around.
(24)
Round 5
Work 3 SC, then an increase around.
(30)
Round 6
Work 4 SC, then an increase around.
(36)
Round 7
Work 5 SC, then an increase around.
(42)
Round 8
Work 6 SC, then an increase around.
(48)
Round 9
Work 7 SC, then an increase around.
(54)
Round 10
Work 8 SC, then an increase around.
(60)
Fasten off once the circle reaches its final size.
Creating The Signature Star Points
The magic of this cushion happens here. Rather than continuing in rounds, you’ll begin working back and forth in rows to form the five points of the star.
Each point starts with a section of 12 stitches from the outer edge of the circle.

Row 1
SC across 12 stitches.
Row 2
Turn and SC back across.
Row 3
Decrease one stitch at each side of the row.
(10)
Row 4
SC across.
(10)
Row 5
Decrease at both ends.
(8)
Row 6
SC across.
(8)
Row 7
Decrease at both ends.
(6)
Row 8
SC across.
(6)
Row 9
Decrease at both ends.
(4)
Row 10
SC across.
(4)
Row 11
Decrease at both ends.
(2)
Fasten off and weave in the yarn tail.
Repeat this process until all five points have been created around the circle.
Make A Matching Second Star
To transform the project into a cushion, you’ll need a second identical star panel.
Simply repeat the center circle and five-point construction a second time.
Try to keep your tension consistent so both pieces match as closely as possible.
Joining The Cushion Together
Place both stars together with the right sides facing outward.
Using single crochet stitches, join the edges around the entire star.
As you reach each point, add an extra stitch at the tip if needed to help maintain the rounded shape and prevent pulling.
Continue joining until only a small opening remains.
Stuffing For The Best Shape

Before closing the final section, fill the cushion with fiberfill.
Pay special attention to the star points. Gently push stuffing into each tip so the entire cushion looks evenly filled.
Avoid overstuffing, as this can distort the shape of the points.
Once satisfied, finish crocheting the remaining opening closed.
Adding Personality
One of the most enjoyable parts of this project is customizing it.
A simple embroidered face can completely transform the cushion.
Using black yarn, stitch:
- Two small oval eyes
- A curved smile
- Optional eyelashes or rosy cheeks
These little details make the star especially cute for children’s rooms.
Optional Decorative Tassel
For extra texture, attach a small yarn tassel to one of the points.
This tiny finishing touch adds movement and gives the cushion a playful handmade look.
Simply knot several strands together, attach them securely, and trim evenly.
Helpful Tips For Success
- Use stitch markers to keep track of increase rounds.
- Keep both star panels the same size for easier assembly.
- Push stuffing into each point before filling the center.
- Cotton yarn creates a firmer cushion, while acrylic produces a softer finish.
- Bright colors tend to highlight the star shape beautifully.
Final Thoughts
This crochet star cushion is one of those projects that manages to be both decorative and practical. The simple construction makes it approachable for newer crocheters, while the finished shape feels unique enough to impress. Whether displayed on a sofa, nursery chair, or bed, it’s a handmade piece that instantly adds warmth and personality to any space.