
Larks Foot Stitch Crochet Pattern: Learn It in 8 Easy Steps
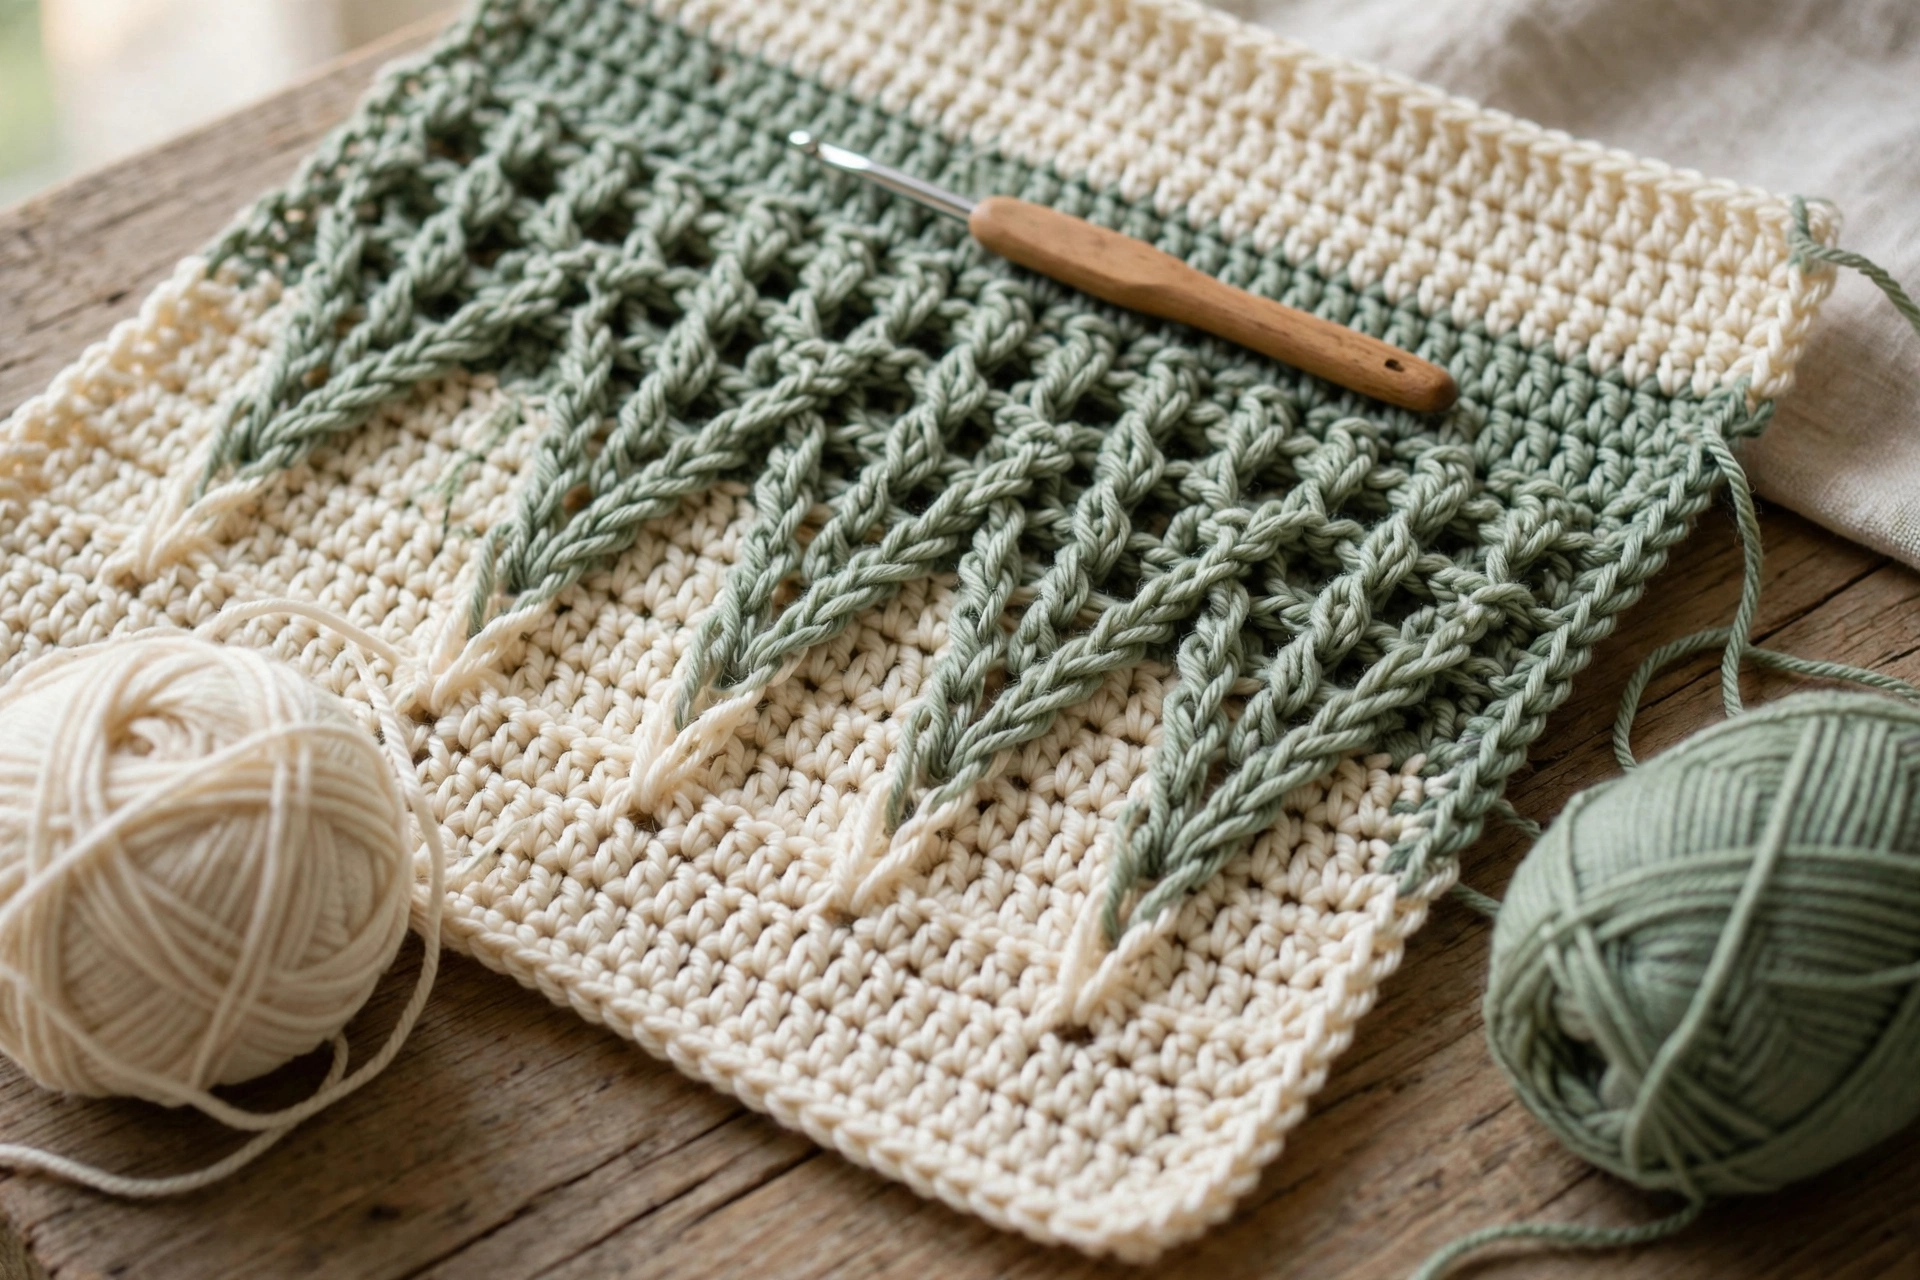
The larks foot stitch is one of those stitch patterns that looks far more complicated than it really is. Long spike stitches drop down through the rows below and lean together in neat V shapes, so the finished fabric is covered in little tracks that look like birds’ footprints – which is exactly how the larks foot stitch got its name. If you can work a double crochet, you can make this stitch. The only new skill is pulling one stitch taller than all the others.
This pattern is written out row by row, with the stitch count checked at the end of every row, so you can learn the stitch on a small practice swatch and then keep going straight into the cushion front that follows. For another texture built from simple moves, see my honeycomb stitch crochet pattern.
Materials and Tools
- Worsted/aran weight yarn (weight 4). The Craft Yarn Council’s standard yarn weight system explains the numbers on a yarn band if you are unsure. A smooth yarn with good stitch definition shows the larks foot stitch at its best – avoid fluffy yarns for your first attempt.
- For the cushion: Colour A (cream), approx 600 m (655 yd); Colour B (sage green), approx 130 m (142 yd). For a practice swatch, two small leftover balls are plenty.
- Crochet hook: 5.5 mm (US I-9)
- Stitch markers
- Yarn needle and scissors
- For the cushion: a 40 cm (16 in) square cushion pad and a plain back panel (worked in Step 7)

- Premier Yarns Basix: Perfect your knitting and crocheting skills with Premier Yarns Basix Worsted, this yarn is great fo…
- Acrylic Yarn: Crafted from 100% acrylic, our yarn for crocheting and knitting is one of the highest quality yarns, allow…
- Ideal Knitting and Crochet Supplies: Perfect for knitting and crocheting, this acrylic yarn can be used by both experien…
A smooth aran or worsted yarn in a light, plain colour is the kindest choice while you learn this stitch, because every spike stands out clearly against the rows below. Cream, stone and pale grey all work well as the main colour and pair with almost any contrast shade. Check the yardage on the ball band before you start the cushion, as ball sizes vary between brands.

- Easy grip handle
- Amour means love
- Love crochet
You will be pulling long loops up through your work on every spike row, so a hook with a smooth throat makes a real difference. An ergonomic 5.5 mm hook with a soft grip is comfortable for longer sessions, and a polished tip helps the tall spike stitches slide off without splitting the yarn.
Gauge, Size and Abbreviations
Gauge: 16 stitches and 9 rows = 10 cm (4 in) over the larks foot stitch pattern, using a 5.5 mm hook.
Stitch multiple: the pattern is worked over a multiple of 4 + 3 stitches. Chain your multiple of 4 + 3, then add 2 extra chains for the turning chain.
Finished cushion front: 40 × 40 cm (16 × 16 in).
Abbreviations (US terms):
- ch = chain
- dc = double crochet
- st(s) = stitch(es)
- rep = repeat
- RS = right side
- tch = turning chain
- spike dc = the long double crochet explained in Step 3
How to Crochet the Larks Foot Stitch
Work through the steps in order. Steps 1 to 4 build one full repeat of the stitch, Step 5 shows you how to keep repeating it, and Steps 6 to 8 turn your practise piece into a finished cushion.
Step 1: Foundation Chain and First Double Crochet Row
Using Colour A, chain 65. That is 63 chains for your stitches (a multiple of 4 + 3) plus 2 extra chains.
Row 1 (RS): Dc in the 4th chain from your hook (the 3 skipped chains count as the first dc), then dc in every chain to the end. Count your stitches: you should have 63 dc.
For a practice swatch instead, chain 25 and work the same row — you will have 23 dc, which is enough to learn the stitch before you commit to the cushion.

Step 2: Second Double Crochet Row
Still using Colour A, work one more plain row. This pair of plain rows matters: your spikes in the next step need two rows of fabric to drop through.
Row 2: Ch 3 (counts as a dc), turn. Skip the stitch at the base of the chain and dc in every stitch across, finishing with a dc in the top of the turning chain. You should again have 63 dc.
Step 3: The Lark’s Foot Row — Placing Each Spike
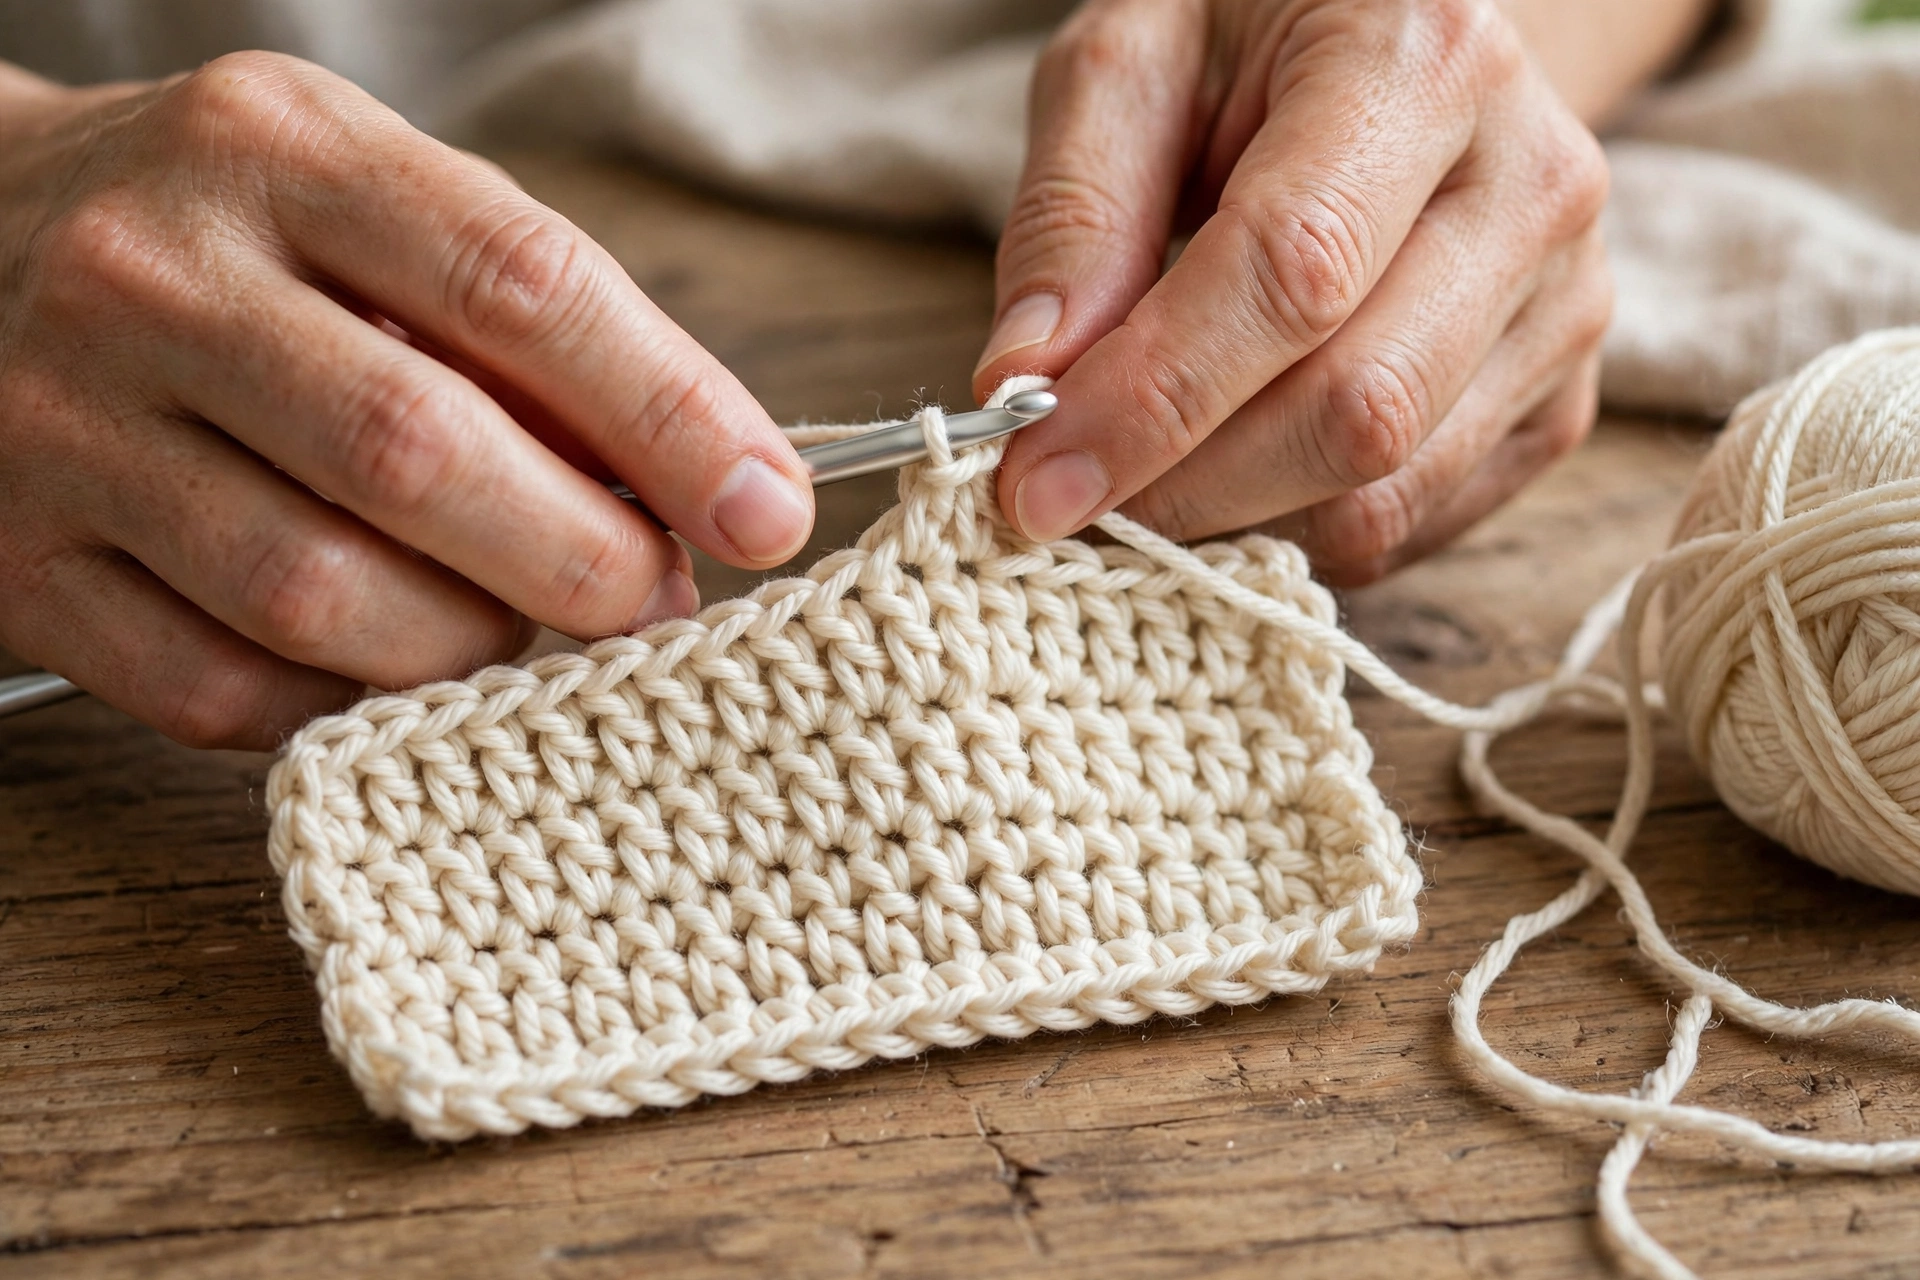
Change to Colour B on the very last stitch of Row 2: work that final dc until two loops remain on your hook, then pull Colour B through those two loops to finish the stitch. Now work the first larks foot stitch row.
Row 3: Ch 3 (counts as a dc), turn. Dc in the next stitch (2 stitches worked). Now repeat the following sequence across the row:
Skip the next stitch. Dc in the next 3 stitches. Now work the spike: yarn over, insert your hook into the top of the skipped stitch in Row 1 — the stitch two rows below, sitting directly underneath the stitch you just skipped. Yarn over and pull up a long loop until it reaches the height of the row you are working, then finish the double crochet as normal (yarn over, pull through 2 loops, yarn over, pull through 2 loops).
Repeat that sequence 15 times in total. Finish the row with a dc in the top of the turning chain. Count: 63 stitches, including 15 spike stitches.
Keep the pulled-up loop generous. If the spike is too short it will pucker the fabric and pull your rows out of shape.
Step 4: The Plain Row That Locks It In
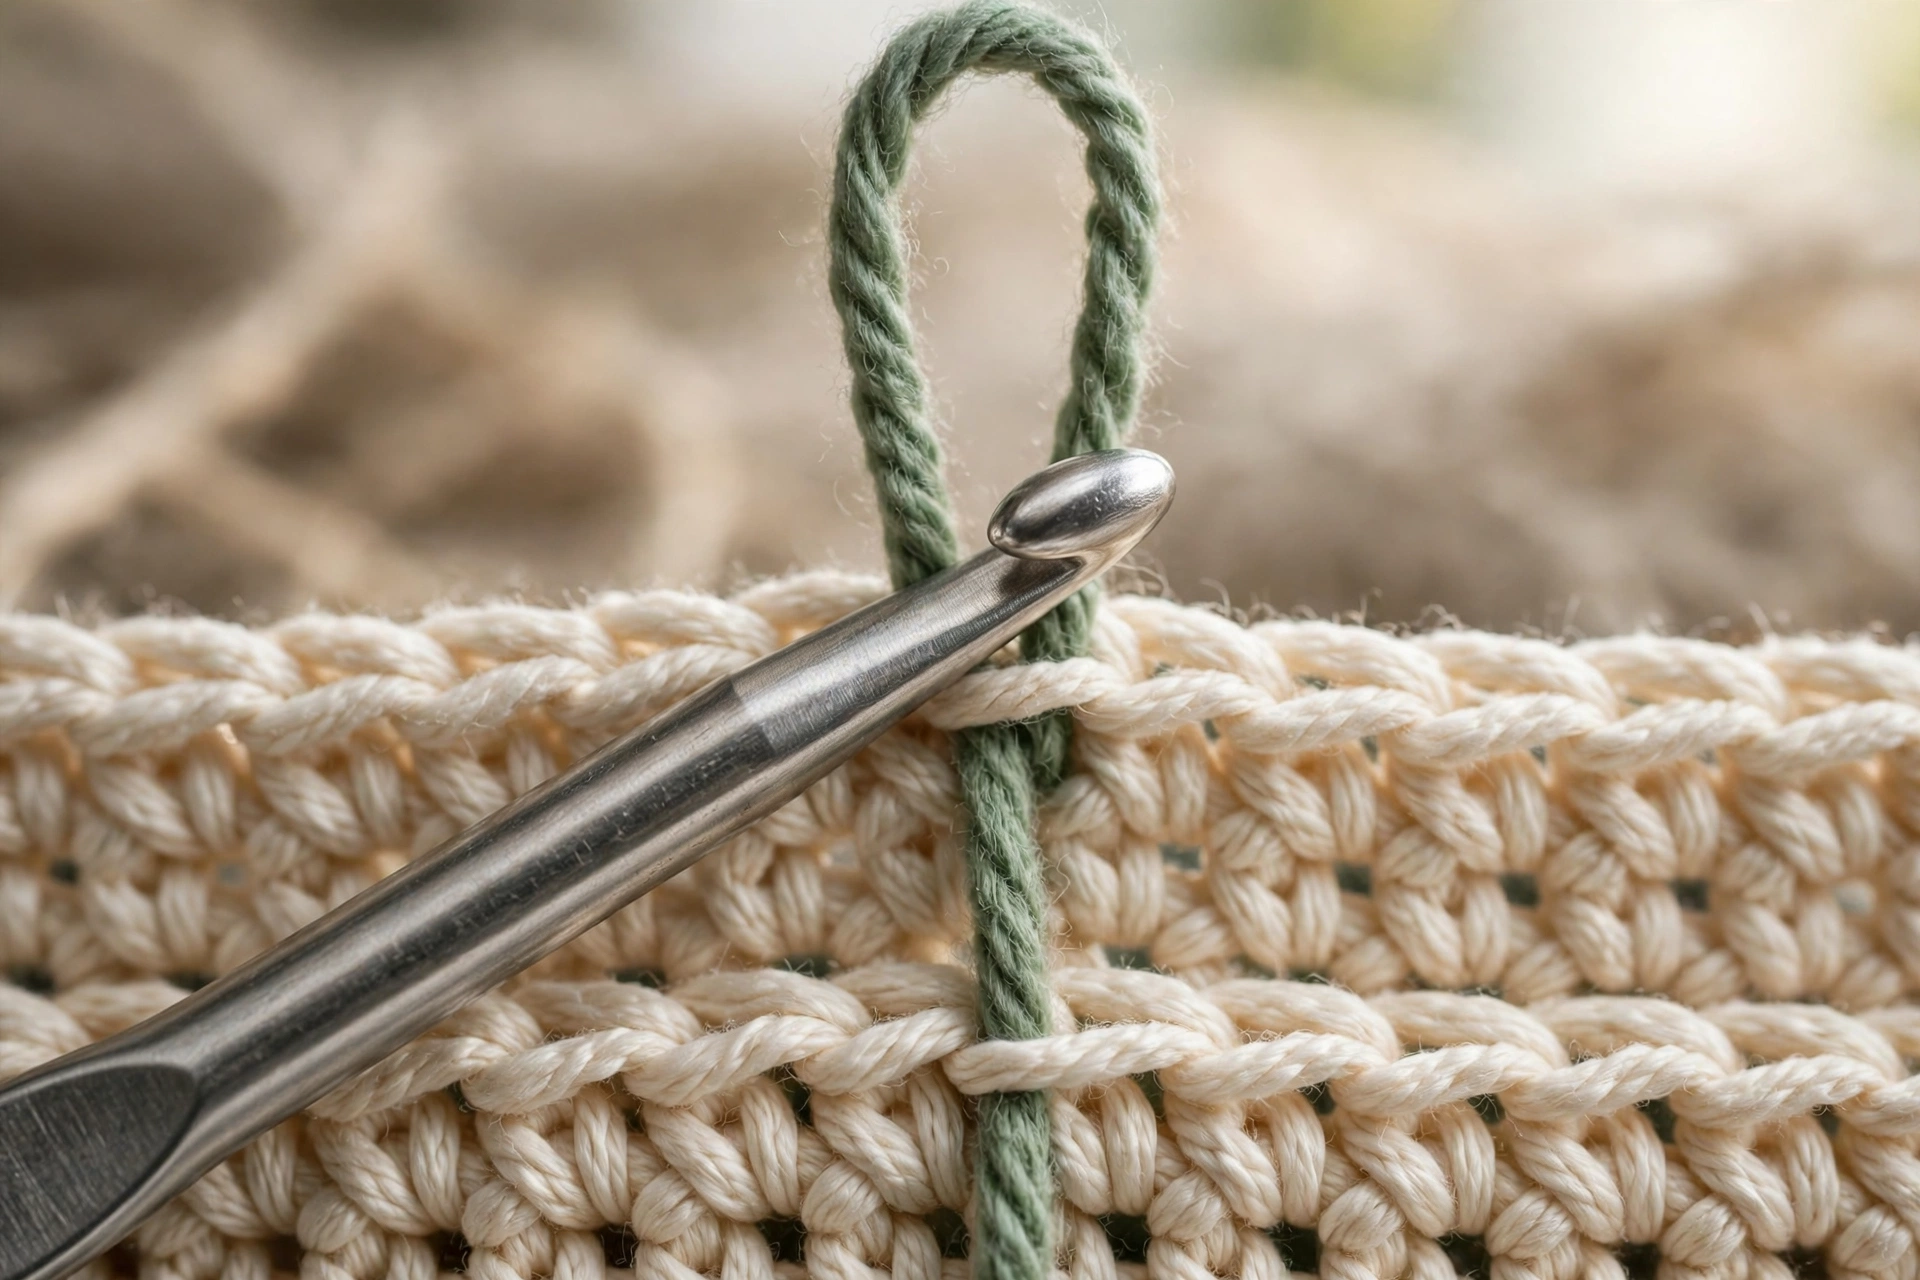
Change back to Colour A on the last stitch of Row 3, in the same way as before.
Row 4: Ch 3 (counts as a dc), turn. Dc in every stitch across, ending with a dc in the top of the turning chain. You should have 63 dc.
Work into the top of each spike stitch exactly as if it were an ordinary double crochet. This plain row locks every spike in place so the V shapes cannot slide sideways, and gives you a clean surface to count from.
Step 5: Repeating the Pattern and Changing Colour
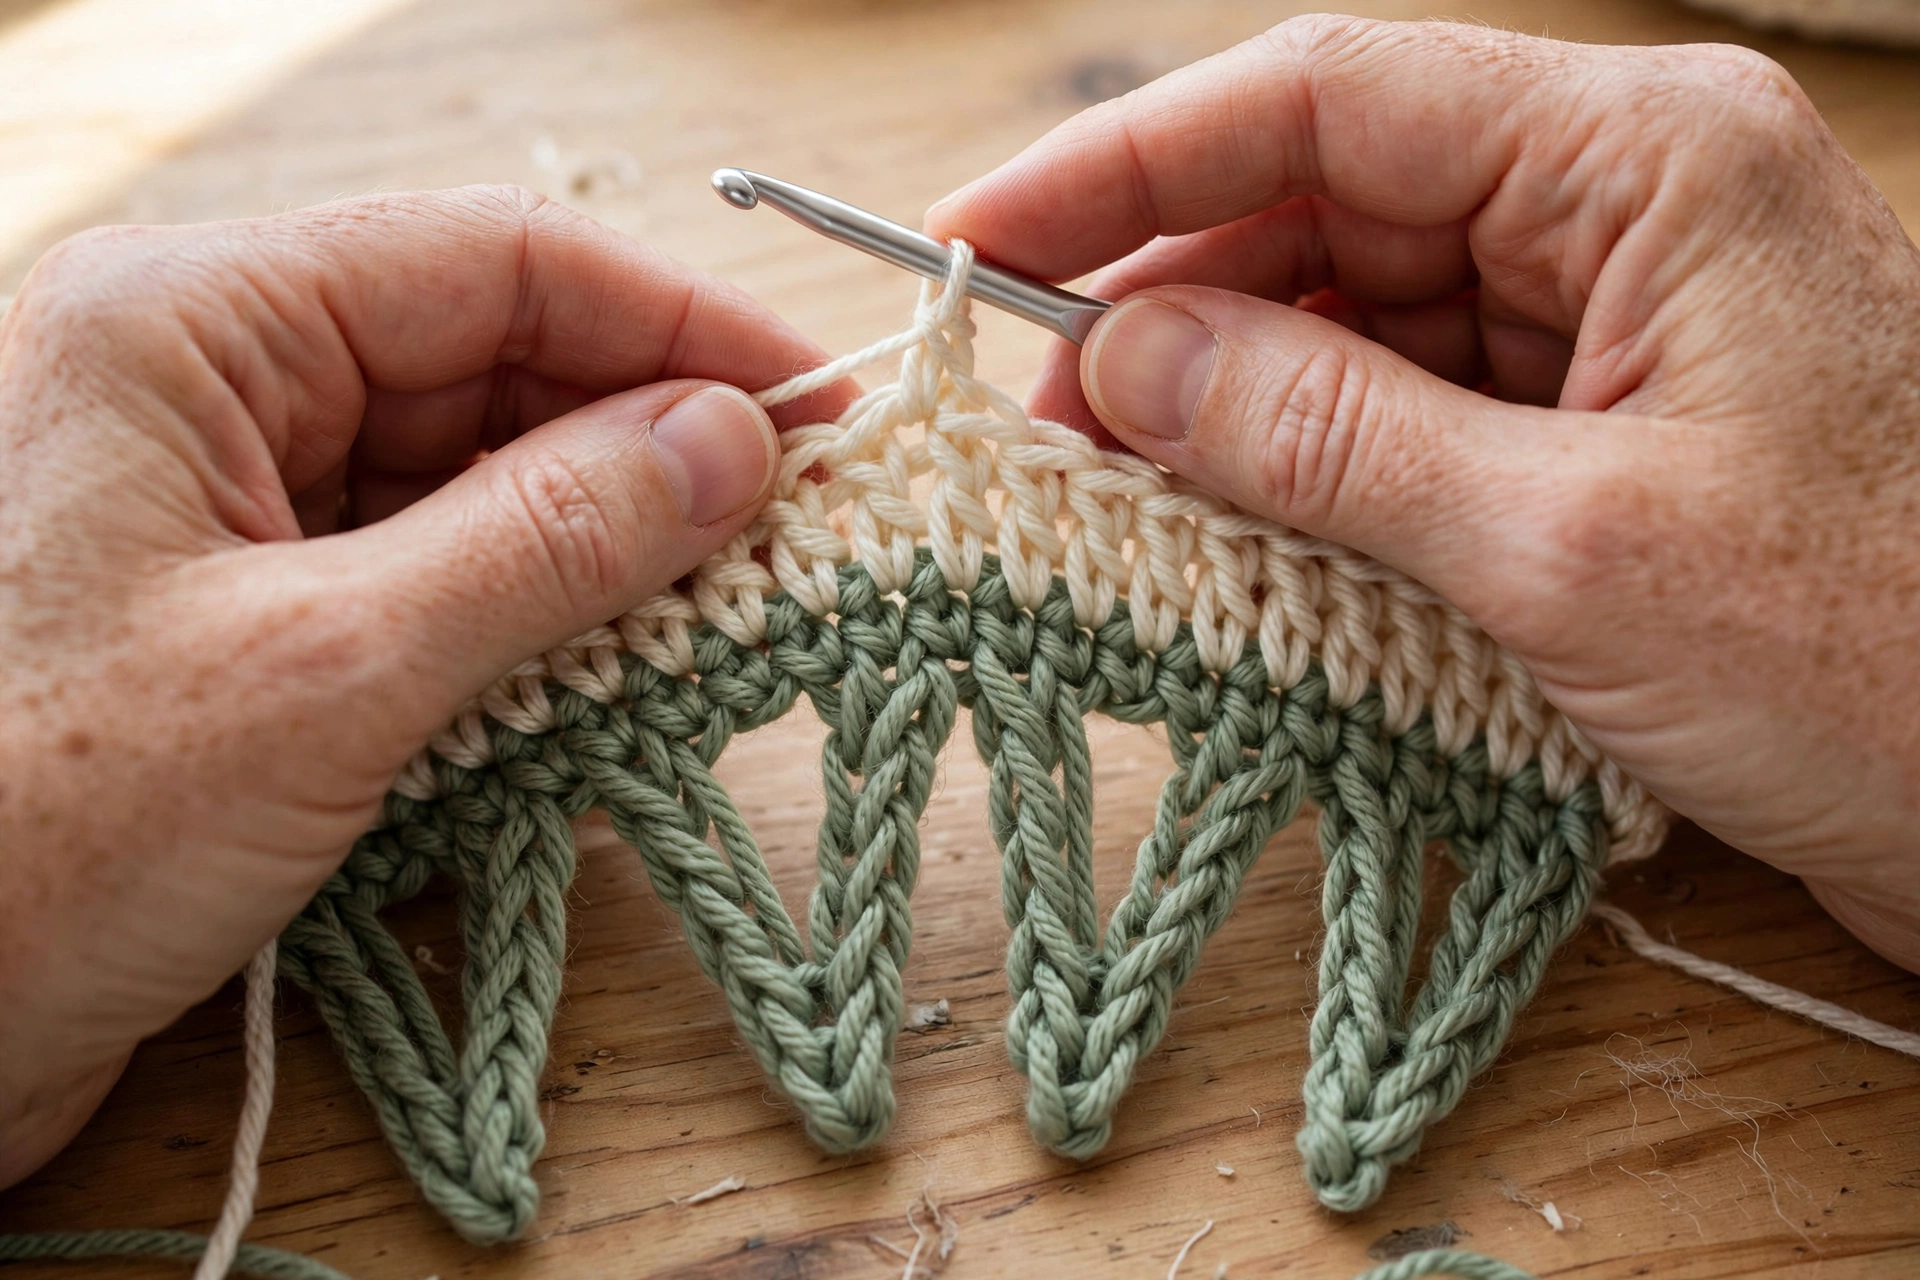
Work one more plain row in Colour A (Row 5: ch 3, dc in every stitch across, 63 dc). Row 6 is your second spike row: change to Colour B on the last stitch of Row 5 and work exactly as in Step 3, with one difference — this time each spike goes into the skipped stitch of Row 4, the first of the two plain rows underneath you. The rule never changes: the spike always lands two rows below the row you are working.
From now on, repeat Rows 4 to 6 — plain row A, plain row A, spike row B — until your piece reaches the length you want. The larks foot stitch settles into a calm rhythm here: two rows of cream to one row of sage, and every row stays at 63 stitches.
Always change colour on the final stitch of a row, never at the start of the next one, so the join stays invisible. Either cut the yarn at each change and weave the tails in later, or carry the resting colour loosely up the side edge — the edging in Step 8 will cover it. The same rhythm works up bigger in my cosy clusters blanket crochet pattern.
Step 6: Keeping Count at the Row Ends
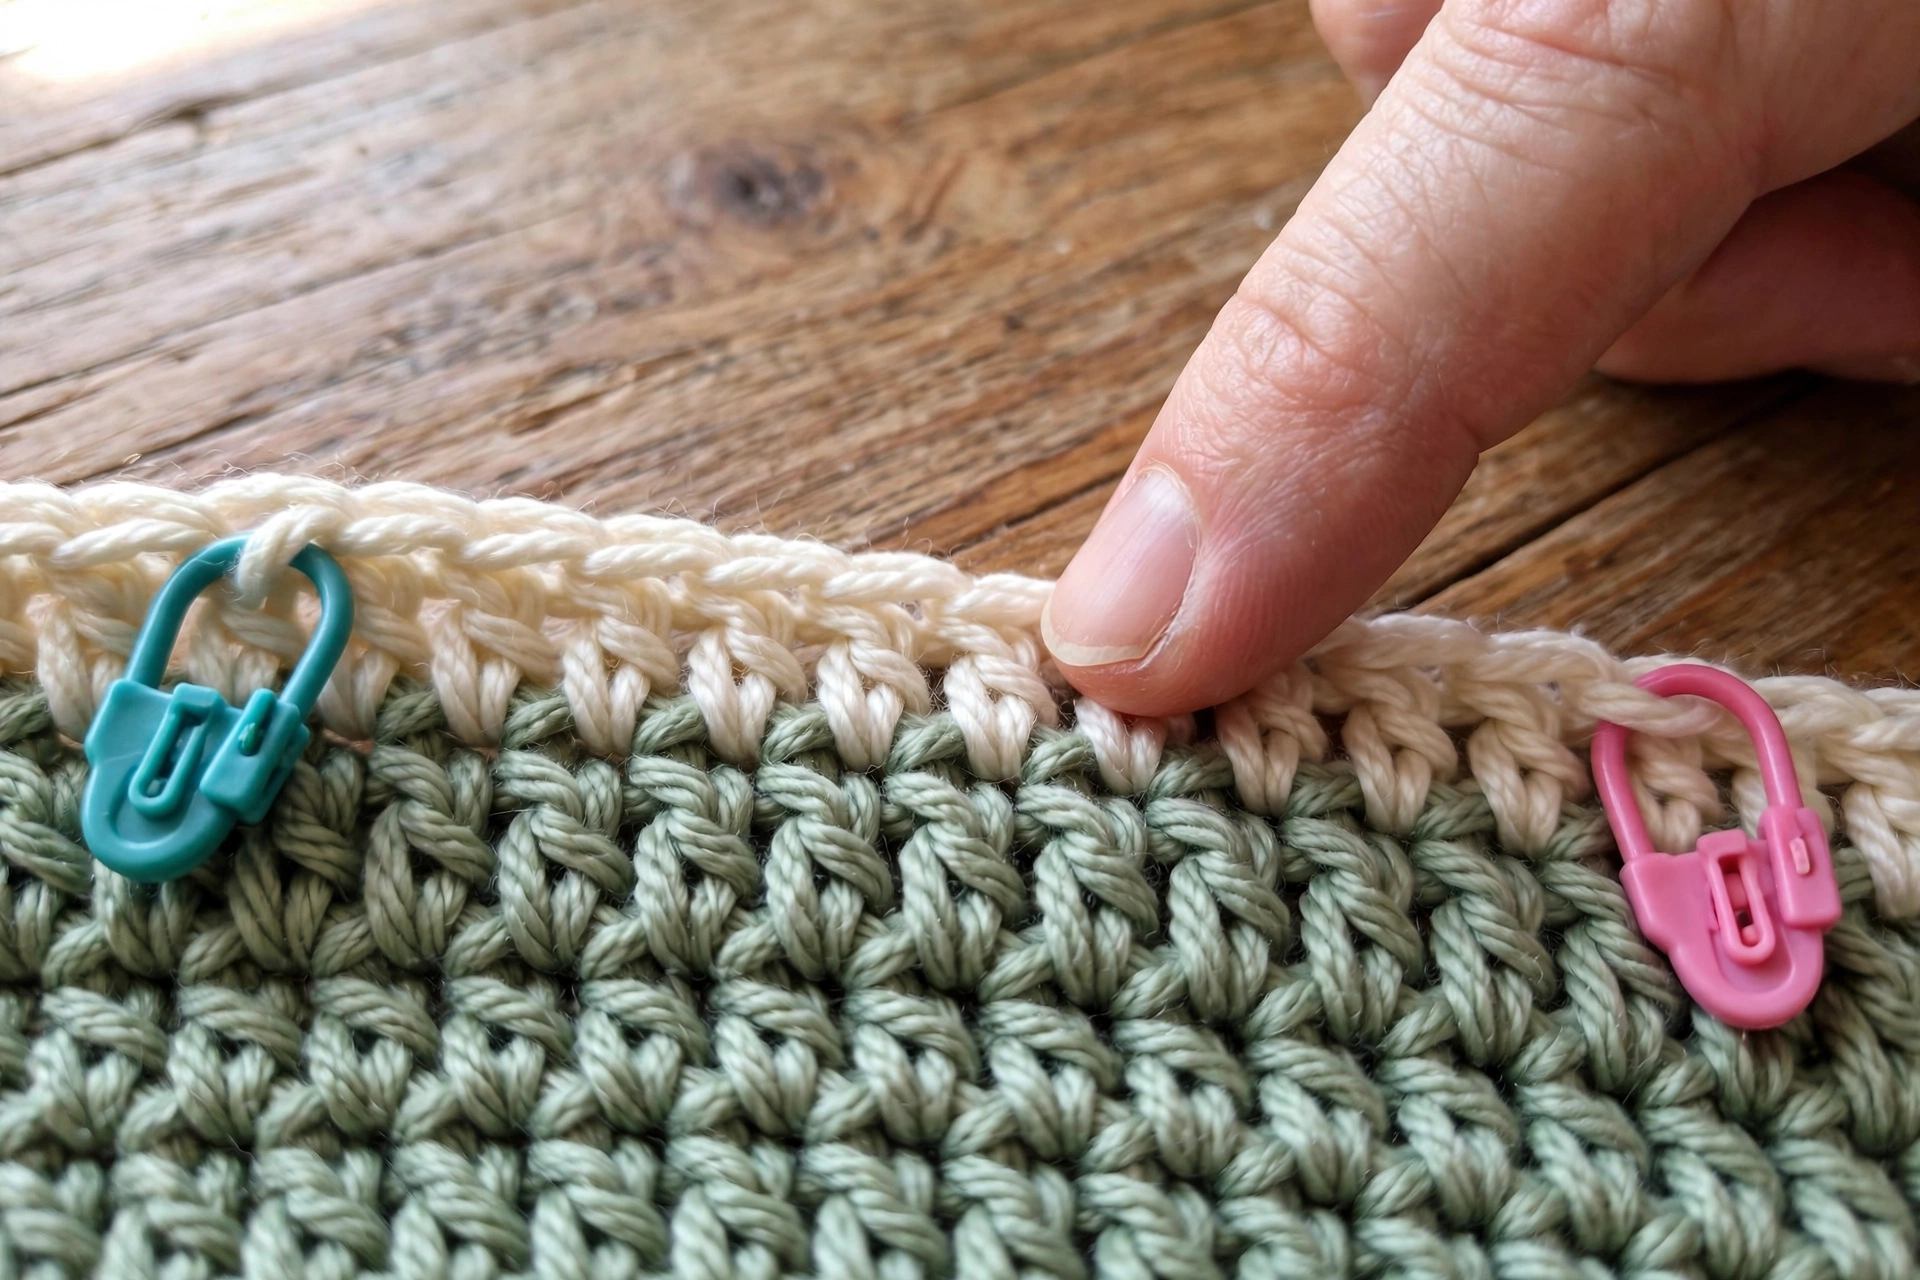
Every row of this pattern — plain or spike — ends with exactly 63 stitches, so a quick count at each row end catches mistakes while they are still easy to fix. On a spike row, count the groups instead of individual stitches: 2 edge stitches, then 15 groups of 4 (three dc plus one spike), then the final dc in the turning chain. If you are one stitch short, it is almost always that last dc in the top of the turning chain that has gone missing.
The other classic error is spiking into the row immediately below instead of the row two below. That spike comes out short, the fabric puckers, and the V tracks lean at odd angles, so check your first few spikes of each row carefully.

- [150-Piece Value Set in 10 Colors] Get 150 locking stitch markers in 10 colors (15 per shade) to color-code rows, repeat…
- [Smooth Snag-Free Plastic] Lightweight smooth plastic with a gentle locking clasp slides along yarn without catching or …
- [Works for Knitting & Crochet] The slim profile slips onto standard knitting needles, while the secure locking ring mark…
Locking stitch markers are the cheapest insurance in crochet. Clip one into the first and last stitch of your foundation row and you will always know where the row should end; a few more along the edge make counting back in groups quick and painless.
If counting rows is still new to you, build the habit on something tiny first — my easy crochet circle coaster pattern for beginners is a gentle place to practise.
Step 7: Cushion Front Example (40 × 40 cm)
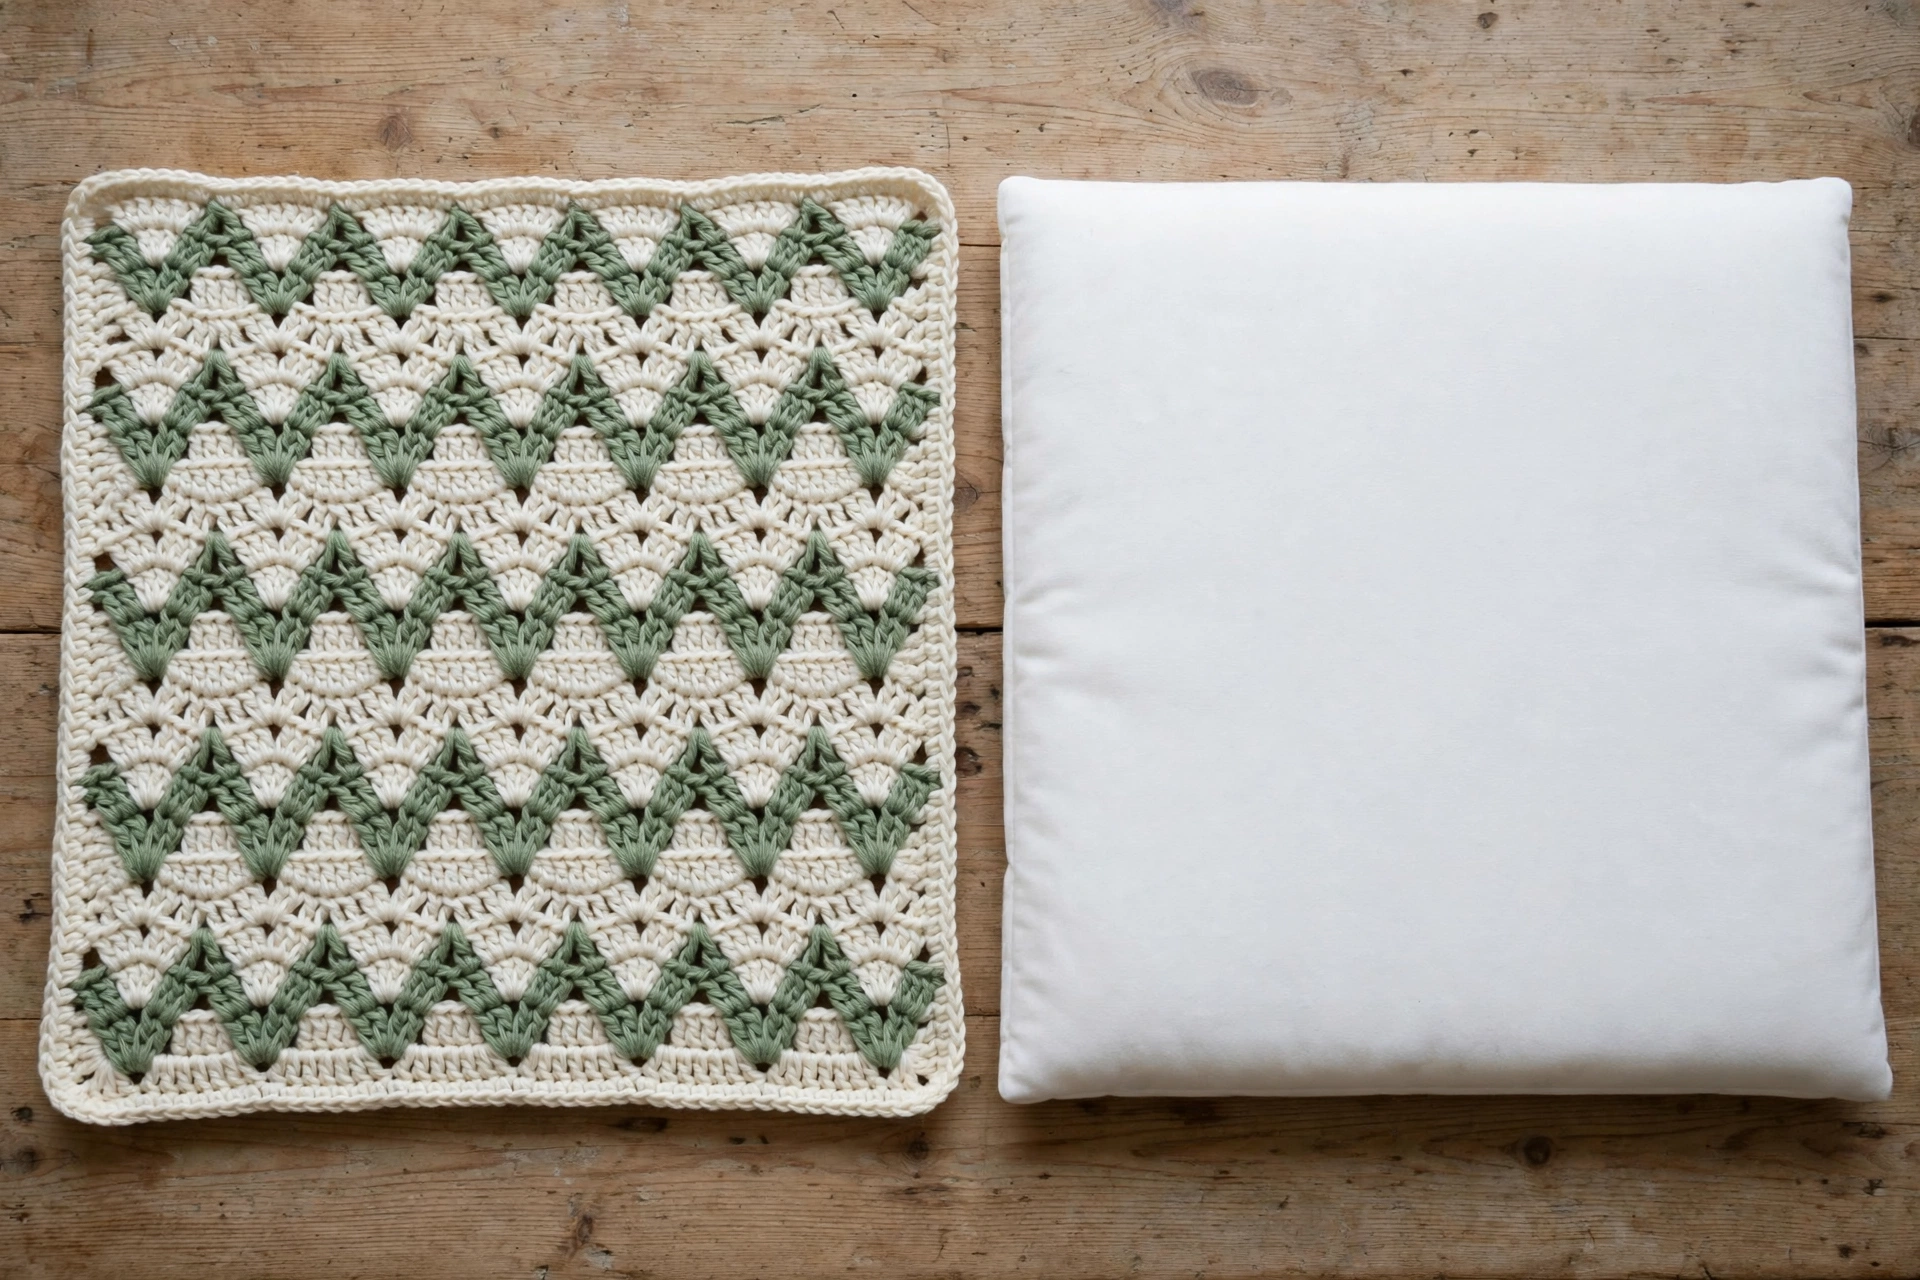
For the cushion front, keep repeating Rows 4 to 6 until you have worked 36 rows in total. That is 12 spike rows in Colour B, and your larks foot stitch front should measure 40 × 40 cm (16 × 16 in).
Back panel: Using Colour A, chain 65 and work Row 1 as in Step 1 (63 dc), then work 35 more plain dc rows — 36 rows in total — so the back matches the front exactly.
Joining: Place the front and back together with wrong sides facing. Join Colour A at one corner and work single crochet through both layers around three sides. Slip the cushion pad in, then single crochet the fourth side closed and fasten off.

- High-Rebound Filling: These pillows bounce back into shape every time after use. They are filled with 100% virgin fiber….
- High-Rebound Filling – These pillows bounce back into shape every time after use. They are filled with 100% virgin fiber…
- 2-in-1 Utility – As much as they are decorative throw pillows, these inserts can prove to be quite relieving when placed…
A firm 40 cm cushion pad makes all the difference to how this stitch looks once the cover is on: the V tracks sit flat and even instead of slumping. Choose a pad that fills the cover snugly — if you are between sizes, go one size up.
If cushions are your thing, my crochet star cushion free pattern makes a great companion piece, and the waffle stitch pillow is another one-stitch wonder.
Step 8: Edging and Blocking
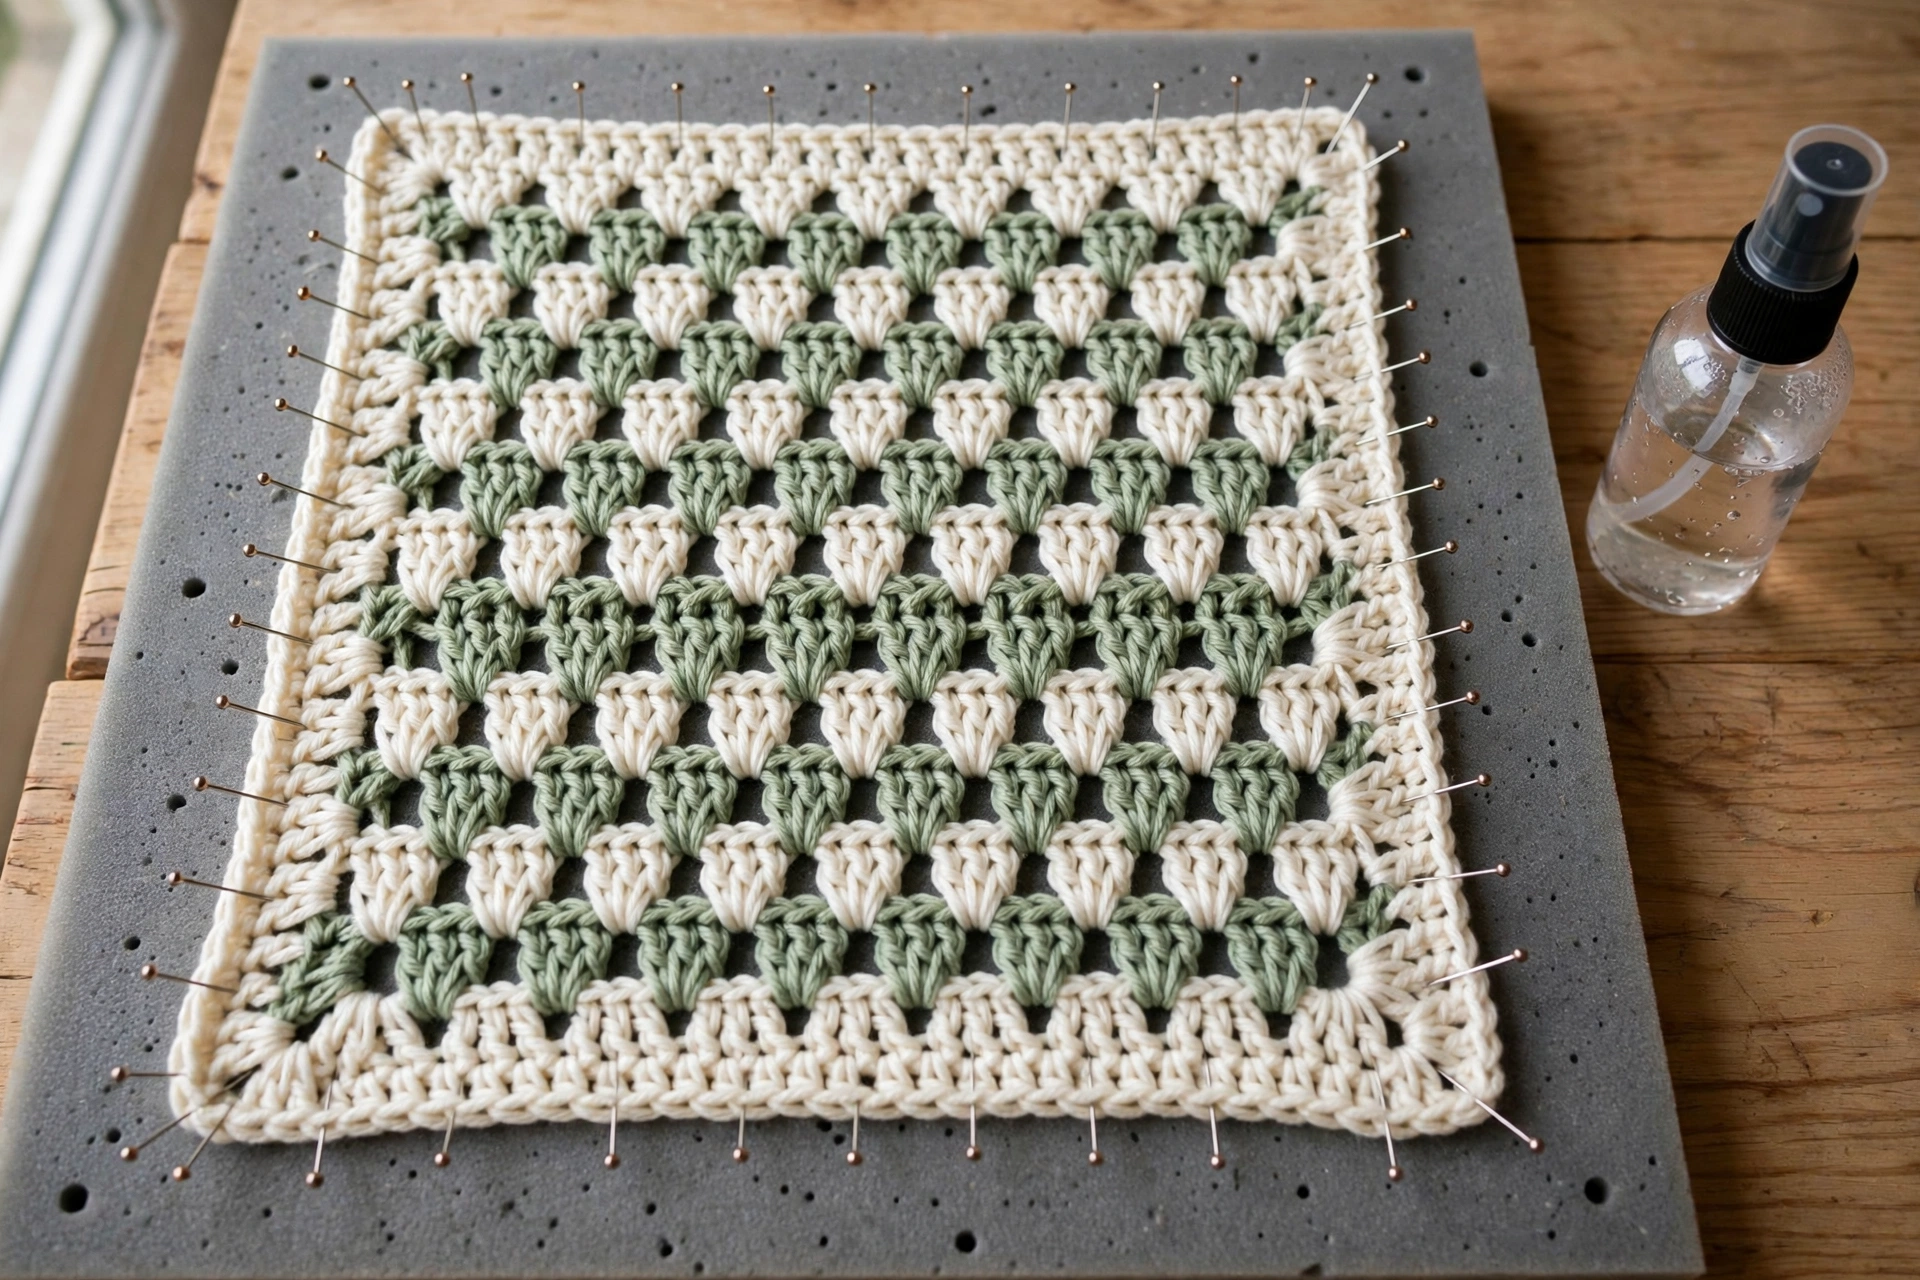
Before joining your panels (or instead of joining them, if you want a decorative edge on the front), work one round of edging around the front panel. With Colour A, work single crochet evenly around all four sides: 63 sc across the top and bottom edges, 48 sc along each side edge (1 sc into the end of each plain row and 2 sc into the end of each spike row), and 3 sc into each corner stitch so the corners turn neatly.
Finally, block your panel. Pin it out on foam mats to exactly 40 × 40 cm, spray lightly with water, and leave it to dry flat. Blocking makes a visible difference here: the edges straighten, the rows settle, and the V tracks of the larks foot stitch open up into the crisp little footprints the stitch is named for.
Once your panel is dry, join it to the back as described in Step 7 and pop your cushion pad in. You now own a stitch that looks impressively intricate, is worked entirely from double crochet, and resizes for blankets, scarves and runners simply by chaining a new multiple of 4 + 3.