Crochet Christmas Snowflakes: Easy 6-Point Snowflake Pattern
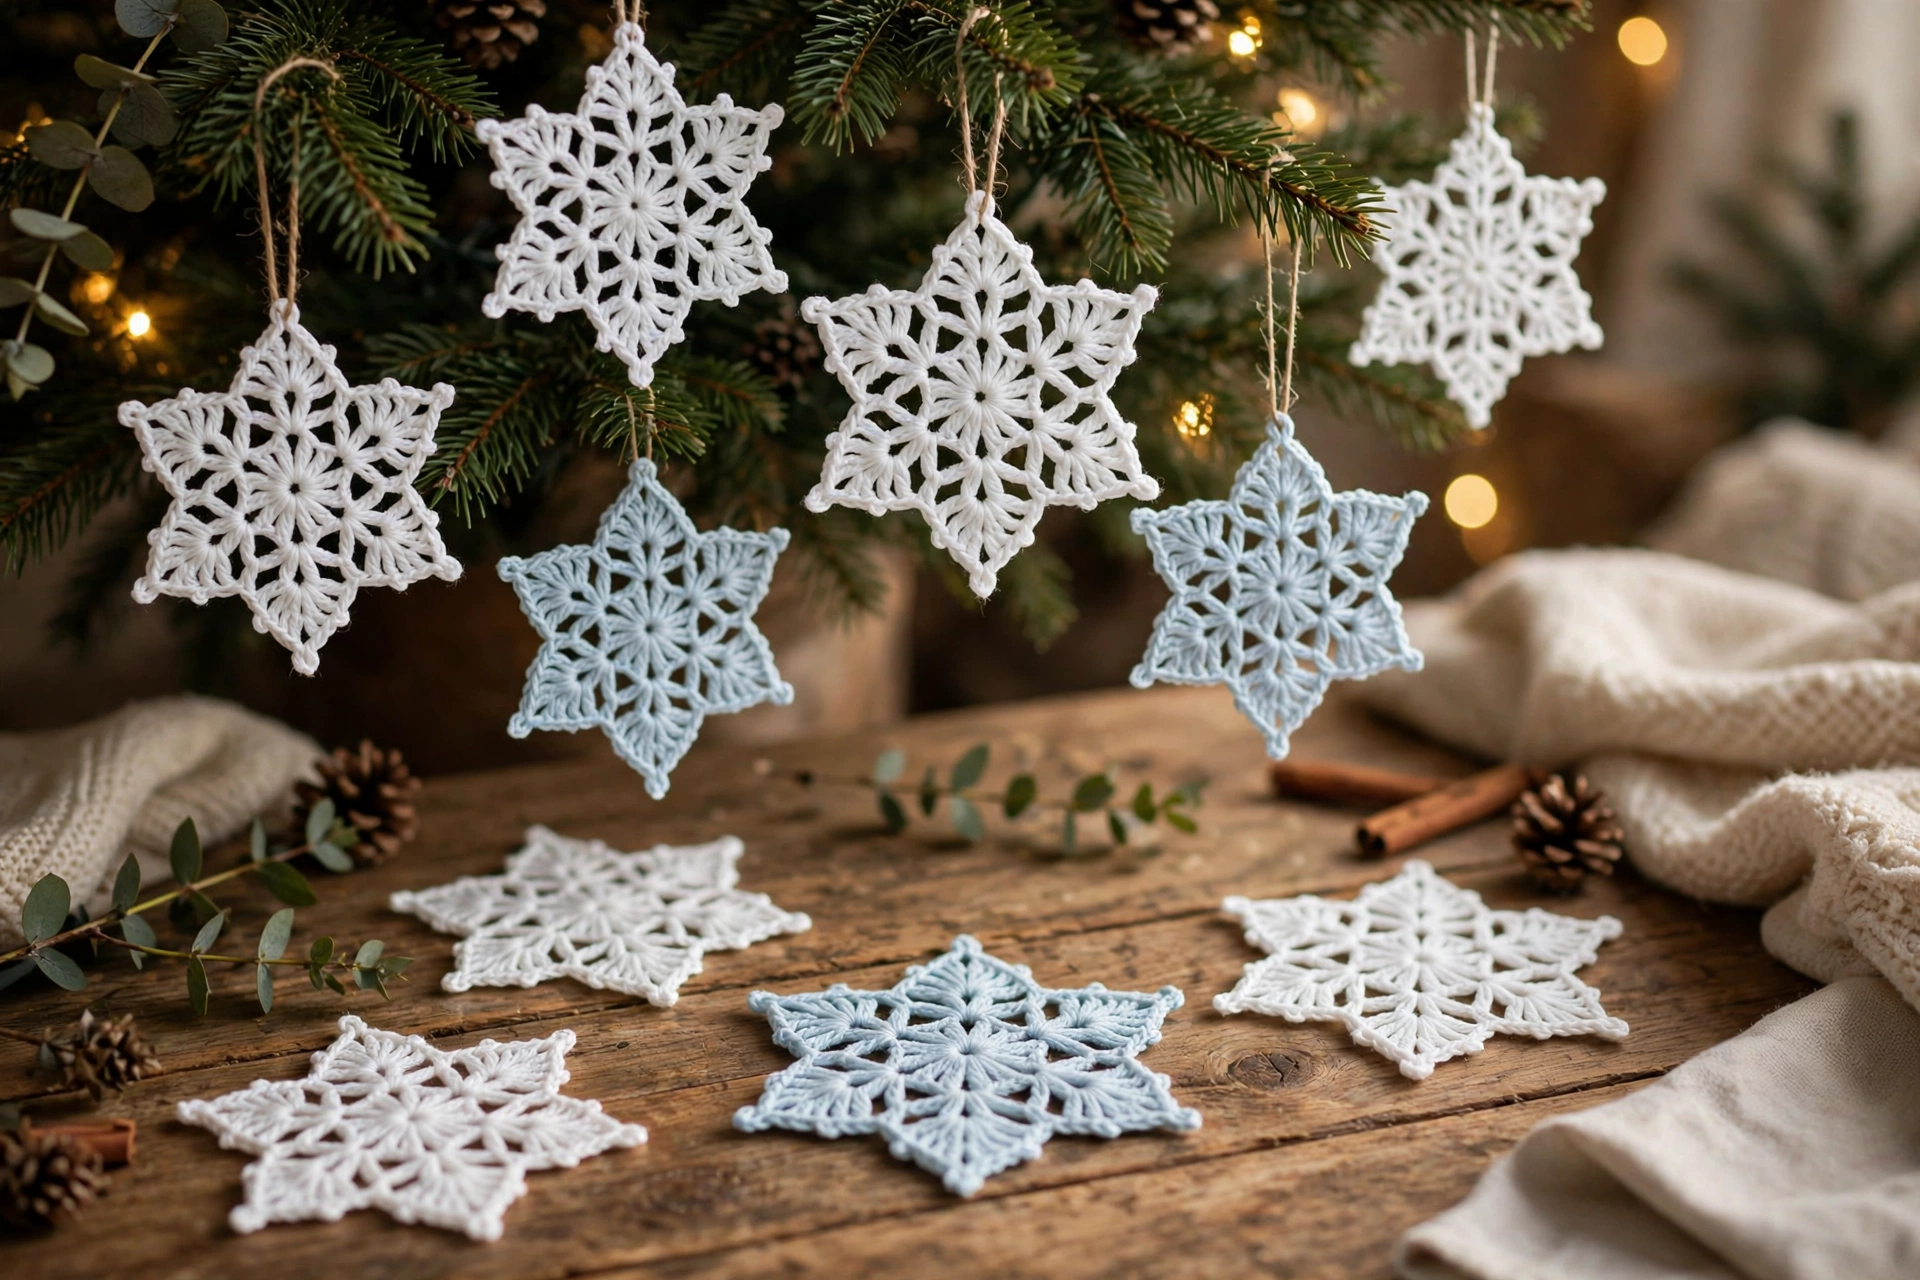
This single snowflake motif is a quick, satisfying Christmas make: a solid centre, open chain loops, and six pointed arms finished with a pretty picot edge. Worked in rounds from the centre out, the same 6-point motif is repeated all the way around, so once you have made one point, you have learned the whole snowflake. Make one for the tree, or make a whole flurry in different whites, creams, and icy blues. They are light, flat after blocking, and lovely as tree ornaments, garland pieces, window decorations, or gift toppers.
Materials
Yarn: DK / light worsted weight (Category 3) cotton or acrylic yarn in white. Cotton gives crisp stitch definition and holds its shape well after blocking. Approximate amount: About 25 yards (23 metres) / 10 g per snowflake. One 100 g ball of DK yarn will make several snowflakes. Hook: 3.5 mm (US E-4). Notions: Tapestry needle, scissors, blocking mat and rust-proof pins, spray bottle with water. Optional: Fabric stiffener or diluted white craft glue for a very firm ornament, and 6 inches (15 cm) of thin ribbon, yarn, or thread for the hanging loop.
Gauge
Gauge is not critical for an ornament, but it will affect finished size. As a guide, Rounds 1–2 measure about 1 3/4 inches (4.5 cm) across after light blocking when worked as written with DK yarn and a 3.5 mm hook. If your snowflake is much larger, try a smaller hook; if much smaller or very tight, try a larger hook.
Finished Size
About 5 inches (12.5 cm) across from point to point after blocking, using DK yarn and a 3.5 mm hook.
Abbreviations (US Terms)
ch — chain; sl st — slip stitch; sc — single crochet; hdc — half double crochet; dc — double crochet; tr — treble crochet; sp(s) — space(s); st(s) — stitch(es); rep — repeat; MR — magic ring; [ ] — work all stitches inside brackets into same space; * * — repeat instructions between asterisks as directed. Notes: Beginning ch-3 in Rounds 1 and 2 counts as a double crochet. Beginning ch-1 in Rounds 3, 4, 5, and 6 does not count as a stitch. Join each round with a slip stitch unless otherwise stated. Read each round all the way through before you start it, and count at end of each round.
Pattern
Round 1 — Centre: Make a MR. Ch 3 (counts as dc), work 11 dc into ring. Pull ring closed. Sl st to top of beginning ch-3 to join. Stitch count: 12 dc.
Round 2 — Solid disc: Ch 3 (counts as dc), dc in same st as join, then work 2 dc in each st around. Sl st to top of beginning ch-3 to join. Stitch count: 24 dc.
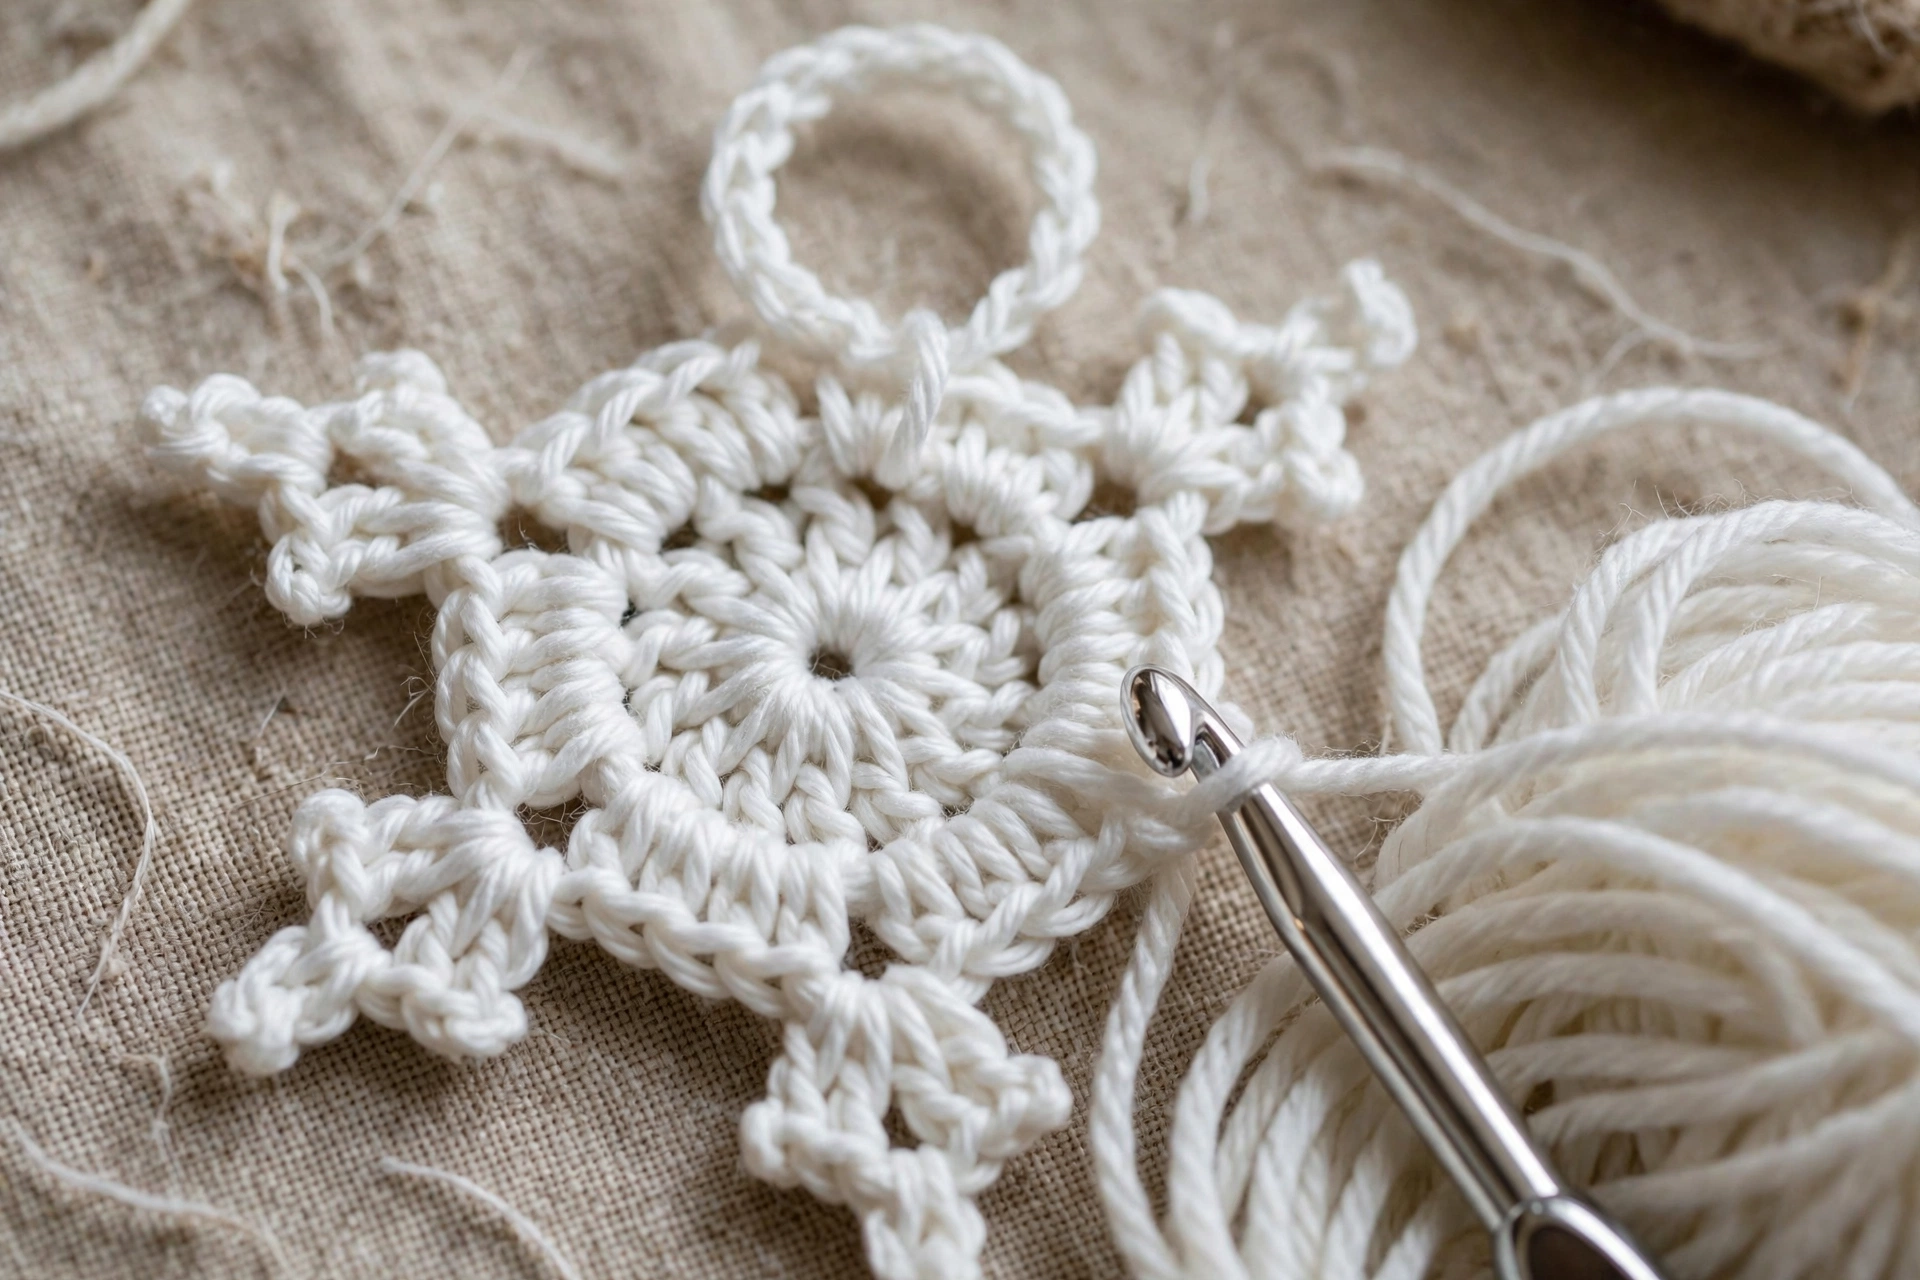
Round 3 — First chain loops: Ch 1 (does not count), sc in same st as join, *ch 5, skip 3 sts, sc in next st; rep from * 5 times, ch 5, sl st to first sc to join. Stitch count: 6 sc, 6 ch-5 sps. Single crochet stitches fall on stitches 1, 5, 9, 13, 17, and 21 of Round 2.
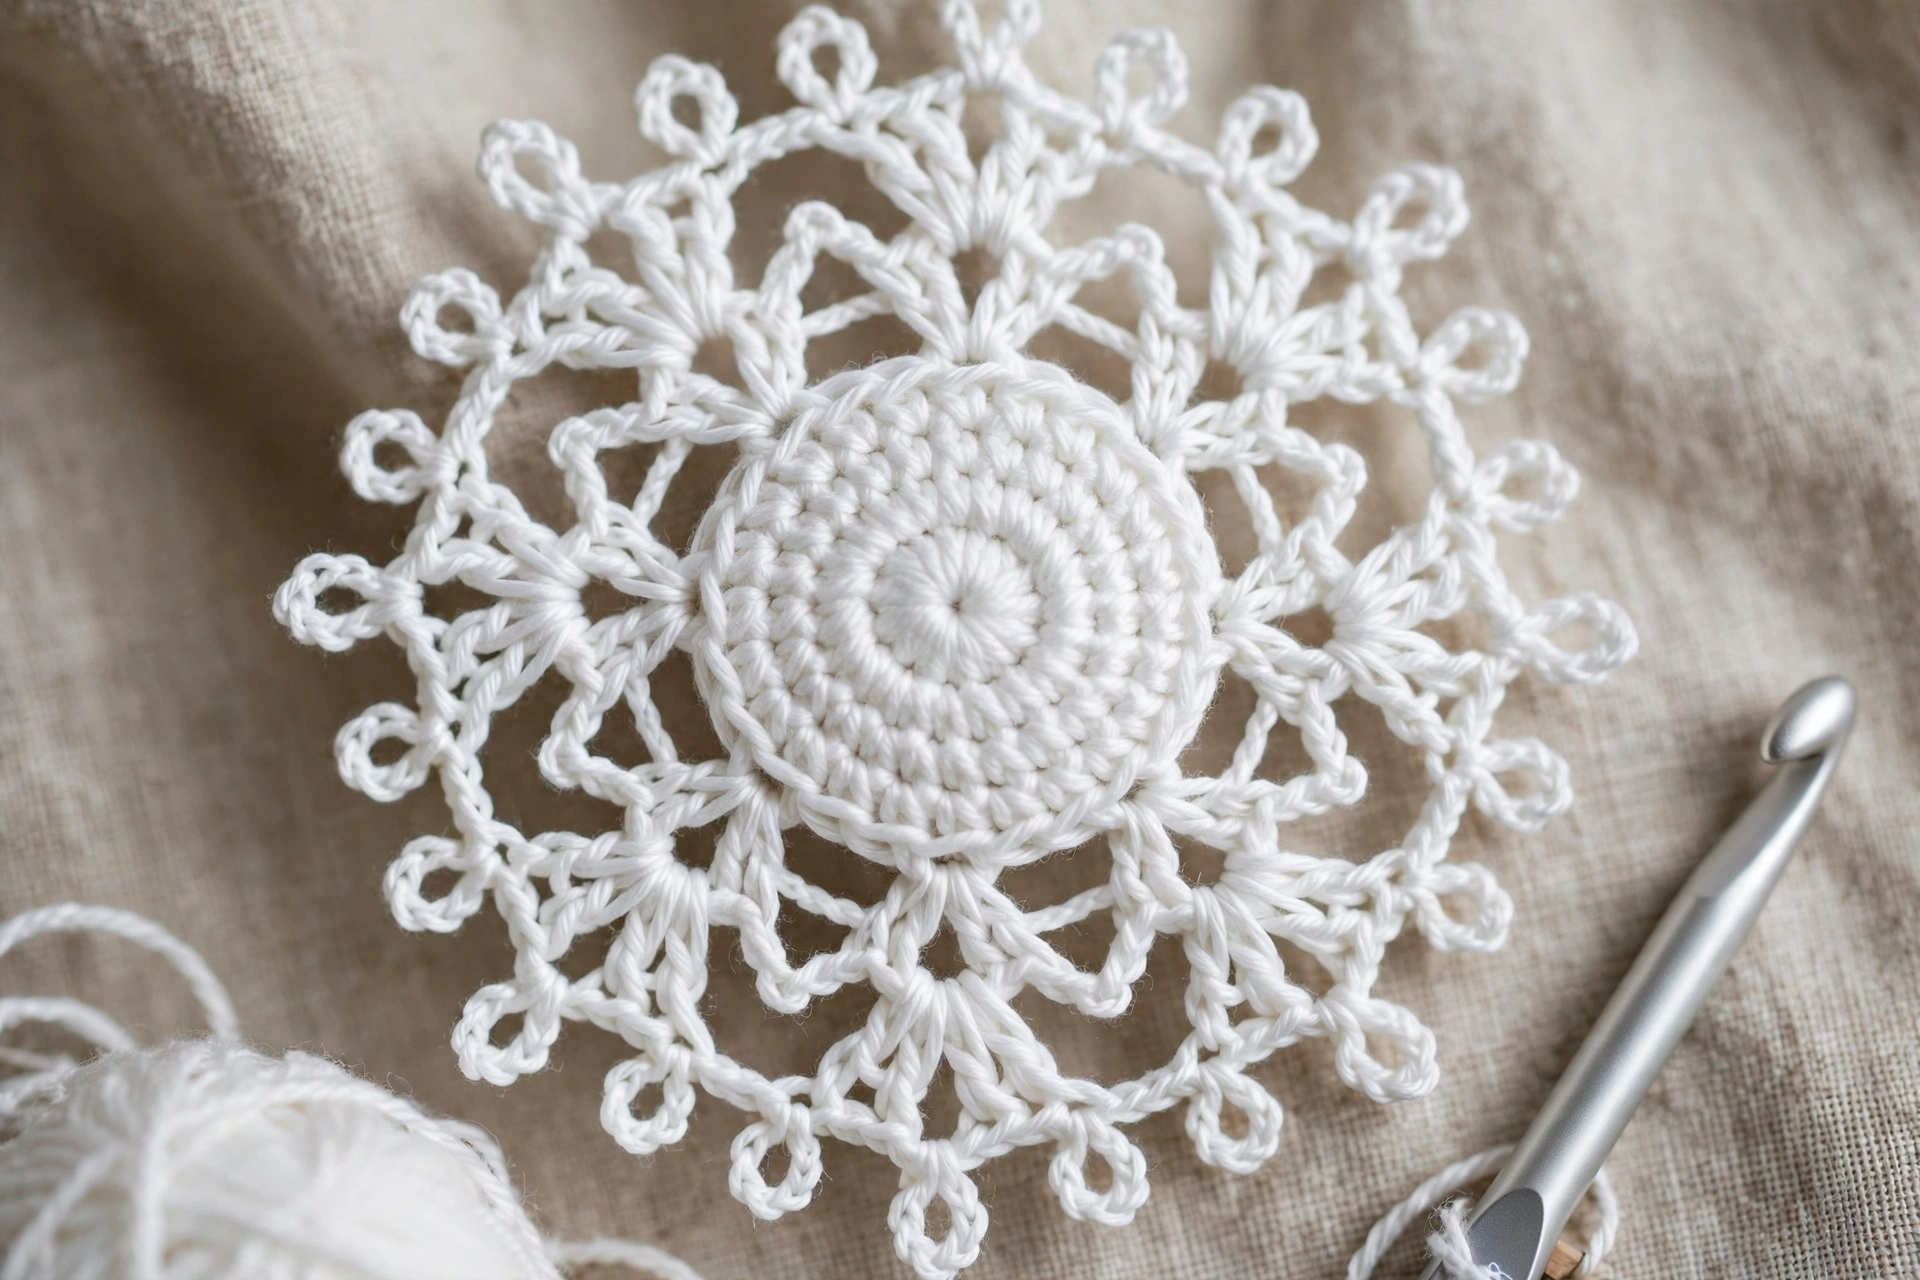
Round 4 — Larger chain loops: Sl st into first ch-5 sp, ch 1 (does not count), sc in same ch-5 sp, *ch 7, sc in next ch-5 sp; rep from * 5 times, ch 7, sl st to first sc to join. Stitch count: 6 sc, 6 ch-7 sps.
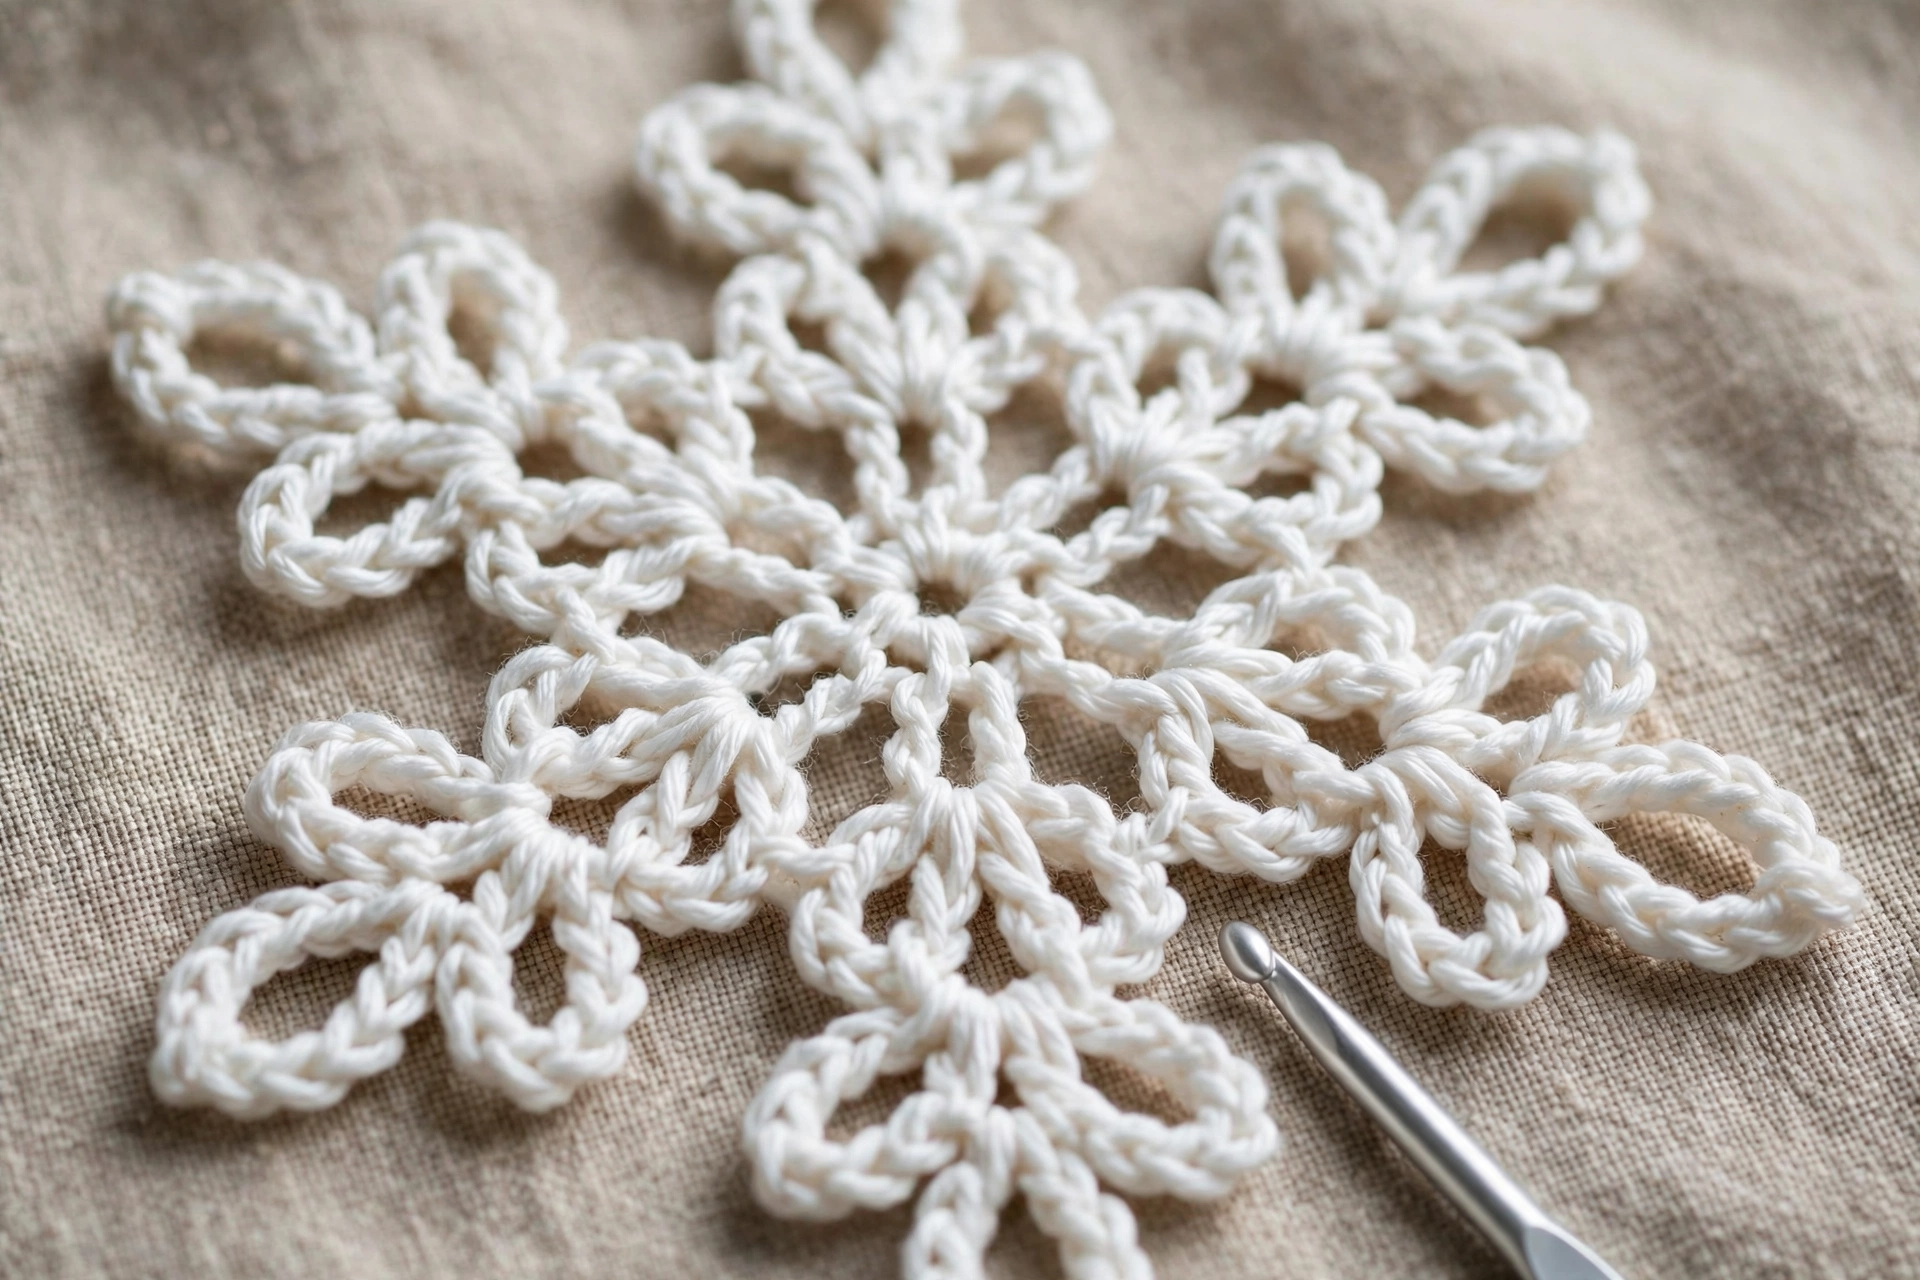
Round 5 — Six points: Sl st into first ch-7 sp, ch 1 (does not count), then work point motif into each ch-7 sp around: *In next ch-7 sp, work [sc, hdc, dc, tr, ch 2, tr, dc, hdc, sc]; rep from * in each ch-7 sp around (6 points total), sl st to first sc to join. Each point: stitches climb up one side (sc, hdc, dc, tr), ch-2 forms pointed tip, stitches come back down other side (tr, dc, hdc, sc). No chain between points. Stitch count: 48 stitches, 6 ch-2 tip sps.
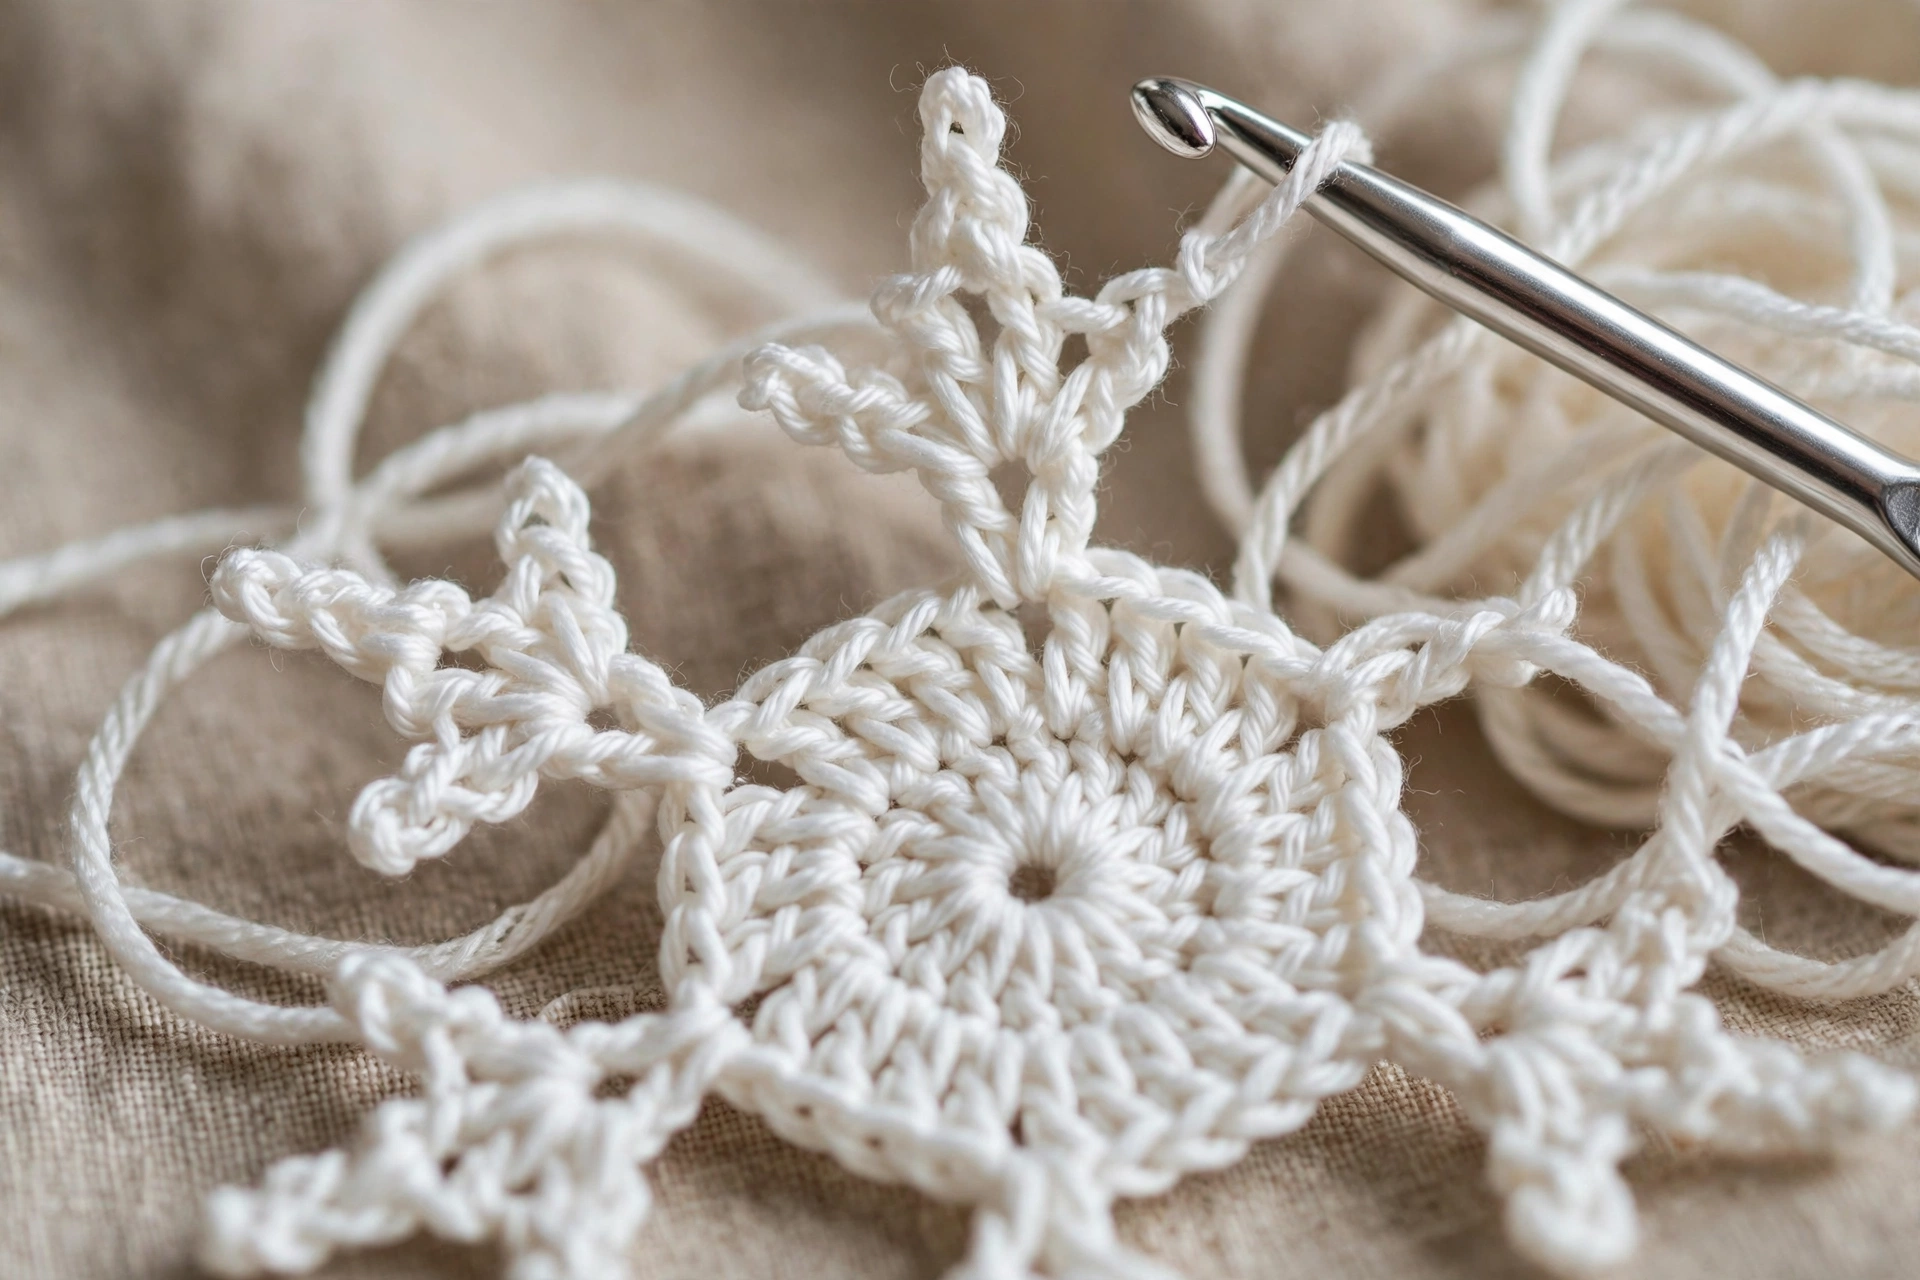
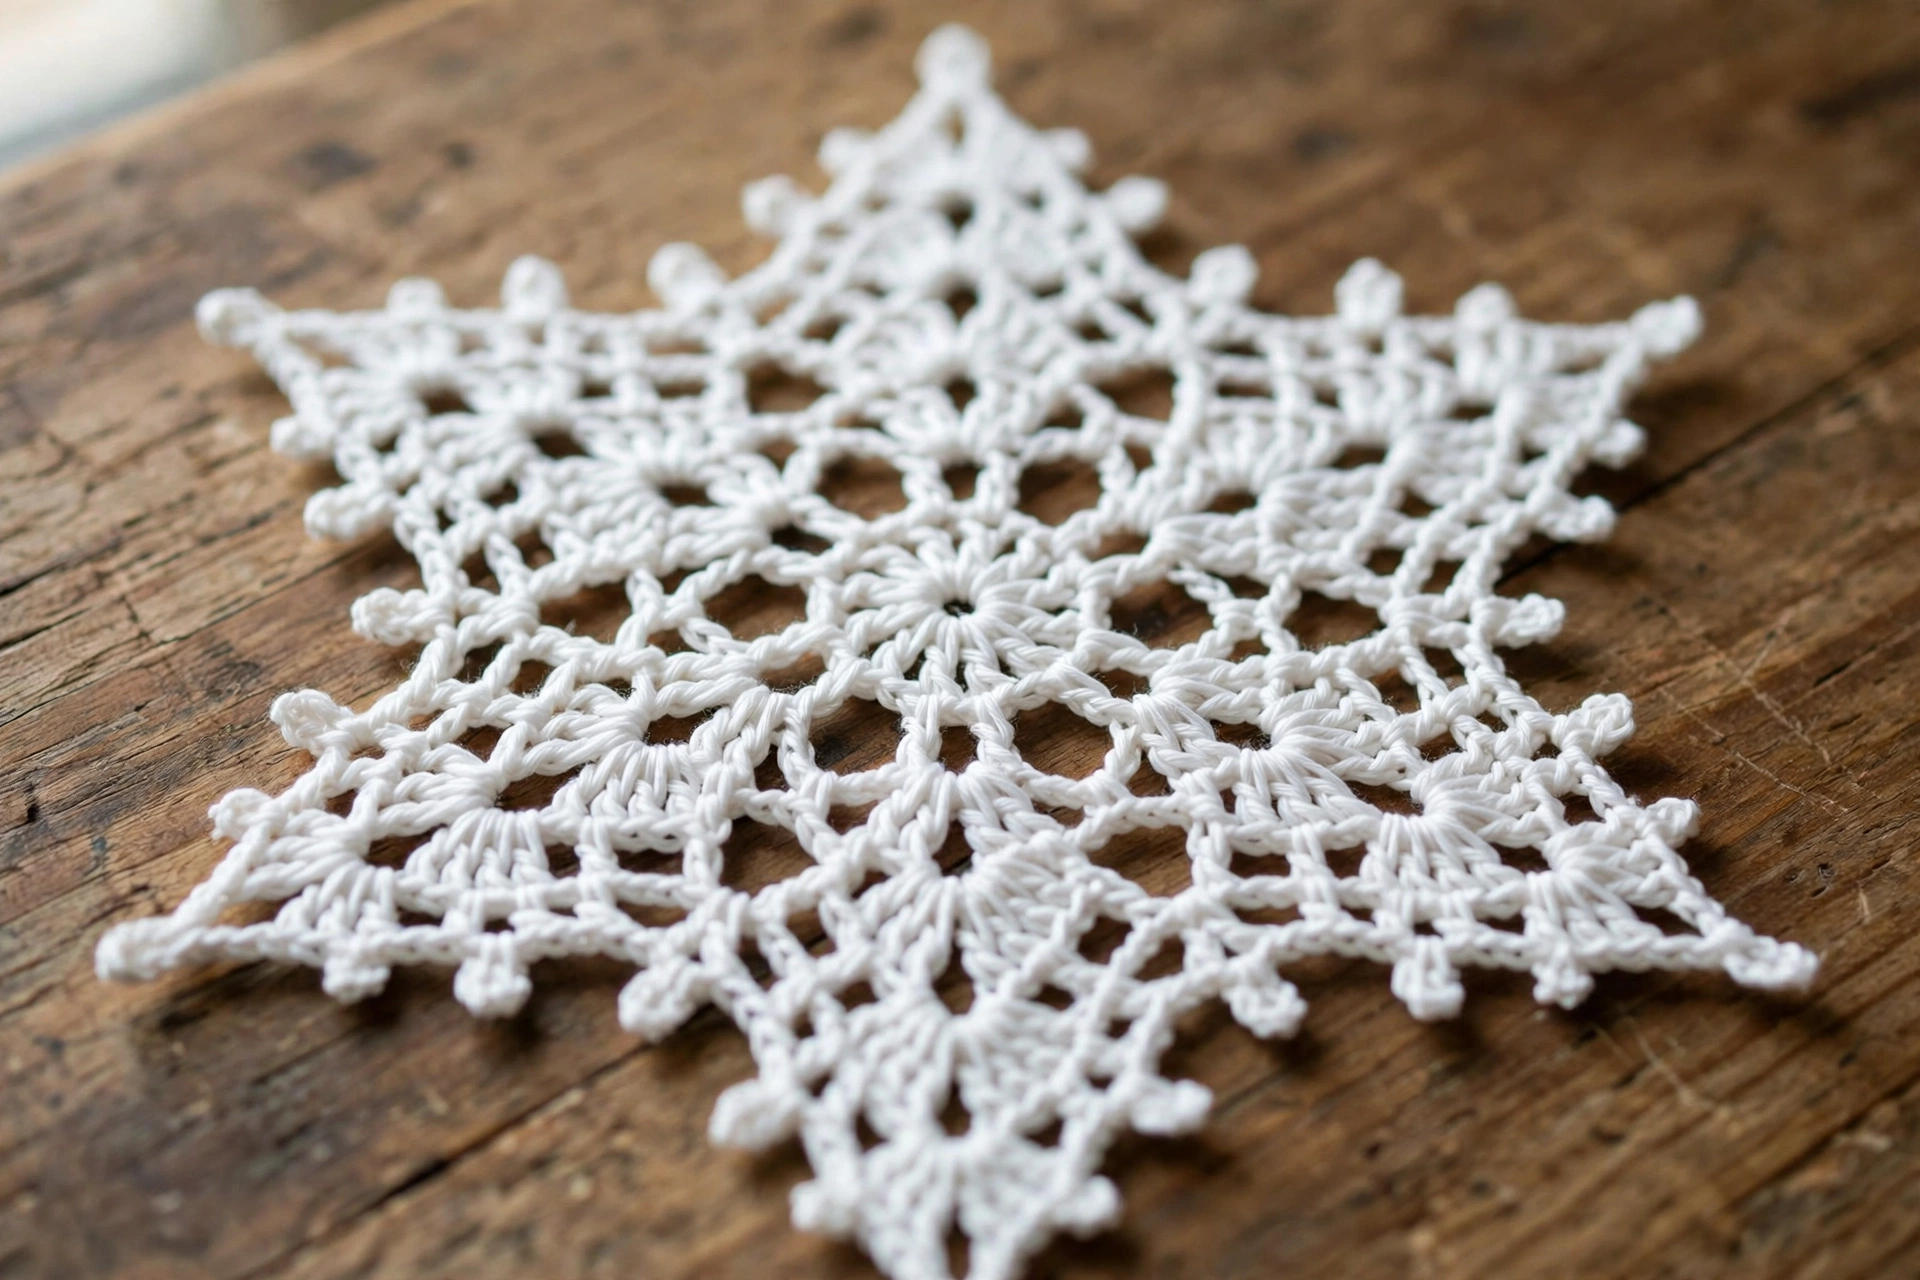
Round 6 — Picot tips and lacy joins: Sl st in next 3 sts (hdc, dc, tr) and into first ch-2 tip sp to reach tip. Ch 1 (does not count), work (sc, ch 3, sc) in same ch-2 tip sp, *ch 5, sc in valley between this point and next point, ch 5, (sc, ch 3, sc) in next ch-2 tip sp; rep from * 5 times, ch 5, sc in last valley between final point and first point, ch 5, sl st to first sc to join. Fasten off. Stitch count: 18 sc, 6 ch-3 picots, 12 ch-5 sps.
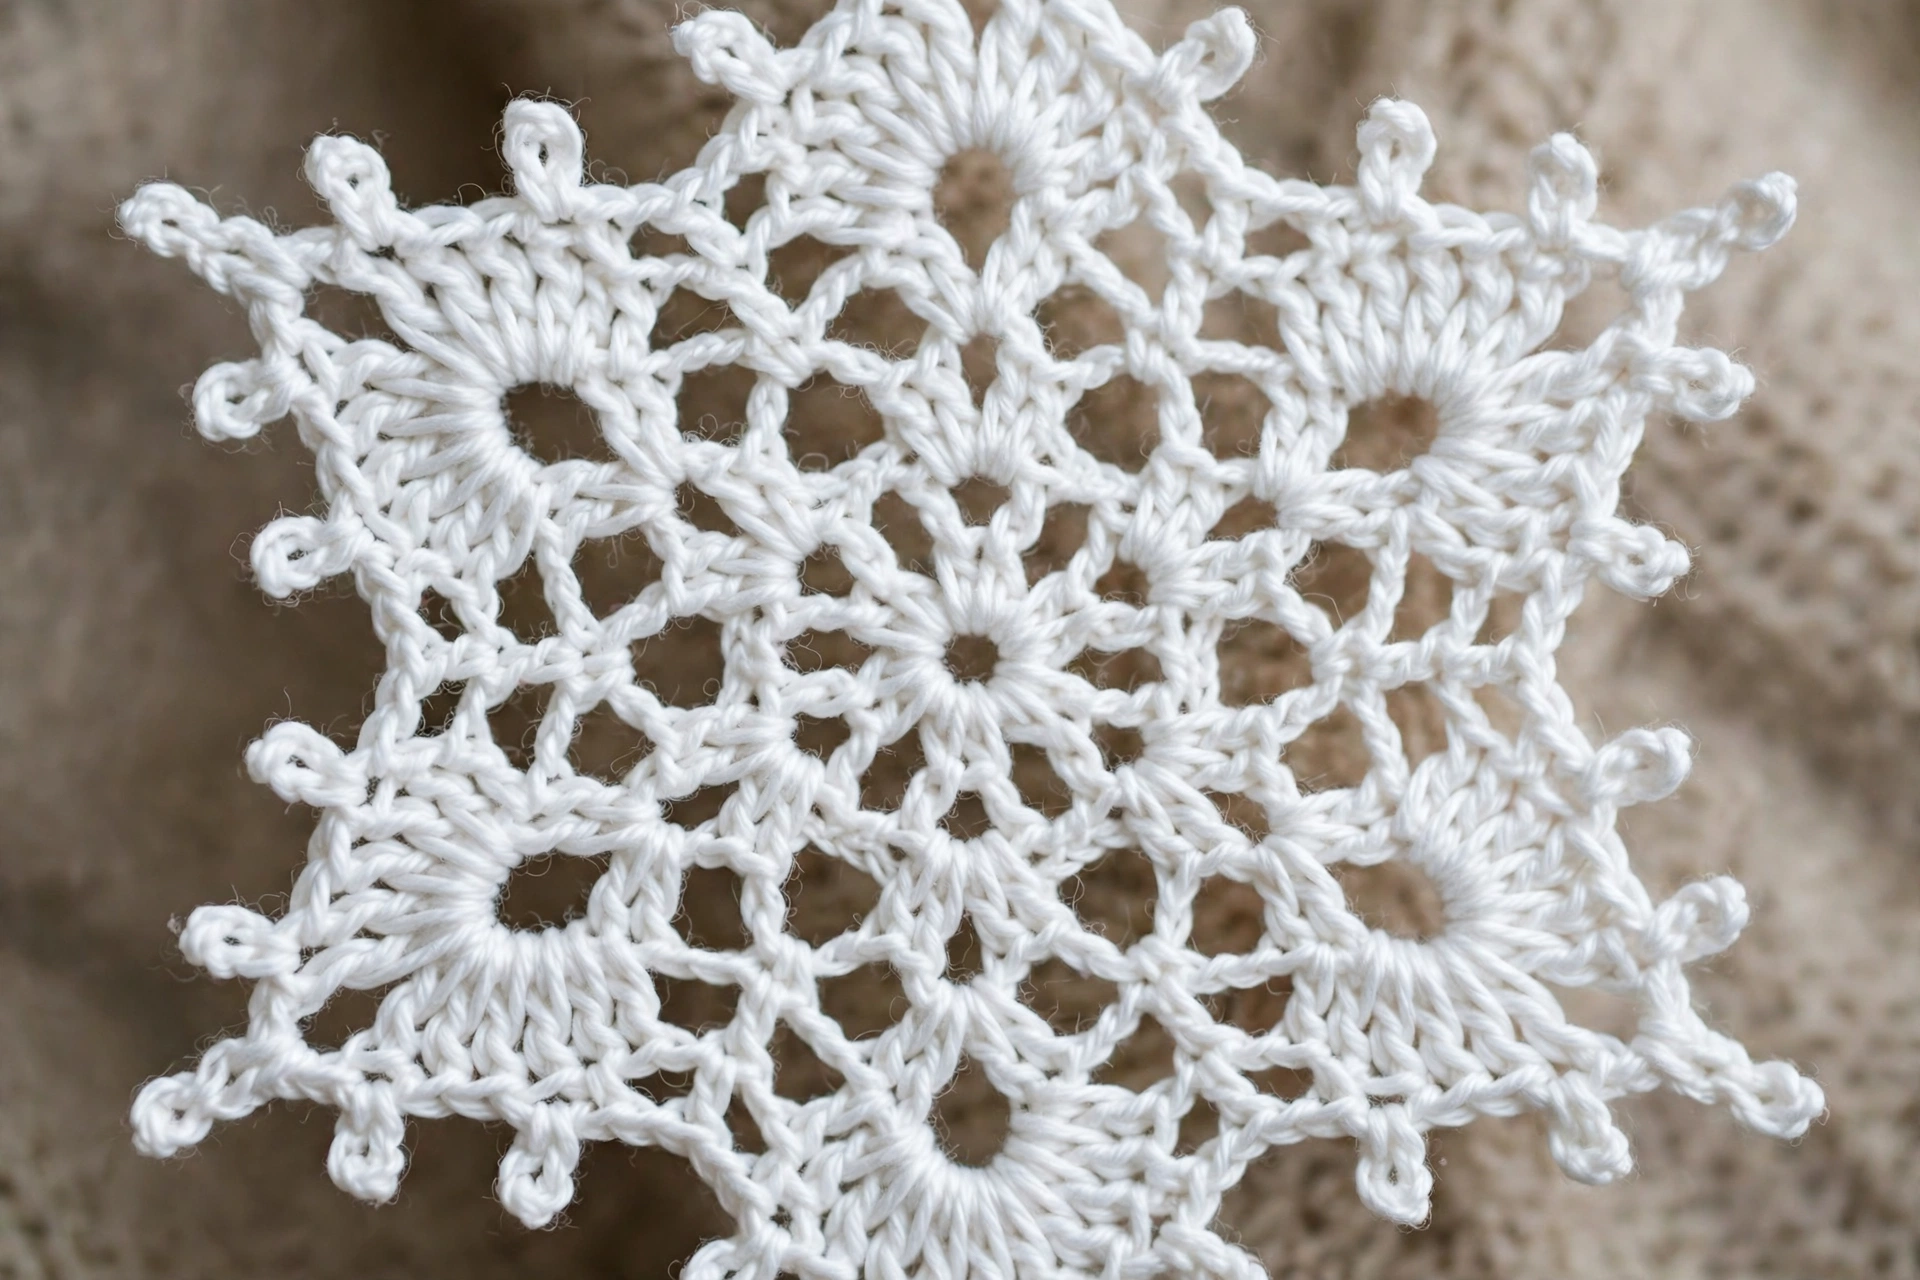
Finishing / Assembly — Weave in ends
Weave starting tail from magic ring and final tail neatly on back with tapestry needle, following path of stitches. Trim excess close.
Blocking
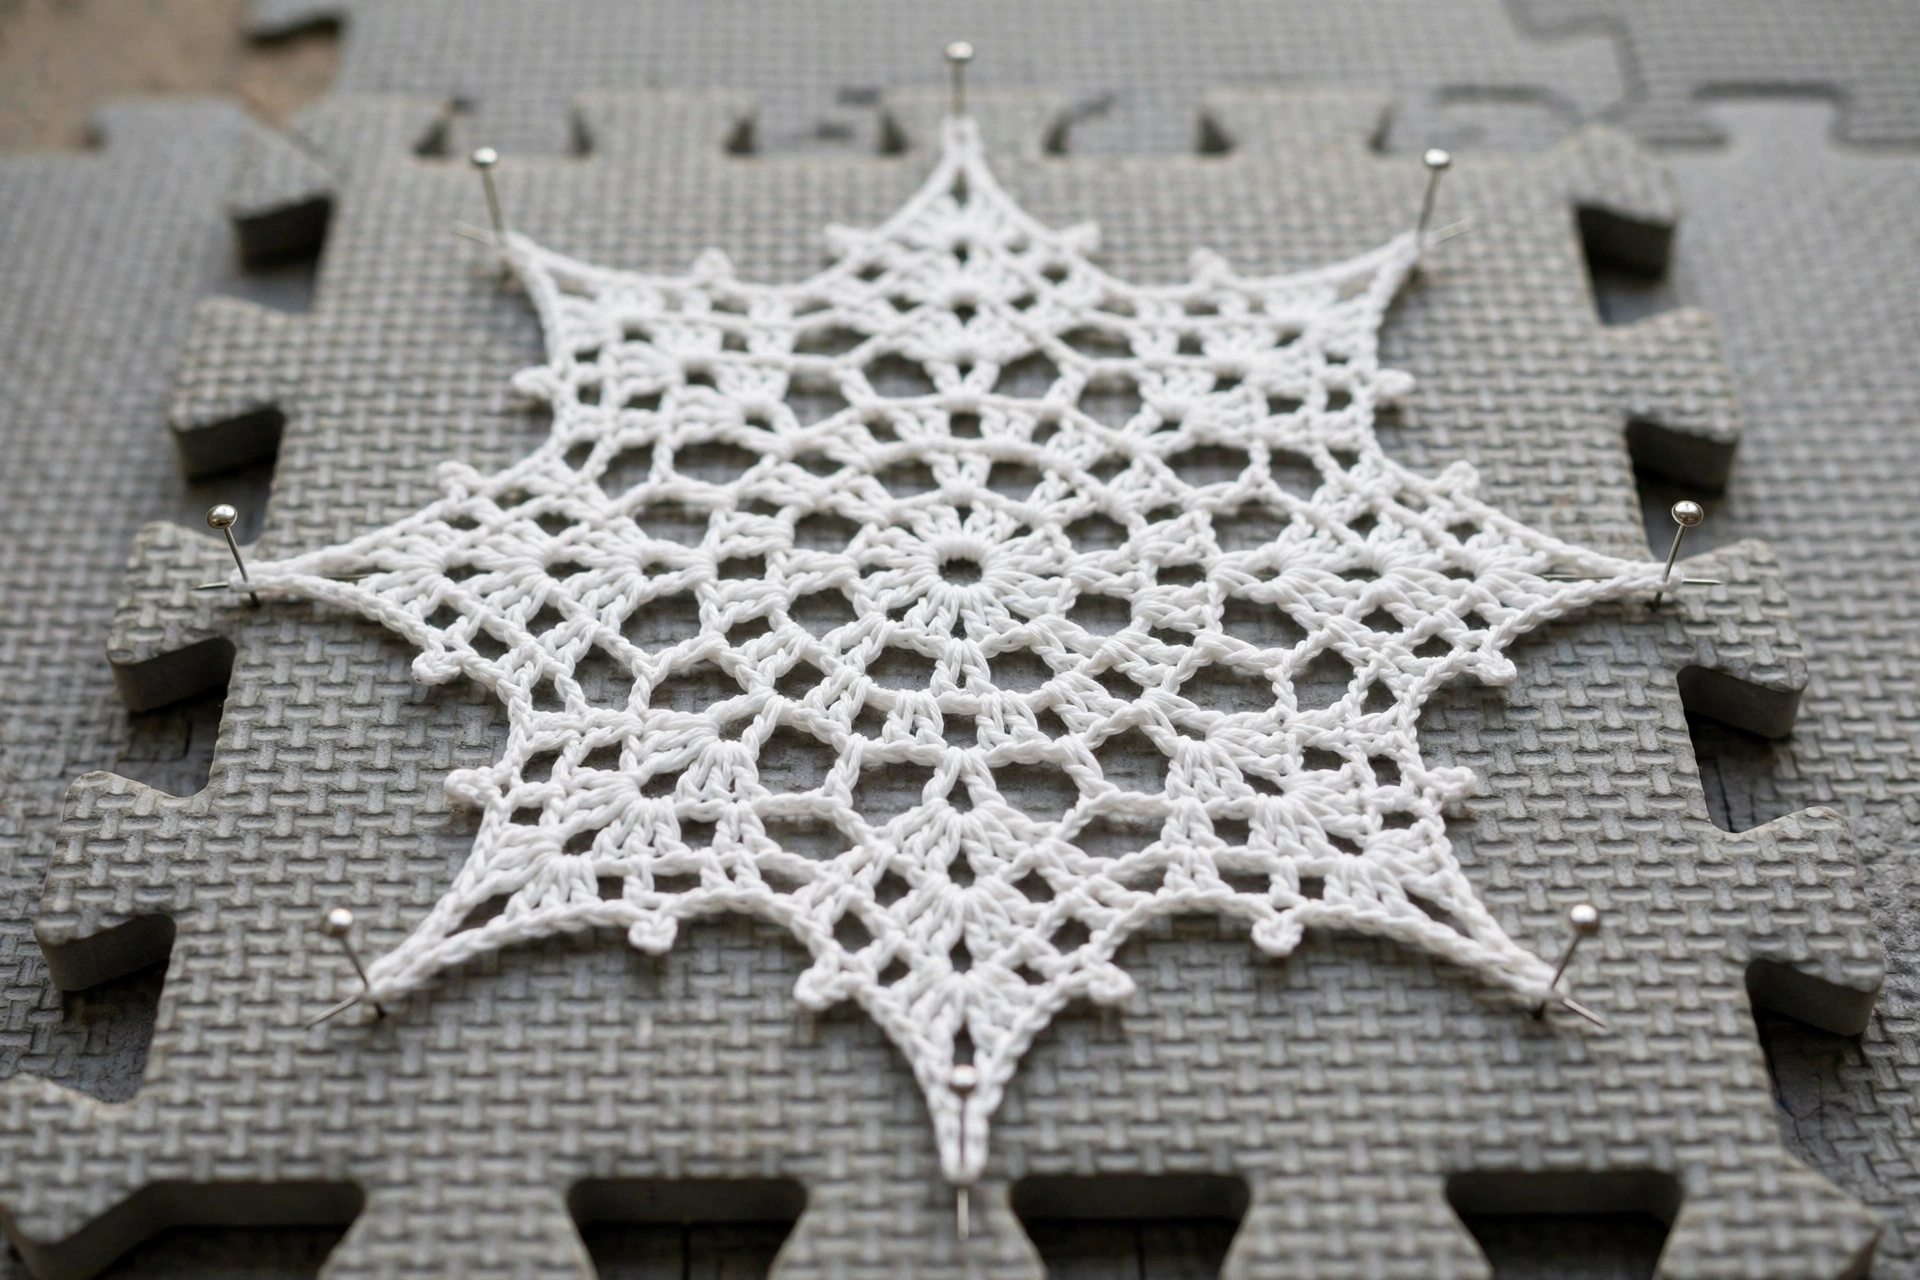
1. Lightly dampen snowflake with spray bottle, or soak briefly in cool water and gently squeeze out excess — do not wring. 2. Lay flat on blocking mat, wrong side down. 3. Shape into round, symmetrical snowflake. Pin each of 6 points out to full length, pulling picot tips straight, pin valleys lightly so ch-5 chains lie open and even. 4. Leave pinned until completely dry. For very firm tree ornament, apply fabric stiffener or diluted white craft glue per product instructions before pinning, let dry fully before unpinning. 5. Unpin carefully. If arm curls again, re-dampen and re-pin that section only.
Hanging loop
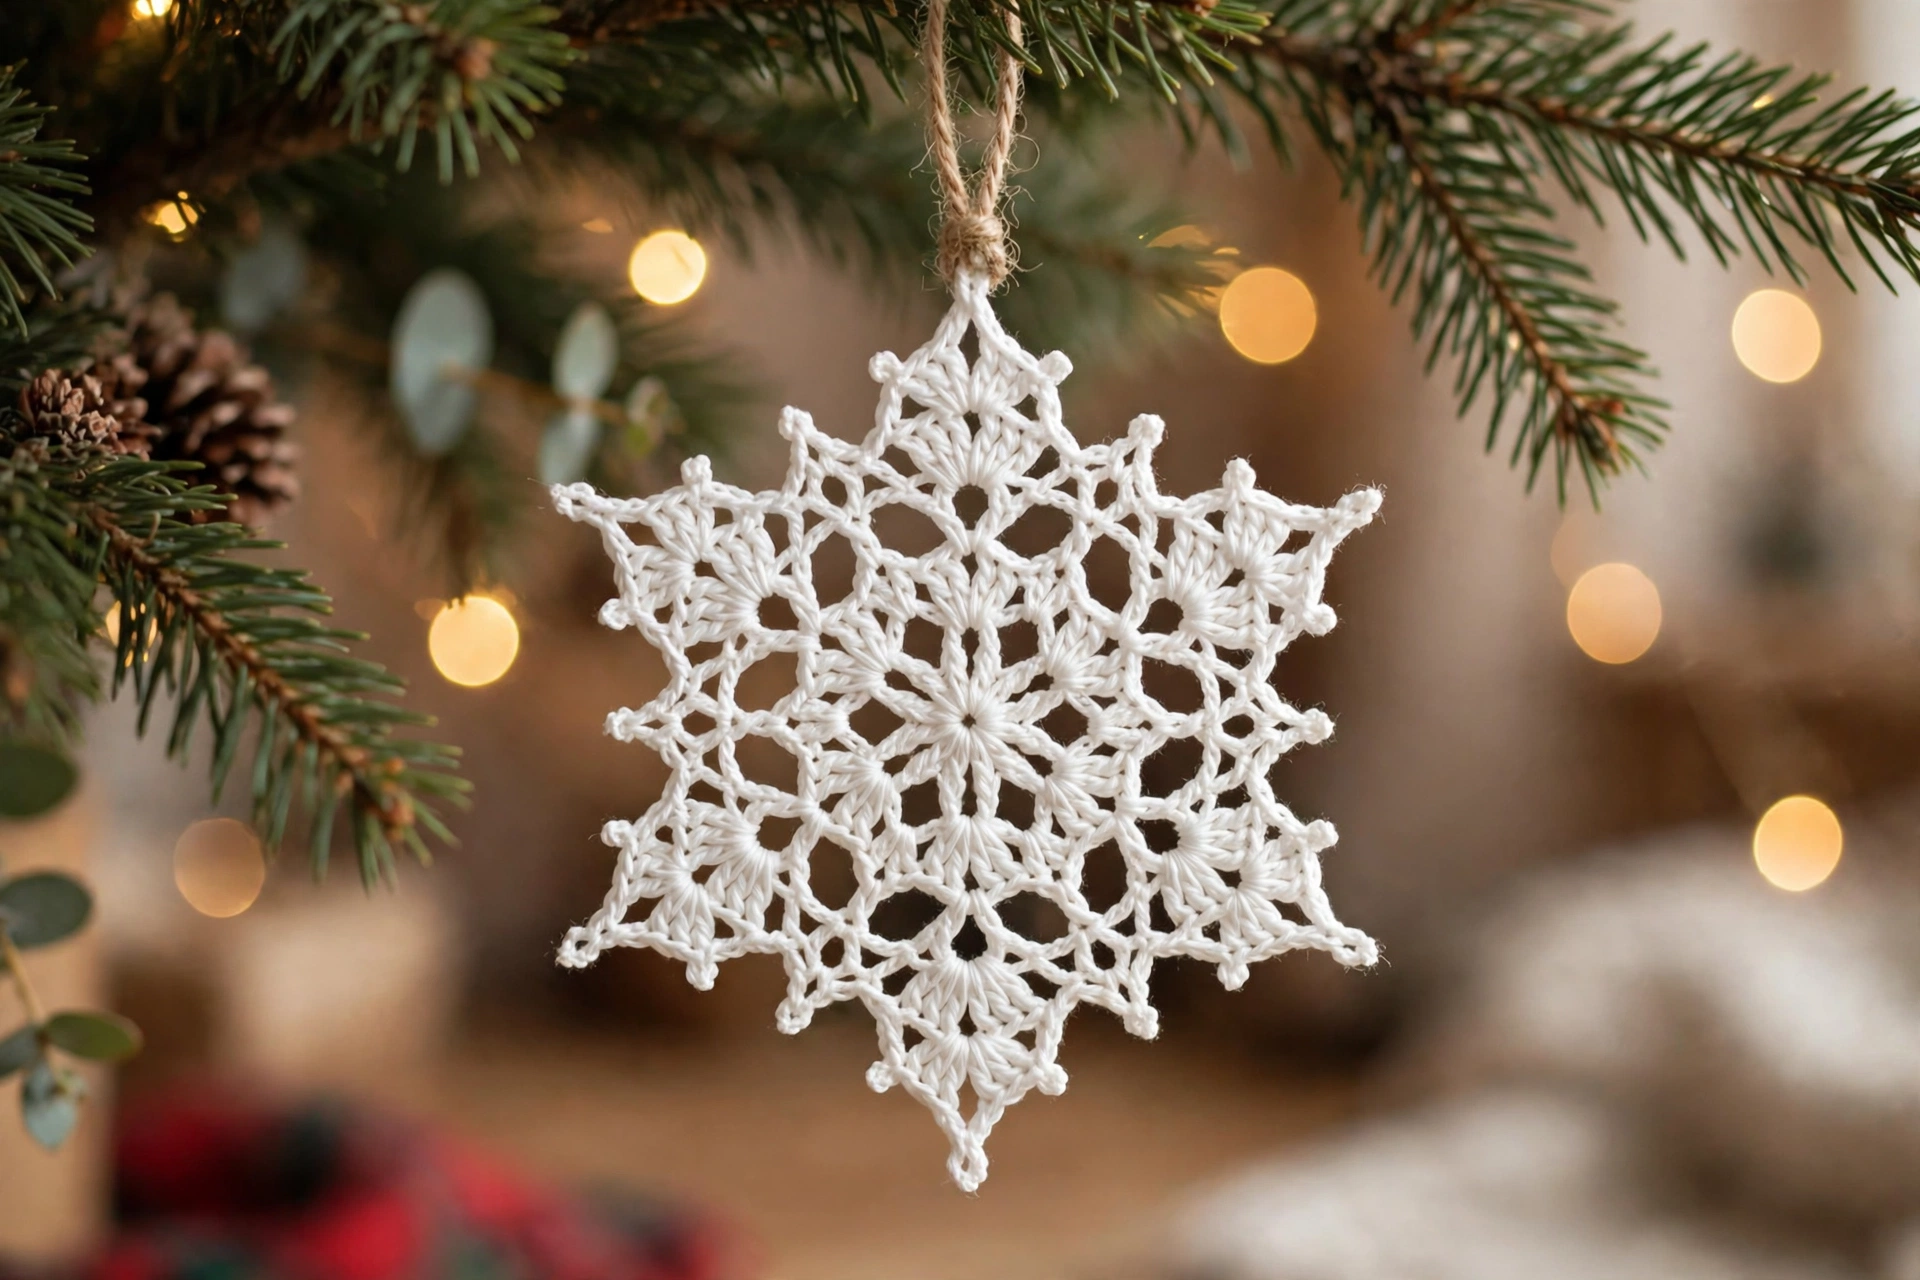
Cut 6-inch (15 cm) length of thin ribbon, yarn, or thread. Fold in half to form loop. Thread two cut ends through ch-3 picot at tip of any one point from back to front, pull through folded loop, pull snug to knot in place. Alternatively, sew loop to back of a tip with few small stitches and weave in ends. Hang with loop at top and one point pointing straight up.
Tips
Count centre first — if Round 2 does not have 24 stitches, 6-point spacing in Rounds 3–6 will not line up. Keep chains loose — tight ch-5 and ch-7 loops will pull snowflake inwards. Mark first point with stitch marker in first ch-2 tip space of Round 5. Make them match — same yarn and hook for every snowflake, block all to same size. Try colour variation — work Round 6 in contrasting pale blue or silver yarn for frosted edge. Stiffen for tree, leave soft for garland.
FAQ
Is this snowflake suitable for beginners? Yes, if comfortable with chains, single, half double, double, and treble crochet in US terms, and working in rounds. Can I use different yarn weight? Yes, fingering weight with 2.5–3 mm hook makes smaller, worsted with 4.5–5 mm makes larger, stitch counts stay same, only finished size changes. Why is my snowflake curling or cupping? Common before blocking, especially cotton — dampen, pin all six points flat and evenly spaced, let dry completely, try larger hook if still cups. Do I have to stiffen it? No, blocking alone enough for flat decoration or gift topper, stiffening only recommended for rigid ornament. Can I join snowflakes together? Yes, join tip-to-tip with few stitches, or thread onto long chain or ribbon through one tip of each to make garland.