Braid Puff Stitch Crochet Pattern
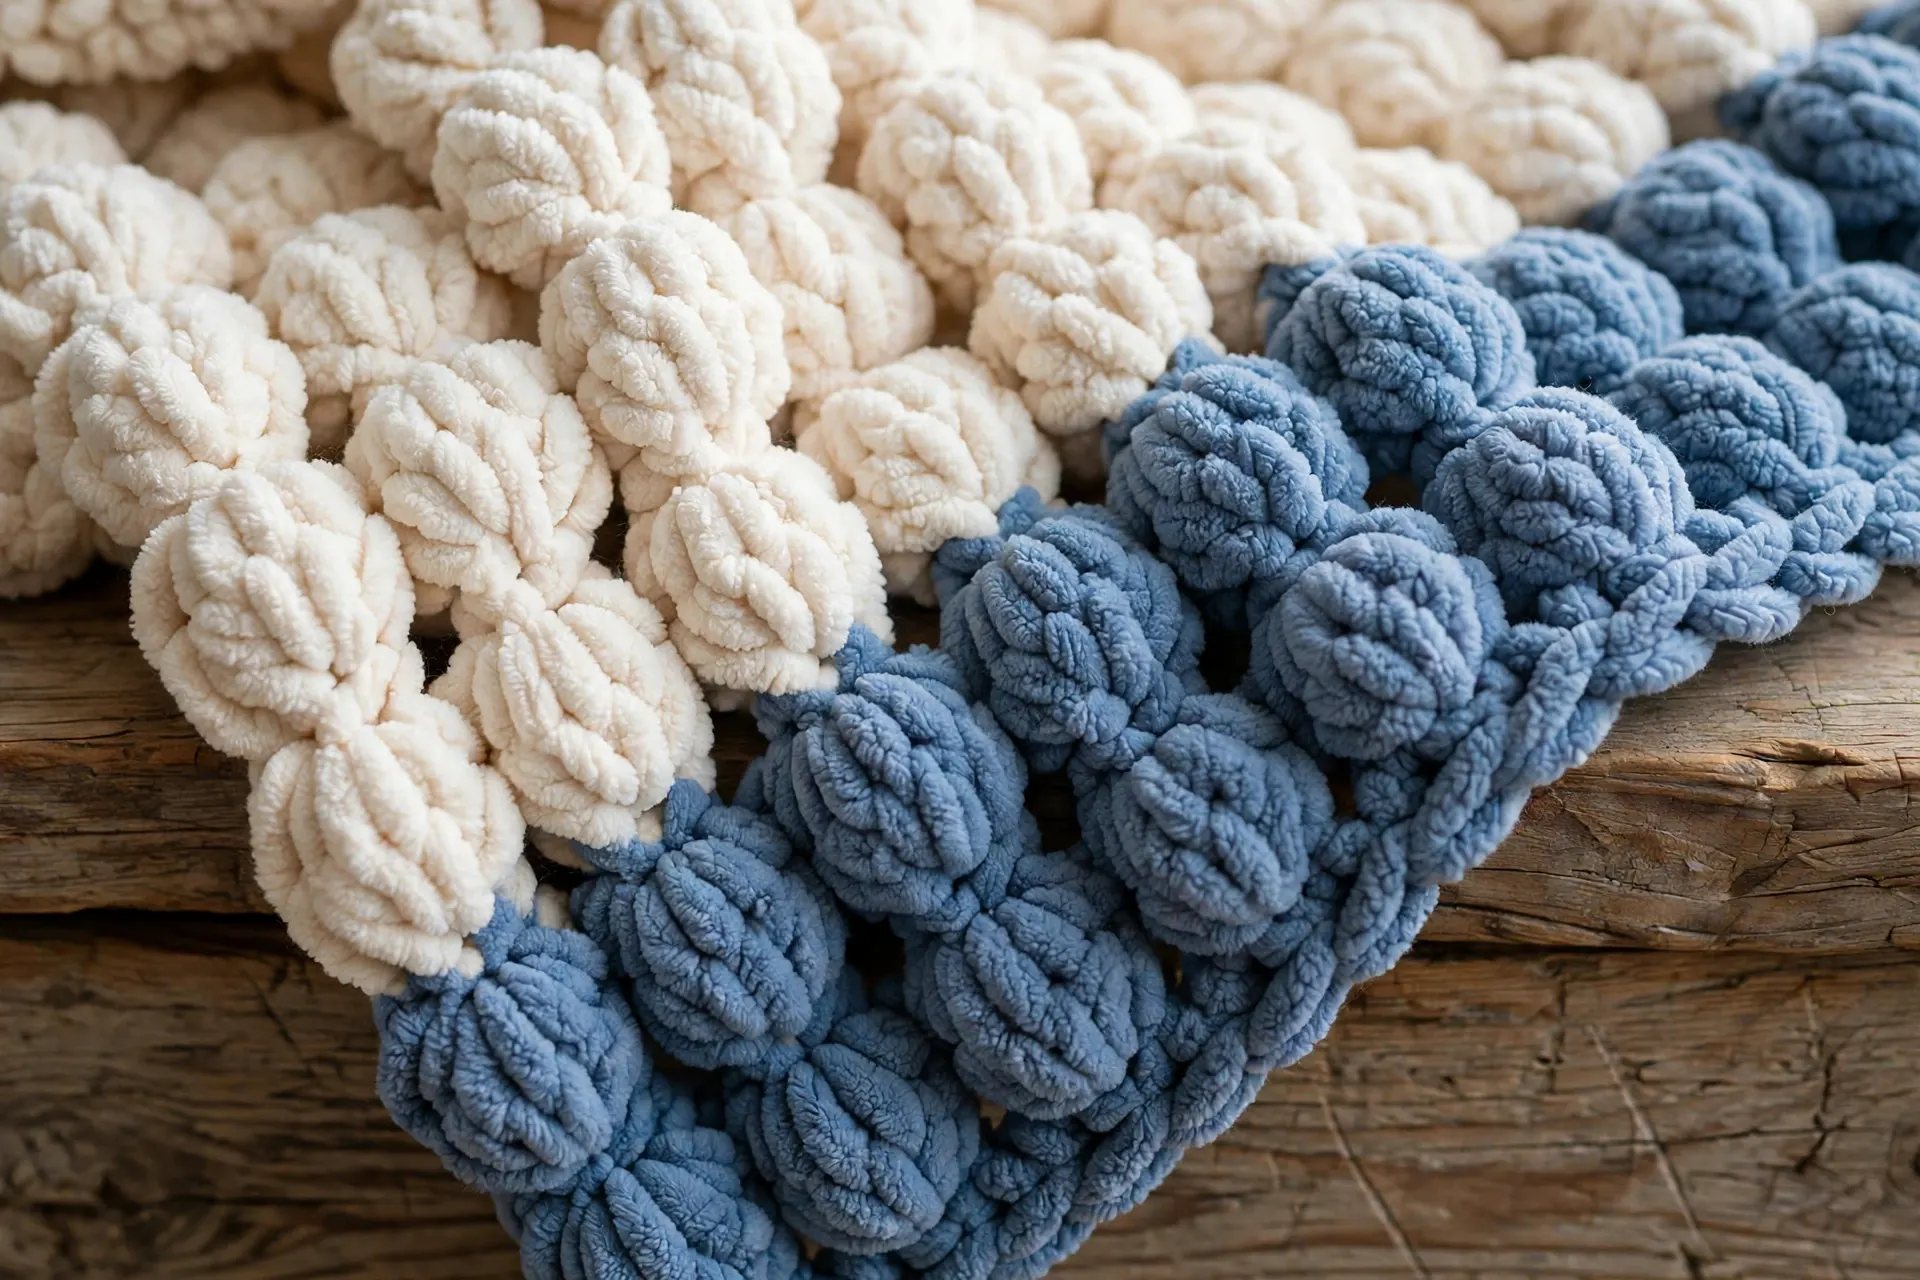
Some crochet textures lie flat and behave; the braid puff stitch does something better — it leans. Working plump puff stitches in columns, then shifting every column sideways on the next puff row, makes them tilt against each other and stack into soft diagonal ridges like a plaited braid. No cabling, no post stitches, nothing worked out of order — the braid comes purely from where you place the puffs. This tutorial teaches the stitch on a swatch with an exact, unchanging count, adds a two-tone colour change, then scales the repeat up into a full scarf — and it teaches the puff from scratch, so no puff experience is needed.
Pattern Essentials
Skill level: Confident beginner — chain, single crochet and confident yarn overs.
Gauge: 15 single crochet stitches and 17 rows = 4 inches (10 cm) in single crochet. One 4-row repeat ≈ 1¾ inches (4.5 cm) tall in pattern.
Finished measurements: Practice swatch: approximately 6½ × 6 inches (17 × 15 cm) after blocking. Scarf (Step 7): approximately 8¾ inches (22 cm) wide × 60 inches (152 cm) long.
Abbreviations (US terms):
- ch = chain
- sc = single crochet
- puff = puff stitch (defined in full in Step 2)
- st(s) = stitch(es)
- yo = yarn over
- rep = repeat
How the Braid Is Built
The braid puff stitch fabric works on a four-row rhythm: puff row A, plain row, puff row B (shifted), plain row. The plain rows pin the puffs down, tilt them slightly, and give you a flat, countable row between textured ones. Every row contains exactly 25 stitches, because a puff counts as one stitch and replaces one single crochet. The starting chain is a multiple of 4 plus 2, so the fabric widens in steps of 4. It differs from my braid stitch slippers crochet pattern, which braids the surface of a shaped piece; here the braid is the fabric.
Step-by-Step: The Braid Puff Stitch Swatch
Step 1: Foundation Chain and Setup Row

You will need:
- Worsted weight (weight 4) yarn: approximately 60 yards (55 m) in the main colour for the swatch, plus about 35 yards (32 m) of a second colour for the two-tone version in Step 6
- 5.5 mm (US I-9) crochet hook
- Stitch markers, yarn needle and scissors
If you swap yarns, the free Craft Yarn Council yarn weight standards confirm what counts as a weight 4 yarn and the hook range that suits it.
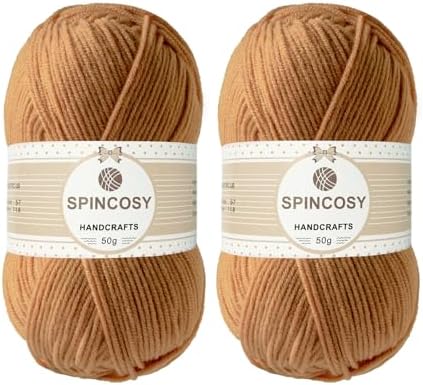
- [100% Acrylic]- Made of 100% acrylic material.
- [2 acrylic yarn balls]- Each Skein is 50g 140 yards long (0.11Ib 425.5ft) for a total of 280 yards (0.23Ib 850ft)
- [10 different colors] – No Doubles – Assorted Colors.
Puffs show off smooth, rounded yarn best, so pick a worsted acrylic with a clean, un-fuzzy surface in two clearly contrasting colours — cream with dusty blue, or grey with blush pink. Each colour claims its own puff rows, and watching the sets lean together teaches you to read the braid.
Foundation chain: Chain 26 — a multiple of 4 (6 × 4 = 24) plus 2.
Row 1 (setup row): Single crochet in the 2nd chain from the hook and in each chain across, chain 1, turn. (25 sc)
Count the row: 25 stitches. Every row that follows must end with this number.
Step 2: The First Puff Row

First, the puff stitch, defined once and used throughout: puff = yarn over, insert hook into the stitch, yarn over and pull up a loop to the full height of the row (3 loops on hook). Repeat — yarn over, insert into the same stitch, yarn over, pull up a loop — twice more (7 loops on hook). Yarn over and pull through all 7 loops in one motion. The puff counts as exactly 1 stitch, and every loop must be pulled to the same height, or the puff looks lopsided.
Row 2 (puff row A): Single crochet in the first stitch, *puff in the next stitch, single crochet in each of the next 3 stitches; repeat from * across, chain 1, turn. (25 sts: 6 puffs and 19 sc)
Check the maths: 1 starting single crochet plus 6 repeats of 4 stitches (1 puff + 3 single crochet) = 25, with puffs on stitches 2, 6, 10, 14, 18 and 22. Keep tension relaxed — a puff squeezed tight cannot swell sideways, and the swell is what makes the braid puff stitch read as a braid.
Step 3: The Plain Row That Resets the Count

Row 3: Single crochet in each stitch across, chain 1, turn. (25 sc)
Work one single crochet into the top of each puff, treating it as the single stitch it is — the crown can look like two strands, but takes one stitch only. This row locks the puffs, tilts each one slightly, and gives you a flat strip that is effortless to recount. If it does not total 25, the error is in the puff row underneath — fix it now, because every later column counts from this row. The puff stitch hat crochet pattern is built on rows like these two, for more puff practice.
Step 4: The Offset Puff Row — Where the Braid Appears

Row 4 (puff row B): Single crochet in each of the first 3 stitches, *puff in the next stitch, single crochet in each of the next 3 stitches; repeat from * 5 times, puff in the next stitch, single crochet in the last stitch, chain 1, turn. (25 sts: 6 puffs and 19 sc)
Count it: 3 + (5 × 4) + 1 + 1 = 25. Starting with 3 single crochet instead of 1 shifts the row by 2 stitches, so puffs land on stitches 4, 8, 12, 16, 20 and 24 — halfway between the columns of Row 2, nesting like the crossing strands of a plait. That single shift is the entire braid puff stitch secret: same stitch, same count, new address.

- Easy grip handle
- Amour means love
- Love crochet
Drawing seven loops up through one stitch and pulling through them all is the hardest motion in this stitch; a 5.5 mm ergonomic hook with a soft grip makes it kinder on your hands over a scarf, and gives each puff room to swell into its neighbour.
Step 5: Repeating to Length Without Losing Count

The repeat from here is Rows 2 to 5 in order — puff row A, plain row, puff row B, plain row:
- Row 5: Single crochet in each stitch across. (25 sc)
- Row 6: Repeat Row 2 (puff row A). (6 puffs, 25 sts)
- Row 7: Single crochet in each stitch across. (25 sc)
- Row 8: Repeat Row 4 (puff row B). (6 puffs, 25 sts)
Continue repeating Rows 2–5 until the swatch is about 6 inches (15 cm) tall — roughly 13 rows — ending with a plain row so the top edge is flat. Count the plain rows out loud (the easy place to drop an edge stitch), and check the columns: an A-row puff should sit directly above an A-row puff two puff-rows below; if a column wanders, a shift went wrong one repeat back.

- [150-Piece Value Set in 10 Colors] Get 150 locking stitch markers in 10 colors (15 per shade) to color-code rows, repeat…
- [Smooth Snag-Free Plastic] Lightweight smooth plastic with a gentle locking clasp slides along yarn without catching or …
- [Works for Knitting & Crochet] The slim profile slips onto standard knitting needles, while the secure locking ring mark…
Clip a locking marker into the first and last stitch of every plain row and the braid puff stitch fabric becomes almost impossible to miscount — the edge stitches hide under the puffs’ tilt, and the markers hold your 25-stitch boundary in view, doubling as a straight-edge guide for the Step 8 border on a scarf.
Step 6: Colour Change for a Two-Tone Braid

Two colours turn the braid unmistakable, because each diagonal set of puffs wears its own shade. The simplest rhythm: puff row A and its plain row in Colour 1, puff row B and its plain row in Colour 2, alternating. Change colour in the very last stitch of a plain row: work the final single crochet until 2 loops remain on your hook, drop the old colour, and pull the new colour through both loops to finish the stitch. Chain 1 with the new colour and turn — the join is invisible.
Do not carry both yarns up the side; on a two-row rhythm the floats show. Leave a 4 inch (10 cm) tail at each change and weave ends in along the plain rows — the Step 8 edging hides every tail. Rejoin Colour 1 at the end of the second plain row in the same way.
Step 7: A Scarf-Width Example — Dimensions and Repeats

You need approximately 600 yards (549 m) of worsted yarn for the scarf — about three 100 g balls in one colour, or two balls each of two colours for the two-tone version. My crochet mesh scarf pattern is this scarf’s lightweight opposite; the braid puff version is the warm, squishy winter one.
Scarf setup: Chain 34 — the same multiple of 4 plus 2 — and work Row 1 as in the swatch. (33 sc)
Puff row A (scarf): Single crochet in the first stitch, *puff in the next stitch, single crochet in each of the next 3 stitches; repeat from * across. That is 1 + (8 × 4) = 33 stitches, with 8 puffs. (33 sts)
Puff row B (scarf): Single crochet in each of the first 3 stitches, *puff in the next stitch, single crochet in each of the next 3 stitches; repeat from * 7 times, puff in the next stitch, single crochet in the last stitch. That is 3 + (7 × 4) + 1 + 1 = 33 stitches, with 8 puffs landing on stitches 4, 8, 12, 16, 20, 24, 28 and 32. (33 sts)
Repeat the four-row rhythm until the scarf measures 60 inches (152 cm) — roughly 30 repeats at gauge, but measure the piece, not the row count — always ending on a plain row. Finished width: 8¾ inches (22 cm).
Step 8: Edging and Blocking

An edging frames the braid and tames the wavy sides. With the main colour, work one round of single crochet around the piece: 1 single crochet in each stitch along the top and bottom, 3 in each corner, and along each long side 1 single crochet into the end of each plain row and 2 into the end of each puff row, so the edge neither frills nor pulls in. Join with a slip stitch, fasten off, weave in ends.

- WHAT YOUR PURCHASE COMES WITH: 9 premium EVA blocking boards (12.6″ × 12.6″ × 0.75″), 150 rust-resistant T-pins, a gray …
- EASY TO USE & CARE: Made from durable extra-thick EVA foam, each board holds pins securely and stays firmly in place. Th…
- INTERLOCKING & EXPANDABLE SET: Interlocking tiles create a stable 36″ × 36″ blocking surface or can be arranged in any s…
Interlocking foam mats with rustproof pins turn a wavy puff scarf into a crisp finished piece: pin it to size, square the corners, and the puffs settle into their braid uniformly.
To block: soak in lukewarm water for 15 minutes, press the water out in a towel without wringing, pin to the finished measurements, and leave until dry (12–24 hours). For acrylic, careful steam held just above the surface — never touching — sets the braid permanently instead.
Final Thoughts
The braid puff stitch rewards a slow first hour: once your hands know the puff and your eyes see the two-stitch shift, the fabric grows almost on autopilot. Keep the plain rows counted and every puff loop the same height, and the texture does the rest. For more stitched illusions, the honeycomb stitch crochet pattern builds texture from plain stitches alone, and the pompom stitch crochet pattern is another raised, playful surface for your stitch library.