7 Free Crochet Christmas Ornament Patterns: Easy, Quick and Festive
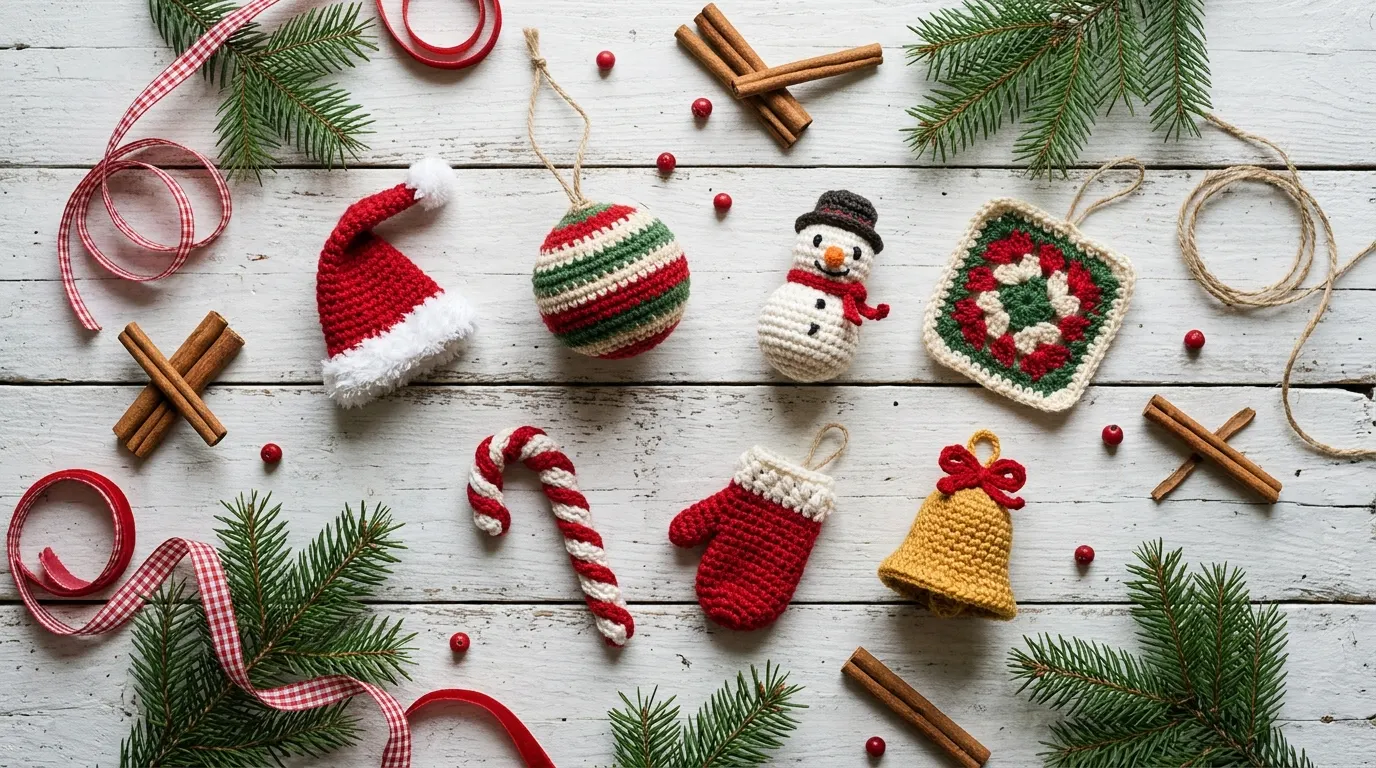
Crochet ornaments are small, quick and full of charm, and they make wonderful gifts, gift toppers and tree decorations. These 7 free patterns come with round-by-round instructions and exact stitch counts: a mini Santa hat, a striped bauble, a snowman, a granny square, a candy cane, a mitten and a jingle bell. Each one uses only a few metres of yarn, so they are perfect for leftover scraps.
All seven use basic stitches (single crochet, increases, decreases and a little double crochet), so beginners can make them, and most take less than an hour. If you want a wearable version of the first ornament, see our Free Crochet Santa Hat Pattern for Baby, Kids and Adults (5 Sizes).
The 7 Ornaments at a Glance
| # | Ornament | Skill level | Time | Finished size |
|---|---|---|---|---|
| 1 | Mini Santa Hat | Beginner | 30 minutes | 4 cm wide x 5.5 cm tall (1.5 x 2.25 in) |
| 2 | Striped Bauble | Beginner | 30 minutes | 4.5 cm (1.75 in) across |
| 3 | Snowman | Easy | 1 hour | 8 cm (3 in) tall |
| 4 | Mini Granny Square | Easy | 30 minutes | 6 cm (2.5 in) square |
| 5 | Candy Cane | Easy | 1 hour | 11 cm (4.25 in) tall |
| 6 | Mini Mitten | Easy | 1 hour | 6 cm (2.5 in) tall |
| 7 | Jingle Bell | Easy | 45 minutes | 5 cm (2 in) tall |
Before You Start
Abbreviations (US terms)
- ch: chain
- sl st: slip stitch
- sc: single crochet
- dc: double crochet
- inc: increase (2 sc in the same stitch)
- dec: decrease (sc 2 stitches together)
- MR: magic ring
- sp: space
- FO: fasten off
- ( ) x N: repeat the instructions in brackets N times
- [ ]: stitch count at the end of the round
General Materials
- Yarn: worsted weight (weight 4) cotton or acrylic scraps in red, white, green and gold
- Hook: 3.0 mm (C/2) unless the pattern says otherwise. Use a hook one or two sizes smaller than the yarn label suggests so the stuffing does not show.
- Also useful: fiberfill, stitch marker, tapestry needle, scissors, thin ribbon or twine for hanging, and ornament hooks
General Notes
- Unless the pattern says otherwise, work in a continuous spiral. Do not join rounds. Mark the first stitch of each round.
- Crochet tightly. Stuffing should not show through the stitches.
- Leave a long tail (about 20 cm / 8 in) on every piece you will sew on.
- Count your stitches at the end of every round, since ornaments are small and mistakes show.
Ornament 1: Mini Santa Hat
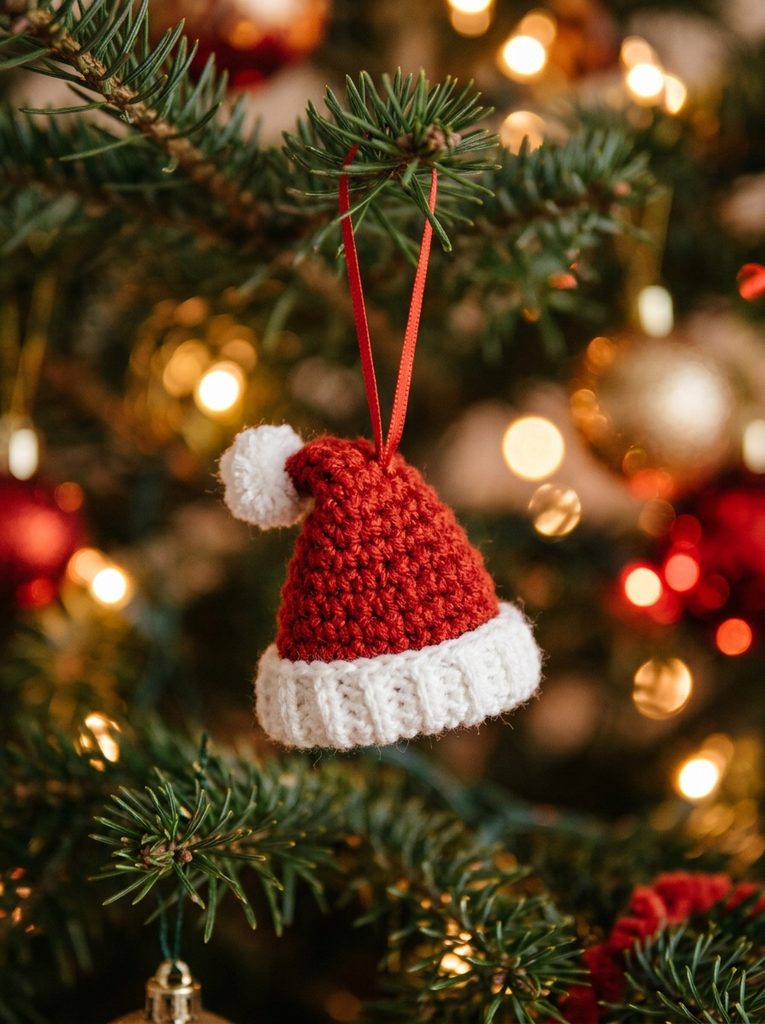
A tiny hat ornament with a white cuff and a pom-pom. It is a miniature of the classic Santa hat, and an ideal introduction to working in the round. For a full-size hat in five sizes, see our free Santa hat pattern.
- Size: about 4 cm wide x 5.5 cm tall (1.5 x 2.25 in)
- Yarn: about 5 m (5.5 yd) of red worsted yarn and 5 m of white
- Hook: 3.0 mm (C/2)
- Other: fiberfill (optional), tapestry needle
Pattern
- Foundation (white): ch 24. Join with a sl st to the first ch to form a ring, being careful not to twist the chain.
- R1 to R3: sc in each ch or st around [24] (3 rounds, white)
- R4 to R5: change to red, sc in each st around [24]
- R6: (2 sc, dec) x 6 [18]
- R7: sc in each st around [18]
- R8: (1 sc, dec) x 6 [12]
- R9: sc in each st around [12]
- R10: dec x 6 [6]
FO leaving a tail. Stuff the hat lightly, thread the tail through the front loops of the last 6 stitches, pull tight and weave in the end.
Pom-pom: Wrap white yarn about 30 times around two fingers, tie it tightly in the middle, cut the loops and trim into a neat ball about 1.5 cm (1/2 in) across. Sew it to the tip.
Finishing: Sew a loop of ribbon or a 12 cm (5 in) loop of yarn to the top for hanging.
Ornament 2: Striped Bauble
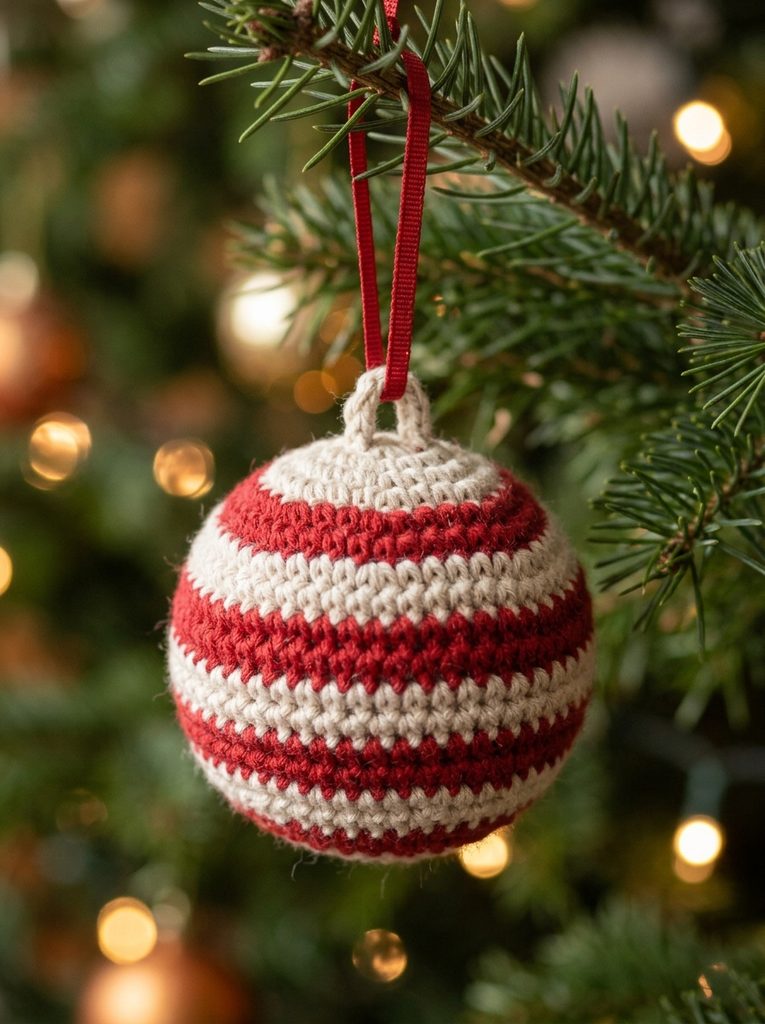
A stuffed ball in red and white stripes, shaped like a traditional glass ornament.
- Size: about 4.5 cm (1.75 in) across
- Yarn: about 6 m (6.5 yd) in total, in red and white
- Hook: 3.0 mm (C/2)
- Other: fiberfill, stitch marker, tapestry needle, ribbon for hanging
Pattern
- R1: MR, 6 sc [6] (red)
- R2: inc x 6 [12] (red)
- R3: (1 sc, inc) x 6 [18] (red)
- R4: (2 sc, inc) x 6 [24] (white)
- R5: sc in each st around [24] (white)
- R6 to R7: sc in each st around [24] (red)
- R8 to R9: sc in each st around [24] (white)
- R10: (2 sc, dec) x 6 [18] (red)
- R11: (1 sc, dec) x 6 [12] (red)
Stuff the ball firmly.
- R12: dec x 6 [6] (red)
FO, thread the tail through the front loops of the last 6 stitches, pull tight and weave in the end. Change colour at the end of each round by pulling the new colour through the last loop, and carry the unused yarn loosely on the inside.
Finishing: Sew a ribbon loop to the top. For a cap, sew on a small gold bead or a tiny gold ring.
Ornament 3: Snowman
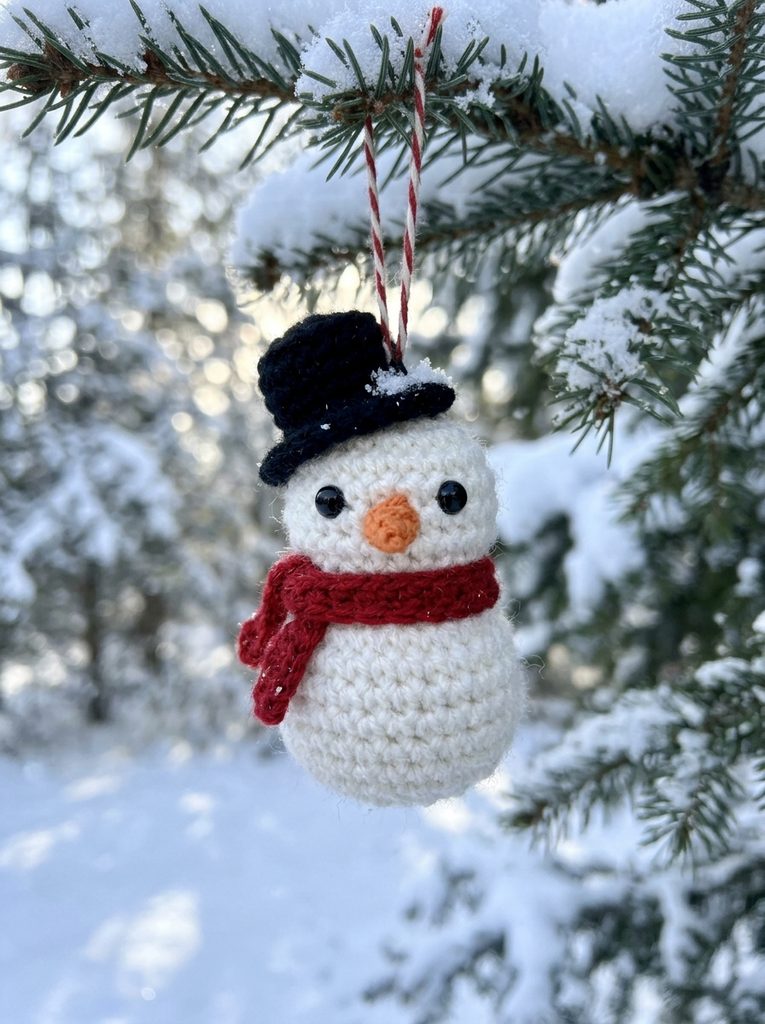
A stuffed snowman with a scarf, a hat and a carrot nose.
- Size: about 8 cm (3 in) tall
- Yarn: about 8 m (9 yd) of white, 4 m (4.5 yd) of red, 2 m (2 yd) of black and a small amount of orange
- Hook: 3.0 mm (C/2)
- Other: two 5 mm safety eyes (or small black beads), fiberfill, stitch marker, tapestry needle
Head (white)
- R1: MR, 6 sc [6]
- R2: inc x 6 [12]
- R3: (1 sc, inc) x 6 [18]
- R4 to R5: sc in each st around [18]
Insert the safety eyes between R3 and R4, about 4 stitches apart, and secure the washers.
- R6: (1 sc, dec) x 6 [12]
Stuff the head.
- R7: dec x 6 [6]
FO, close the hole and weave in the end.
Body (white)
- R1: MR, 6 sc [6]
- R2: inc x 6 [12]
- R3: (1 sc, inc) x 6 [18]
- R4: (2 sc, inc) x 6 [24]
- R5 to R7: sc in each st around [24]
- R8: (2 sc, dec) x 6 [18]
- R9: (1 sc, dec) x 6 [12]
Stuff the body firmly.
- R10: dec x 6 [6]
FO leaving a long tail, close the hole and sew the head to the body, overlapping them slightly.
Hat (black)
- R1: MR, 6 sc [6]
- R2: inc x 6 [12]
- R3: (1 sc, inc) x 6 [18]
- R4 to R5: sc in each st around [18]
Sl st in the next st and FO leaving a tail. Sew the hat to the top of the head.
Scarf (red)
- Foundation: ch 26
- Row 1: sc in the 2nd ch from the hook and in each ch across, ch 1, turn [25]
- Row 2: sc in each st across [25]
FO. Wrap the scarf around the neck and tie it, or sew it in place. Add short fringe to the ends if you like.
Nose (orange): Ch 4, sl st in the 2nd ch from the hook, sc in the next ch, hdc in the last ch. FO leaving a tail and sew it to the centre of the face.
Finishing: Add a few black stitches for the mouth and small black or red dots for buttons. Sew a loop of ribbon to the top of the hat for hanging.
Recommended Product
5 mm black safety eyes with washers. They give the snowman a clean, secure face that will not come off, and they are sized to fit the 3 cm head. For children under 3, embroider the eyes instead. As an Amazon Associate I earn from qualifying purchases.


Ornament 4: Mini Granny Square
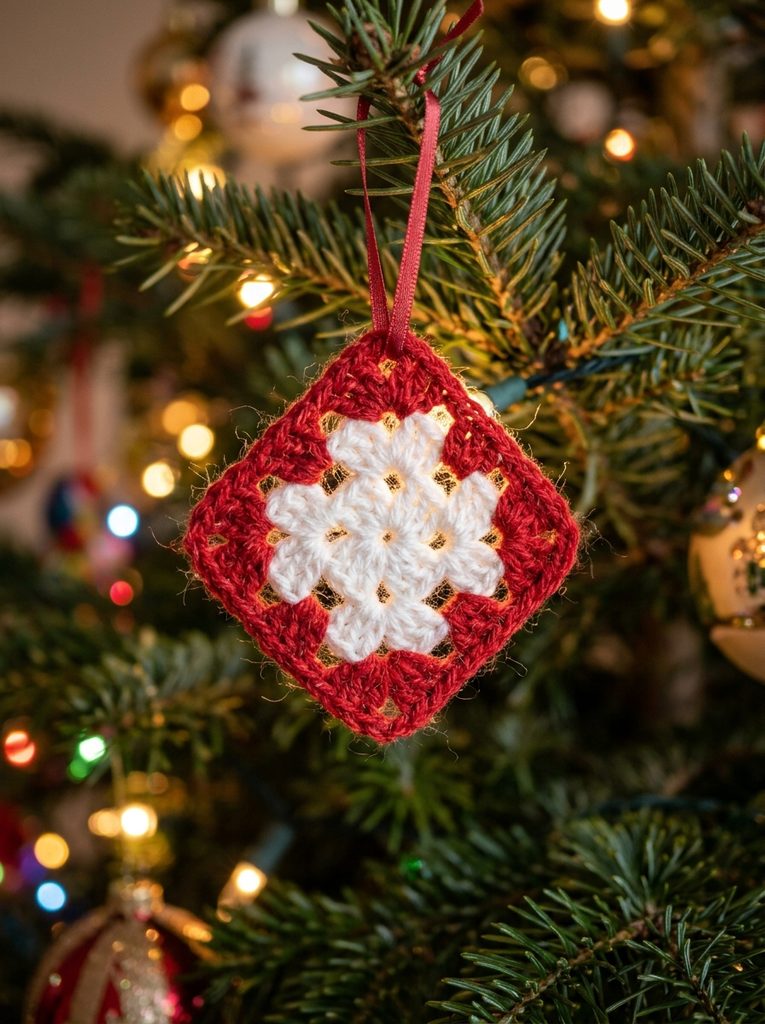
A 2-round granny square in three colours, hung as a diamond from a ribbon.
- Size: about 6 cm (2.5 in) square
- Yarn: about 4 m (4.5 yd) each of red, white and green (or 2 colours)
- Hook: 3.5 mm (E/4)
- Other: tapestry needle, ribbon, optional fabric stiffener or starch
Pattern
- R1 (red): MR, ch 3 (counts as dc), 2 dc in the ring, ch 2, 3 dc in the ring, ch 2. Repeat from * 2 more times, then join with a sl st to the top of the beginning ch 3. Pull the ring closed. FO. [4 groups of 3 dc and 4 corner ch-2 spaces]
- R2 (white): Join in any corner ch-2 sp. Ch 3, 2 dc, ch 2, 3 dc in the same sp. Ch 1, (3 dc, ch 2, 3 dc) in the next corner sp. Repeat from * 2 more times, ch 1, join with a sl st to the top of the beginning ch 3. FO and weave in the ends. [8 groups of 3 dc]
Finishing: Block the square flat and, if you like, stiffen it lightly with starch so it keeps its shape. Turn it so a corner points up and tie a ribbon loop through the top corner space.
Ornament 5: Candy Cane
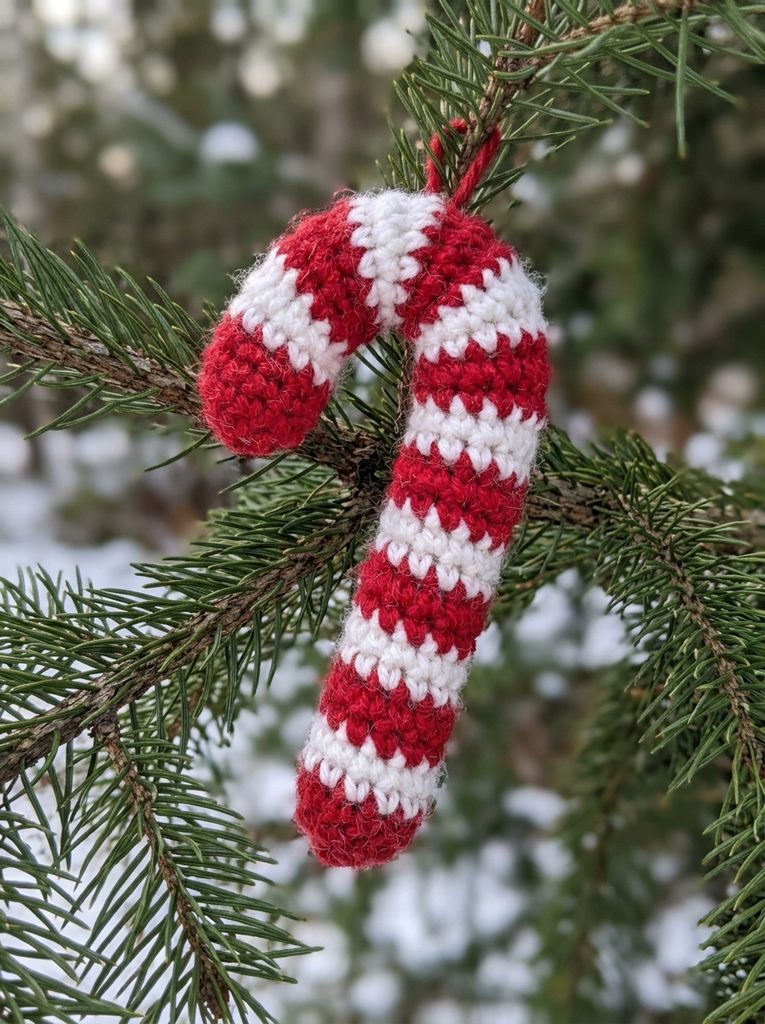
A striped, stuffed candy cane with a chenille stem inside so it can be bent into a hook.
- Size: about 11 cm (4.25 in) tall
- Yarn: about 6 m (6.5 yd) each of red and white
- Hook: 3.0 mm (C/2)
- Other: one 15 cm (6 in) chenille stem (pipe cleaner), fiberfill, stitch marker, tapestry needle
Work in a continuous spiral. Change colour every 2 rounds, carrying the unused yarn up the inside of the tube.
Pattern
- R1 to R2: with red, MR, 8 sc [8], then sc in each st around [8]
- R3 to R4: with white, sc in each st around [8]
- R5 to R6: with red, sc in each st around [8]
- R7 to R8: with white, sc in each st around [8]
- R9 to R10: with red, sc in each st around [8]
- R11 to R12: with white, sc in each st around [8]
- R13 to R14: with red, sc in each st around [8]
- R15 to R16: with white, sc in each st around [8]
- R17 to R18: with red, sc in each st around [8]
- R19 to R20: with white, sc in each st around [8]
- R21: with red, dec x 4 [4]
Before closing, fold 1 cm (1/2 in) at each end of the chenille stem and slide it into the tube. Stuff lightly around it. FO, thread the tail through the front loops of the last 4 stitches, pull tight and weave in the end.
Finishing: Bend the top 4 cm (1.5 in) into a hook. Hang the candy cane over a branch or tie a ribbon bow around the neck of the hook.
Recommended Product
Chenille stems (pipe cleaners), 15 cm. They are the hidden wire that lets a stuffed tube hold a curved hook shape, and a pack lasts for dozens of candy canes. As an Amazon Associate I earn from qualifying purchases.


Ornament 6: Mini Mitten
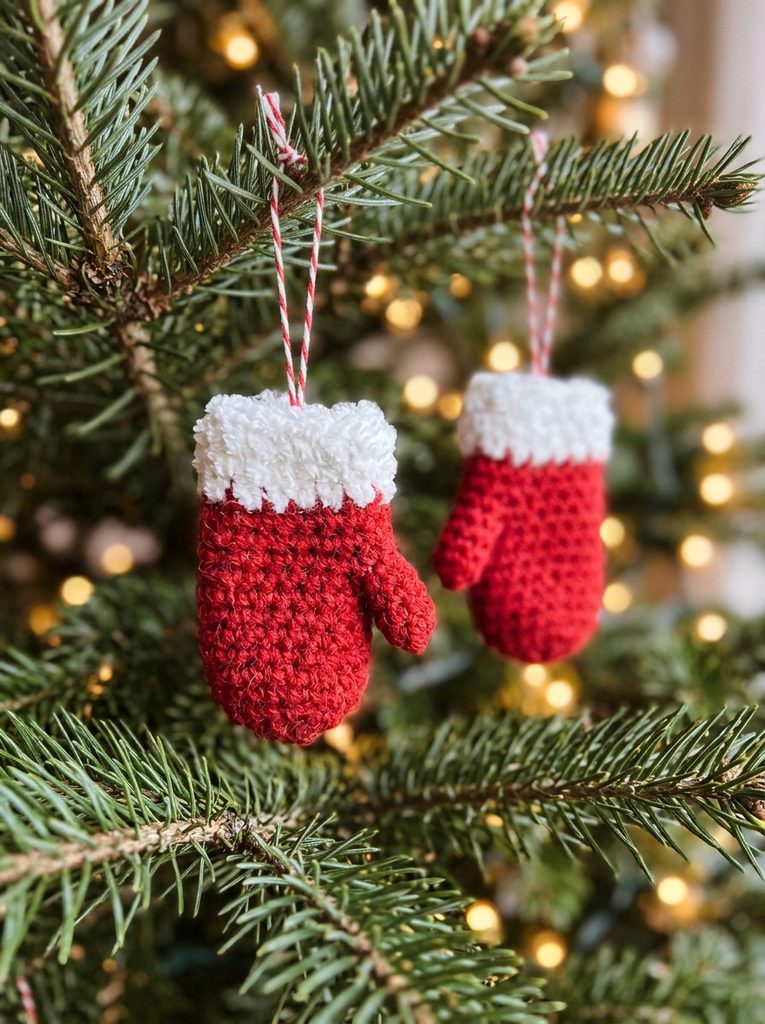
A tiny stuffed mitten with a white cuff and a separate thumb. Make two and join them with a cord for a pair.
- Size: about 6 cm (2.5 in) tall
- Yarn: about 5 m (5.5 yd) of red and 2 m (2 yd) of white
- Hook: 3.0 mm (C/2)
- Other: fiberfill, stitch marker, tapestry needle, ribbon or cord
Work in a continuous spiral.
Hand
- Foundation (white): ch 16. Join with a sl st to the first ch to form a ring, without twisting.
- R1 to R2: sc in each ch or st around [16] (2 rounds, white)
- R3 to R5: change to red, sc in each st around [16]
- R6: sc in the next 3 sts, ch 4, skip the next 4 sts, sc in the remaining 9 sts [16]
- R7: sc in each st and in each ch around [16]
- R8 to R9: sc in each st around [16]
- R10: (2 sc, dec) x 4 [12]
- R11: (1 sc, dec) x 4 [8]
Stuff the mitten lightly.
- R12: dec x 4 [4]
FO, thread the tail through the front loops of the last 4 stitches, pull tight and weave in the end.
Thumb (red)
- Join red at the thumb opening.
- R1: sc in each of the 4 skipped stitches of R5 and in each of the 4 free loops on the underside of the ch 4 [8]
- R2 to R3: sc in each st around [8]
- R4: dec x 4 [4]
FO leaving a tail, stuff the thumb very lightly, close the hole and weave in the end.
Finishing: Sew a ribbon loop to the cuff for hanging. For a pair, make a second mitten, and join the cuffs with a 30 cm (12 in) cord (ch 60 or a twisted yarn cord) so they can hang over a branch.
Ornament 7: Jingle Bell
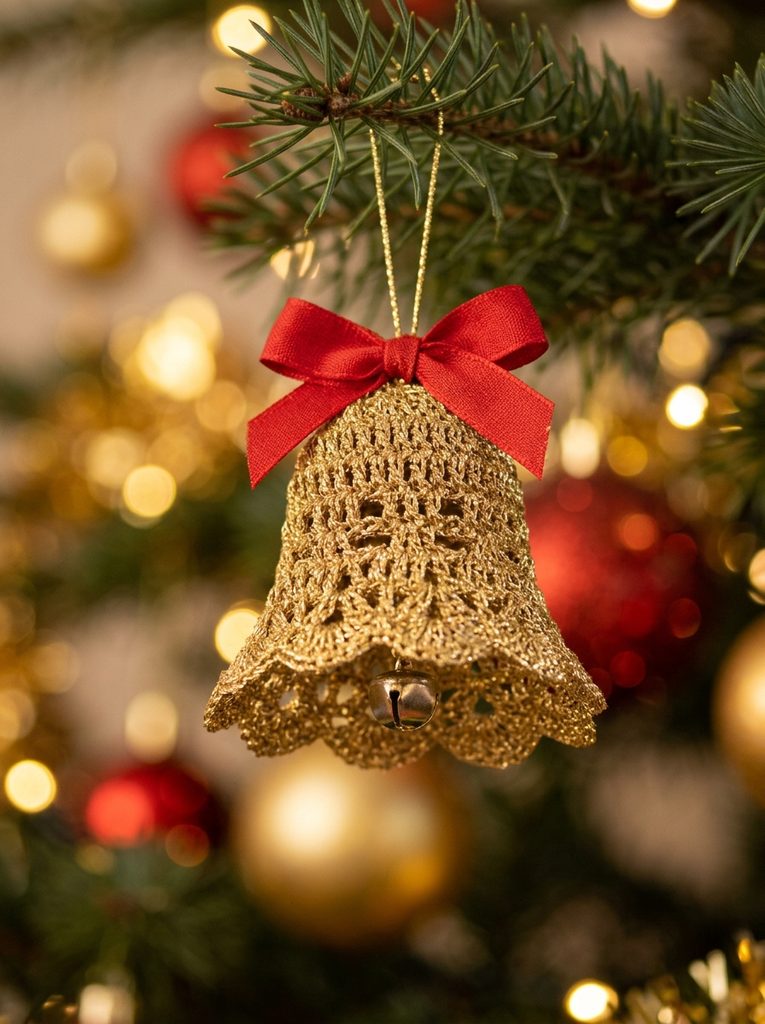
A golden bell with a real jingle bell inside as the clapper.
- Size: about 5 cm (2 in) tall and 5 cm (2 in) across the mouth
- Yarn: about 8 m (9 yd) of gold or yellow worsted yarn
- Hook: 3.0 mm (C/2)
- Other: one 10 mm jingle bell, fiberfill (optional), stitch marker, tapestry needle, ribbon
Work in a continuous spiral from the top of the bell downward.
Pattern
- R1: MR, 6 sc [6]
- R2: inc x 6 [12]
- R3: (1 sc, inc) x 6 [18]
- R4 to R6: sc in each st around [18]
- R7: (2 sc, inc) x 6 [24]
- R8: (3 sc, inc) x 6 [30]
- R9 to R10: sc in each st around [30]
- R11: sl st in each st around [30]
FO leaving a long tail.
Assembly
- Stuff the very top of the bell with a little fiberfill, keeping the mouth open.
- Tie the jingle bell to a 6 cm (2.5 in) piece of yarn and sew the other end to the inside of the top of the bell, so the bell hangs just below the mouth.
- Sew a ribbon loop to the top for hanging, and add a small red bow if you like.
Recommended Product
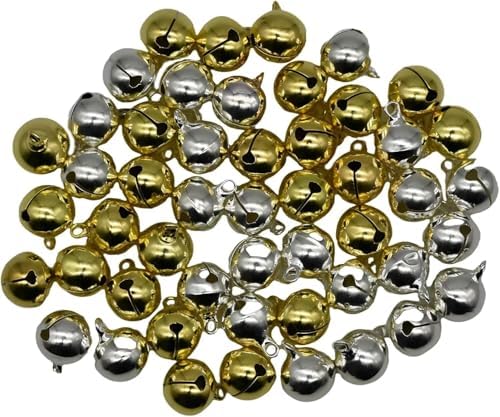
10 mm gold jingle bells. They are the right size for the clapper, they ring clearly inside the crochet bell, and a small bag covers a whole set. Keep jingle bells for older children and adults only, and do not hang them within reach of babies. As an Amazon Associate I earn from qualifying purchases.


Finishing and Hanging Your Ornaments
- Block flat pieces. Steam or spray the granny square and let it dry flat.
- Stiffen if needed. Fabric stiffener or starch helps flat ornaments hold their shape.
- Add a hanging loop. Use ribbon, twine, a loop of yarn or an ornament hook.
- Match your colours. Choose a palette of 3 or 4 colours so the ornaments look like a set.
- Package as gifts. Tuck a few ornaments in a small box with tissue paper and a tag.
Frequently Asked Questions
What is the easiest ornament for beginners? The Striped Bauble and the Mini Santa Hat use only single crochet in simple rounds.
How do I stop stuffed ornaments looking lumpy? Use a smaller hook, add the stuffing in small pieces, and shape the ornament in your hands before the final closing round.
Are these ornaments safe for children? Skip the safety eyes and the jingle bell for children under 3, and sew every part on securely.
How do I make the ornaments bigger? Use thicker yarn and a larger hook, or add extra rounds. For stuffed shapes, keep the increases and decreases in the same proportions.
Final Thoughts
Crochet ornaments are quick, small and endlessly giftable, so make a handful this weekend and enjoy a handmade tree. Don’t forget to try our free Santa hat pattern for a full-size version of the first ornament. Happy crocheting, and Merry Christmas!
Pattern notes: These patterns are for personal use. If you sell finished items, please credit the pattern designer.