Crochet Headband Pattern: An Easy Twisted Headband in 6 Steps
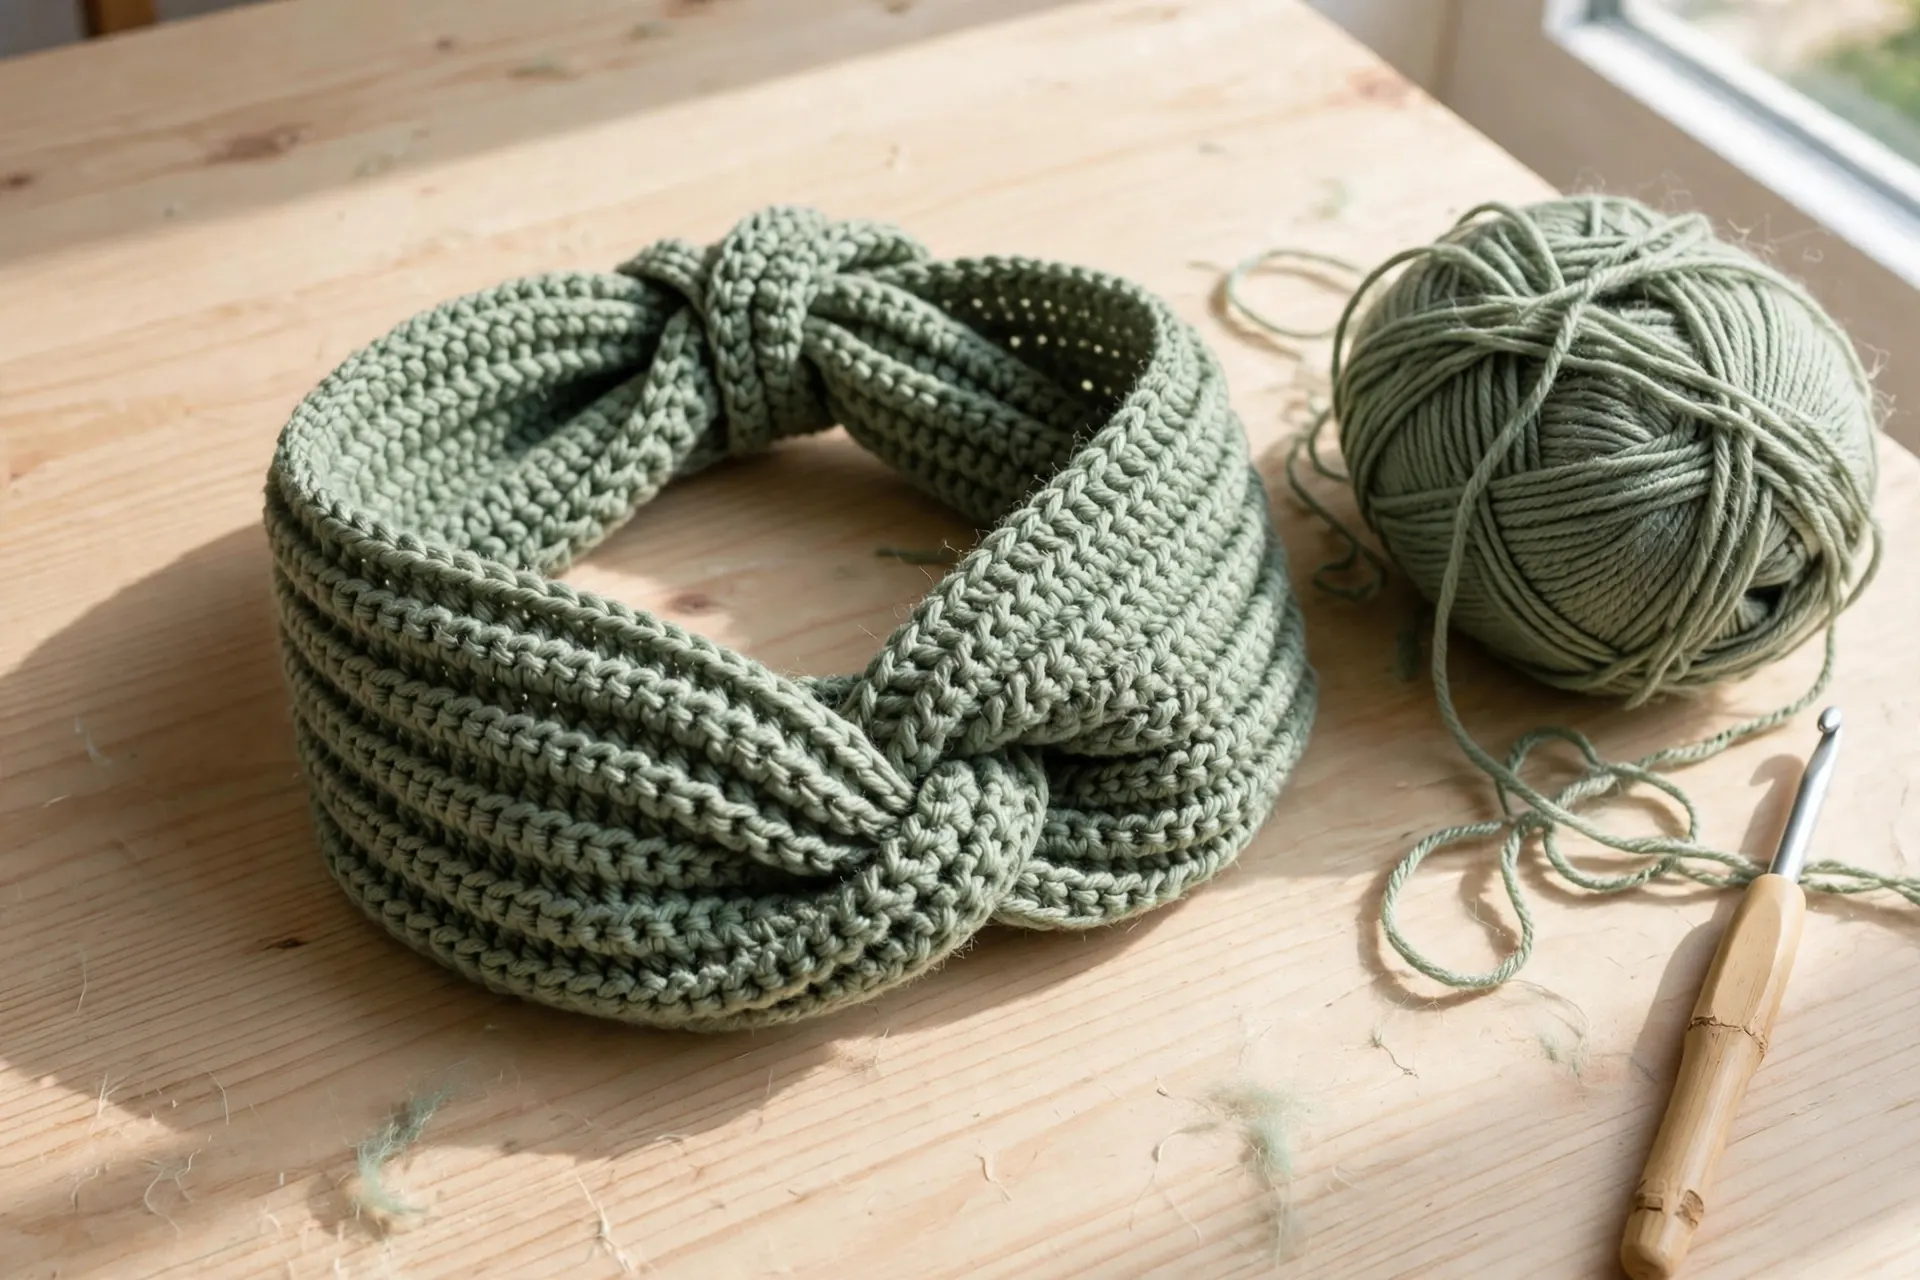
If you can chain and work a half double crochet, you can finish this crochet headband pattern in one evening — and wear it the next morning. It is one simple ribbed rectangle, worked in rows, with no shaping and no decreasing. The magic happens at the end: fold the two short ends into each other, seam them, and turn the band right side out — a neat twist appears at the front, as if you had done something far more complicated. Below is the complete crochet headband pattern for an adult with exact counts, plus measurements and counts for teen and kids’ sizes.
Why This Headband Works for Beginners and Gift-Making
- One stitch, repeated. After the first row, every row is identical: half double crochet worked in the back loop only. Perfect for crocheting in front of the TV.
- The ribbing does the fitting. Back-loop ribbing is naturally stretchy, so the band hugs the head — no elastic or ties needed.
- It uses very little yarn. The adult size takes about 100 yards of worsted yarn — one small ball, or stash leftovers.
- It is a fast, satisfying gift. One band takes most crocheters 1½–2½ hours, so a stack for friends and stocking fillers fits in a weekend — and it pairs nicely with the small makes in our round-up of easy DIY crochet gifts.
- Every size uses the same method. Only the chain and row counts change — after one band, you can make any size from memory.
Materials and Gauge
What You Need
- Worsted weight (#4) yarn, about 100 yd (91 m) for the adult size — 60–80 yd for the smaller sizes. Smooth wool, wool blend, acrylic or cotton all work; avoid very fuzzy yarns for your first one, because the back loops are easier to see in a smooth yarn. If yarn labels are new to you, the Craft Yarn Council’s standard yarn weight system explains what the #4 on the band means.
- 5.5 mm (US I-9) crochet hook
- Tapestry (yarn) needle with a large eye
- Scissors
- Tape measure
- Safety pins (optional, for holding the twist fold)
Gauge
14 stitches and 10 rows = 4 inches (10 cm) in half double crochet worked in the back loop only, measured over the middle of a swatch.
To swatch: chain 19, work Row 1 as in Step 2 (18 hdc), then 11 more ribbing rows; lay it flat, unstretched, and measure the middle — 14 stitches and 10 rows should each span 4 inches. Too many in 4 inches? Go up a hook size; too few, go down. Gauge matters here — the strip’s dimensions make the band fit.
Finished adult size: the strip measures about 19 inches long × 4½ inches wide before seaming — deliberately about 2 inches shorter than the head it fits (21–22 inches). That “negative ease” keeps it snug; the ribbing stretches to make up the difference.
Useful Materials from Amazon
Four basics readers ask about most:

- Fiber: 100% Cotton
- Lily Sugar’n Cream yarn is a natural, soft, absorbent cotton yarn that comes in an economical 14 oz cone size.
- Ball Size Solids: 400g / 14 oz, 645 meters / 706 yards
One 100-yard ball is all this headband needs: worsted cotton gives crisp ribbing, washes well and feels comfortable against the forehead.

The 5.5 mm (I-9) size is the sweet spot for worsted yarn, and a soft ergonomic handle spares your hands over 48 rows of ribbing.

- Case: Abs Resin, Polypropylene, Needles: Steel
- Imported
- Chibi bent tip needles
A bent-tip needle slides through all four layers of the twist seam without splitting the yarn, and a small set covers every tail size.
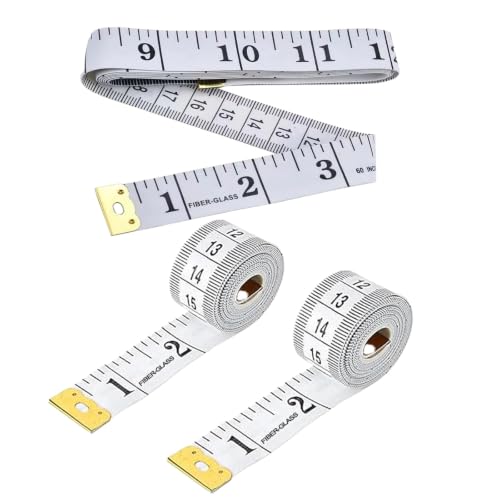
- Dual Double-Sided Scale Design: Marked with centimeter & inch dual units, clear printing for quick reading, meets differ…
- 150cm/60inch Full Length: Standard long size fits body measurement, sewing, tailoring, handmade craft and daily househol…
- Durable Fiberglass Material: Bendable flexible tape, not easy to break or stretch, keeps accurate measurement long-term.
A soft tape checks your swatch, measures the strip at 19 inches, and measures heads for the kids’ sizes — and it lives in every project bag.
Abbreviations (US Terms)
- ch = chain
- hdc = half double crochet
- BLO = back loop only (leave the front loop free)
- st(s) = stitch(es)
- rep = repeat
The Crochet Headband Pattern, Step by Step
The adult size is written out in full; smaller sizes change only the chain and the row count (size table at the end of Step 3), and the method is identical for every size in this crochet headband pattern.
Step 1 — Materials and Gauge

Gather everything above and make the gauge swatch first: chain 19, hdc in the 2nd chain from the hook and in each chain across (18 hdc), then work 11 more rows of back-loop ribbing as described in Step 2. Measure the middle — if 14 stitches and 10 rows sit inside 4 inches, you are ready. If not, change hook size and swatch again: ten minutes here saves an unwearable headband.
Step 2 — Foundation Chain and First Ribbed Rows

- Chain 17.
- Row 1: Hdc in the 2nd chain from the hook and in every chain across. (16 hdc) Ch 1, turn.
- Row 2: Hdc in the back loop only of every stitch across. (16 hdc) Ch 1, turn.
Two things to lock in now. The ch-1 at each row’s end is just a turning chain — it does not count as a stitch, so every row has exactly 16 stitches. And working in the back loop only is what creates the ribbing: the unworked front loops form the raised ridges, and the fabric turns stretchy like a knitted rib. Count at the end of Row 2 — 16 now keeps your edges straight.
Step 3 — Work the Ribbing to Length

- Rows 3–48: Rep Row 2 until you have 48 rows in total — Row 1 plus 47 ribbing rows of 16 hdc each.
Measure the strip flat, unstretched: it should be about 19 inches long and 4½ inches wide. A little short or long? Add or remove a row or two — each row is about ⅖ inch. Fasten off, leaving a 12-inch tail for sewing.
Sizes at a glance (the strip is always worked about 2 inches shorter than the head it fits):
| Size | Fits head | Chain (stitches) | Rows | Strip size |
|---|---|---|---|---|
| Adult | 21–22 in | ch 17 (16 sts) | 48 | 19 × 4½ in |
| Teen / small adult | 20–21 in | ch 17 (16 sts) | 45 | 18 × 4½ in |
| Child (6–10 yrs) | 19–20 in | ch 15 (14 sts) | 43 | 17 × 4 in |
| Toddler (2–5 yrs) | 18–19 in | ch 15 (14 sts) | 40 | 16 × 4 in |
| Baby (6–12 mo) | 16–17 in | ch 13 (12 sts) | 36 | 14½ × 3½ in |
Our summer baby hat crochet pattern uses the same measure-the-head approach for small sizes.
Step 4 — The Twist Fold

Lay the strip flat, short ends pointing left and right, and fold the ends into each other:
- Take the left end and fold it in half downwards, so its top edge meets its middle — the end now looks like a letter C opening right.
- Take the right end and fold it in half upwards, so its bottom edge meets its middle — a reversed C opening left.
- Slide the two folded ends together so the folds slot into each other and the ends overlap completely. All raw edges should line up — you now have four layers stacked at the seam.
Pin through all four layers to hold the “sandwich” while you sew — this interlocked fold is the whole trick: seamed and turned, it becomes the twist.
Step 5 — Sew the Seam and Turn

Thread the 12-inch tail onto your tapestry needle. Whipstitch across the aligned edges through all four layers, matching stitch to stitch across the 16 stitches of the adult size (14 or 12 on the smaller sizes). Keep stitches snug but not puckered, and take a second pass if any spot feels loose. Knot the tail and weave the end into the ribbing.
Now the satisfying part: reach in and turn it right side out, pushing the seam through so the interlocked fold flips to the outside. The seam disappears inside the fold, leaving a clean, centred twist — adjust it until it is even.
Step 6 — Finishing, Fit Check and What’s Next

Weave in the starting tail, snip both tails close, and stretch the band gently to settle the stitches. A light steam held just above the fabric tidies the ribbing, but the band honestly needs no blocking.
Try it on: the twist sits centred at the front, the band covers your ears pulled down, and it feels snug without squeezing — it relaxes slightly with wear. Too loose or tight? The sections below cover the fixes.
Easy Variations
Wider Ear Warmer
For full ear coverage in colder weather, widen the strip: chain 21 (20 hdc per row, about 5½ inches wide) and work the same 48 rows; gauge, twist fold and seaming are unchanged. In wool or a wool blend it becomes a genuinely warm ear warmer — the version that matches our Santa hat pattern best for a festive gift set.
Moss Stitch Version
For a flatter, woven-looking texture: chain 18. Row 1: sc in the 2nd chain from the hook and in every chain across (17 sc). Row 2: ch 1, turn; sc in the first stitch, *ch 1, skip 1 stitch, sc in the next stitch* rep across, ending with an sc (17 sts: 9 sc and 8 ch-1 spaces). Every following row: ch 1, turn; sc in the first sc, *ch 1, skip the next ch-1 space, sc in the next sc* rep across. Work to the same 19 inches (about 48 rows), then twist and seam as written. Moss stitch stretches less than ribbing, so wrap the strip around your head before seaming and adjust the rows until it feels snug.
Kids’ Bow Version
Work a child size from the table (chain 15, 14 hdc, 43 rows), but skip the twist: overlap the short ends flat and sew straight across. Then make the bow band: chain 9, hdc in the 2nd chain from the hook and across (8 hdc), and work 10 rows of back-loop ribbing (a little band about 2¼ inches wide and 4 inches long). Wrap it around the seam, pinch the headband’s centre into a gather underneath, and sew the band’s ends together at the back. The gather reads as a bow knot — especially cute in a contrast colour.
Tips for a Headband That Fits and Lasts
- Count to 16 every few rows. The first and last stitches are easy to miss; a marker in the first stitch makes counting instant.
- Keep a row tally. Forty-eight rows is a lot to hold in your head — a paper tally or row-counter app keeps you honest.
- Make the swatch from the actual yarn. Cotton, acrylic and wool rib slightly differently — yarn choice changes a simple stitch pattern’s drape, as our crochet mesh scarf pattern shows.
Common Mistakes (and How to Fix Them)
- No ribbing, no stretch. If your fabric looks like plain crochet, you are working through both loops. Only the back loop goes on the hook — the free front loops are the ridges.
- Wavy, uneven edges. Stitches are being gained or lost at the row ends. Count every row until the habit sticks: 16 stitches, every time, for this crochet headband pattern to come out rectangular.
- The band is too loose. It was probably made the full head measurement — the strip must be about 2 inches shorter than the head, because negative ease is what holds it on.
- A bump instead of a twist. The ends were sewn flat, or folded the same way instead of in opposite directions. Unpick the seam and re-fold: one end down, the other end up, then slot them together.
- Gaps in the seam. The needle missed one of the four layers. Sew slowly, checking from both sides that every whipstitch catches the full sandwich.
Crochet Headband Pattern FAQs
How long does this headband take to make?
About 1½–2½ hours for the adult size, including seaming — a genuine one-evening project. Kids’ sizes are faster, and experienced crocheters often finish in about an hour.
Can a complete beginner make this crochet headband pattern?
Yes — one of the best first projects there is. You need only two skills: the chain and the half double crochet. The back loop is not a new stitch, just a new place to put the same stitch, and the twist fold is folding, not crocheting.
Which yarn works best: cotton, acrylic or wool?
All three work. Wool and wool blends give the springiest ribbing and the warmest band; acrylic is budget-friendly and easy-care; cotton gives crisp definition and a cooler band, but stretches least — keep your tension relaxed and consider adding 2 rows (50 instead of 48). It also pairs with the ideas in our list of crochet Christmas presents for a handmade hamper from one yarn order.
My headband is too tight. What went wrong?
Most likely gauge: if your rows are shorter than ⅖ inch each, 48 rows come out under 19 inches. Unpick the seam (the strip itself is fine), add rows until it measures 19 inches, and re-seam. Next time, swatch first.
Final Thoughts
This crochet headband pattern quietly becomes a habit: one for you, one for a friend, one in every stash colour. The method never changes — chain, rib, fold, sew — and every new band is faster than the last. Make the first one, check your fit, then let the variations take over.