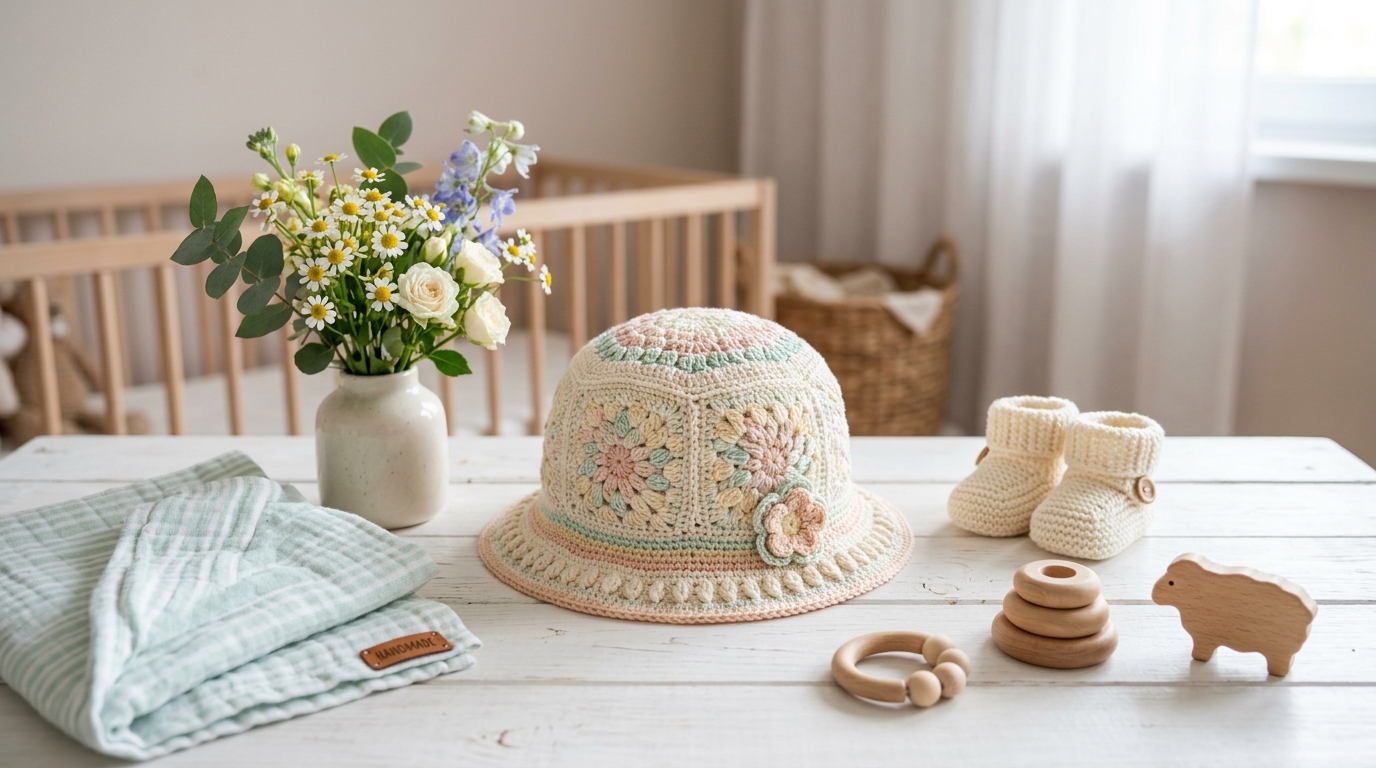
A lightweight crochet baby hat is one of the most useful projects you can make, especially during the warmer months. It works up quickly, uses only a small amount of yarn, and creates a soft, breathable accessory that’s comfortable for little ones to wear throughout spring and summer.
This Summer Baby Hat Crochet Pattern is designed with beginners in mind while still producing a polished finish that experienced crocheters will appreciate. The hat is crocheted from the top down using simple rounds of double crochet, making it easy to customize for different baby sizes. A decorative front-loop edging adds a subtle ruffle that gives the finished hat a sweet handmade look without adding unnecessary complexity.
Whether you’re making a thoughtful baby shower gift, preparing for a new arrival, or adding handmade accessories to your craft fair collection, this pattern is a wonderful project you’ll enjoy making again and again.
Why You’ll Love This Summer Baby Hat
There are plenty of reasons why this simple baby hat deserves a place in your crochet collection.
- Lightweight and breathable for warmer weather
- Soft, stretchy fit for growing babies
- Beginner-friendly construction
- Easy to adjust for different sizes
- Works up in just a few hours
- Beautiful decorative edging
- Perfect for gifting or selling at craft fairs
Skill Level
Beginner
This project is ideal if you’re comfortable with basic crochet stitches and working in joined rounds.
You’ll use:
- Magic Ring (MR)
- Chain (CH)
- Double Crochet (DC)
- Slip Stitch (SL ST)
- Front Loop Only (FLO)
- Increase (INC)
Materials You’ll Need
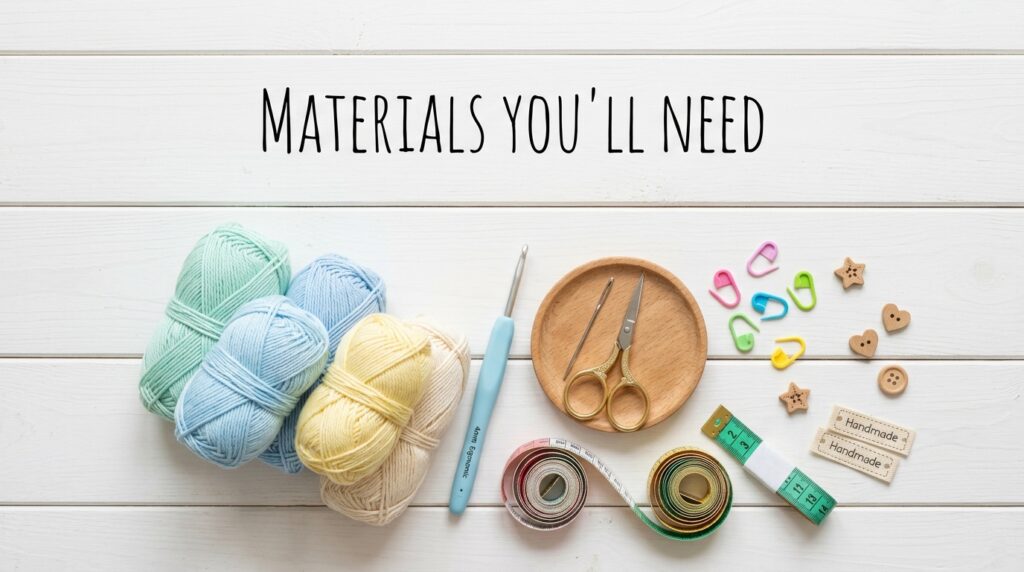
Gather everything before starting your project.
Yarn
Choose a soft, lightweight cotton or cotton-blend yarn that’s gentle on delicate baby skin. Cotton provides excellent breathability, making it ideal for spring and summer hats.
Supplies
- Lightweight cotton yarn
- 4 mm–4.5 mm crochet hook (or size recommended for your yarn)
- Scissors
- Yarn needle
- Stitch marker (optional)
- Decorative button or crochet flower (optional)
Finished Size
The finished hat fits a baby comfortably, and the size can easily be adjusted by adding or removing increase rounds before working the body of the hat.
Crochet Summer Baby Hat Pattern
Step 1 – Make the Magic Ring

Begin by creating a Magic Ring.
Wrap the yarn around your fingers to form an adjustable loop.
Insert your hook through the ring, pull up a loop, and secure it with one chain.
This creates the center of the hat and allows you to close the opening completely once the first round is finished.
Step 2 – Round 1
Work 13 Double Crochets (DC) into the Magic Ring.
Pull the yarn tail firmly to close the center hole.
Join with a Slip Stitch to the first Double Crochet.
Stitch Count: 13
Step 3 – Round 2 (Increase Round)
Chain 3 to begin the round.
Work 2 Double Crochets into every stitch around.
Join with a Slip Stitch.
Stitch Count: 26
The crown should now begin laying flat.
Step 4 – Round 3
Chain 3.
Work the following repeat around:
- 2 DC in the next stitch
- 1 DC in each of the next 2 stitches
Repeat this sequence until the end of the round.
Join with a Slip Stitch.
Stitch Count: 39
Step 5 – Round 4
Continue increasing to widen the crown.
Repeat:
- 2 DC in one stitch
- 1 DC in each of the next 3 stitches
Continue around the hat.
Join with a Slip Stitch.
Stitch Count: 52
At this point, the top of the hat should lie flat without curling.
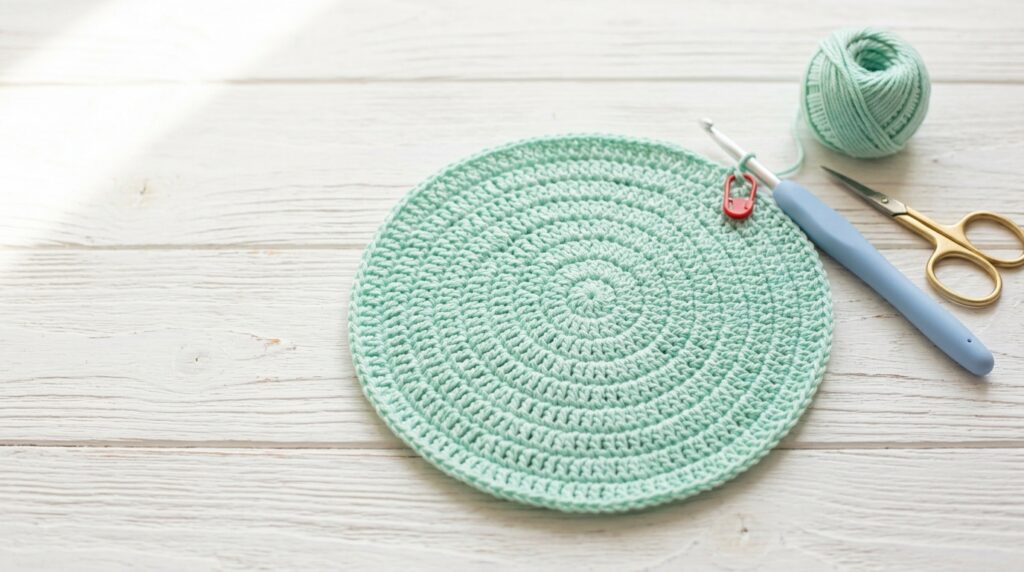
Step 6 – Build the Hat Body
Once the crown reaches the desired diameter, stop increasing.
Work one Double Crochet in every stitch around.
Continue for approximately 6 rounds, or until the hat reaches your preferred length.
Keep the stitch count consistent throughout these rounds.
This creates the smooth body of the hat.
Step 7 – Crochet the Decorative Edging
To create the pretty flared edge, begin working into the Front Loops Only (FLO).
Repeat:
- 2 DC in one stitch
- 1 DC in each of the next 2 stitches
Working only through the front loops gives the brim extra texture and a gentle wave that looks beautiful on baby hats.
Step 8 – Finish the Brim

For the final round, return to working through both loops.
Repeat the same increase pattern around the entire edge.
Join with a Slip Stitch.
Fasten off and weave in all loose yarn ends neatly using a yarn needle.
Your summer baby hat is now complete.
Helpful Tips
- Cotton yarn helps keep babies cool during warm weather.
- Count stitches after every round to maintain an even shape.
- Keep your tension relaxed for a softer fabric.
- Add a crochet flower, bow, or wooden button to personalize the finished hat.
- Light blocking helps smooth the finished stitches if needed.
Customize Your Baby Hat
This pattern is easy to personalize.
Try:
- Pastel color combinations
- Rainbow stripes
- Contrasting brim colors
- Crochet flowers
- Small bows
- Decorative buttons
- Matching baby booties for a complete gift set
Because the hat is worked from the top down, you can also increase the crown diameter before crocheting the body to create larger sizes for older babies and toddlers.
Why Handmade Baby Hats Are Worth Making
Crocheted baby hats aren’t just adorable—they’re practical too.
A handmade hat offers comfort, softness, and a personal touch that store-bought accessories simply can’t match. They also make thoughtful gifts for baby showers, newborn photography sessions, birthdays, and hospital welcome baskets.
Since they require relatively little yarn and can be completed in an afternoon, they’re an excellent stash-busting project for crocheters of every skill level.
Final Thoughts
This Summer Baby Hat Crochet Pattern is a quick, relaxing project that’s perfect for beginners while still delivering a beautiful finished result. The combination of a simple top-down construction, breathable cotton yarn, and decorative edging creates a lightweight hat that’s ideal for everyday wear during warmer months.
Whether you’re crocheting for your own little one or creating a heartfelt handmade gift, this pattern is easy to customize, enjoyable to make, and sure to become one you’ll return to again and again.