Layered 12 Petal Flower Crochet Pattern: A Full Bloom Tutorial in 6 Steps
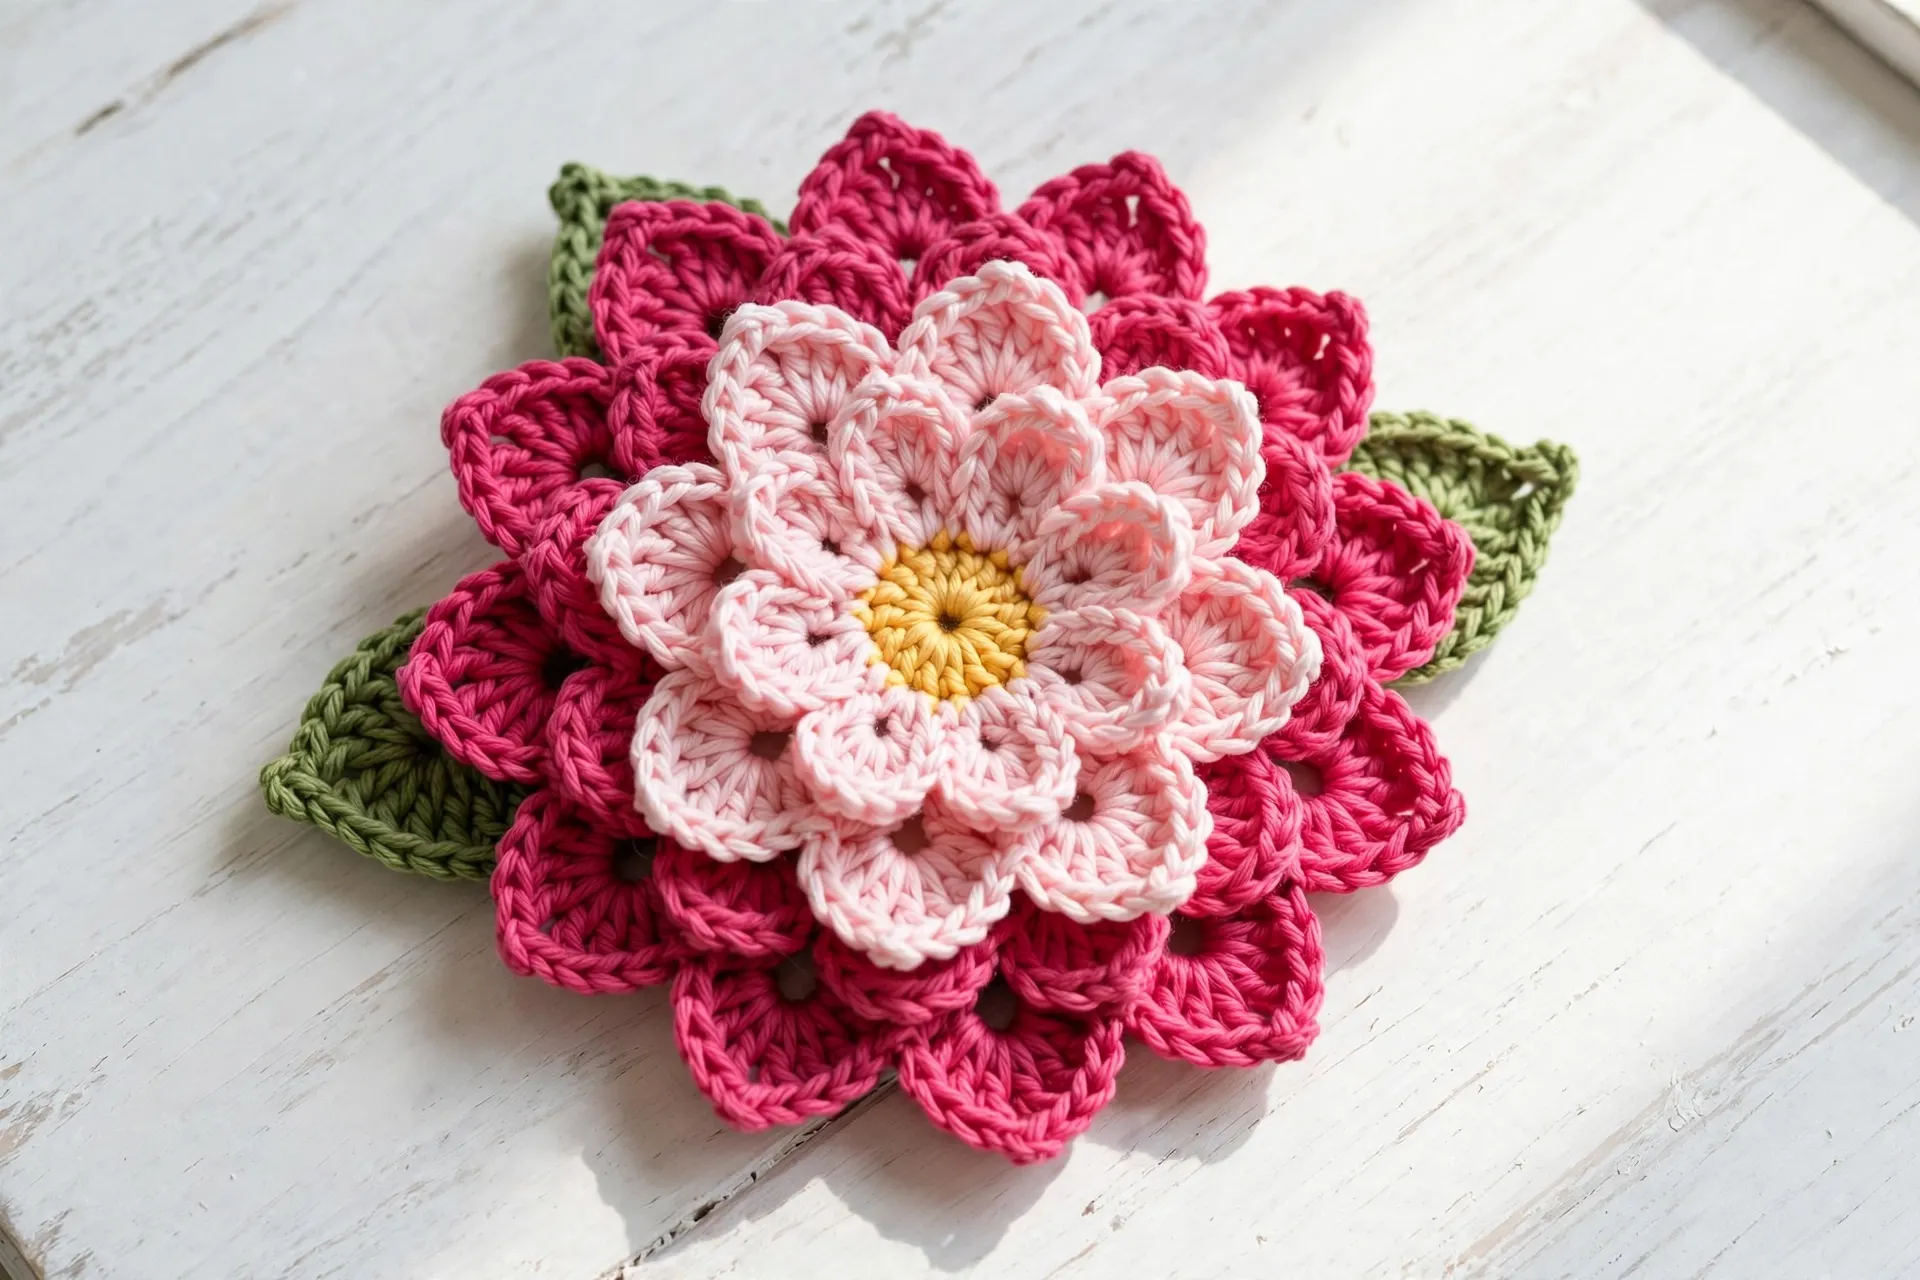
A single ring of petals is pretty. Two rings, offset so the front petals nestle into the gaps of the back ones, looks picked from a garden. This layered 12 petal flower crochet pattern builds exactly that: a golden centre, a back layer of twelve deep pink petals, a second layer of twelve blush petals worked into the front loops the first layer left behind, and two green leaves. The finished bloom measures about 5 inches (12.5 cm) across — big enough for a hat or bag, small enough for a hair clip.
Every petal is written stitch by stitch and every round ends with its count, so both layers come out even: twelve petals below, twelve above, no gaps and no crowding. Once you have made one, this layered 12 petal flower crochet pattern is easy to repeat in any colour.
About This Flower
Two-tone layering is what makes this flower special, and this layered 12 petal flower crochet pattern keeps the technique simple: That is why this layered 12 petal flower crochet pattern works so well for gifts and appliqués.
- The offset does the magic. The front petals are worked into the front loops of the same centre round, started one stitch to the side, so each front petal sits in the hollow between two back petals — the whole layering secret in one half-step.
- The back layer frames the front. Back petals are worked one stitch taller, so a deep pink halo peeks out behind the softer front layer.
- It uses scraps. A flower takes small amounts of four colours — a perfect partner to bigger floral projects like our poinsettia crochet flower pattern and the cheerful crochet sunflower pattern.
Materials and Gauge
This layered 12 petal flower crochet pattern uses small amounts of worsted weight (size 4) yarn. If yarn labels are still a mystery, the Craft Yarn Council’s standard yarn weight system explains what the “4” on the band means.
- Worsted weight (size 4) yarn: deep pink approx. 25 yd (23 m); blush pink approx. 20 yd (18 m); a little golden yellow for the centre, approx. 5 yd; green for the leaves approx. 10 yd (9 m)
- 4.0 mm (US G-6) crochet hook — a smaller hook than worsted usually takes, to keep the petals firm
- Yarn needle, scissors, stitch marker
- Optional: 26-gauge floral wire and green floral tape (for wired leaves and stems), brooch pin back, hair clip, hot glue gun
Gauge and size: gauge is not critical for a flower, but with worsted yarn and a 4.0 mm hook the centre disc measures about 1½ in (4 cm) across after Round 2, and the finished flower about 5 in (12.5 cm). Much bigger? Drop to a 3.5 mm hook; much smaller, go up to 4.5 mm. Keep a note of your hook size so this layered 12 petal flower crochet pattern comes out the same size every time.
Useful Materials from Amazon

- Premium Quality Yarn: Crafted from durable acrylic fiber; each skein delivers consistent texture and strength for croche…
- Worsted Weight Size 4: This medium weight yarn works perfectly for afghans, scarves, hats, and sweaters; compatible with…
- Soft and Comfortable: Gentle on hands during extended crafting sessions; creates cozy blankets and wearables; features s…
Two shades of one colour family — a deep tone and its softer sister — give the layered effect with the least effort. A smooth worsted acrylic holds the petal shape well.

- High Quality Crochet:The crochet hooks for arthritic hands are made from aluminum and rubber for durability, which can a…
- Premium Aluminum Crochet:Our aluminum crochet hooks knitting needles with smooth tip don’t snag yarn or split the yarn, …
- Colorful Crochet Hooks:These bright crochet hooks for crocheting yarn, there are 12 sizes for you to choose from,with si…
Petals are small, firm stitches worked into loops and spaces; a soft-grip ergonomic 4 mm hook keeps your hands comfortable through all 24 of them.
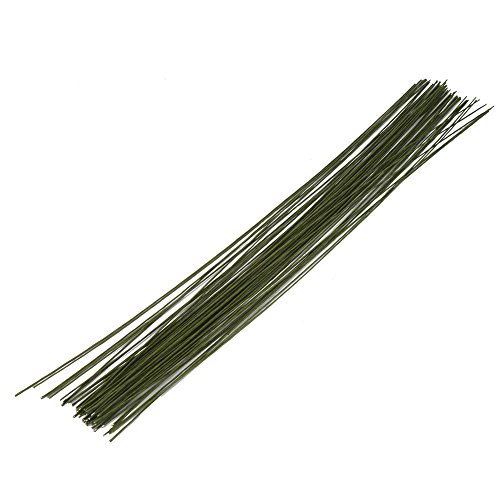
- Brand New-High Quality and Handmade Florist Wire
- Including 50pcs 26 gauge brown floral wires in package
- 16″ Length
Thin 26-gauge wire crocheted into the leaf edges lets you bend leaves into a natural curve that stays put.
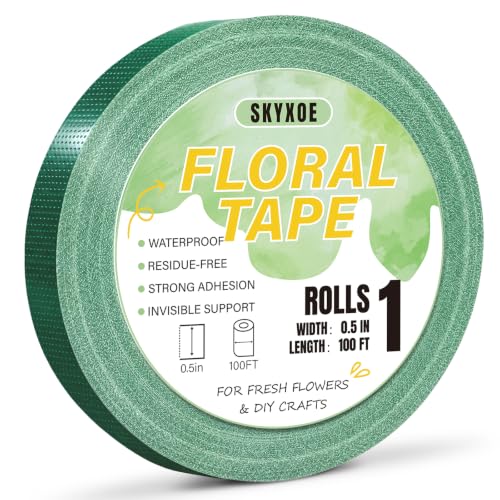
- 【Clear Floral Tape – Build a Neat Vase Grid】Use the clear option across wide-mouth vase openings to create a simple flow…
- 【Cloth Floral Tape – Wrap Stems & Bouquets】Choose from multiple cloth floral tape colors for stem wrapping, bouquet bind…
- 【Two Widths, Up to 4 Rolls – 100FT per Roll】Choose 0.25″ for narrow grid lines and detailed floral work, or 0.5″ for wid…
Floral tape wraps wired stems and leaf bases in seconds: it sticks to itself, needs no glue, and hides every wire end.
Abbreviations (US Terms)
- ch = chain
- sc = single crochet
- hdc = half double crochet
- dc = double crochet
- sl st = slip stitch
- st(s) = stitch(es)
- MR = magic ring
- BLO = back loop only
- FLO = front loop only
- RS = right side
- rep = repeat
The Layered 12 Petal Flower Crochet Pattern, Step by Step
Work this layered 12 petal flower crochet pattern in order: centre first, then the back layer in the back loops, then the front layer in the front loops left free, then leaves and finishing. Counts end every round — if yours matches, your layering will line up.
Step 1 — Materials and Size

Gather the four yarn colours and your 4.0 mm hook, and decide your two petal shades before you start: the back layer wants the deeper tone, the front layer the lighter one, because the eye reads the dark halo as shadow and the flower instantly looks fuller. Golden yellow makes a classic centre; brown gives a sunflower-style bloom, cream a soft vintage rose. One flower takes roughly 60 yards — an ideal scrap project.
Step 2 — The Centre Rounds

With golden yellow:
Round 1: Make a magic ring, ch 1, work 12 sc into the ring, pull the ring closed and join with a sl st to the first sc. (12 sc)
Round 2: Ch 1, work 2 sc in every stitch around, join with a sl st to the first sc. (24 sc)
Fasten off the yellow, leaving a 4 in (10 cm) tail. That 24 is the number everything hangs on: the back layer will use the back loops of these 24 stitches and the front layer their front loops — two stitches per petal in each layer. Check your disc lies flat and measures about 1½ in (4 cm) across before you go on.
Step 3 — Back Layer: 12 Petals

Join the deep pink yarn. This layer is built in the back loops only of Round 2, leaving the front loops free for Step 4.
Round 3 (loop round): Ch 1. Working in the back loop only: *sc in the next st, ch 3, skip the next st; rep from * 11 more times, join with a sl st to the first sc. (12 sc and 12 ch-3 loops)
Round 4 (petal round): Sl st into the first ch-3 loop, ch 1, work (sc, hdc, 3 dc, hdc, sc) into that loop — one petal made. Work the same 7 stitches into every remaining ch-3 loop around, then join with a sl st to the first sc. (12 petals; 7 sts in each petal, 84 sts in total)
Fasten off, leaving a 6 in (15 cm) tail. Count the petals out loud: twelve, evenly spaced, each rising from a ch-3 loop. The flower so far measures about 4½ in (11.5 cm) across. Do not worry that it looks sparse — the front layer grows in exactly those gaps.
Step 4 — Front Layer: 12 Offset Petals

Turn the flower so the right side faces you and look at the centre disc: every Round 2 stitch still shows its unused front loop, a neat ring of 24 loops. In Round 3 you placed the back layer’s single crochets on every other stitch and skipped the ones between. The front layer reverses that: its single crochets go into the front loops of the skipped stitches — one stitch to the side — so its petals land centred between the back petals. That one-stitch shift is the offset, and it is why this layered 12 petal flower crochet pattern fills out instead of stacking petals directly on top of each other.
Join the blush pink yarn with a sl st in the front loop of any skipped Round 2 stitch.
Round 5 (loop round): Ch 1, sc in the front loop of the same stitch, ch 3, skip the front loop of the next stitch (the one holding a back-layer sc), *sc in the front loop of the next stitch, ch 3, skip the front loop of the next stitch; rep from * 10 more times, join with a sl st to the first sc. (12 sc and 12 ch-3 loops, each loop sitting between two back-layer loops)
Round 6 (petal round): Sl st into the first ch-3 loop, ch 1, work (sc, hdc, 2 dc, hdc, sc) into that loop, and the same 6 stitches into every remaining loop around. Join with a sl st to the first sc. (12 petals; 6 sts in each petal, 72 sts in total)
Fasten off with a 6 in (15 cm) tail. The front petals are deliberately one double crochet shorter than the back ones, so the deep pink ring frames them all the way round. The flower now measures about 5 in (12.5 cm) across — if one gap shows, a front loop was missed in Round 5; see the mistakes section below.
Step 5 — Optional Leaves (Make 2)

Leaves tuck behind the flower and make it read as a plant rather than a pom-pom. With green yarn, ch 11.
Row 1: Sc in the 2nd ch from the hook, hdc in the next ch, dc in each of the next 5 ch, hdc in the next ch, sc in the next ch, 3 sc in the last ch (the pointed tip). Rotate the work and crochet down the other side of the chain: sc in the next ch, hdc in the next ch, dc in each of the next 5 ch, hdc in the next ch, sc in the last ch. (21 sts)
Row 2: Ch 1, turn. Sc in every st, working 3 sc in the centre sc of the 3-sc tip. (23 sts)
Row 3 (optional wired edge): Ch 1, do not turn. Lay a length of 26-gauge floral wire along the edge and crochet over it: work 1 sc in every st around the leaf, working (sc, ch 1, sc) in the centre tip st to sharpen the point, then 2 sc across the base end. Join with a sl st to the first sc and fasten off, leaving a 10 in (25 cm) tail for sewing. (26 sc + 1 ch-1 point)
A finished leaf measures about 2¾ in (7 cm) long. Make 2 — or 3 for a spray. The leaf is a slimmer cousin of the ones in our poinsettia crochet flower pattern, so the two flowers sit happily together in one wreath.
Step 6 — Finishing and Uses

Weave in the centre tail, then arrange the two leaves behind the flower at roughly ten o’clock and two o’clock. Using the long green tails, sew each leaf to the back of the centre disc with four or five firm stitches, then sew through the flower centre once more to lock everything. Shape the petals with your fingers: cup the front layer slightly upward and let the back petals relax flat — that contrast sells the depth in this layered 12 petal flower crochet pattern. However you use it, this layered 12 petal flower crochet pattern adds a handmade touch.
How you finish the back decides what the flower becomes:
- Brooch: sew or glue a pin back flat across the back of the centre disc.
- Hair clip: glue the flower to a plain clip over a small felt circle.
- Appliqué: sew flat onto hats, bags, slippers or a cardigan with small stitches through the back layer only — the front petals stay three-dimensional. A row of them transforms our crochet daisy bag into a flower bed.
- Garland: thread a chain or ribbon through the backs of several flowers, as in our crochet Christmas garland patterns.
- Wreath or bouquet: wire leaves and flower together, wrap the join with floral tape for a stem, and repeat — a cluster of three makes a strong focal point in any arrangement of crochet Christmas wreath patterns.
Tips for Full, Even Layers
- Count the loops, not the petals. After Rounds 3 and 5, count the ch-3 loops: twelve, every time. A missed loop now is a missing petal later.
- Mark a skipped stitch. Before Round 5, mark one skipped Round 2 stitch so you can see where the front layer starts.
- Keep petal centres loose. The 3 dc at each back petal’s centre should stand tall; tight centres pinch petals into points.
- Block only if you must. These petals are meant to cup. If a flower comes out very curly, pin it flat, mist lightly and let it dry — never steam acrylic, which can melt the texture flat.
Common Mistakes and How to Fix Them
- Front petals sit directly on top of back petals. The offset was missed — Round 5 must start in a skipped stitch’s front loop. Unpick Round 5 only (the back layer is fine) and rejoin one stitch over.
- Only 11 petals in a layer. A ch-3 loop was skipped in the petal round. Count loops before starting the petal round; a missing loop means redoing the loop round.
- The centre disc cups like a bowl. Round 2’s increases were worked too tightly or one was missed — the count must be exactly 24, worked loosely enough to lie flat.
- The flower looks flat despite two layers. The front petals were made the same height as the back ones, or the layers were pressed together. Keep the front layer one stitch shorter, and shape the front petals upward at the end.
Frequently Asked Questions
How long does one flower take to make?
About 30 to 40 minutes: a two-minute centre, two loop rounds, 24 quick petals and two leaves.
Can beginners make this layered 12 petal flower crochet pattern?
Yes — it asks only for chains, single, half double and double crochet, plus working into front and back loops: the same stitches, in a different part of the stitch. New to loops? Make one practice flower in a single colour first and watch the layers form.
What is the best colour pairing for the two layers?
Neighbours, not opposites: a deep shade behind and its lighter sister in front reads as light and shadow on a real bloom. High contrast (red over yellow, say) looks bold and graphic instead — lovely for kids’ accessories, less garden-like.
Can I add a third layer?
You can: after Round 6, work one more loop round into the back loops of Round 5’s single crochets and repeat the Round 4 petal. The flower grows denser rather than wider — pretty, but two layers is the sweet spot at this size.
Final Thoughts
Real flowers earn their depth from layers, and now your crocheted ones can too: one small centre, two loop rounds hiding in the front and back loops, and 24 petals that arrange themselves into a bloom that looks far more complicated than it is. Master this layered 12 petal flower crochet pattern in pink, then run it through the colour wheel — a sunflower in gold and brown, a dahlia in coral and peach, a daisy in white and cream. This layered 12 petal flower crochet pattern is a lovely weekend project.