There’s something really satisfying about crocheting home décor pieces that instantly make a room feel warmer and more personal. Square crochet rugs are one of those projects that look impressive once finished but are actually very relaxing to make step by step.
I’ve always liked crochet rug patterns because they combine functionality with creativity. Unlike smaller crochet accessories, rugs completely change the feel of a space. Even a simple square rug can make a bathroom, reading corner, or bedroom look cozy and thoughtfully decorated.
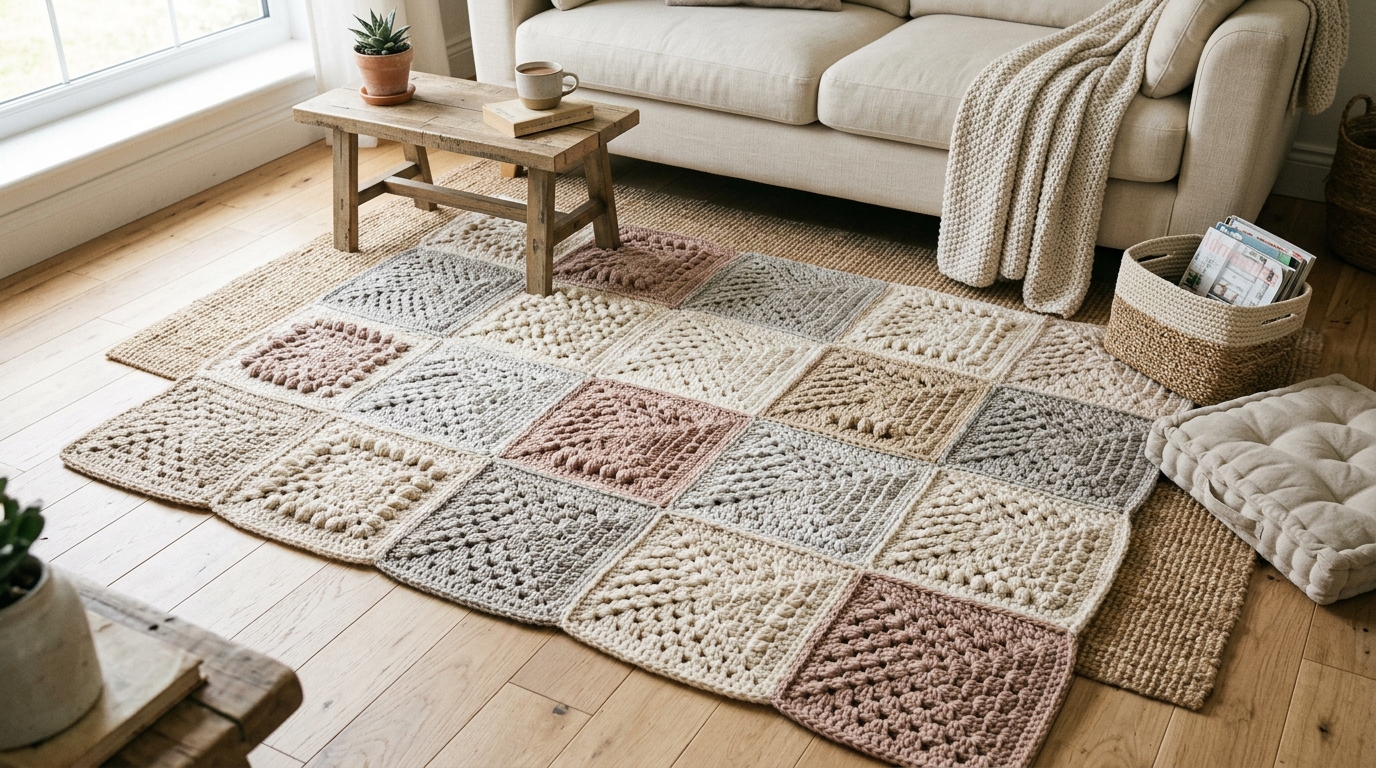
What makes this crochet square rug pattern especially enjoyable is the modular design. Instead of working one giant heavy rug from beginning to end, the project is broken into smaller square motifs that are joined together later. That makes the process feel faster, more organized, and honestly much less overwhelming.
The textured design and contrasting colors also give the rug a modern handmade appearance that works beautifully with minimalist, farmhouse, or cozy cottage-style interiors.
Why I Like Square Crochet Rugs
After trying different crochet rug styles over time, square rugs always stand out because they’re:
- Easy to customize
- Beginner-friendly
- Great for home décor
- Relaxing repetitive projects
- Perfect for using color combinations
- Easier to resize compared to shaped rugs
I also noticed modular rugs tend to feel less tiring to crochet because smaller motifs are quicker to complete than huge continuous rounds.
Materials Needed
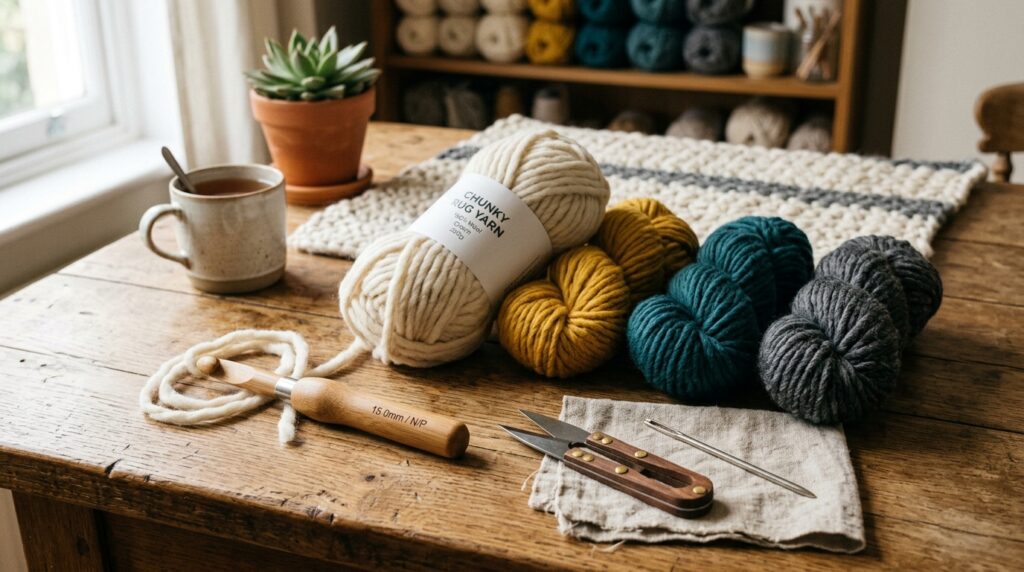
Yarn
- Thick Number 8 yarn
- Main color for center and motifs
- Contrasting color for joining and border
Suggested Colors
- Rose pink
- Cream
- Grey
- Beige
- Sage green
Hook
- 4.0 mm crochet hook
- Or 3.5 mm if tension is loose
Other Supplies
- Scissors
- Tapestry needle
- Stitch markers (optional)
Skill Level
Beginner to Intermediate
This rug mainly uses:
- Chain stitches
- Single crochet
- Double crochet
- Basic joining methods
The stitches themselves are simple, but keeping the squares aligned correctly requires some attention.
What Makes This Rug Pattern Special
One thing I personally love about this style is the join-as-you-go method.
Instead of sewing dozens of pieces together afterward, the motifs are attached while crocheting the border sections. That makes assembly much faster and cleaner.
The textured square layout also creates a professional handmade appearance without needing overly complicated stitches.
Crochet Square Rug Pattern
Step 1: Create the Central Base
Start by crocheting the rectangular center section.
Create:
- A foundation chain
- Work evenly across rows
- Build the center base gradually
The most important thing here is keeping the tension relaxed so the base stays flat instead of curling upward.
I learned quickly that tight foundation chains can distort the entire rug shape later.
Step 2: Crochet the Small Square Motifs
The rug is surrounded by:
- 16 small crochet squares
Each motif is worked separately before assembly begins.
This actually makes the project feel quicker because finishing smaller pieces creates momentum.
I personally like completing all motifs first before starting the joining process because it keeps everything organized.
Step 3: Work the Joining Round
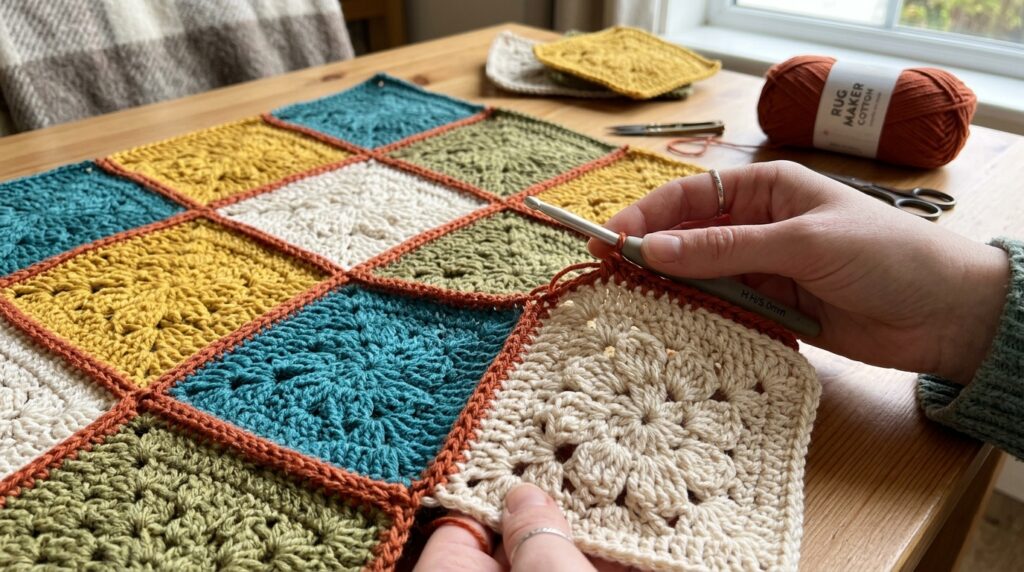
Using the second yarn color:
- Begin attaching motifs around the central base
- Join sections while crocheting
- Keep corners aligned evenly
The contrasting border color really helps define each square beautifully and gives the rug a polished modern appearance.
This section is honestly the most satisfying part because the rug suddenly starts coming together very quickly.
Step 4: Shape the Corners Carefully
Consistent corners are what keep the rug looking symmetrical.
When crocheting corners:
- Maintain even stitch counts
- Avoid tight joins
- Check alignment often
One helpful thing I noticed while making square rugs is that checking alignment early prevents major reshaping later.
Step 5: Add the Final Border
Once all motifs are joined:
- Crochet a finishing border around the entire rug
- Continue evenly around edges
- Add decorative scalloped edging if desired
The border helps:
- strengthen the rug
- improve durability
- make edges look cleaner
- create a finished professional appearance
Tips That Helped Me Most
Crochet All Motifs First
This makes assembly much smoother later.
Keep Foundation Chains Loose
A stiff center section can warp the rug shape.
Use Contrasting Colors
The square design stands out more beautifully.
Block the Rug If Needed
Light blocking helps flatten corners and smooth edges.
Ways To Customize The Rug
Make It Larger
Simply add more motif rows around the center.
Change Color Themes
Neutral colors create modern décor looks while bright shades feel playful and cozy.
Turn It Into A Bathroom Set
The same square motif style works beautifully for matching mats.
Use Chunkier Yarn
Bulky yarn creates thicker, softer rugs faster.
Why This Pattern Feels Beginner-Friendly
Even though the finished rug looks detailed, the actual stitches are repetitive and relaxing.
Most of the beauty comes from:
- color placement
- texture
- motif arrangement
rather than difficult stitch work.
That’s honestly what makes modular crochet projects so enjoyable.
Final Thoughts
Square crochet rugs are one of those projects that instantly make a home feel more handmade and welcoming.
I especially enjoy patterns like this because they balance simplicity with beautiful texture. The smaller motifs make the process feel manageable, while the final rug looks much more detailed than the stitches actually are.
Whether used beside a bed, in a reading corner, or near an entryway, this crochet square rug pattern creates a cozy handmade touch that always stands out.
And honestly, seeing all the separate squares finally come together is one of the most satisfying parts of the entire project.
Also Read : Crochet Mesh Scarf Pattern Free: The Lightweight Crochet Scarf I Keep Wearing Year Round