Arcade Stitch Crochet Pattern: 7-DC Shells in 8 Simple Steps
The arcade stitch is a classic pattern that looks at home on a vintage market bag or a seaside cottage curtain: rows of 7-dc shells, each one an arch, offset so they nestle into the gaps of the row below. This arcade stitch crochet pattern teaches it the reliable way, every row written out and counted, so edges stay straight and arches stack in columns.
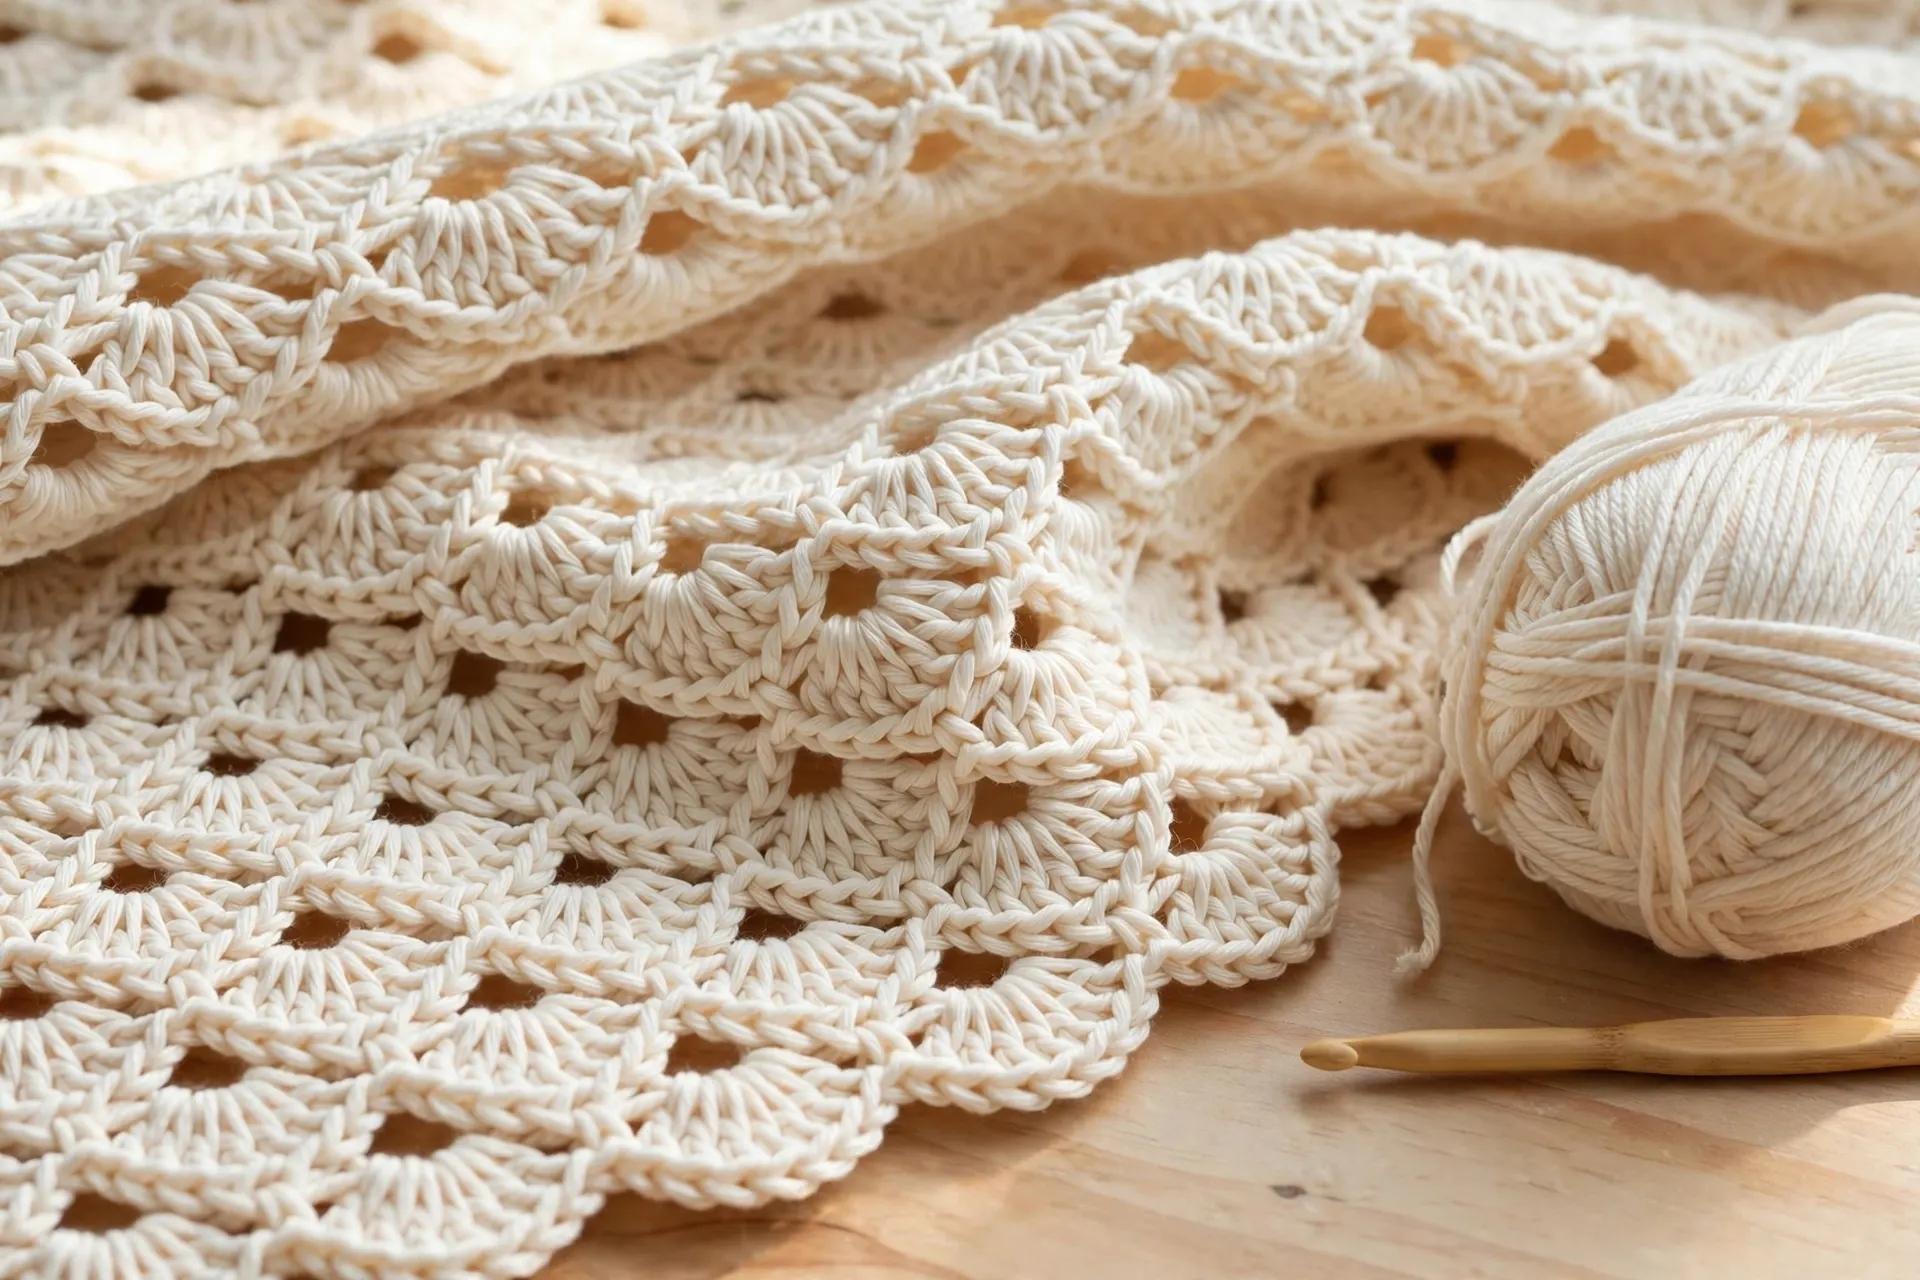
The stitch is a four-row repeat built from only single crochet and double crochet — a wonderful first shell stitch. If you have worked our fan stitch crochet pattern, you know the shell idea; the arcade stitch offsets its shells and anchors them with single crochet, for a firmer fabric.
Materials for This Arcade Stitch Crochet Pattern
- Worsted weight yarn, category #4: 100% cotton for the dishcloth (about 110 yd / 100 m), or smooth worsted acrylic for the sample (about 100 yd). For substitutions, see the Craft Yarn Council yarn weight system.
- 5.0 mm (US H-8) crochet hook
- Scissors and a yarn needle
- Stitch markers (optional, helpful on the plain rows)

- Price is for 6 assorted skeins of Lily Sugar’n Cream as shown. Popular for making durable dishcloths. This mix includes …
- Solids are 2.5 ounce and 120 yards long skein.100% Cotton. Made in Canada with cotton grown in the USA
- Medium Weight #4; also referred to as Aran, Worsted or Afghan weight knitting yarn Gauge is 4″=20 stitches on size 7 nee…
For anything destined for the kitchen, 100% cotton worsted is the right choice: it absorbs water, survives hot washes and does not melt against a warm pan. A multi-ball bundle is the economical buy — one ball makes roughly one dishcloth.

- Easy grip handle
- Amour means love
- Love crochet
Shell stitches ask your hook to draw seven tall loops through a single stitch, row after row, so a comfortable grip matters. An ergonomic 5.0 mm hook with a soft handle and smooth head keeps those shells even and prevents wrist ache.
Gauge, Finished Size and Abbreviations
Gauge: 3 arches wide (18 sts) and 2 full pattern repeats (8 rows) = 5 × 5 in (12.5 × 12.5 cm). The dishcloth maths in Step 7 is built on this gauge.
Finished sizes: The sample has 6 arches per row and measures about 10.5 in (26.5 cm) wide; the Step 7 dishcloth measures about 9 × 9 in (23 × 23 cm) with its edging.
Abbreviations (US terms): ch = chain · sc = single crochet · dc = double crochet · sk = skip · st(s) = stitch(es) · rep = repeat.
The chain multiple: this arcade stitch crochet pattern is built on a multiple of 6, plus 2 stitches. Each arch uses 6 stitches of width: 2 skipped, 1 that holds the shell, 2 skipped, and 1 single crochet. The sample chains 39 and works Row 1 over 38 stitches (6 × 6 + 2), giving 6 arches per full arch row. The plain rows always bring you back to exactly 38 stitches — the count that keeps the whole fabric honest.
How to Work the Arcade Stitch, Step by Step
Step 1 — Foundation Chain and First Single Crochet Row

Chain 39, then work a first row of single crochet — the firm baseline for the arches.
Row 1: Sc in the 2nd ch from the hook and in each ch across. (38 sc)
Count before you turn: exactly 38 stitches — 6 arches × 6 stitches, plus the 2 extra the multiple promised. If you have 37 or 39, rip back now rather than discovering a missing arch in Step 4. Every plain row ends with this same count, and that is the secret to straight edges here.
Step 2 — The First Arcade Row: Building a 7-DC Shell

Here is the heart of the stitch: a shell is 7 dc worked into one stitch. Fanned out, the shell forms the top of an arch; the sc either side form its feet.
Row 2: Ch 1, turn. Sc in each of the first 2 sts. *Sk 2 sts, 7 dc in the next st, sk 2 sts, sc in the next st; rep from * across, ending with the last sc in the final st. (6 shells; 8 sc + 42 dc = 50 sts)
Walk through the first arch slowly: sc, sc, skip two, then seven dc into the third stitch, skip two, anchor with one sc. The row ripples — fifty stitches where thirty-eight used to be — but that fullness is right; Step 3 gathers it back in. Keep all seven dc the same height; a lopsided shell shows once blocked.
Step 3 — The Plain Single Crochet Row

The plain row tames the shells and sets up the offset. Its rule: sc in every sc, and five sc across every shell, skipping the fan’s first and last dc.
Row 3: Ch 1, turn. Sc in each of the first 2 sts. *Sk the first dc of the next shell, sc in each of the next 5 dc, sk the last dc, sc in the next sc; rep from * across. (38 sc)
The maths confirms it: 2 + (6 × 6) = 38. Note the sc in the middle dc of each shell — it sits at the crown of the arch below, and Step 4 places its offset arches by exactly these crown stitches.
Step 4 — The Second Arcade Row, Offset

Now the arches shift half a repeat sideways, so each new shell rises in the gap between two shells of Row 2. To fit the same 38 stitches, this row uses half shells of 3 dc at both edges.
Row 4: Ch 1, turn. Sc in the first st, 3 dc in the next st, sk 2 sts, sc in the next st. *Sk 2 sts, 7 dc in the next st, sk 2 sts, sc in the next st; rep from * until 3 sts remain, then sk 2 sts and work 3 dc in the last st. (5 full shells + 2 half shells; 7 sc + 41 dc = 48 sts)
Check placement with your eye: each full shell should sit over the sc that anchored two shells in Row 2. If a shell sits on top of another shell, the offset slipped by one stitch — unpick just this row. Its plain row then restores the count:
Row 5: Ch 1, turn. Sc in the first st, sc in each of the 3 dc of the half shell, sc in the next st. *Sk the first dc of the next shell, sc in each of the next 5 dc, sk the last dc, sc in the next sc; rep from * to the last half shell, working 1 sc in each of its 3 dc. (38 sc)
The one difference from Row 3: across a half shell, sc in each of its 3 dc, no skipping — that is what brings 48 back to exactly 38.
Step 5 — Repeating the Pattern and Keeping the Edges Straight

The full stitch pattern is repeat Rows 2–5 until the piece is the length you want, ideally ending with a Row 3 or Row 5 so the top edge is a calm plain row ready for edging. Three checks keep the edges straight:
- Count the plain rows. Rows 3 and 5 must both end with 38 sc. Every error in this stitch shows up in that count, so count every plain row.
- Mark the edges. Stitch markers in the first and last stitches of plain rows stop you working into the turning chain.
- Respect the half shells. Row 4 must begin with sc, half shell, and end with a half shell in the very last stitch. If it ends with a full shell, an arch has crept in.
After a few repeats, the offset columns are obvious from across the room, and the fabric has the firm, almost woven feel that suits bags, cushions and kitchen cotton.
Step 6 — The Two-Colour Version

The offset structure of this arcade stitch crochet pattern is made for colour play. Work in bands of two rows: Colour A for one arcade row and the plain row after it, then Colour B for the next pair. Each band shows a row of arches on its own matching base — clean, even striping.
- Change colour inside the last sc of the plain row: with two loops left on your hook, yarn over with the new colour and pull through.
- Carry the unused colour loosely up the side edge; the edging covers it.
- A classic scheme is cream arches alternating with soft sage or dusty blue. In a single deep shade, the offset shadows do the decorating alone.
Step 7 — Worked Example: A Cotton Dishcloth

The dishcloth is the ideal first project for this arcade stitch crochet pattern: small, useful and finished in an evening. This size has 5 arches per row and uses about 110 yd (100 m) of worsted cotton.
- Foundation: Chain 33. Row 1: sc in the 2nd ch from the hook and in each ch across. (32 sc)
- Body: Work Rows 2–5 three times (12 rows), then Rows 2 and 3 once more, ending on a plain row: 14 rows after the base row, about 9 in (23 cm) tall and 9 in wide.
- Counts to trust: arcade rows A have 5 shells, plain rows have exactly 32 sc, and offset rows have 4 full shells plus 2 half shells.
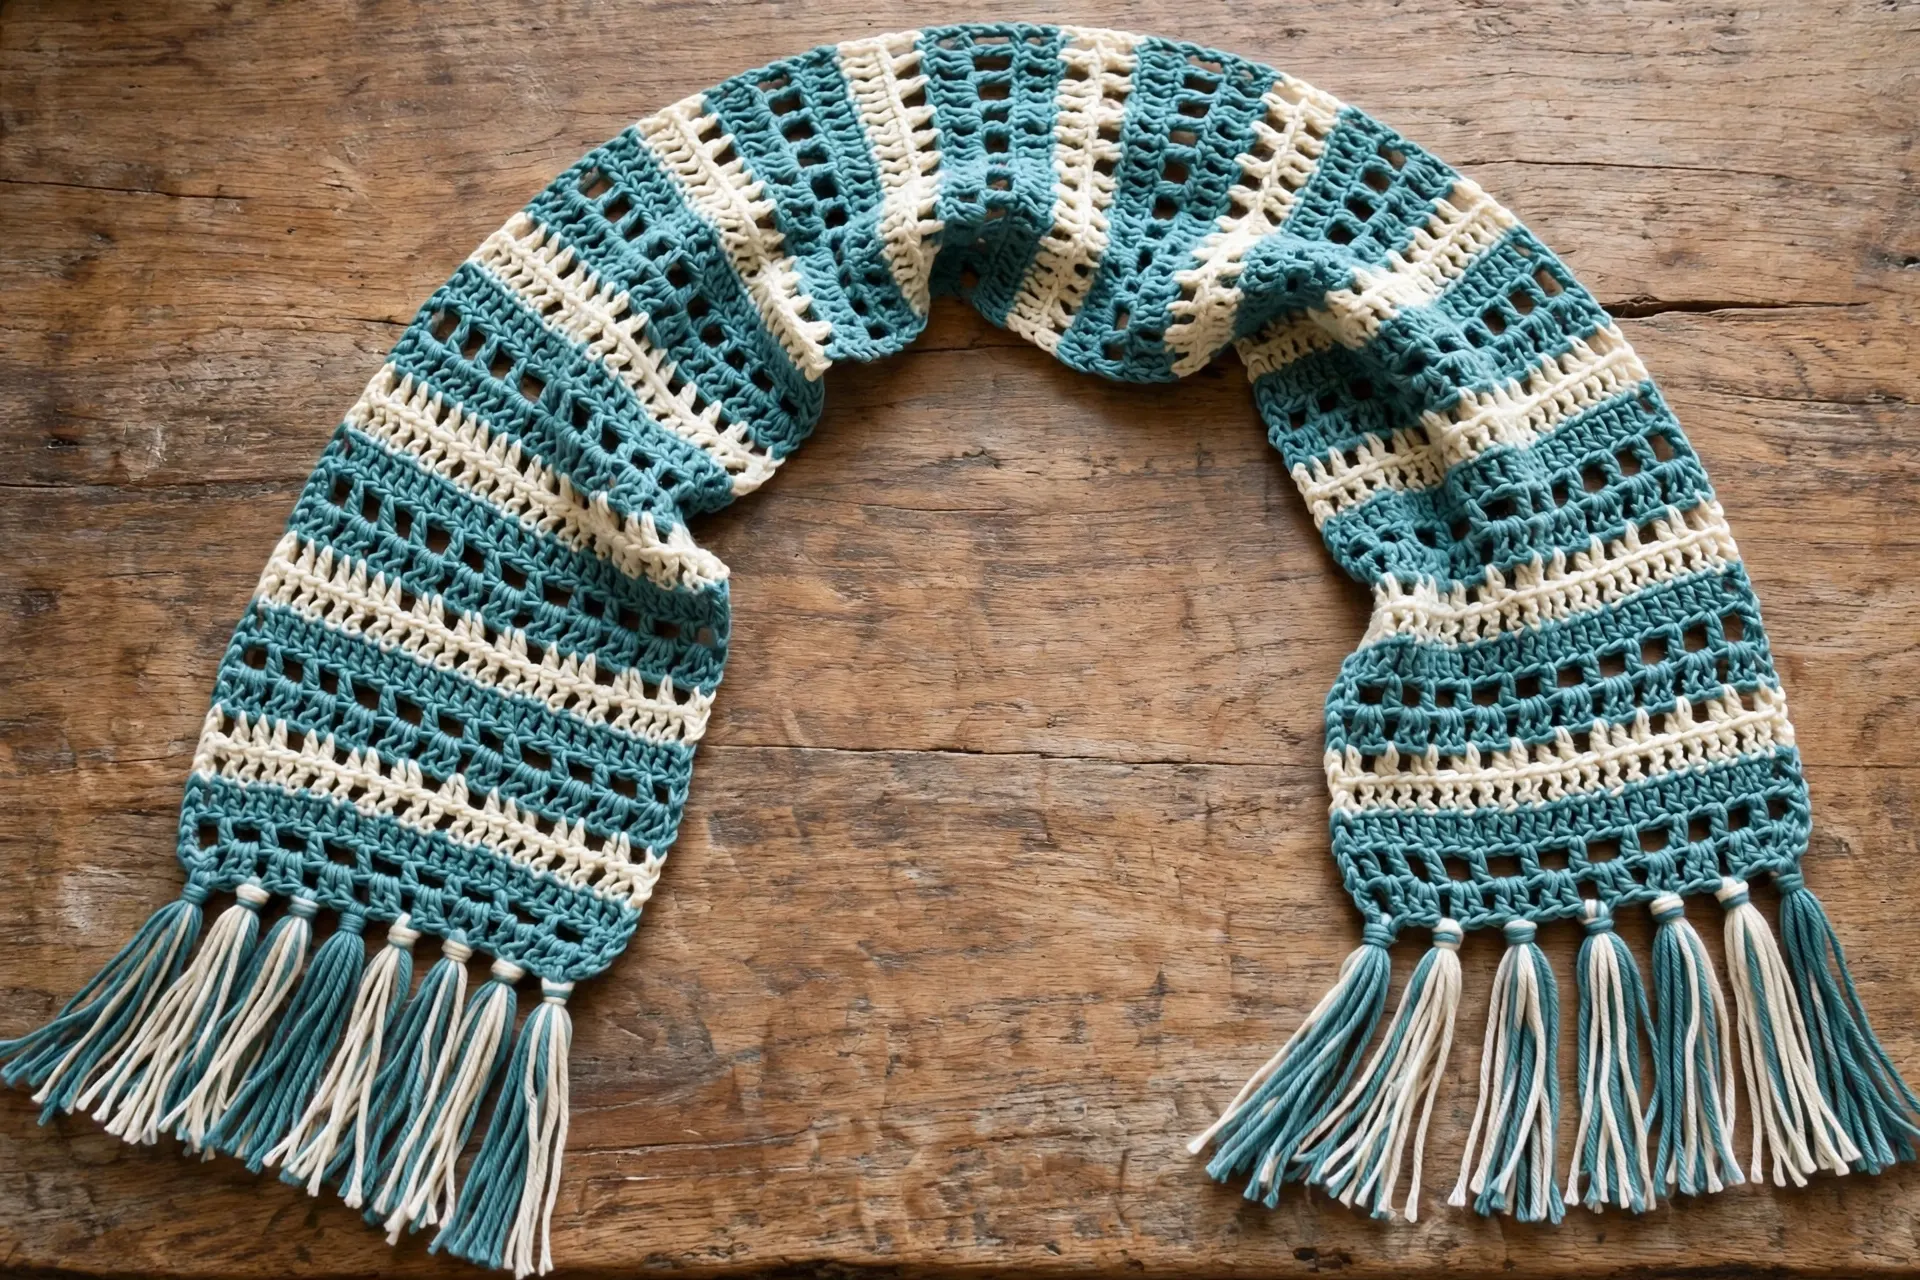
Five-arch rows count exactly like the sample, one repeat fewer. For simpler one-stitch cloths, see our free crochet dishcloth patterns; the round-up of crochet dishcloth patterns worth making compares kitchen textures. Prefer a wearable? At 7 arches wide (chain 45, 44 sc, about 12 in) it makes a beautiful scarf — repeat Rows 2–5 to about 60 in with roughly 600 yd of worsted acrylic. Our crochet mesh scarf pattern shows the lacier alternative.

- WHAT YOUR PURCHASE COMES WITH: 9 premium EVA blocking boards (12.6″ × 12.6″ × 0.75″), 150 rust-resistant T-pins, a gray …
- EASY TO USE & CARE: Made from durable extra-thick EVA foam, each board holds pins securely and stays firmly in place. Th…
- INTERLOCKING & EXPANDABLE SET: Interlocking tiles create a stable 36″ × 36″ blocking surface or can be arranged in any s…
Arcade stitch ripples by design, and foam blocking mats with rustproof pins persuade it to dry perfectly flat and square. Pin the dishcloth to 9 inches, mist it, and leave it overnight: the arches settle into even columns and the cloth looks shop-bought.
Step 8 — Edging and Blocking

Finish on a plain row (Row 3 or Row 5), then edge and block:
Edging round: Ch 1, do not turn. Sc evenly around all four sides: 1 sc in each st along the top and bottom; along each side, 1 sc into each plain row-end and 2 sc into each arcade row-end; work 3 sc in each corner stitch. Join with a sl st to the first sc and fasten off. On the dishcloth, a second round of sc in a contrast colour makes a cheerful frame.

- All IN ONE Tapestry Knitting Needle Set:The sewing darning needles set comes with 12 pieces of random colored bent tapes…
- Easy for Yarn threading:These knitting needles are designed with large eyes, and it’s convenient for threading yarn, eve…
- 2 Types Needles for Different Demands:The darning yarn needles set comes with colorful bent needles and blunt straight n…
A blunt, large-eye yarn needle is the right tool for weaving ends through cotton dishcloth fabric: it slides between stitches instead of splitting the plies, and buries the tail so washing cannot work it loose. Add small, sharp scissors and the kit is complete.
Blocking: Cotton loves wet blocking. Soak the dishcloth for ten minutes, roll it in a towel, then pin it square at 9 × 9 in, arches running straight, and leave until dry. Acrylic scarves prefer steam: pin to size and hold the steamer just above the surface without touching the stitches. Blocked, the arcade stitch crochet pattern shows its real character — crisp arches, straight columns, edges that stay put. If the shell family has won you over, the calm moss stitch crochet pattern is the restful contrast to try next.