Cute Bee Amigurumi Free Pattern
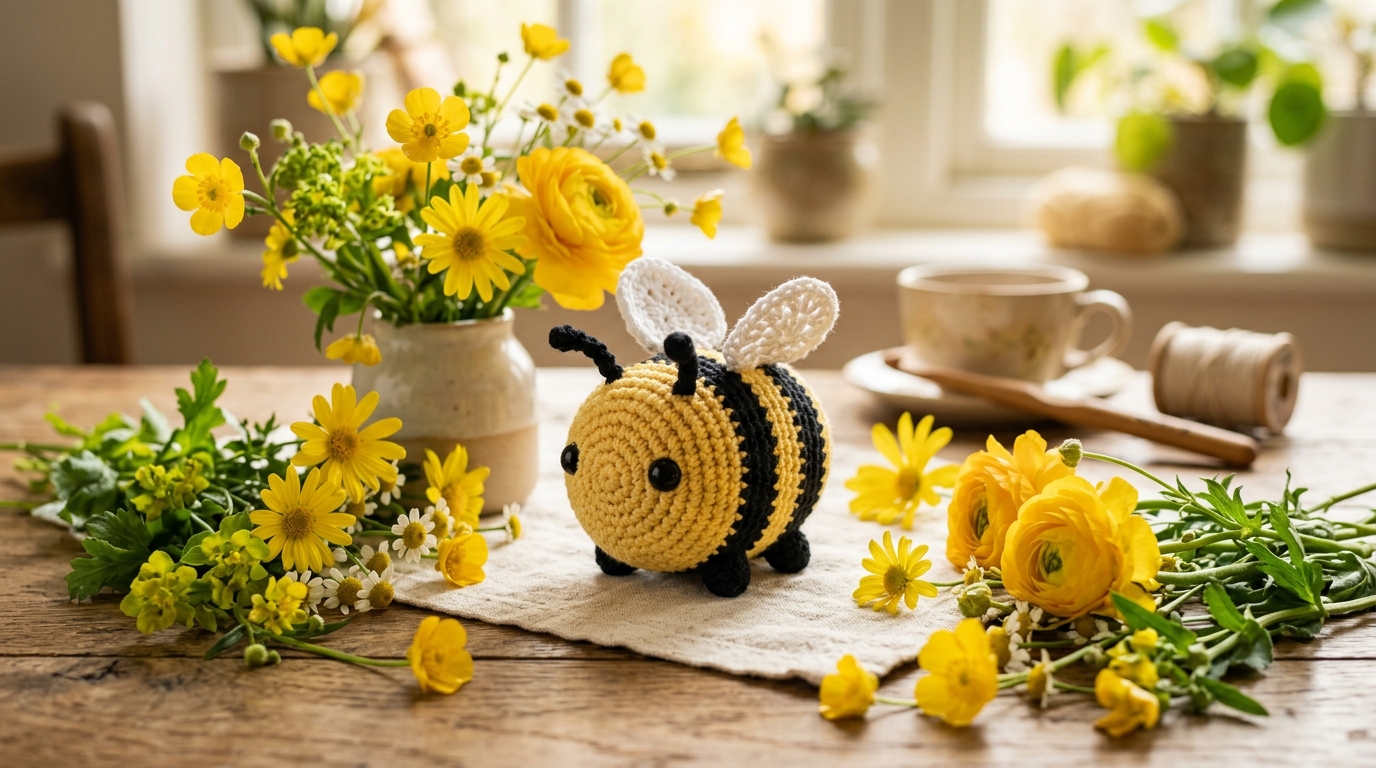
Create an adorable little bumble bee with this beginner-friendly bee amigurumi pattern. Featuring classic yellow and black stripes, tiny wings, and cute antennae, this crochet bee is a fun project that works up quickly using only a small amount of yarn.
Whether you’re making a handmade gift, a desk companion, a keychain charm, or a cheerful spring decoration, this tiny bee is guaranteed to bring a smile.
Materials
You’ll need:
- Yellow yarn
- Black yarn
- White yarn for wings
- 3 mm–4 mm crochet hook
- 6 mm safety eyes
- Fiberfill stuffing
- Yarn needle
- Stitch marker
- Scissors
Crochet Abbreviations
- MR = magic ring
- sc = single crochet
- inc = increase
- dec = invisible decrease
- sl st = slip stitch
- ch = chain
- st = stitch
Crochet Bee Pattern
Build The Bee Body
Round 1
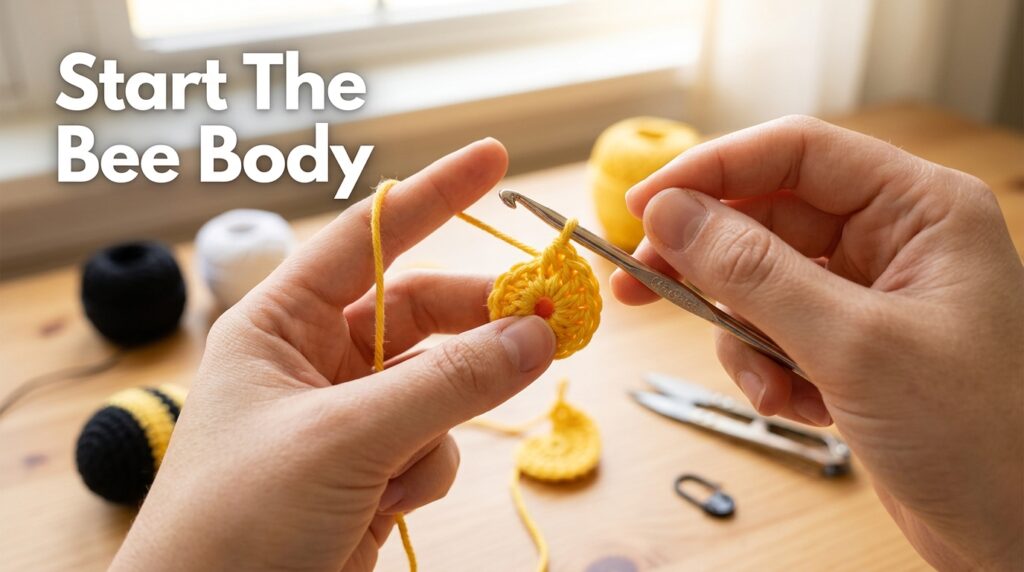
Using yellow yarn, begin with a magic ring.
Work 6 single crochet stitches into the center of the ring and pull it closed tightly.
Stitch Count: 6
Round 2
Increase in every stitch around.
This helps create a smooth rounded base for the bee.
Stitch Count: 12
Round 3
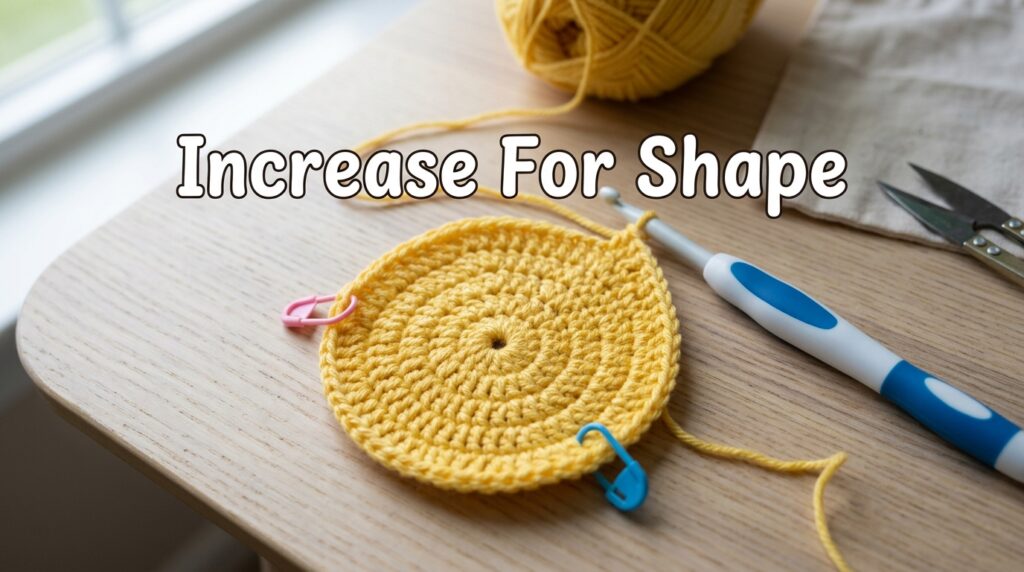
Continue expanding the body by alternating single crochet stitches and increases around the round.
Stitch Count: 18
Rounds 4–12
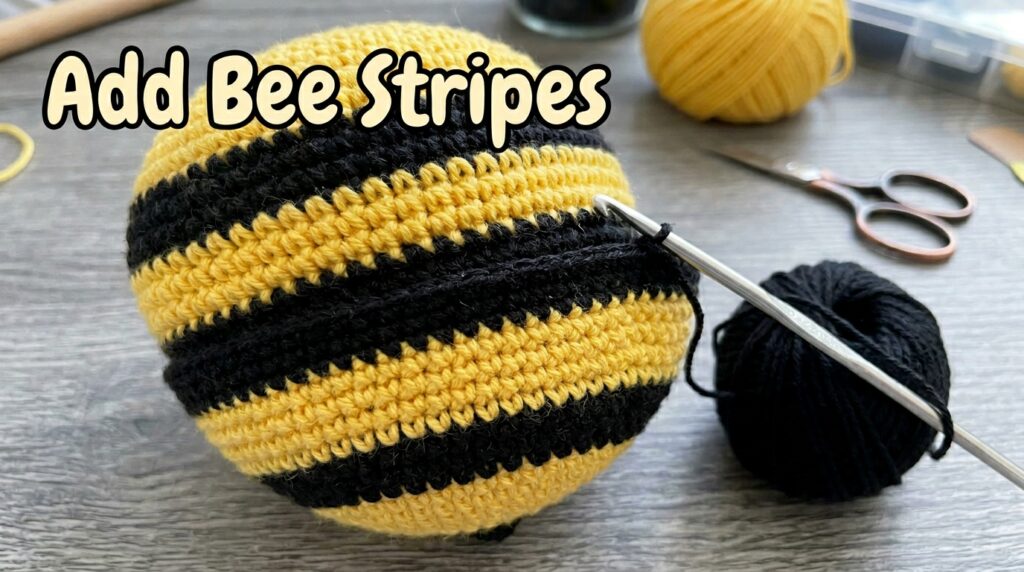
Now the bee starts to take shape.
Work even rounds while alternating between yellow and black yarn to create the classic bumble bee stripes.
As you crochet, you’ll notice the body becoming a rounded oval shape.
Color changes create the bee’s signature striped appearance and make this project instantly recognizable.
Add The Eyes
Before closing the body, attach safety eyes near the center of the face.
Position them evenly for a balanced look.
You can place them slightly closer together for a cute cartoon style or wider apart for a more realistic appearance.
Stuff The Bee
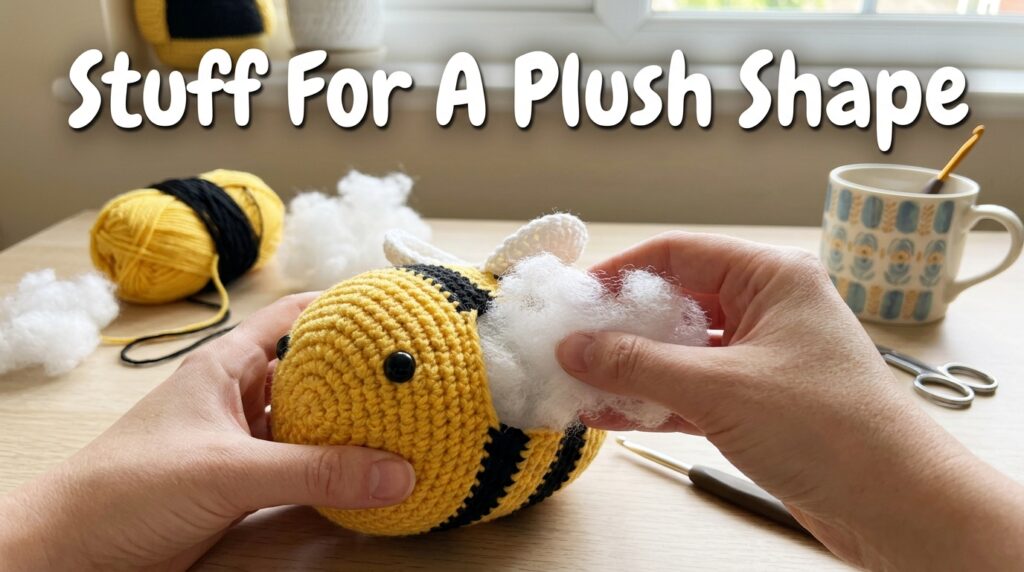
Fill the body with fiberfill stuffing.
Aim for a firm but soft shape that holds its round form without stretching the stitches.
A well-stuffed bee will keep its cute plush appearance over time.
Shape The Body
Begin decreasing stitches gradually.
These decrease rounds close the opening and transform the body into a smooth rounded bee shape.
Continue until only a few stitches remain.
Fasten off and close the opening securely using a yarn needle.
Crochet The Wings
Make Two Wings
Using white yarn, crochet two small circular wing pieces.
The wings should remain lightweight and slightly flat.
Leave a long yarn tail for sewing.
Once complete, position both wings on the top of the bee’s body and sew them securely into place.
The wings instantly bring the bee to life and add plenty of character.
Make The Antennae
Using black yarn, create two simple antennae.
A short chain with slip stitches worked back across the chain creates a neat sturdy shape.
Attach one antenna on each side of the head.
Adjust their angle slightly to give your bee a playful personality.
Finishing Touches
Weave in all loose yarn ends.
If desired, use black embroidery thread to stitch a tiny smile beneath the eyes.
You can also lightly shape the wings and antennae for a polished finish.
Customization Ideas
This little bee is easy to personalize:
- Add pink cheeks using embroidery thread
- Turn it into a keychain
- Attach it to a backpack zipper
- Create a bee garland
- Use pastel stripes for a whimsical look
- Make a larger bee using thicker yarn
Tips For Success
- Use a stitch marker to keep track of rounds.
- Stuff before the opening becomes too small.
- Keep stitches tight to prevent stuffing from showing.
- Secure safety eyes firmly before finishing.
- Take time positioning the wings evenly.
Finished Bee
Your finished crochet bee features:
- Classic yellow and black stripes
- Cute round plush body
- Small white wings
- Flexible antennae
- Beginner-friendly construction
This quick amigurumi project is perfect for gifts, markets, spring displays, nursery decor, or simply adding another adorable handmade friend to your crochet collection.
Happy Crocheting!