
Sunburst Granny Square Crochet Pattern: A Radiant Square in 6 Steps
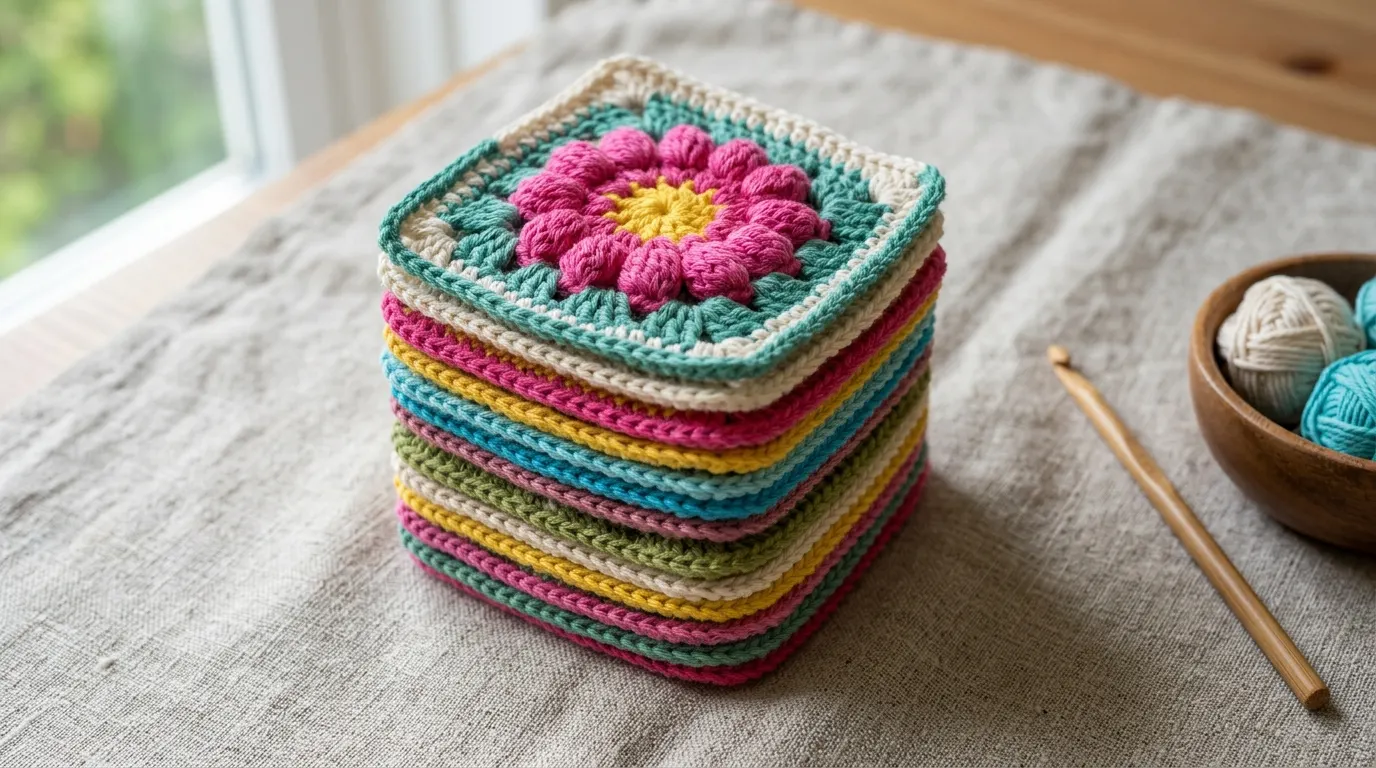
Some squares are just squares, and some are little suns you can hold in your hand. This sunburst granny square crochet pattern builds a glowing centre in two rounds — a golden disc wrapped in plump puff stitches — then lets the rays out in a ring of cream stitches before squaring the whole circle off with tall treble corners. Every round has an exact stitch count, so your square comes out flat, even and ready to join. Worked in DK cotton, one square measures 4½ inches (11.5 cm) and takes most crocheters about 25 minutes, which makes this sunburst granny square crochet pattern a perfect evening project: a baby blanket grows almost by itself, one small sun at a time. If you enjoy puff texture, you will also love the flower puff stitch, and if you want more square-based blankets, my rose square blanket uses the same join-as-you-go idea.
Why the Sunburst Works
A round motif wants to stay a circle, so the trick of this square is in Round 4. Tall treble stitches clustered at four evenly spaced points pull the circle out into corners, while the stitches along each side step down in height — double crochet, half double, single crochet at the middle — so the edge dips in a gentle curve instead of fighting you. Because the puff round is worked first and the rays are added afterwards, the centre stays raised and plump, like a real sun. Keep each colour change clean by fastening off and joining the new colour with a slip stitch, and the colour rings stay crisp.
Materials
- DK (light worsted, weight #3) cotton yarn in 4 colours. Per square you need roughly: Colour A golden yellow 6 m (7 yd), Colour B orange 8 m (9 yd), Colour C cream 10 m (11 yd), Colour D white or soft sage for the squaring and border rounds 10 m (11 yd). Cotton keeps the edges sharp and the square flat. For a 35-square baby blanket, buy about 210 m of A, 280 m of B, 350 m of C and 350 m of D, plus a little extra D for joining.
- 4 mm (US G-6) crochet hook
- Yarn needle with a large eye
- Scissors
- Blocking board or mat and rustproof pins
Yarn weight numbers can be confusing when you substitute yarns, so it is worth checking the Craft Yarn Council’s standard yarn weight system before you swap the DK cotton for something in your stash — any smooth weight #3 yarn will give you a square close to this size.
Useful Materials from Amazon
A smooth DK cotton in strong, sunny colours is exactly what this square needs, because cotton shows every puff and ray clearly instead of hiding them in fluff.

- Cotton Yarn: the cotton yarn is made of fine cotton, non pilling, warm and elastic; This quality yarn is soft and comfor…
- Multipack Soft Cotton Yarn: the package includes 16 different colored skeins of cotton yarn, ensuring variety and opport…
- Easy Care Instructions: extend the life of your crochet project with easy care instructions; Crochet cotton yarn can be …
An ergonomic 4 mm hook makes the puff round much kinder on your hands, since you pull seven loops through at once on every stitch.

- Easy grip handle
- Amour means love
- Love crochet
Stitch markers earn their keep in Round 4, where marking the four corner stitches before you start stops the squaring round going lopsided.

- [150-Piece Value Set in 10 Colors] Get 150 locking stitch markers in 10 colors (15 per shade) to color-code rows, repeat…
- [Smooth Snag-Free Plastic] Lightweight smooth plastic with a gentle locking clasp slides along yarn without catching or …
- [Works for Knitting & Crochet] The slim profile slips onto standard knitting needles, while the secure locking ring mark…
A gridded blocking board with pins squares up slightly wavy edges in minutes and makes every finished square exactly the same size for joining.

- 【Beginner-Friendly & Precision Fit】Perfect for new crafters, this board features a precise 529-hole grid (23 holes per r…
- 【Smooth Bamboo & Stable Base】Crafted with a premium bamboo panel, framed with durable solid wood, and paired with a soli…
- 【Ideal for Granny Squares & Wet Blocking】The compact 11.8″ x 11.8″ size is perfectly suited for blocking Granny Squares,…
Gauge and Finished Size
Gauge: the finished square measures 4½ in (11.5 cm) across after Round 5, lightly blocked. Checkpoints as you go: the Round 1 centre disc measures about 1 in (2.5 cm) across, and the circle after Round 3 measures about 3¼ in (8.5 cm) across. Gauge is not critical for a motif, but keeping the checkpoints close keeps every square the same size. A baby blanket of 35 squares (5 × 7) finishes at about 22½ × 31½ in (57 × 80 cm); a lap blanket of 63 squares (7 × 9) finishes at about 31½ × 40½ in (80 × 103 cm), before any border.
Abbreviations (US Terms)
- ch = chain
- sc = single crochet
- hdc = half double crochet
- dc = double crochet
- tr = treble crochet
- puff st = puff stitch (see below)
- sl st = slip stitch
- sp = space
- st(s) = stitch(es)
- yo = yarn over
- rep = repeat
Puff stitch: Yo, insert hook in the stitch, yo and draw up a loop. Repeat twice more (7 loops on hook). Yo and draw through all 7 loops. The chain-1 worked after each puff in Round 2 both secures the puff and separates it from the next one.
Pattern Notes
- The beginning ch-3 counts as one dc, and the beginning ch-4 counts as one tr, throughout.
- Fasten off and join each new colour with a slip stitch unless the step says otherwise — this keeps the sun’s colour rings neat.
- Stitch counts are given at the end of every round. Count before you move on; every later round is built on these numbers.
Sunburst Granny Square Crochet Pattern: Step by Step
Step 1: The Golden Centre Disc

With Colour A, make a magic ring. Ch 3 (counts as the first dc), then work 11 dc into the ring. Pull the tail gently to close the ring and join with a sl st to the top of the ch-3. Count: 12 dc. This small golden disc, about 1 in (2.5 cm) across, is the heart of the sun, and the puff round is built on the number 12, so do not move on with 11 or 13. Fasten off A.
Step 2: The Puff Stitch Sun Round

Join Colour B with a sl st in any dc. Work a puff st in the same stitch, ch 1. *Puff st in the next dc, ch 1.* Rep from * to * 10 more times, then join with a sl st to the top of the first puff. Count: 12 puff sts and 12 ch-1 spaces. The puffs should sit plump and even, like beads on a string. If a puff looks flat, you probably pulled the loops up too short — draw each loop up to the height of a dc before you close the stitch. Fasten off B.
Step 3: The Ray Round

Join Colour C with a sl st in any ch-1 space. Ch 3 (counts as dc), work 2 dc in the same space, then work 3 dc in each of the remaining 11 ch-1 spaces. Join with a sl st to the top of the ch-3. Count: 36 dc. These twelve groups of three are the sun’s rays, and the circle should now measure about 3¼ in (8.5 cm) across and lie flat. If the edge ruffles, your puffs in Round 2 were worked too loosely; if it cups, they were too tight. Fasten off C.
Step 4: Squaring the Circle

This is the round that turns the sun into a square. Join Colour D with a sl st in any dc. Ch 4 (counts as tr), tr in the same stitch, ch 2, 2 tr in the same stitch — your first corner is made. Now work along the first side: dc in the next st, hdc in the next 2 sts, sc in the next 2 sts, hdc in the next 2 sts, dc in the next st. *Work (2 tr, ch 2, 2 tr) in the next st for the corner, then dc in the next st, hdc in the next 2 sts, sc in the next 2 sts, hdc in the next 2 sts, dc in the next st.* Rep from * to * twice more, then join with a sl st to the top of the ch-4. Count: 16 tr, 8 dc, 16 hdc, 8 sc (48 sts) and 4 ch-2 corner spaces. Notice each side uses exactly 8 stitches between corners — if you reach a corner early or late, a count somewhere has slipped. Marking the 4 corner stitches (every 9th stitch of the 36) with stitch markers before you start makes this round almost foolproof.
Step 5: The Border Round

Stay with Colour D. Ch 3 (counts as dc), then dc in every stitch around the square, working (2 dc, ch 2, 2 dc) into each ch-2 corner space. Join with a sl st to the top of the ch-3 and fasten off. Count: 64 dc and 4 ch-2 corner spaces. This plain round does three jobs: it firms up the edges, it gives you a clean row of stitches to join into, and it makes every square an identical 4½ in (11.5 cm) — as reliable as the squares in my festive star centre granny square.
Step 6: Blocking and Joining Your Squares

Weave in all ends with the yarn needle, then pin each square to exactly 4½ in (11.5 cm) on the blocking board, mist lightly and leave to dry — cotton squares hold this shape beautifully. To join, lay two squares wrong sides together and whipstitch through the back loops only along one edge: you have 16 dc plus the corner space to match on each side, so ease the stitches together one for one and put a stitch through both corner spaces at each end. Join squares into strips first, then join the strips. Slip-stitch joining and join-as-you-go (working the Round 5 corner chains together as you make the last round) both work well too. Offcuts of yarn build up quickly with motif projects, so turn the smallest scraps into a mini crochet flowers garland for the nursery wall.
Troubleshooting: Wavy or Cupped Squares
If your square ruffles like a lettuce leaf after Round 3, the puff round was worked too loosely — remake Round 2 pulling each puff’s loops up a little shorter, or drop to a 3.5 mm hook for that round only. If the circle cups into a bowl, the puffs are too tight or the centre ring was closed too hard; ease the ring tail out slightly and draw the puff loops up taller. A square that twists in Round 4 almost always means a corner landed in the wrong stitch — unpick back to the last correct corner, re-mark the four corner stitches (count 9 stitches between each pair of markers), and work the round again. Five minutes of blocking fixes minor wobbles, but honest counting fixes the rest, and it is always faster to recount a round than to unpick three.
Colour Play and Project Ideas
The classic sun — yellow centre, orange puffs, cream rays — is only the beginning. Try a terracotta centre with mustard puffs and oatmeal rays for an autumn throw, or a soft blush centre with cream puffs for a baby girl’s blanket. Because every square is identical in size, they mix happily with plain dc squares, and a whole blanket of nothing but suns looks wonderful in the style of my flowers blanket, where one repeated motif carries the whole design. Finish any blanket with two or three plain rounds of dc in Colour D, working (2 dc, ch 2, 2 dc) at the corners, and your blanket is ready to gift.