Strawberry Stitch Crochet Pattern: 8 Easy Steps to Sweet Berry Rows
Some stitches are pretty, and some make people stop and ask what on earth you are making. This strawberry stitch crochet pattern is firmly in the second camp. Every berry is a plump cluster of five double crochet stitches worked into a single stitch, then closed by a leafy green row so the berries sit in tidy rows like fruit on a plant. It looks complicated, but the whole stitch is a two-row repeat you can soon work on autopilot.
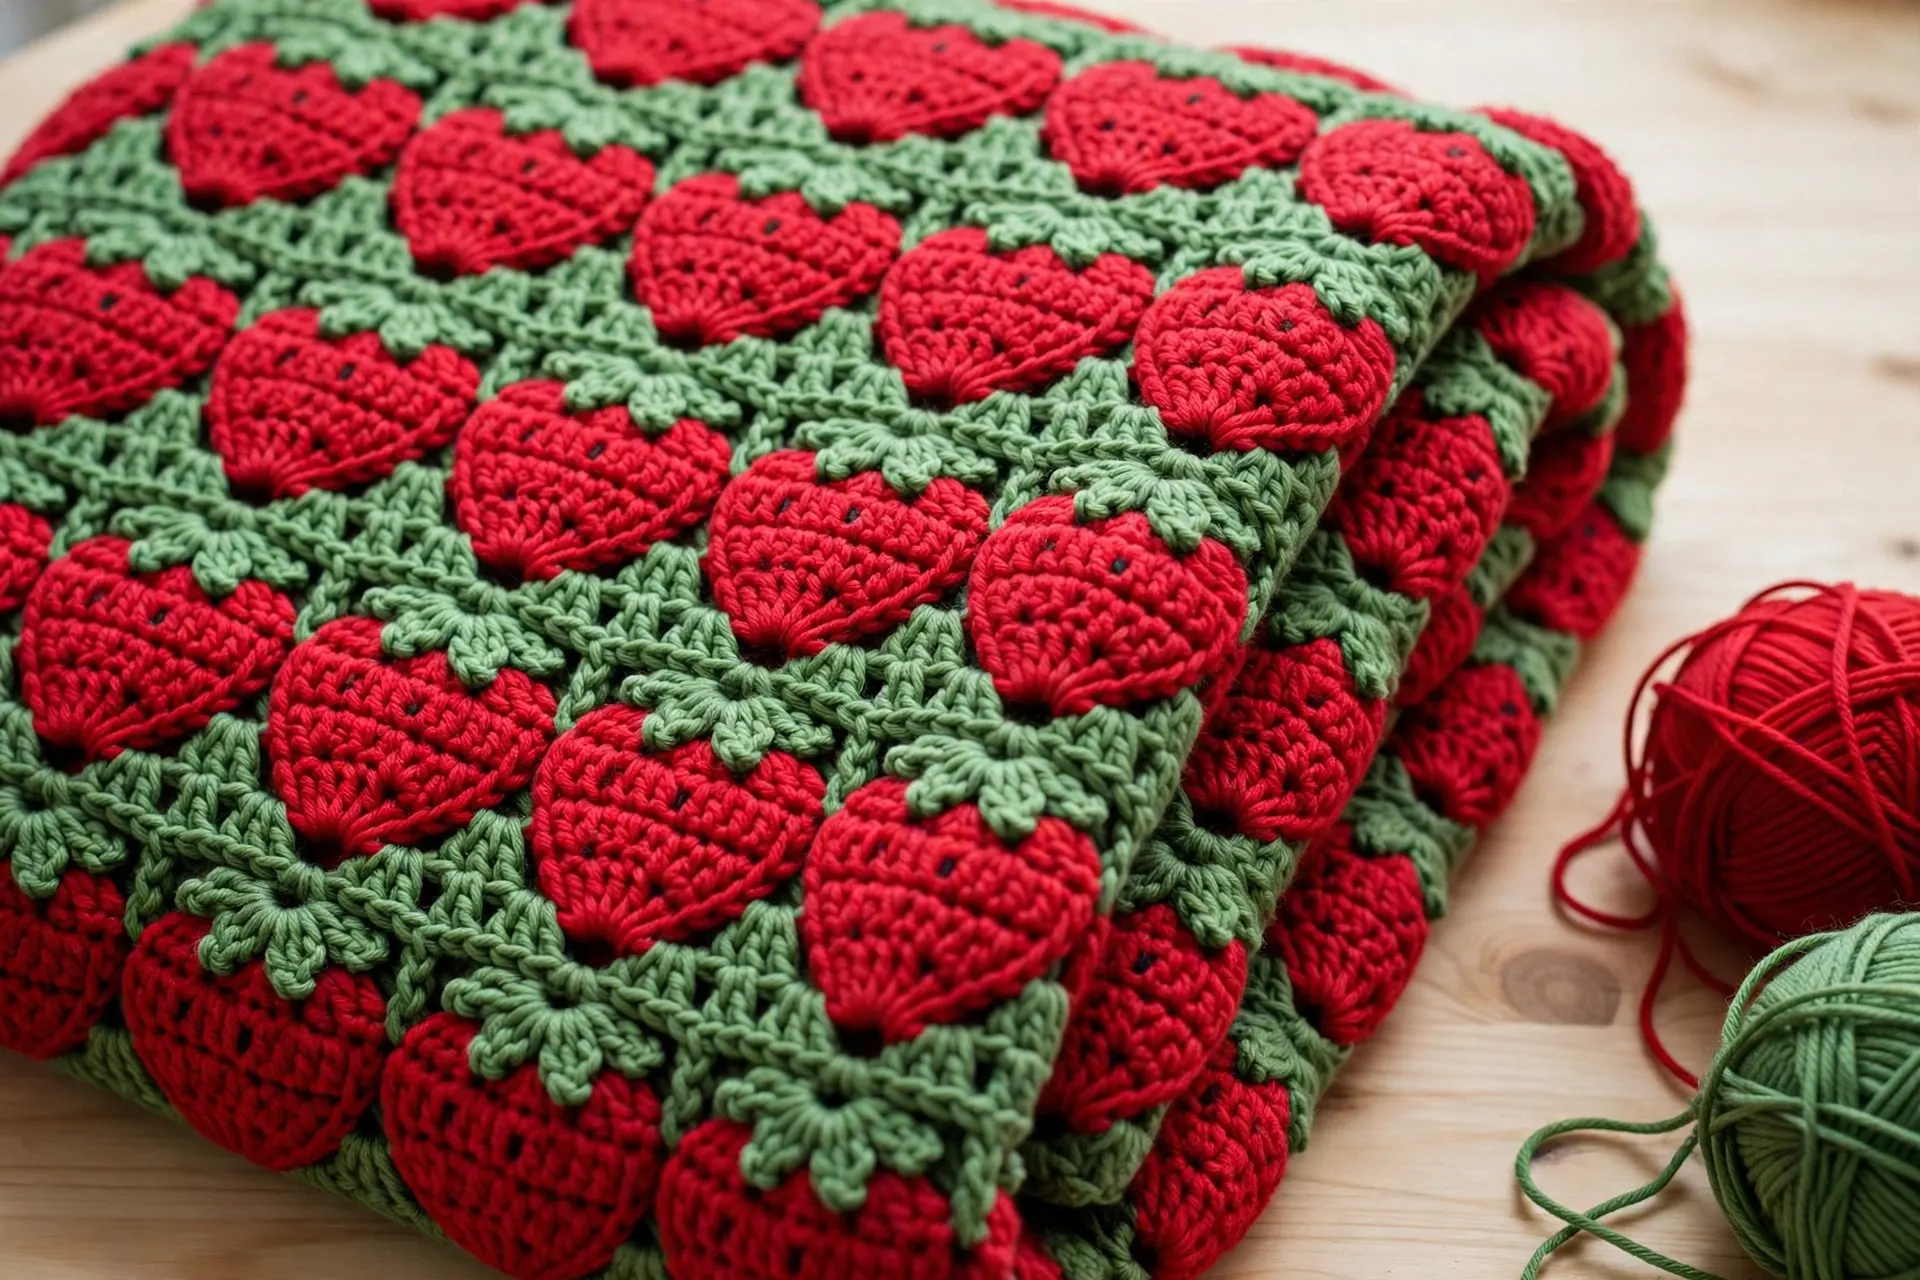
Below is the complete pattern written out row by row with exact stitch counts: a teaching sample first, then a full baby blanket with dimensions, berry counts and yarn amounts. If you enjoy textured stitches, our pompom stitch crochet pattern is another fun one.
Materials for This Strawberry Stitch Crochet Pattern
- Worsted weight yarn, category #4, in two colours: Colour A (berry red or pink) and Colour B (leaf green). The sample uses about 120 yd (110 m) of A and 70 yd (64 m) of B. New to yarn categories? The Craft Yarn Council yarn weight system explains what a #4 worsted weight means and how to substitute safely.
- 5.5 mm (US I-9) crochet hook
- Scissors and a yarn needle
- Stitch markers (optional, but helpful while you learn)

- COMPLETE 3 PACK SET Includes 3 skeins of Premier Basix worsted weight yarn plus a pair of large-eye tapestry needles for…
- HIGH YARDAGE VALUE Each ball is 7 oz / 200 g and 359 yards for over 1,000 total yards—great for scarves, hats, blankets,…
- VERSATILE MEDIUM WEIGHT #4 worsted weight works for both knitting and crochet and is easy to handle for beginners and ex…
A smooth worsted acrylic in a true berry red is the easiest yarn to learn this stitch with. Choose one with good stitch definition and no halo, because fluffy yarn hides the shape of each berry. One 200-yard skein covers the sample, and the same yarn line usually offers a matching leaf green.

- Easy grip handle
- Amour means love
- Love crochet
Every berry packs five double crochet stitches into one stitch, so your hook must glide through a crowded stitch dozens of times per row. An ergonomic 5.5 mm hook with a smooth, tapered throat is far kinder on your wrist, especially on a blanket with hundreds of berries.
Gauge, Finished Size and Abbreviations
Gauge: 3 berries wide (12 sts) and 3 berries high (6 rows) = 4 in (10 cm) in pattern, lightly blocked. The blanket maths in Step 7 is built on this gauge.
Finished sizes: The teaching sample is a panel about 16 in (40.5 cm) wide. The baby blanket in Step 7 measures about 36 × 36 in (91 × 91 cm) including its border.
Abbreviations (US terms): ch = chain · sc = single crochet · dc = double crochet · sc5tog = single crochet 5 together (explained in Step 3) · st(s) = stitch(es) · rep = repeat · A = berry colour · B = green colour.
The chain multiple: each berry needs exactly 4 foundation stitches, so chain a multiple of 4, plus 1. The sample chains 49, giving 48 stitches and 12 berries in every row. That count never changes in this strawberry stitch crochet pattern: every green row ends with exactly 48 stitches. If yours differs, a berry has gone missing — far easier to fix on that row than ten rows later.
How to Work the Strawberry Stitch, Step by Step
Step 1 — Foundation Chain and Base Row

Using Colour B (green), chain 49. The extra chain is turning space, not a stitch — do not count it.
Row 1 (B): Sc in the 2nd ch from the hook and in each ch across. (48 sc)
Count before you go any further: exactly 48 single crochet. This flat green row is the soil everything grows from, and every green row returns you to the same count. Do not fasten off — pick up Colour A next row and leave B attached, as Step 6 explains. A firm base row like this also begins our honeycomb crochet baby blanket, a lovely next project.
Step 2 — The First Berry Row

Pick up Colour A (berry) — this row fits five stitches into the space of one.
Row 2 (A): Ch 1, turn. *5 dc in the next st, sc in each of the next 3 sts; rep from * across, ending with a sc in the last st. (12 berries; 60 dc + 36 sc = 96 sts worked)
There is no sc before the first berry: the first stitch of the row becomes a berry, then three sc carry you to the next berry stitch. Berries land in stitches 1, 5, 9 and so on up to stitch 45, and the row ends with the last sc in stitch 48. The row looks ruffled, with twelve open fans standing up — correct for now; Step 3 gathers each fan into a round strawberry. Keep the five dc evenly tensioned and nudge them together so each fan is full, not stringy.
Step 3 — The Green Row That Closes the Berries

Pick up Colour B. This row does two jobs: its green reads as the leafy top of each strawberry, and its decreases pull each open fan closed. Sc5tog: insert your hook into the next dc and pull up a loop; repeat into each of the next 4 dc (6 loops on hook); yarn over and pull through all 6 loops. Five stitches have become one plump, closed berry.
Row 3 (B): Ch 1, turn. *Sc5tog over the 5 dc of the next berry, sc in each of the next 3 sts; rep from * across. (48 sts: 12 sc5tog + 36 sc)
Take your time finding all five dc of each berry; the three flat sc between berries are your landmarks. At the end, count: you must be back at exactly 48, with twelve rounded berries in a neat row, each capped in green. This closing row is what makes the strawberry stitch crochet pattern so satisfying, and the same idea appears in our crochet bobble blanket pattern, worked there in a single colour.
Step 4 — The Second Berry Row (Aligned Berries)

In this version, berries are aligned: each new berry sits directly on top of the one below, forming straight columns of fruit. Aligned berries are the easiest to count and give the fabric a neat, orchard-rows look.
Row 4 (A): Ch 1, turn. *5 dc in the next st, sc in each of the next 3 sts; rep from * across, ending with a sc in the last st. (12 berries; 96 sts worked)
The first stitch of this row is the top of the sc5tog from Row 3, and that is exactly where the first berry goes — because the decrease gathered the berry below into one stitch, alignment happens automatically. Each berry belongs in the stitch at the centre of the berry beneath it. Then work Row 5 (B) exactly as Row 3, and confirm 48 stitches again.
Step 5 — Repeating the Pattern and Counting Your Berries

From here the stitch is simply repeat Rows 2 and 3 until the piece is the height you want, always ending with a green closing row so the last berries are capped. Two habits keep the fabric perfect:
- Count berries, not stitches, on berry rows. Twelve fans, every time — much faster than counting to 96, and a missing berry shows instantly.
- Count stitches on green rows. Every green row ends at 48. If you reach 47 or 49, one berry got only four dc or a decrease missed a stitch; unpick that one row only.
A locking marker through the first berry of each row keeps the repeat count honest while you learn.

- Total 109 Pcs Crochet Kit: 100 x Stitch Markers for Crocheting, 9 x Plastic Crochet Needles for Yarn & 1 x Storage Box. …
- Premium Material: Good quality Plastic yarn needles & Crochet stitch markers. All kinds of crochet accessories and gadge…
- Wide Application: Cute crochet markers are helpful for keeping track of stitches, mark rows, count rounds in knitting, c…
A combined set of locking stitch markers and blunt yarn needles covers the two fiddly jobs in this pattern: marking the first berry of each row, and weaving in the red and green ends at the finish. Locking markers matter because plain rings slip out of loosening berry stitches as the fabric grows heavier.
Step 6 — Managing Two Colours Without a Pile of Ends

Because the colour changes every row, cutting it each time would leave over a hundred ends to weave in on the blanket. Instead, carry both colours up the side edge for the whole project:
- At the end of each row, leave the colour you just used attached at the edge and pick up the waiting colour.
- Keep the carried strand loose, with slack about the height of one row, or that edge will pucker shorter than the other side.
- Twist the two strands once around each other every few rows, so the carried yarn never forms a snagging loop.
The carried strands sit on one edge only, and the Step 8 border is worked right over them, so they vanish in the finished piece.
Step 7 — Worked Example: A Strawberry Baby Blanket

Here is the strawberry stitch crochet pattern applied to a blanket of about 36 × 36 in (91 × 91 cm), using the gauge above. Everything scales from the same multiple:
- Foundation: With B, chain 109. Row 1: sc in the 2nd ch from the hook and in each ch across. (108 sc) — that is 108 ÷ 4 = 27 berries in every row.
- Body: Repeat Rows 2 and 3 (berry row in A, closing row in B) 27 times — 27 rows of berries, 729 berries in total, 54 pattern rows after the base row. Finish on a green closing row, never on open fans; unbordered, the blanket should measure about 36 in tall.
- Yarn amounts: approximately 950 yd (869 m) of Colour A and 500 yd (457 m) of Colour B — roughly five 200-yard skeins of berry and three of green, including the border and a small safety margin.
In soft acrylic this makes a cheerful, airy nursery blanket. Our round-up of crochet baby blanket patterns shows the same nursery size in seven other stitch styles.

- ALL-IN-ONE CROCHET KNITTING BAG: PAVILIA knitting organizer tote is the perfect crocheting bag for knitters, crocheters,…
- CLEAR-TOP CROCHET STORAGE BAG: Our Crochet holder bag revolutionizes your crafting experience with the clear PVC cover, …
- LARGE KNITTING BAGS AND TOTES ORGANIZER: Our roomy and large crochet organizer bag offers multiple interior and exterior…
A large project tote with yarn guide holes is genuinely useful here: each ball feeds through its own hole, the carried colours stay untangled, and the half-finished blanket folds inside instead of trailing yarn across the sofa.
Step 8 — Border and Finishing

A two-round border frames the berries and hides the carried yarn. Finish with a green closing row first, then:
Round 1 (B): Ch 1. Sc evenly around: 1 sc in each st along the top and bottom; along each side work 3 sc for every two row-ends (1 sc in a green row-end, 2 sc in a berry row-end); work 3 sc in each corner stitch. Join with a sl st to the first sc.
Round 2 (A): Ch 1. *Sk 1 st, 5 dc in the next st, sk 1 st, sc in the next st; rep from * around, treating each corner stitch as the sc of the repeat so the little shells turn the corners neatly. Join with a sl st and fasten off.
These miniature shells echo the berries with a gentle scallop. Weave in the remaining ends, following the direction of the row for a few stitches before turning back, then block lightly: lay the piece flat, ease the berry columns straight, pin to size and leave until dry. Blocking is the true final step of this strawberry stitch crochet pattern — it turns nice berries into perfectly even rows. If fruity makes have won you over, our strawberry cardigan crochet pattern is next.