Rose Flower Stitch Crochet Pattern: 8 Easy Steps to Rolled Roses
If you have ever admired a rolled crochet rose and assumed it must be complicated, this rose flower stitch pattern will change your mind. The whole flower is one simple strip: a plain double crochet base with two rows of shells worked along one edge. Because each shell row is wider than the row before it, the strip curls all by itself — and when you roll it up and stitch the base, those curls settle into soft, layered petals. One rose takes about twenty minutes and a small scrap of yarn.
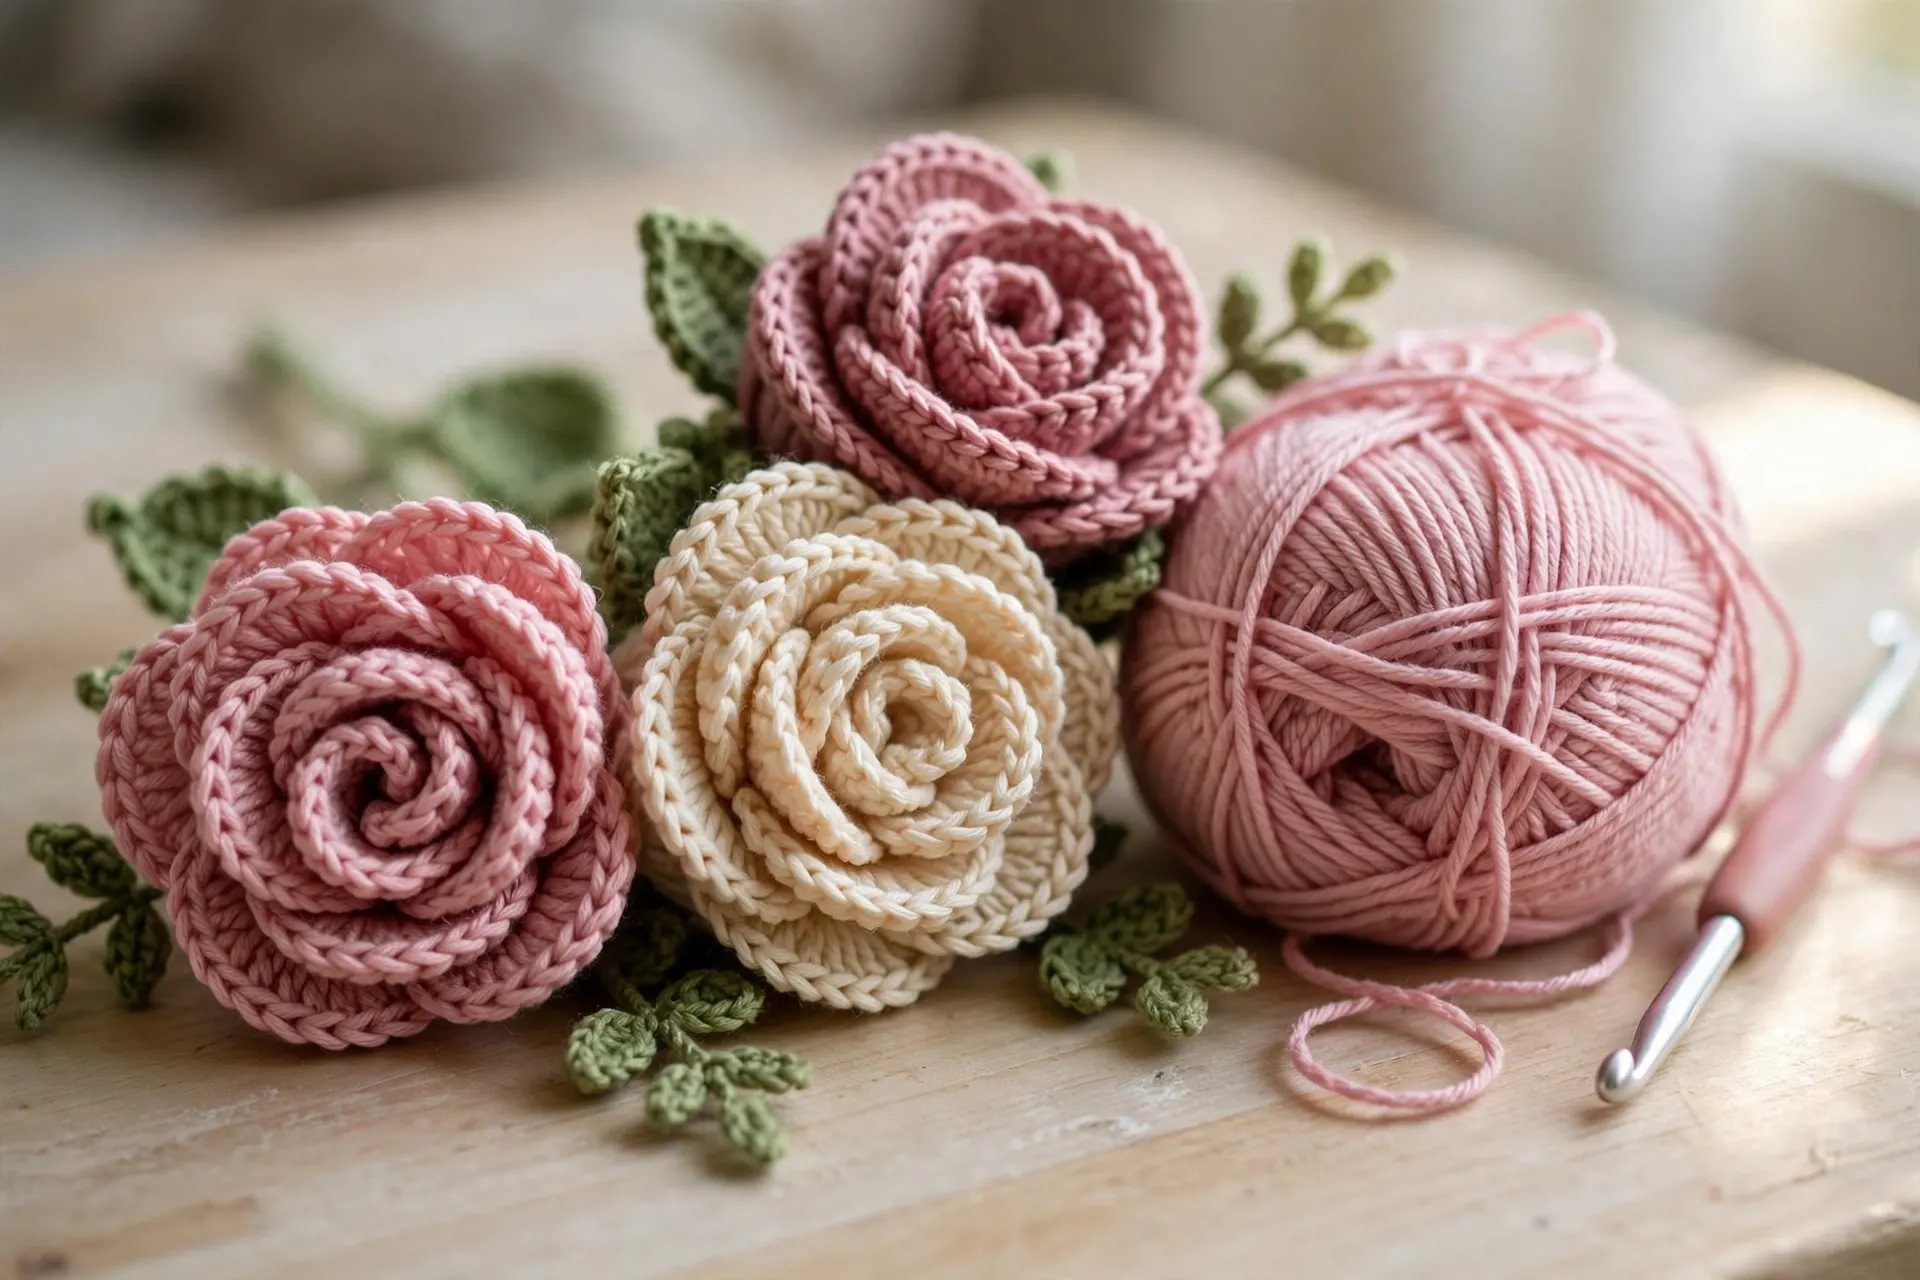
Why the Rose Flower Stitch Works
The rose flower stitch is really just shells with a plan. A shell is a group of double crochet stitches worked into the same stitch, and shells naturally fan out. By working a row of small shells and then a row of bigger shells into the first row, you build more and more fullness along the top edge of the strip, while the bottom edge stays short and firm. That difference in length is what makes the strip spiral when you roll it, exactly the way a real rose wraps its petals around a tight centre. If you enjoy dimensional flowers, try our layered 12 petal flower pattern and the 3D spiral flower pattern next.
Materials for the Rose Flower Stitch
- DK weight yarn (weight 3) in a rose colour: about 15 g (roughly 40 m / 44 yd) per rose
- DK weight yarn in green: about 4 g for two leaves
- 4.0 mm (US G-6) crochet hook
- Yarn needle with a large eye
- Scissors
- Optional: stitch marker
Not sure how to read a yarn weight number? The Craft Yarn Council yarn weight standards explain the whole system. A smooth cotton DK holds the curl best.

- COTTON DOUBLE KNIT YARN: Contains one 50g / 1.76oz ball of Paintbox Yarns 100% Cotton DK (double knit) yarn in a Blush P…
- VERSATILE YARN: This DK cotton yarn is super soft and lightweight making it incredibly versatile and suitable for a rang…
- NEEDLE SIZE & TENSION: For this yarn the recommended tension is 22 stitches, 30 rows to 4″ with a suggested crochet hook…
A smooth DK cotton in deep pink or dusty rose is ideal: it shows every shell clearly, does not fuzz, and holds the rolled shape. One 50 g ball makes at least three roses with leaves.
Gauge, Size and Abbreviations
Gauge: 10 double crochet = 5 cm (2 in) with DK yarn and a 4.0 mm hook. Gauge is not critical for a flower, but keep tension even so the strip rolls neatly.
Finished size: each rose is about 5–6 cm (2–2.5 in) across and about 3 cm (1.25 in) tall. Each leaf is about 5 cm (2 in) long.
Abbreviations (US terms): ch = chain · sc = single crochet · hdc = half double crochet · dc = double crochet · tr = treble crochet · sl st = slip stitch · st(s) = stitch(es) · rep = repeat
Pattern notes: The turning chain counts as a stitch where stated. Stitch counts are given at the end of every row — check yours before moving on, because rolling only works if the shell rows are complete. For more flower ideas, browse our round-up of 10 crochet flowers with free patterns.
The Rose Flower Stitch, Step by Step
Step 1 — Foundation Chain for the Strip
With your rose colour, make a slip knot and chain 51. Keep the chains relaxed and even — tight chains make the base edge pucker later. Count before you go on: you need exactly 51 chains, because the rows that follow are counted to fit it.


- Easy grip handle
- Amour means love
- Love crochet
A 4.0 mm ergonomic hook is kinder on your hands, especially if you plan a whole bouquet. The soft grip helps you keep even tension through the shell rows, which gives neat, regular petals.
Step 2 — First Row: The Double Crochet Base
Work a double crochet into the 4th chain from the hook — the 3 skipped chains count as your first double crochet. Now work 1 double crochet into every chain to the end. When you reach the last chain you should have worked 48 double crochet stitches, and with the 3 skipped chains counting as one more, your row total is 49 double crochet. This plain row is the base of the rose — the edge you will roll and stitch — so keep it firm and straight.

Step 3 — Petal Row One: Small Shells
Chain 1 and turn. Work a single crochet into the first stitch. Now repeat the following sequence across the row: skip the next stitch, work 5 double crochet into the next stitch (one small shell made), skip the next stitch, work a single crochet into the next stitch. Repeat from * to * to the end of the row — the last stitch is a single crochet in the top of the turning chain below. Count as you go: you should have 12 small shells and 13 single crochet, 73 stitches in total. The strip will already start to wave gently, and that is exactly right.

Step 4 — Petal Row Two: Larger Shells That Make It Curl
Chain 1 and turn. Work a single crochet into the first single crochet. Then, for each shell along the row: skip the first 2 double crochet of the shell, work 7 double crochet into the centre (3rd) double crochet of the shell, skip the last 2 double crochet, and work a single crochet into the next single crochet. Repeat this for all 12 shells, finishing with a single crochet in the last single crochet of the row. Your count is 12 large shells (84 double crochet) and 13 single crochet, 97 stitches in total. Fasten off, leaving a tail of about 30 cm (12 in) — you will use it to stitch the base in Step 6. Lay the strip flat: it is already bending into a curve, because the shell edge is now far longer than the base edge — that built-in curl is the whole secret of the rose flower stitch.

Step 5 — Rolling the Rose Evenly
Lay the strip in front of you with the shell edge pointing up and the base edge towards you. Choose one short end to be the centre of the rose. Fold the first shell or two straight down so the petals will open outwards later, then roll the strip around that centre, keeping the base edges perfectly level with each other as you roll — this is the one thing that makes a tidy rose instead of a lopsided one. Every couple of turns, ease the petals with your fingers so they sit at slightly different heights, the way real petals do. At the end of the strip, hold the roll firmly: a rose about 5–6 cm across.


- Premium Bent Tip Yarn Needles – Includes practical size 16 blunt needles in 4 colors, each about 2.75 in long, packed in…
- Curved Tip for Weaving in Ends – The bent weaving needle slides under stitches more easily than a straight one, ideal fo…
- Large Eye for Yarn – The large eye is designed for common yarn and tapestry threads, helping you thread and pull yarn th…
A large-eye blunt yarn needle secures your rose in the next step. Choose one with an eye big enough for DK yarn and a slightly bent tip, so it slides through the base without splitting stitches.
Step 6 — Stitching the Base to Secure It
Thread your yarn needle with the long tail you left in Step 4. Turn the rose upside down and work through the base edge only: push the needle through all the layers of the rolled base, from one side to the other, then turn the rose a quarter turn and stitch through all the layers again. Repeat until you have stitched across the base in at least three directions. Pull each stitch snug, not tight. Finish with two small stitches in one spot, weave the tail into the base and trim it. Turn the rose right side up and gently tease the petals open with your fingertips.

Step 7 — The Leaf (Make 2)
With green yarn, chain 9. You will work down one side of the chain, around the tip, and back up the other side. Starting in the 2nd chain from the hook, work: 1 single crochet, 1 half double crochet, 1 double crochet, 1 treble crochet, 1 double crochet, 1 half double crochet, 1 single crochet — that takes you along 7 chains and leaves 1 chain at the far end. Into that last chain work (1 single crochet, chain 2, 1 single crochet) to form the pointed tip. Now work back along the other side of the chain, mirroring what you just did: 1 single crochet, 1 half double crochet, 1 double crochet, 1 treble crochet, 1 double crochet, 1 half double crochet, 1 single crochet. Fasten off, leaving a 15 cm (6 in) tail for sewing. Your leaf has 16 stitches plus the chain-2 tip and should measure about 5 cm long. Make a second leaf in exactly the same way. If shaped leaves are new to you, our leaf stitch pattern is a lovely next step for practising leaf shapes at a larger scale.

Step 8 — Assembly and Uses
Sew the two leaves to the base of the rose with their tails, angling them outwards like real rose leaves, and weave in any remaining ends. Your rose is finished — and now the fun part, because a rose flower stitch flower this size can go almost anywhere:
- Hair clip: stitch or glue the flat base to a plain metal hair clip, leaves pointing backwards.
- Brooch: sew a brooch pin to the base, catching the hinge plate so it cannot twist.
- Bouquet: make 7–9 roses, push florist wire through each base, twist together and bind with green yarn for stems.
- Appliqué: stitch roses onto a top neckline, a cushion, or a blanket edge — the level base sits flat.
Colour changes make this pattern endlessly reusable: deep red for winter, blush and cream for weddings, bright mixes for a child’s hairband. Seasonal flowers work the same way — try our poinsettia crochet flower for Christmas makes, or the crochet sunflower pattern for something sunny.


- DURABLE METAL MATERIAL: Made of high-quality metal, these brooch pin alligator hair clip bases are designed for regular …
- PRACTICAL SIZE: Each blank hair clip brooch base measures approximately 4 cm/1.6 inches in length and 2.5 cm/1 inch in w…
- CLASSIC SILVER COLOR: These hair clip bases feature a simple silver finish that coordinates easily with a wide range of …
A mixed pack of blank hair clips and brooch pin backs turns finished roses into gifts in minutes. Silver or antique-bronze finishes sit well against yarn and stay hidden behind the flower.
Final Thoughts
Once you have rolled your first rose, the rose flower stitch becomes one of those patterns you make without thinking — in front of the television, with whatever yarn is left in the basket. Make them one at a time as embellishments, or settle in and make a whole bouquet over a weekend. Count your shells, keep the base edges level as you roll, and your roses will come out tidy every time.