Serpentine Stitch Crochet Pattern: A Wavy Stitch Tutorial in 6 Steps
Some stitches sit flat and behave themselves. This one refuses to. The serpentine stitch crochet pattern builds every row as a smooth wave — the stitches climb from short single crochet up through half double and double crochet to a tall treble crest, then slide back down again. Shift the next ridge’s crests half a wave along, and the fabric stops rippling in straight lines and starts snaking in lazy S-curves. It is just four basic stitches in a fixed order: this tutorial teaches it on a counted practice swatch first, then turns it into a finished striped scarf. Once you have worked a few rows, the serpentine stitch crochet pattern feels rhythmic rather than fiddly.
What Is the Serpentine Stitch?
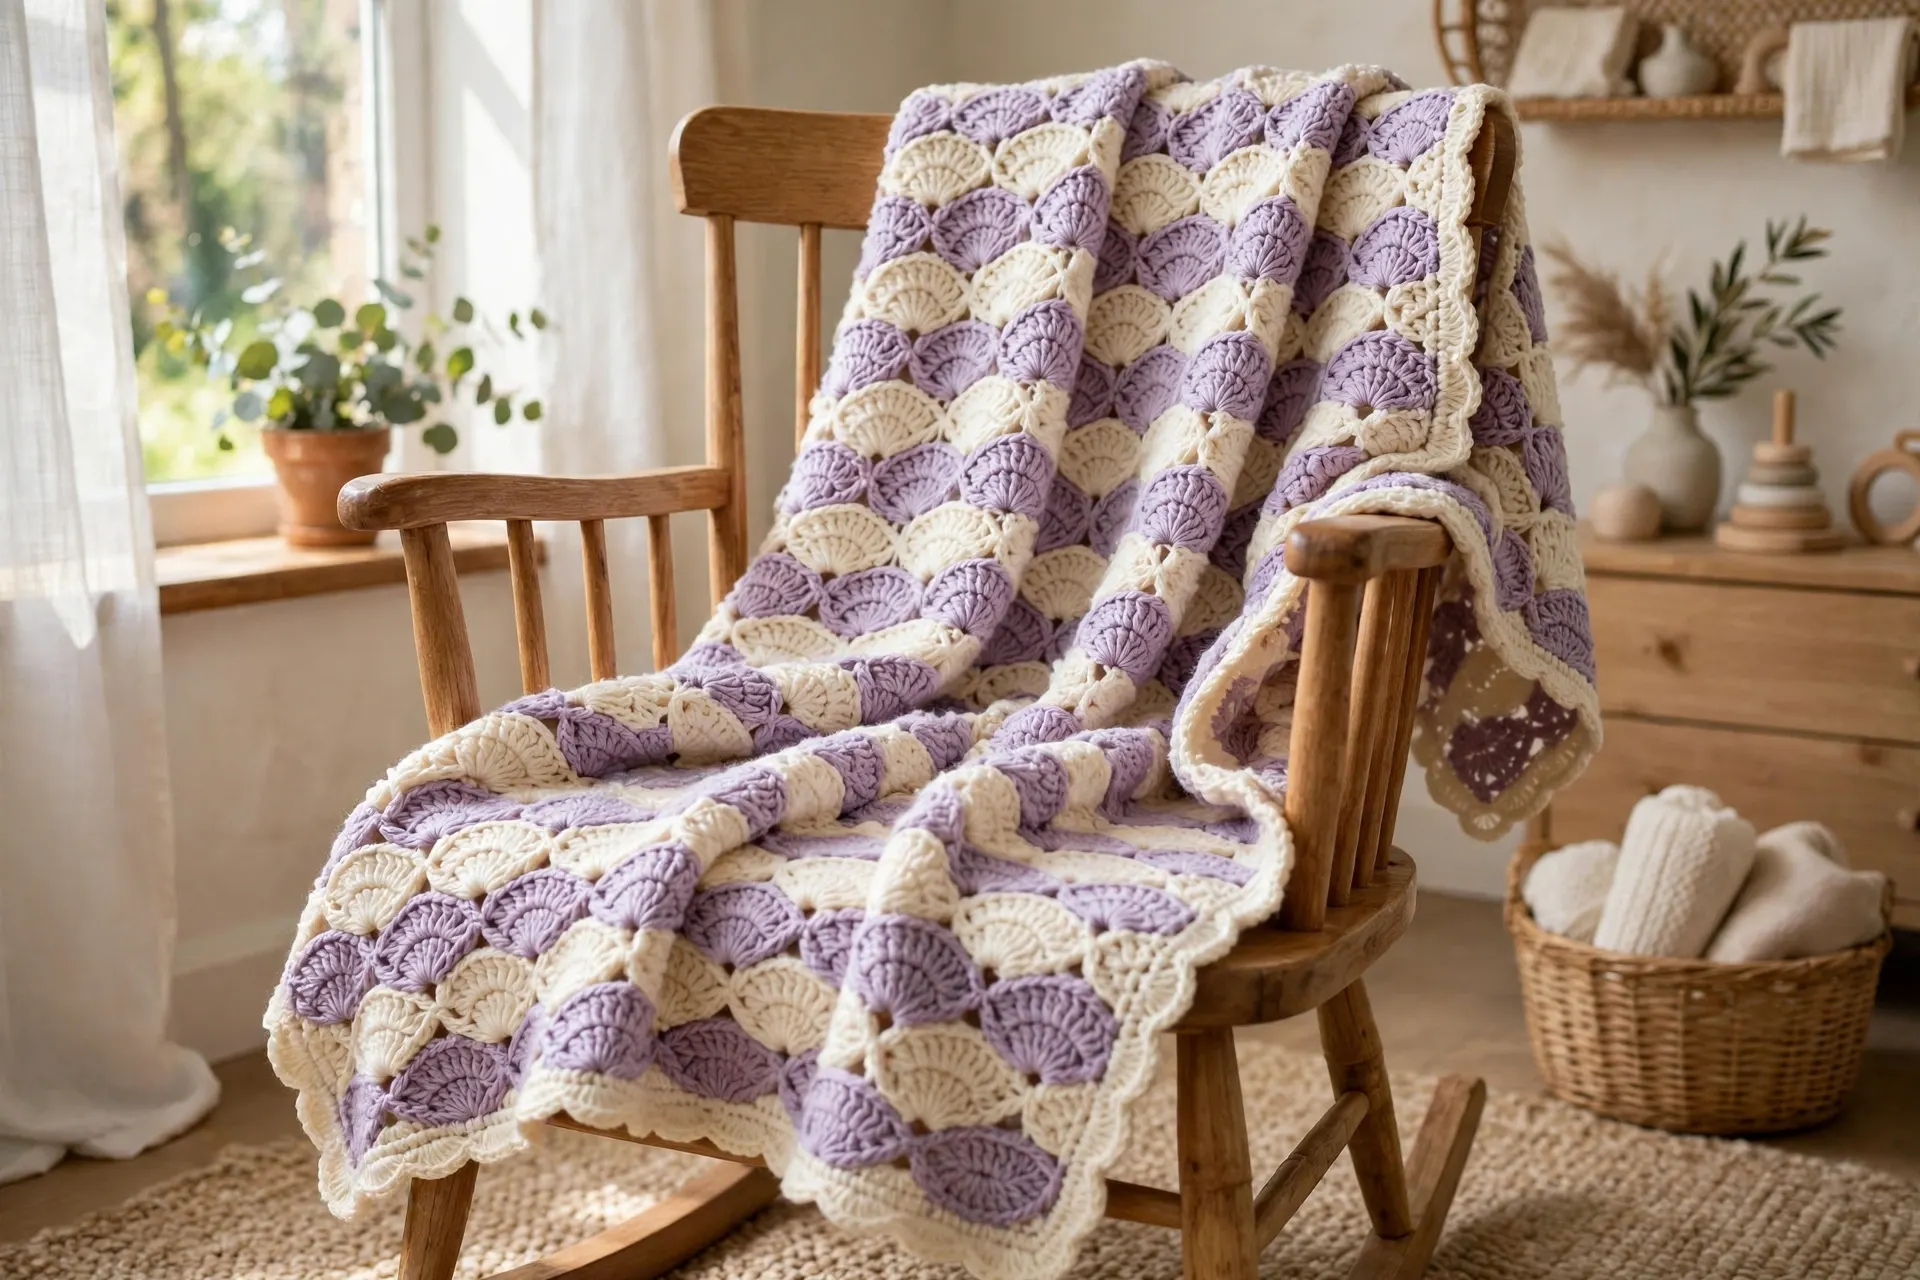
The serpentine stitch crochet pattern is a wave (or ripple) stitch with a twist. In an ordinary ripple, the peaks stack in straight columns. Here, each new ridge row is worked as the mirror image of the row below, pushing the crests half a wave — six stitches — sideways on every ridge. The peaks never line up; they drift left, then right, and the whole surface flows in S-curves like a slow river.
Because the wave is made only from stitch height, the fabric stays smooth and drapey rather than stiff or holey, and both sides show the waves. It suits scarves, blankets and wraps, and a firm cotton version makes striking placemats and table runners. Our waffle stitch pillow teaches another texture stitch the same way.
Materials and Gauge
Swatch and scarf amounts are both listed. Gather everything before you start the serpentine stitch crochet pattern so the waves stay even.
- Worsted weight (#4) yarn: about 50 yd (46 m) for the swatch; for the scarf, approx. 650 yd (595 m) in total — about 350 yd of teal and 300 yd of cream. A smooth acrylic or wool blend shows the waves best; avoid fuzzy or very dark yarn while you learn — you need to see every stitch. If yarn labels are still a puzzle, the Craft Yarn Council’s standard yarn weight system explains what the “#4” on the band means.
- 5.0 mm (US H-8) crochet hook
- Stitch markers (at least 2)
- Tapestry needle, scissors and a tape measure
Gauge: 16 stitches and 5 rows = 4 inches (10 cm) in the stitch pattern, lightly blocked. Gauge is not critical for a scarf, but check it before a blanket — small width errors multiply across a big project.
The stitch multiple: this pattern is a multiple of 12 + 2. Chain any multiple of 12 plus 2 extra chains (26, 38, 50, 62…): each group of 12 chains works one full wave — 2 sc, 2 hdc, 2 dc, 2 tr, 2 dc, 2 hdc — and the extra chains close the last wave’s descent, so the waves always come out whole.
Useful Materials from Amazon

- Red heart super saver solid yarn
- Made of 100-percent acrylic medium worsted material
- Available for 5-mm knitting needle and 5.5-mm crochet hook
A smooth worsted acrylic gives clean stitch definition so you can watch the wave climb and fall; two contrasting colours make the S-curves unmistakable. The serpentine stitch crochet pattern shows up best in two contrasting colours.

- Easy grip handle
- Amour means love
- Love crochet
Wave rows mix short and tall stitches constantly — a soft-grip 5 mm hook keeps your hand comfortable through all the yarn-over changes. A comfortable hook makes the serpentine stitch crochet pattern easier to repeat row after row.

- [150-Piece Value Set in 10 Colors] Get 150 locking stitch markers in 10 colors (15 per shade) to color-code rows, repeat…
- [Smooth Snag-Free Plastic] Lightweight smooth plastic with a gentle locking clasp slides along yarn without catching or …
- [Works for Knitting & Crochet] The slim profile slips onto standard knitting needles, while the secure locking ring mark…
Clip a marker into each treble crest as you work and counting becomes a glance instead of a recount; locking markers stay put in wavy fabric. Markers are a small help that keeps the serpentine stitch crochet pattern counted correctly.

- All IN ONE Tapestry Knitting Needle Set:The sewing darning needles set comes with 12 pieces of random colored bent tapes…
- Easy for Yarn threading:These knitting needles are designed with large eyes, and it’s convenient for threading yarn, eve…
- 2 Types Needles for Different Demands:The darning yarn needles set comes with colorful bent needles and blunt straight n…
Striped waves mean plenty of ends to weave in, and a large-eye tapestry needle hides them neatly along the backs of the crests. Neat finishing lets the serpentine stitch crochet pattern shine in the finished scarf.
Abbreviations (US Terms)
- ch = chain
- sc = single crochet
- hdc = half double crochet
- dc = double crochet
- tr = treble (triple) crochet
- st(s) = stitch(es)
- rep = repeat
- RS = right side
- WS = wrong side
The Serpentine Stitch Crochet Pattern, Step by Step
Follow the serpentine stitch crochet pattern on the swatch first: chain 38, which works three full waves plus the closing stitches and finishes about 9¼ inches wide. Four rows make one complete repeat — a ridge row, its mirror, and both again. Once those feel natural, the scarf in Step 6 is the same four rows, just more of them.
Step 1 — Materials, Gauge and the Stitch Multiple

Gather the yarn, hook and markers, and test the idea first: ch 14 (one wave of 12 + 2) and work Row 1 below across it (13 sts). If you can read the climb — 2 short, 2 medium, 2 taller, 2 tallest, then back down — your tension is workable. Aim for 16 stitches to 4 inches on the real swatch; too many means tight work (go up to a 5.5 mm hook), too few, drop to 4.5 mm. Mark your starting corner: odd rows begin low, even rows begin tall.
Step 2 — Foundation and the First Wave Row (The Climb)

With teal, ch 38.
Row 1 (RS): Sc in the 2nd ch from the hook and in the next ch, hdc in the next 2 ch, dc in the next 2 ch, tr in the next 2 ch, dc in the next 2 ch, hdc in the next 2 ch, *sc in the next 2 ch, hdc in the next 2 ch, dc in the next 2 ch, tr in the next 2 ch, dc in the next 2 ch, hdc in the next 2 ch; rep from * once more, sc in the last ch, turn. (37 sts — 7 sc, 12 hdc, 12 dc, 6 tr)
Read the row as a hill: two short foothills of sc, a climb through hdc and dc, a two-stitch summit of tr, then back down to the last sc — the valley floor the next wave climbs out of. Let the stitches stand at their natural heights; do not pull the trebles down to match their neighbours, because the height difference is the wave. Before you turn, check: exactly three treble pairs means three whole waves.
Step 3 — The Return Row (The Descent)

Row 2 (WS): Ch 4 (counts as the first tr), tr in the next st, dc in the next 2 sts, hdc in the next 2 sts, sc in the next 2 sts, hdc in the next 2 sts, dc in the next 2 sts, *tr in the next 2 sts, dc in the next 2 sts, hdc in the next 2 sts, sc in the next 2 sts, hdc in the next 2 sts, dc in the next 2 sts; rep from * once more, tr in the last st, turn. (37 sts — 7 tr, 12 dc, 12 hdc, 6 sc)
Row 2 is Row 1 standing on its head: you start on a crest and descend. Check where the stitches land — your 2 sc valley should sit directly over the 2 tr crest of the row below, and your tr pairs over its sc valleys. That stacking is deliberate: shortest stitches fill each crest and tallest fill each valley, which keeps the fabric’s top edge level while the waves snake sideways.
Step 4 — The Offset Row That Makes the Serpentine S-Curve

Row 3 (RS): Ch 1, *sc in the next 2 sts, hdc in the next 2 sts, dc in the next 2 sts, tr in the next 2 sts, dc in the next 2 sts, hdc in the next 2 sts; rep from * twice more, sc in the last st, turn. (37 sts)
Row 4 (WS): Repeat Row 2. (37 sts)
Row 3 is worked exactly like Row 1 — yet the fabric changes character. On Row 1 the crests stood at stitches 7–8, 19–20 and 31–32; on Row 2 they sat at stitches 1–2, 13–14, 25–26 and 37. Because consecutive ridge rows place their crests half a wave (6 stitches) apart instead of stacking them in columns, the peaks zigzag sideways as the rows build, each crest leaning away from the one below. That sideways drift is the whole secret of the serpentine stitch crochet pattern — and Rows 1–4 are the full repeat: every project in this stitch is just those four rows, over and over.
Step 5 — Repeating the Pattern and Changing Colours Cleanly

Repeat Rows 1–4 until the swatch is about 3¼ inches tall, then fasten off. Two habits keep the repeat painless. First, count at the end of every row: 37 stitches, always, with the treble pairs as landmarks — if you end with 36 or 38, checking where each tr pair landed finds the mistake in a minute. Second, end each row as written: ridge rows finish low with a single sc, mirror rows tall with a single tr.
Change colour at the end of every fourth row so each colour gets one full 4-row repeat — that keeps the S-curves symmetrical. To change colour: work the last stitch until two loops remain on the hook, yarn over with the new colour, pull through, turn, and start the next row. Carry the unused colour loosely up the side edge rather than cutting it — the Step 6 edging covers the carried strands.
Step 6 — The Scarf Project: Edging and Finishing

Now use the serpentine stitch crochet pattern for a finished piece. The scarf is two waves wide and worked in 4-row stripes.
Scarf: With teal, ch 26. Work Row 1 exactly as for the swatch but into this shorter chain: sc in the 2nd ch from the hook and in the next ch, hdc in the next 2 ch, dc in the next 2 ch, tr in the next 2 ch, dc in the next 2 ch, hdc in the next 2 ch, *sc in the next 2 ch, hdc in the next 2 ch, dc in the next 2 ch, tr in the next 2 ch, dc in the next 2 ch, hdc in the next 2 ch; rep from * once more, sc in the last ch, turn. (25 sts) Then repeat Rows 2, 3, 4 and 1 (the 4-row repeat) until you have 76 rows: Rows 1–4 teal, 5–8 cream, then alternating, ending with a teal stripe — 19 stripes in total. Every row has 25 sts; the scarf measures about 6¼ × 60 in (16 × 152 cm) before edging.
Edging — Round 1: With teal, join the yarn in any corner stitch. Ch 1, work 25 sc along the top edge, 3 sc in the corner st, 114 sc evenly down the side (work 3 sc for every 2 rows), 3 sc in the corner st, 25 sc along the bottom edge, 3 sc in the corner st, 114 sc evenly up the second side, 3 sc in the corner st, join with a sl st to the first sc. (290 sc)
Edging — Round 2: Ch 1, reverse sc (crab stitch) in every st around, join with a sl st to the first reverse sc, fasten off. (290 sts)
Weave in the ends, then block lightly to about 6¼ × 60 inches. The reverse-sc round gives a firm, corded frame that stops the wavy sides stretching. If scarves are your thing, our crochet mesh scarf pattern is the airy summer counterpart to this cosy version.
Tips for Smooth Waves
- Let the tall stitches be tall. Pull each treble up to its full height instead of crocheting it tight; squashed crests are the number one cause of flat-looking waves.
- Count crests, not stitches. Mid-row, just check the treble pairs — three on a swatch row, two on a scarf ridge row; faster than counting to 37.
- Keep one tension throughout the row. Tightening the short stitches and loosening the tall ones tilts the waves; a steady rhythm fixes it within a few rows.
- Block wavy fabric gently. Pin the valleys, not just the crests, so the S-curves relax evenly.
- Practise on cotton offcuts. A serpentine washcloth is a forgiving first project — our crochet dishcloth patterns show the sizes that work best. Texture lovers will also enjoy the puff texture in our braid stitch slippers tutorial.
Common Mistakes and How to Fix Them
- The waves stack in straight columns instead of snaking. A mirror row was replaced with another ridge row — the crests only offset when Row 2 and Row 4 start tall. Unpick back to the last correct mirror row.
- The side edges creep in or out. Stitches are gained or lost at row ends — usually the final sc or the last tr into the turning chain. Count every row until the habit sticks.
- One wave is wider than the others. A pair got three stitches somewhere — check each group of two as you pass it; waves are symmetrical pairs all the way across.
- The fabric curls into a tube. Your chain was too tight, or the trebles are being pulled down. Remake the chain with a hook one size larger, then switch back for the rows.
Frequently Asked Questions
Is the serpentine stitch crochet pattern good for blankets?
Yes — it is one of the prettiest blanket stitches there is. Chain any multiple of 12 + 2 for the width you want (ch 146 makes a throw about 36 inches wide at the gauge above) and repeat the four rows to length. Our roundup of crochet Christmas blanket patterns shows how striking wave and ripple blankets look in seasonal stripes.
Is this stitch suitable for beginners?
It suits a confident beginner: you need sc, hdc, dc and tr, and the confidence to count in twos. Master the swatch first — if your four-row repeat ends on 37 stitches every time, you are ready for the scarf. If you can count in twos, the serpentine stitch crochet pattern is well within reach.
How much yarn does the scarf use?
About 650 yards of worsted in total — roughly 350 yards main colour, 300 contrast. Tighter tension or extra length can push that up, so buy one extra ball of the main colour in the same dye lot.
Can I work it in one colour?
Absolutely. In a single colour the S-curves read as pure texture — elegant in cream or grey for a throw. Stripes simply make the serpentine path easier to see.
Final Thoughts
Learn the climb, learn the mirror, and this serpentine stitch crochet pattern is yours for life: four rows, four basic stitches. Make the swatch tonight and the scarf this week; a blanket in your own colours will quietly join the queue. The stitch does all the showing off; you just have to count to two.