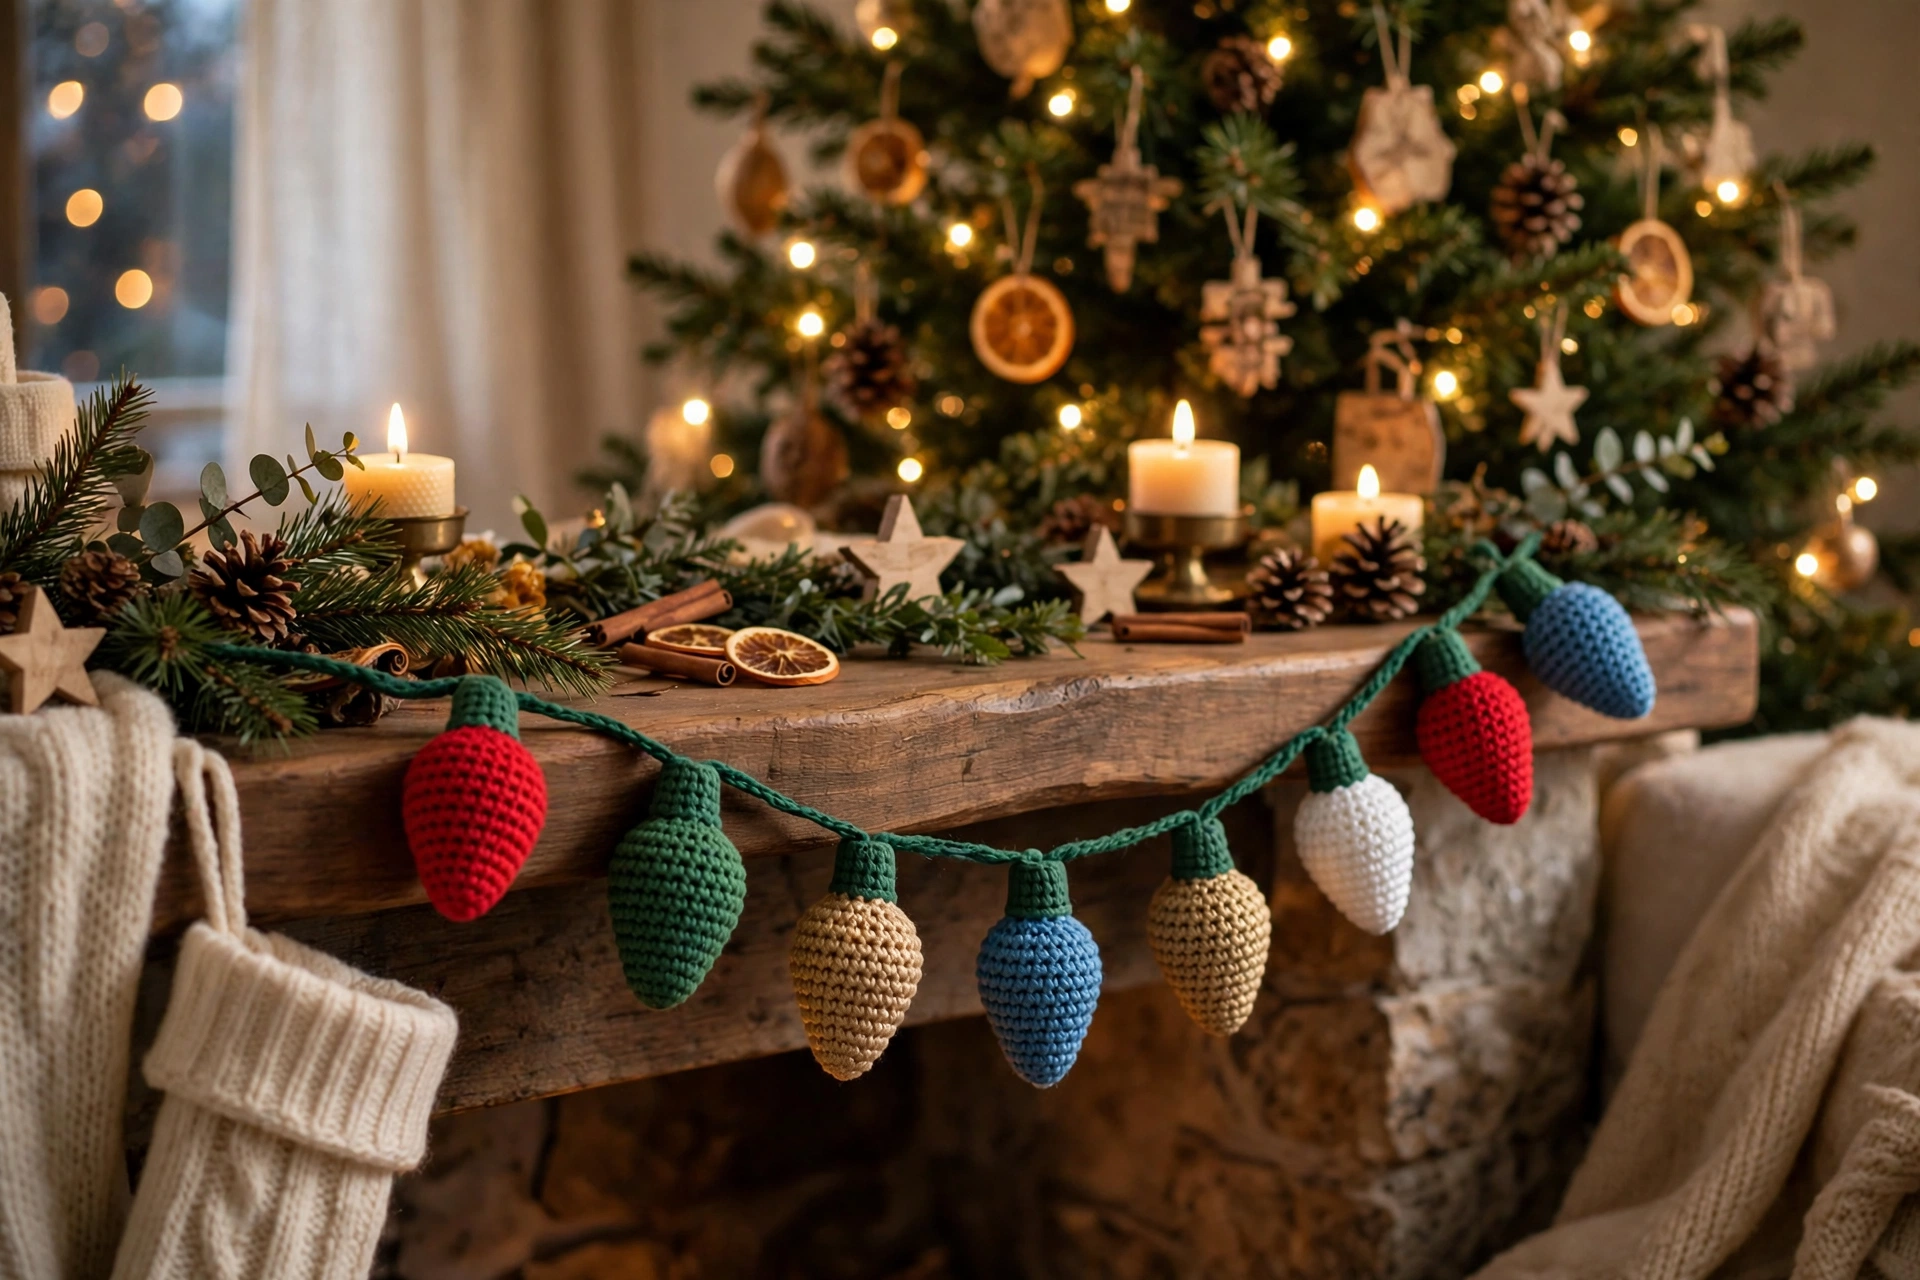
Crochet Christmas Lights: A Colourful Bulb Garland Pattern
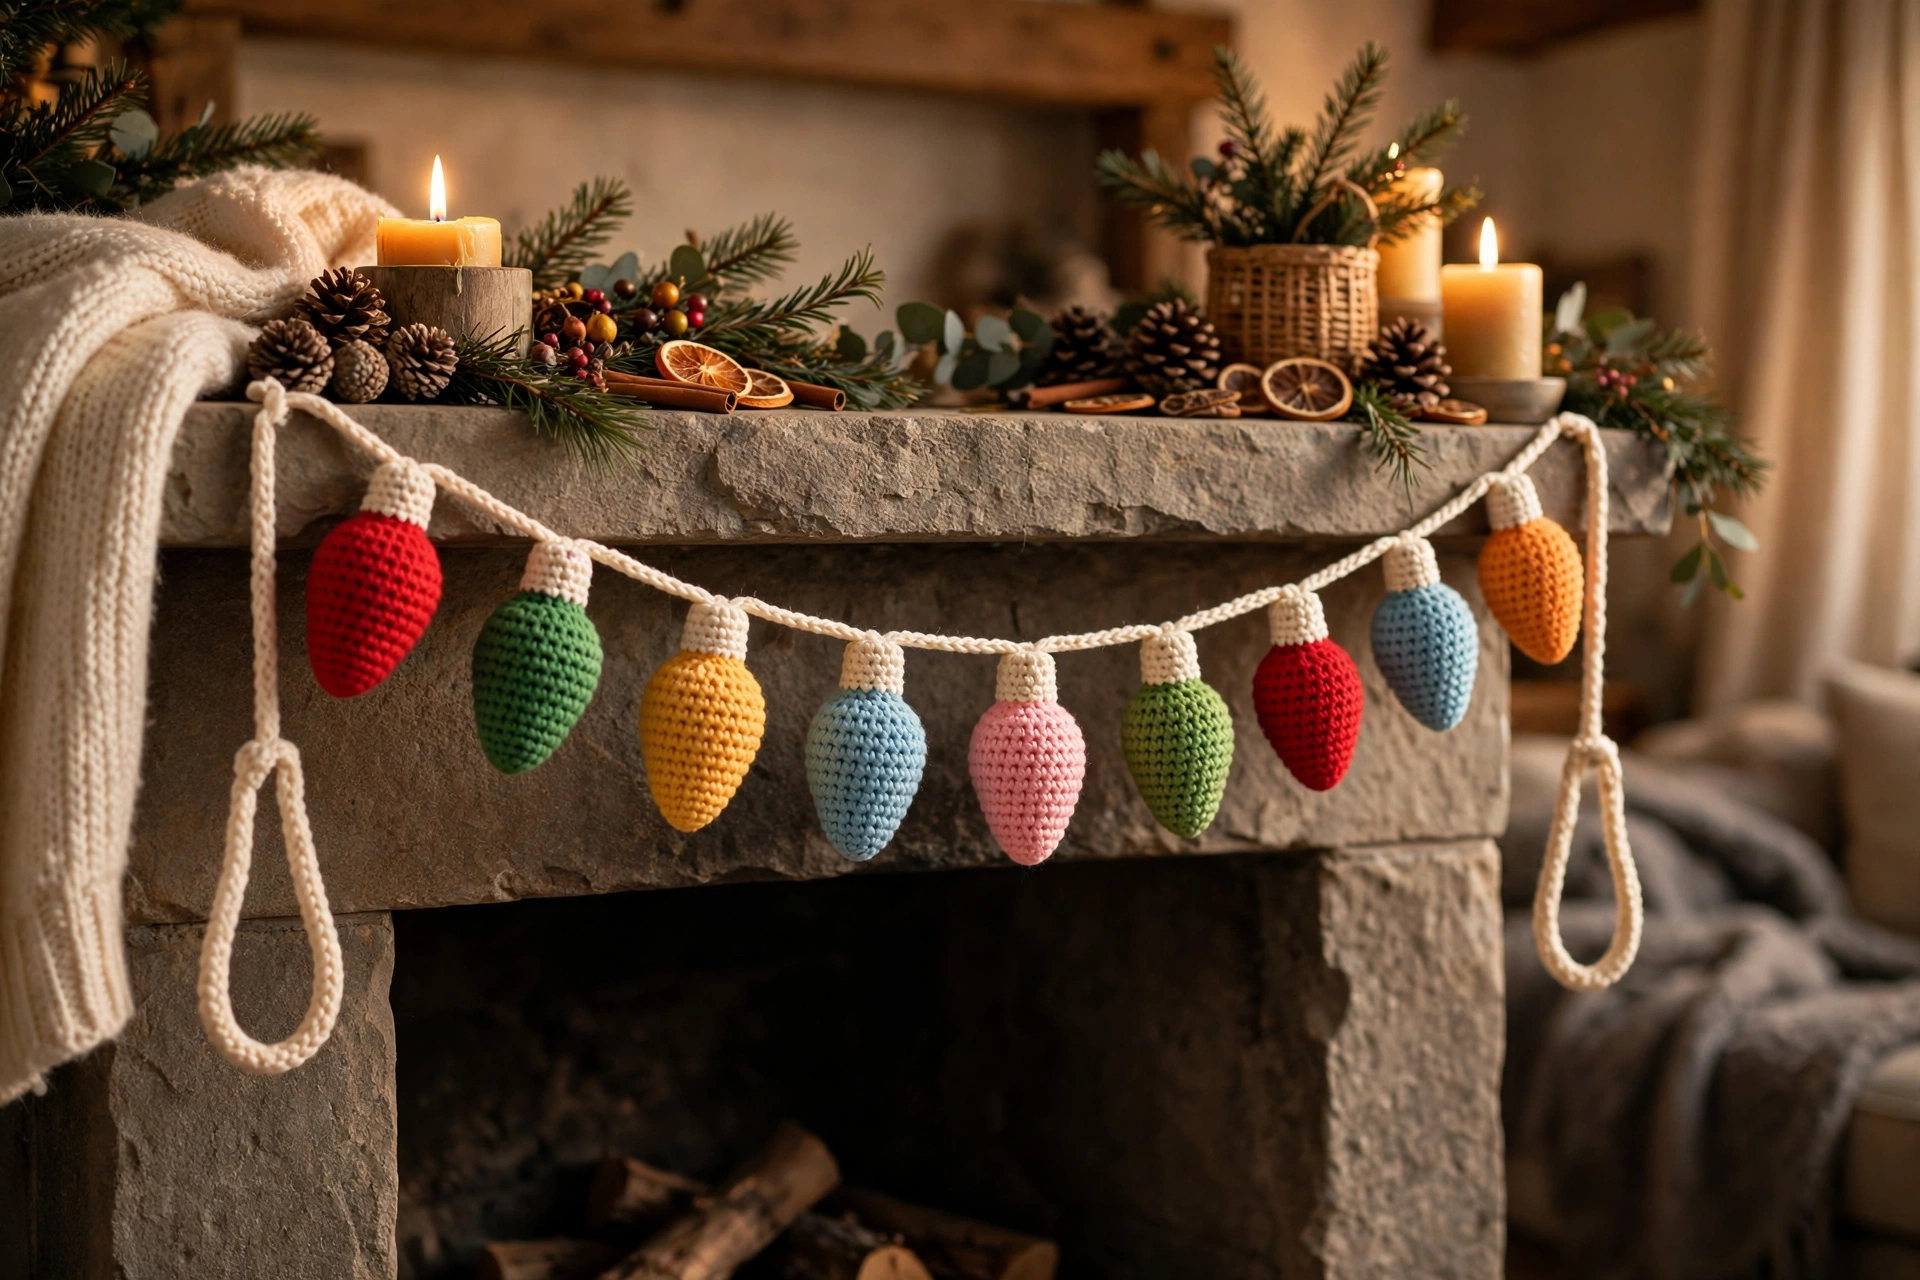
This crochet Christmas lights garland is made from 12 small, teardrop-shaped bulb covers in bright festive colours, each topped with a little cap and strung along a simple crochet cord. It looks wonderful draped along a mantelpiece, shelf, doorway, or Christmas tree branch. Each bulb is worked in the round from tip upward, cap is tiny cylinder worked separately, cord is long chain worked back with slip stitches. Once pieces are made, slip a light inside each bulb, sew cap on, stitch bulbs to cord.
Important Safety Rule
Use battery-operated, cool-touch LED fairy lights only. Never use real glass bulbs, incandescent bulbs, mains-powered lights, or any light that gets warm. Never place garland over a light that gives off heat, never leave switched on unattended, always follow instructions that come with LED lights. Crochet bulbs are covers for cool-touch LED fairy lights only — not a substitute for a light fitting, never use with mains electricity.
Materials
DK weight yarn (light worsted, Category 3) in cotton or acrylic: Bulb colours about 25 g each of 4–5 colours — red, green, gold/yellow, blue, white/cream — about 100–125 g total for 12 bulbs; Green yarn about 30 g for cord, plus about 25 g contrasting shade (dark green or grey) for 12 caps. 3.5 mm crochet hook (US E-4). Tapestry needle, stitch marker, scissors, tape measure. Battery-operated, cool-touch LED fairy lights, about 60 inches long with at least 12 lights — LED/fairy lights only. No stuffing needed: each LED light helps hold shape of bulb cover from inside.
Gauge
With 3.5 mm hook and DK yarn, in single crochet worked in round: 20 stitches and 24 rounds = 4 inches (10 cm). Gauge not critical for decorative garland, but if stitches much looser bulbs will be larger and may slip off lights; if much tighter bulbs may be too small to fit over lights. Check fit after first bulb and adjust hook size if needed.
Finished Size
Garland length approximately 60 inches (5 feet / about 152 cm) long, including 8-inch hanging tail at each end. Each bulb approximately 2 1/4 inches tall including cap, and approximately 1 1/2 inches wide at widest point. Number of bulbs: 12, spaced 4 inches apart, with first and last bulbs 8 inches from ends of cord. If you want longer garland, make more bulbs and lengthen cord, keeping same 4-inch spacing and 8-inch end tails.
Abbreviations (US Terms)
ch — chain; sc — single crochet; inc — increase: work 2 single crochet in same stitch; dec — decrease: single crochet 2 stitches together; sl st — slip stitch; st(s) — stitch(es); rep — repeat; [ ] — work instructions inside brackets number of times stated. Work in continuous spiral unless stated otherwise, move stitch marker up at start of each round.
Pattern — Bulb Body (Make 12)
Work each bulb in chosen bulb colour. Start at closed tip and work upward to open top. Round 1: Work 6 sc in magic ring. (6 sts). Round 2: Inc in each st around. (12 sts). Round 3: [1 sc, inc] 6 times. (18 sts). Round 4: [2 sc, inc] 6 times. (24 sts).
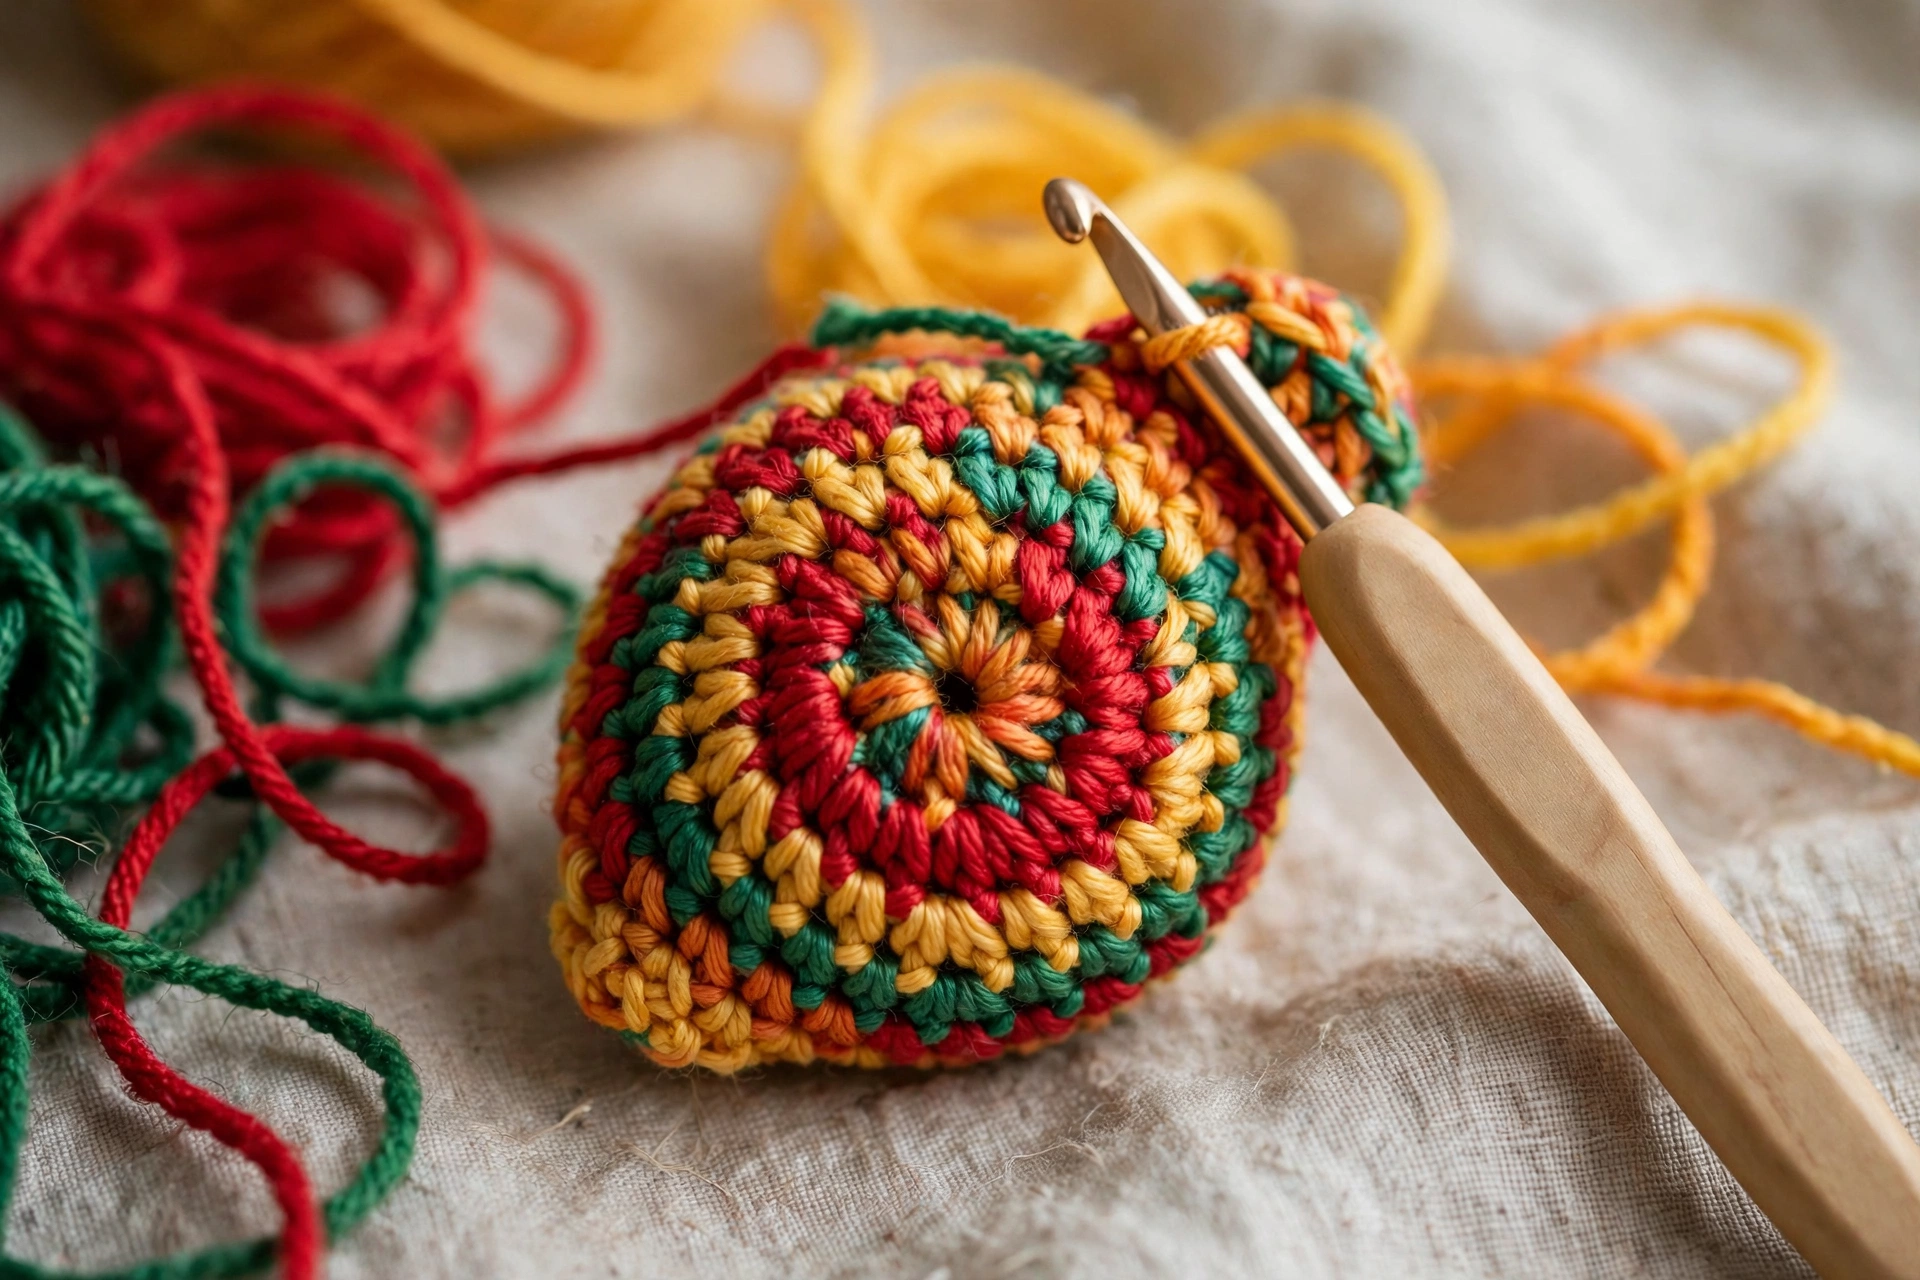
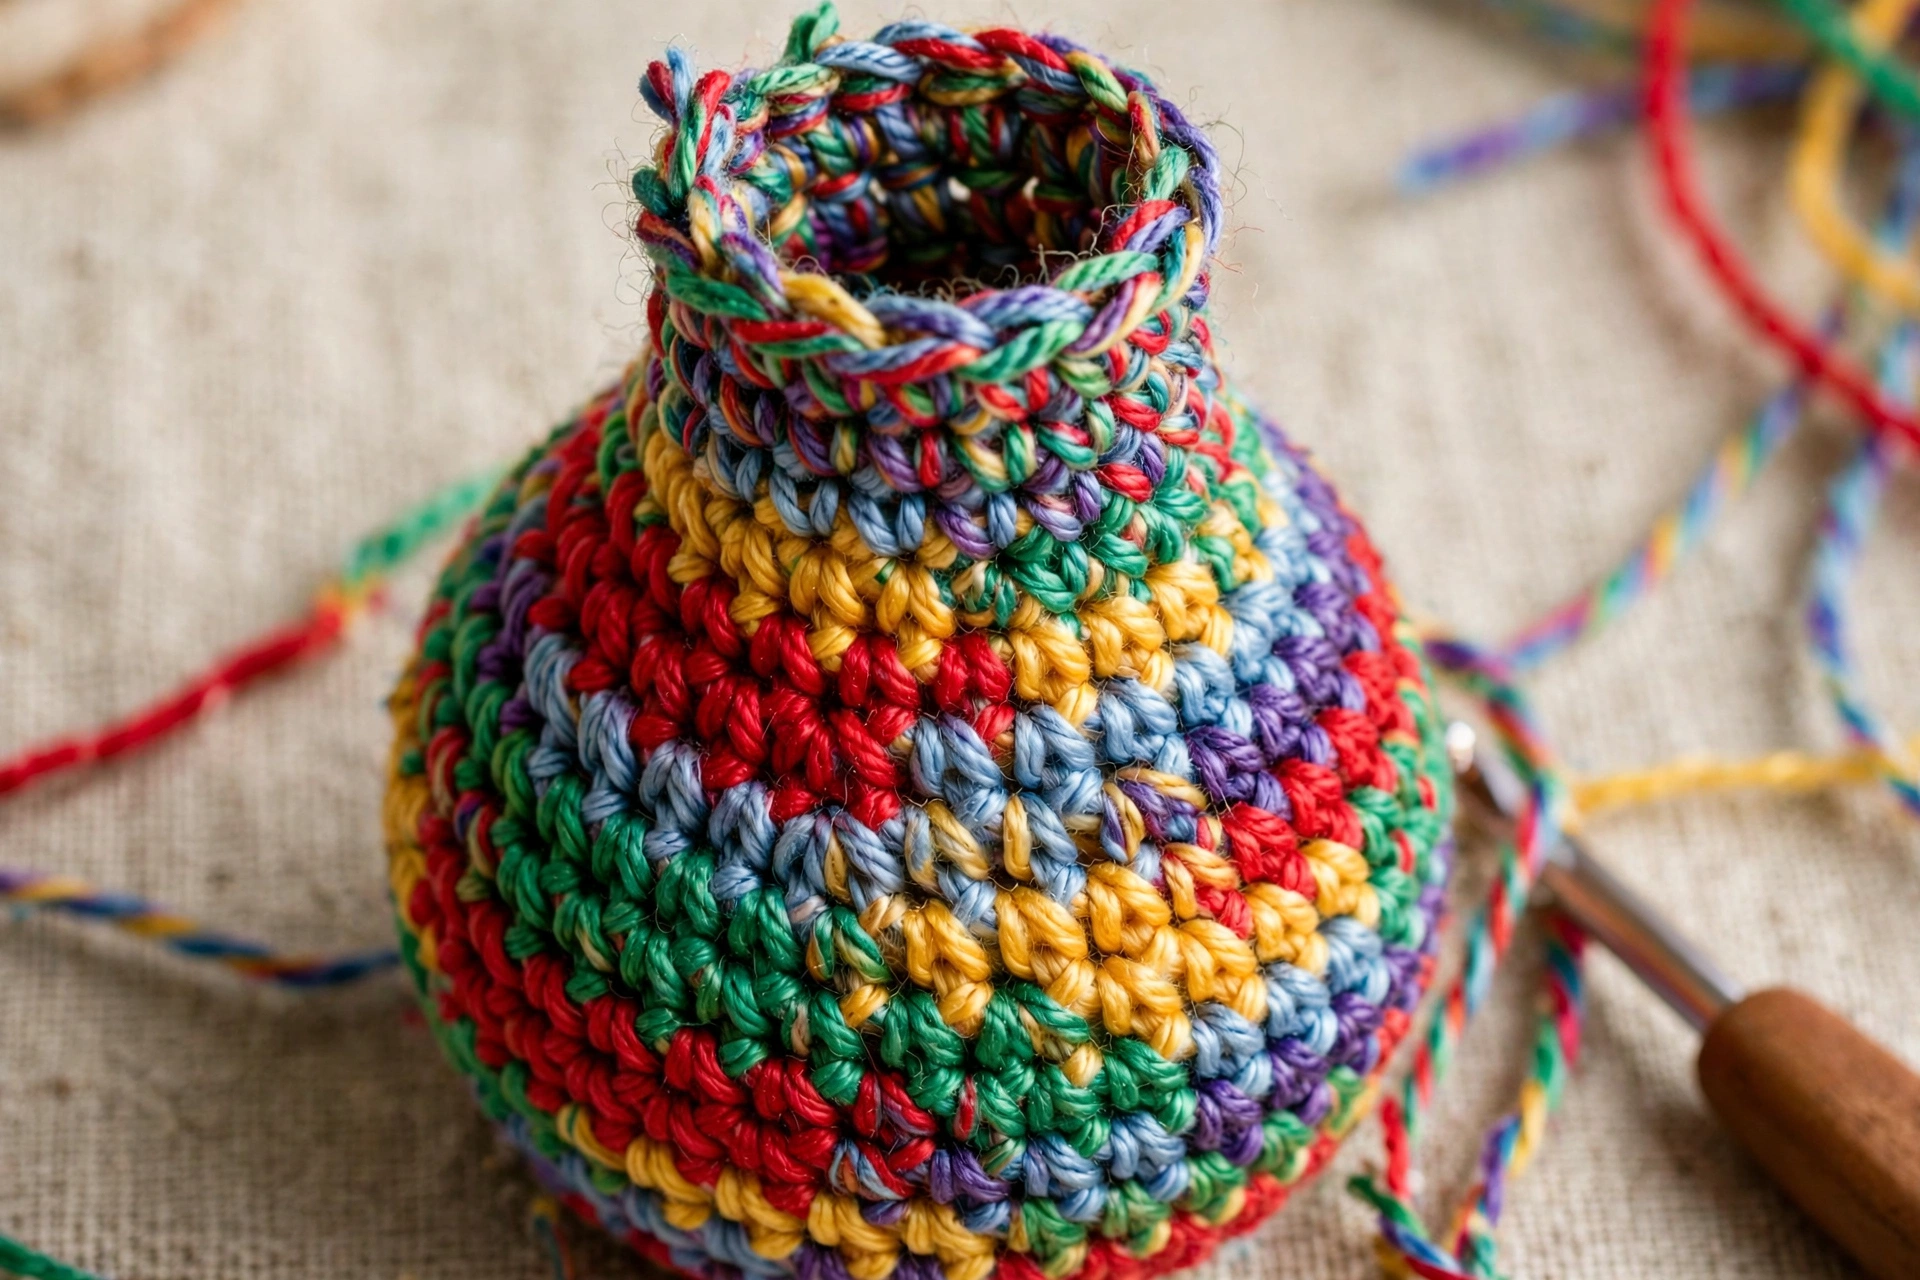
Round 5: 1 sc in each st around. (24 sts). Round 6: 1 sc in each st around. (24 sts). Round 7: 1 sc in each st around. (24 sts). Round 8: [2 sc, dec] 6 times. (18 sts). Round 9: 1 sc in each st around. (18 sts). Round 10: [1 sc, dec] 6 times. (12 sts). Round 11: 1 sc in each st around. (12 sts). Fasten off, leaving top open. Weave in starting tail at tip, leave top edge open — opening LED light will slip through. Repeat to make 12 bulb bodies total, e.g. 3 red, 3 green, 2 gold/yellow, 2 blue, 2 white/cream.
Bulb Cap (Make 12)
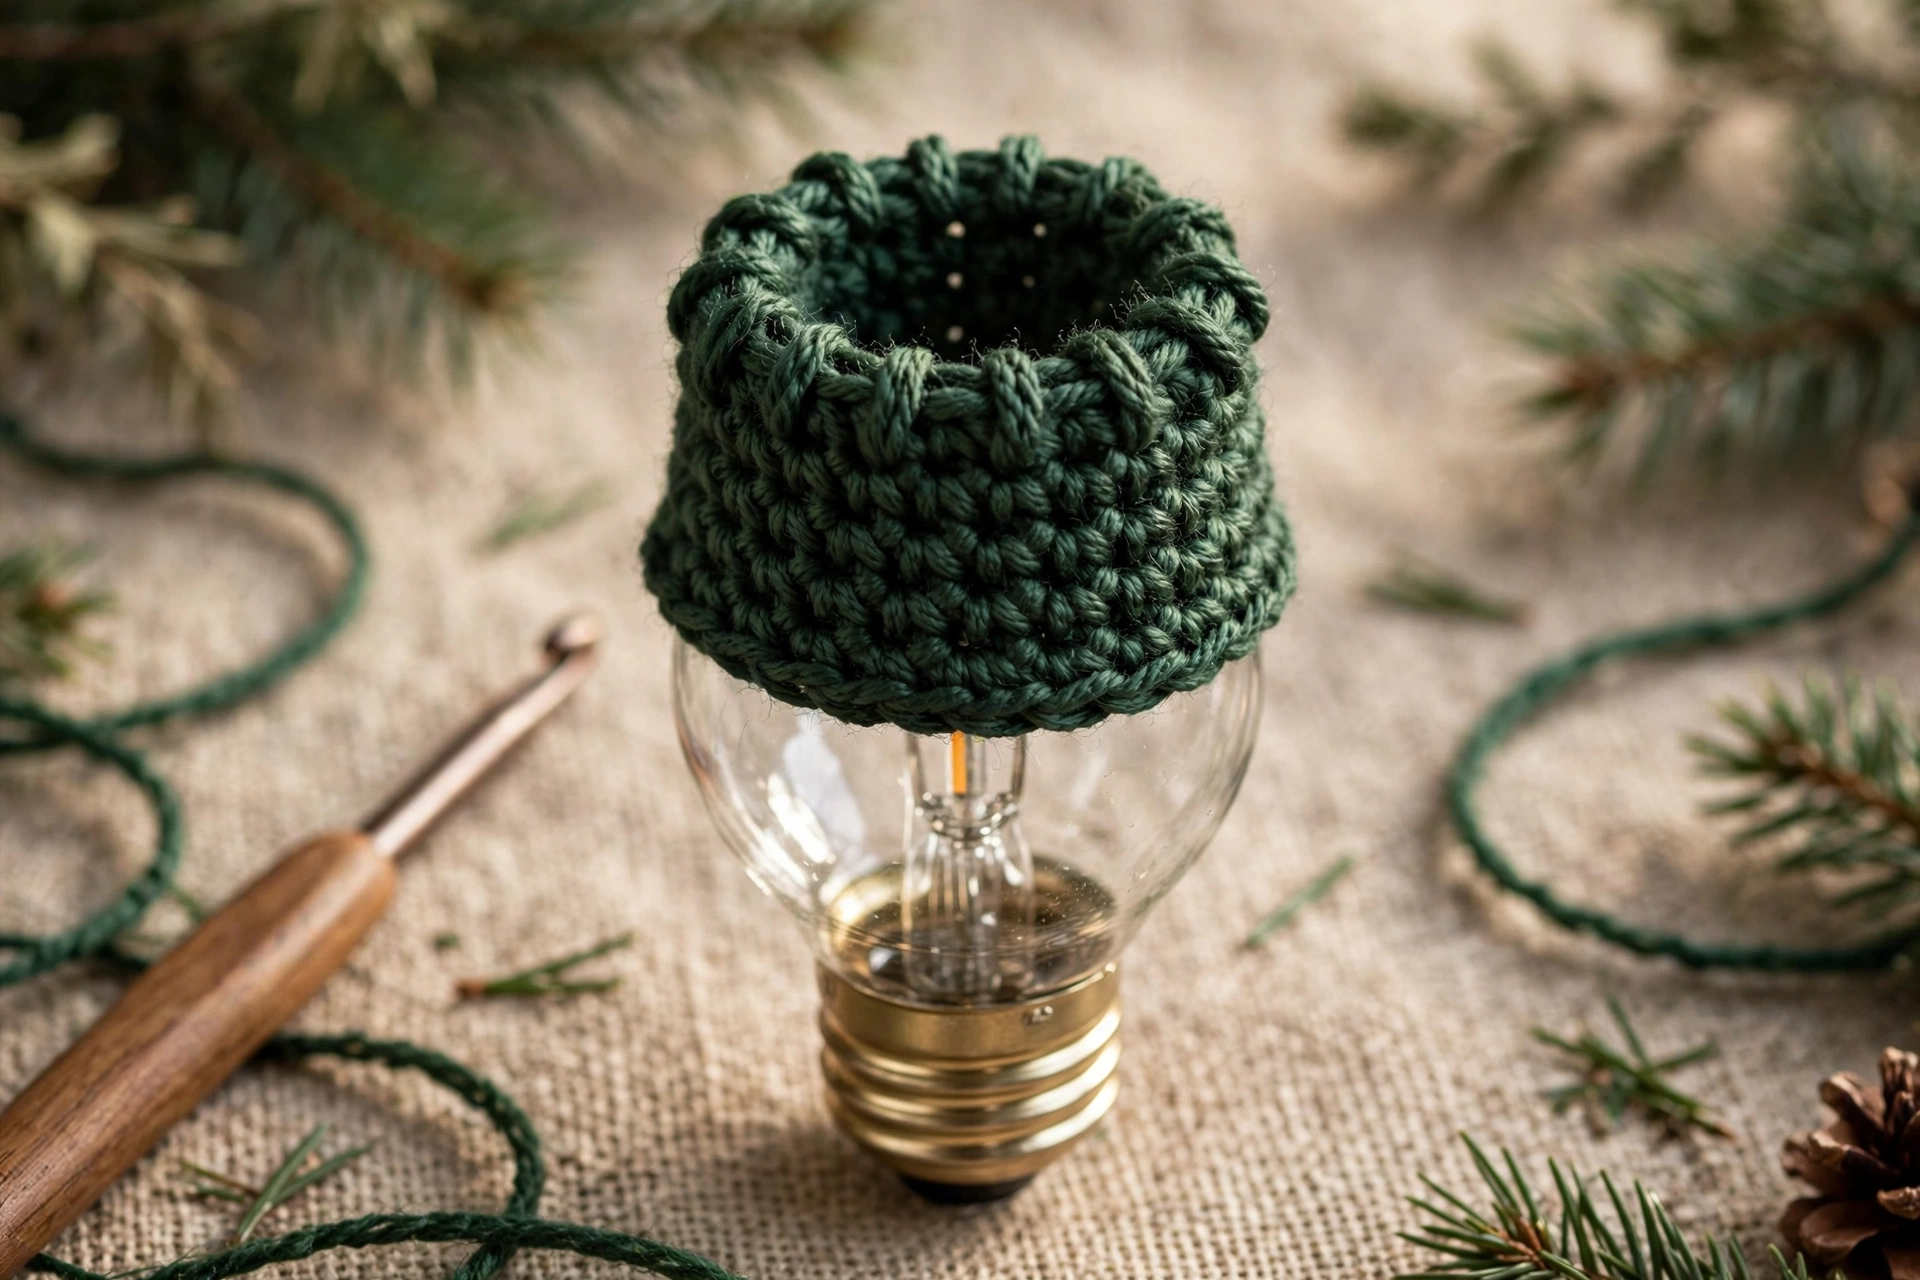
Work each cap in dark green or grey. Cap sits over open top of bulb. Round 1: Work 6 sc in magic ring. (6 sts). Round 2: Inc in each st around. (12 sts). Round 3: 1 sc in each st around. (12 sts). Round 4: 1 sc in each st around. (12 sts). Fasten off, leaving long tail (about 12 inches) for sewing cap to bulb. Repeat to make 12 caps.
Garland Cord (Make 1)
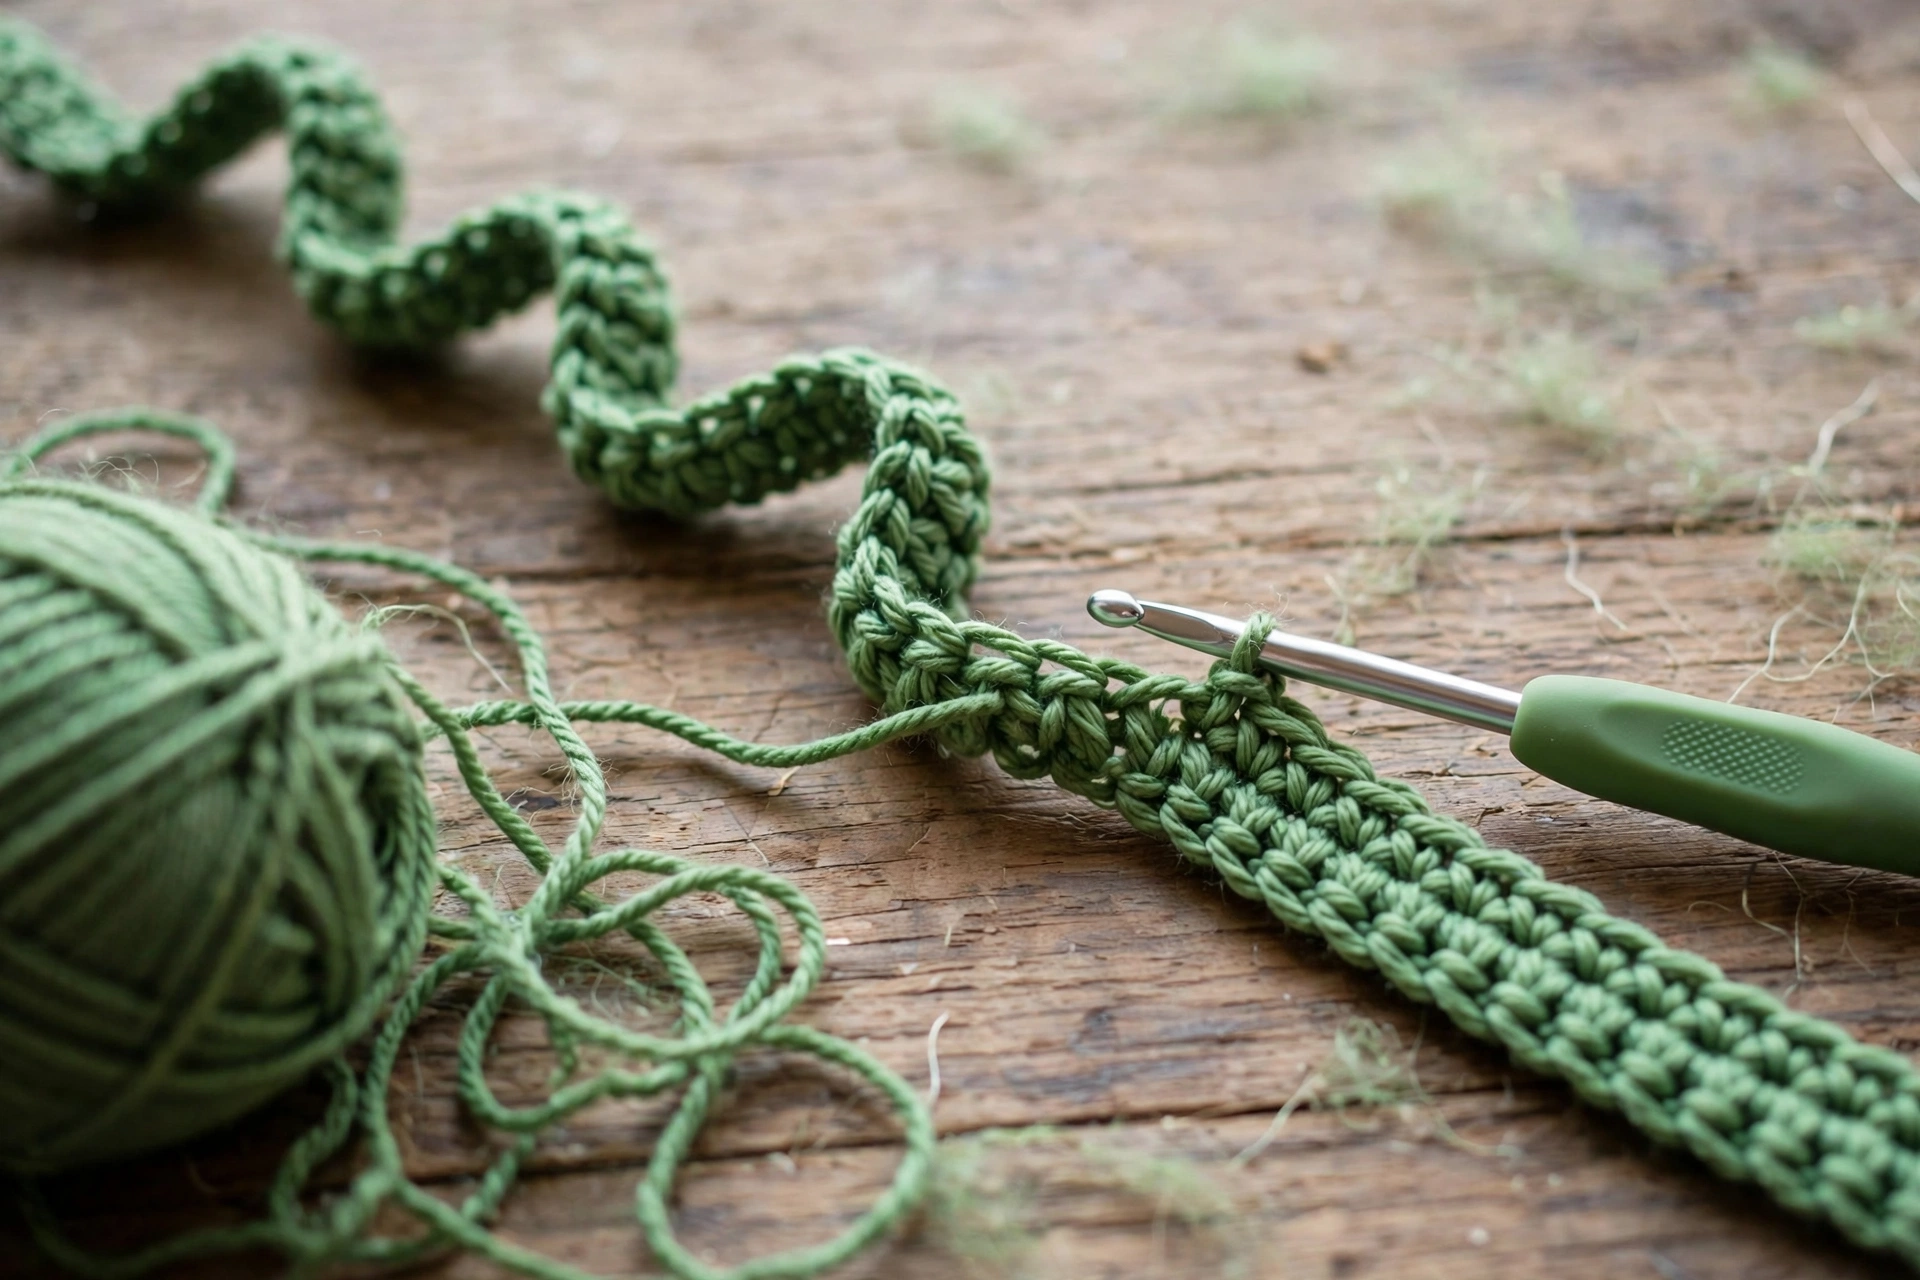
Work cord in green yarn. Row 1: Ch 210. Row 2: Sl st in 2nd ch from hook and in each ch across. (209 sl sts). Fasten off, leaving 6-inch tail at each end. Finished cord measures approximately 60 inches long. Do not stretch hard when measuring — lay flat and let relax.
Finishing and Assembly
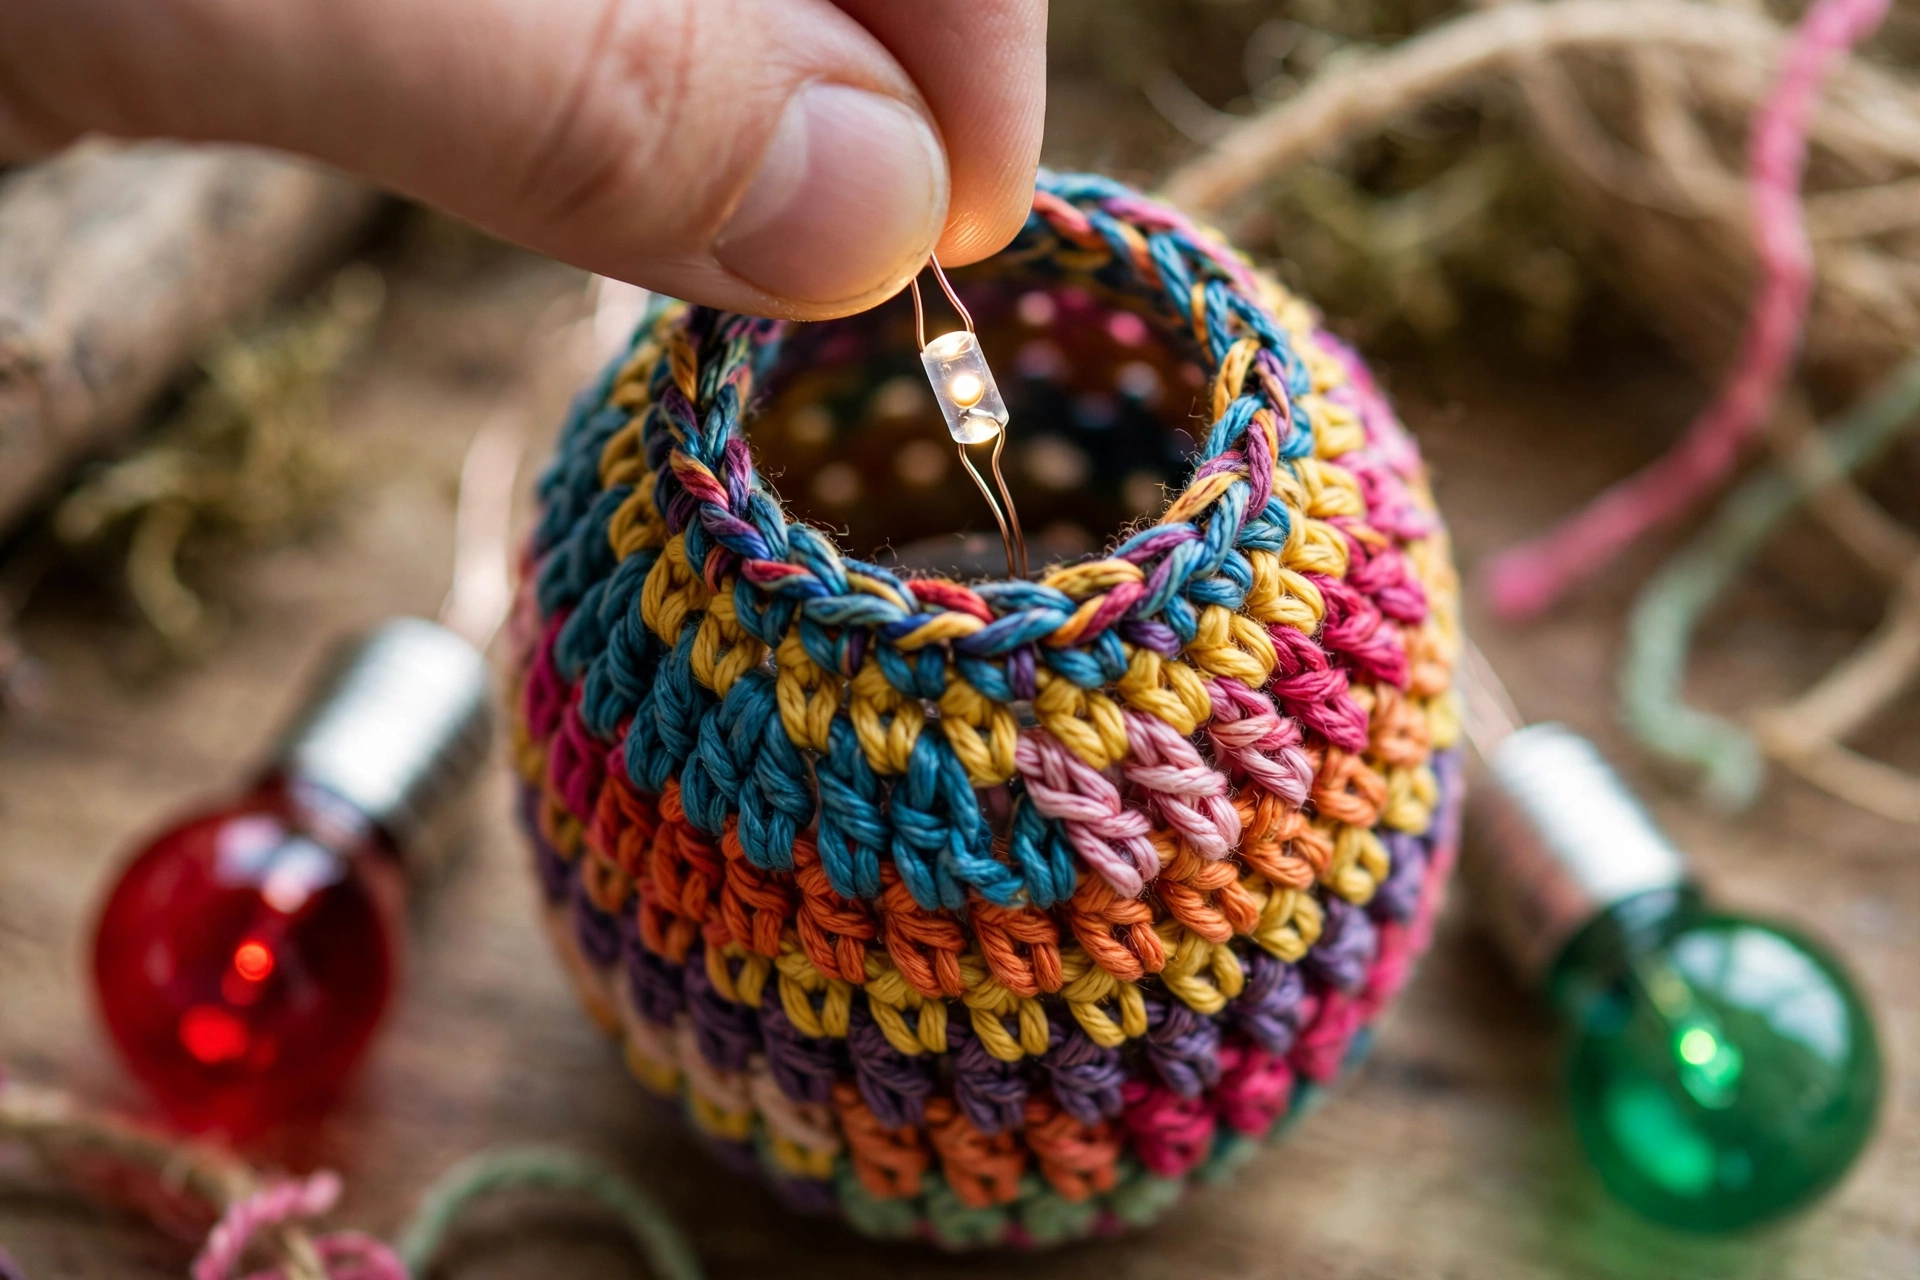
1. Check fit: Slip one cool-touch LED light into bulb body through 12-stitch opening at top. Bulb should fit snugly without stretching hard or slipping off. If too tight, remake bulb with slightly larger hook; if too loose, slightly smaller hook. 2. Lay out cord: Lay cord flat. Mark position of first bulb 8 inches from one end, then mark position every 4 inches after that, until marked 12 positions. Last bulb should sit 8 inches from other end: 8 + (11 gaps × 4) + 8 = 60 inches total. 3. Fit lights: Working along LED fairy-light string in order, slip one LED light into each bulb body.
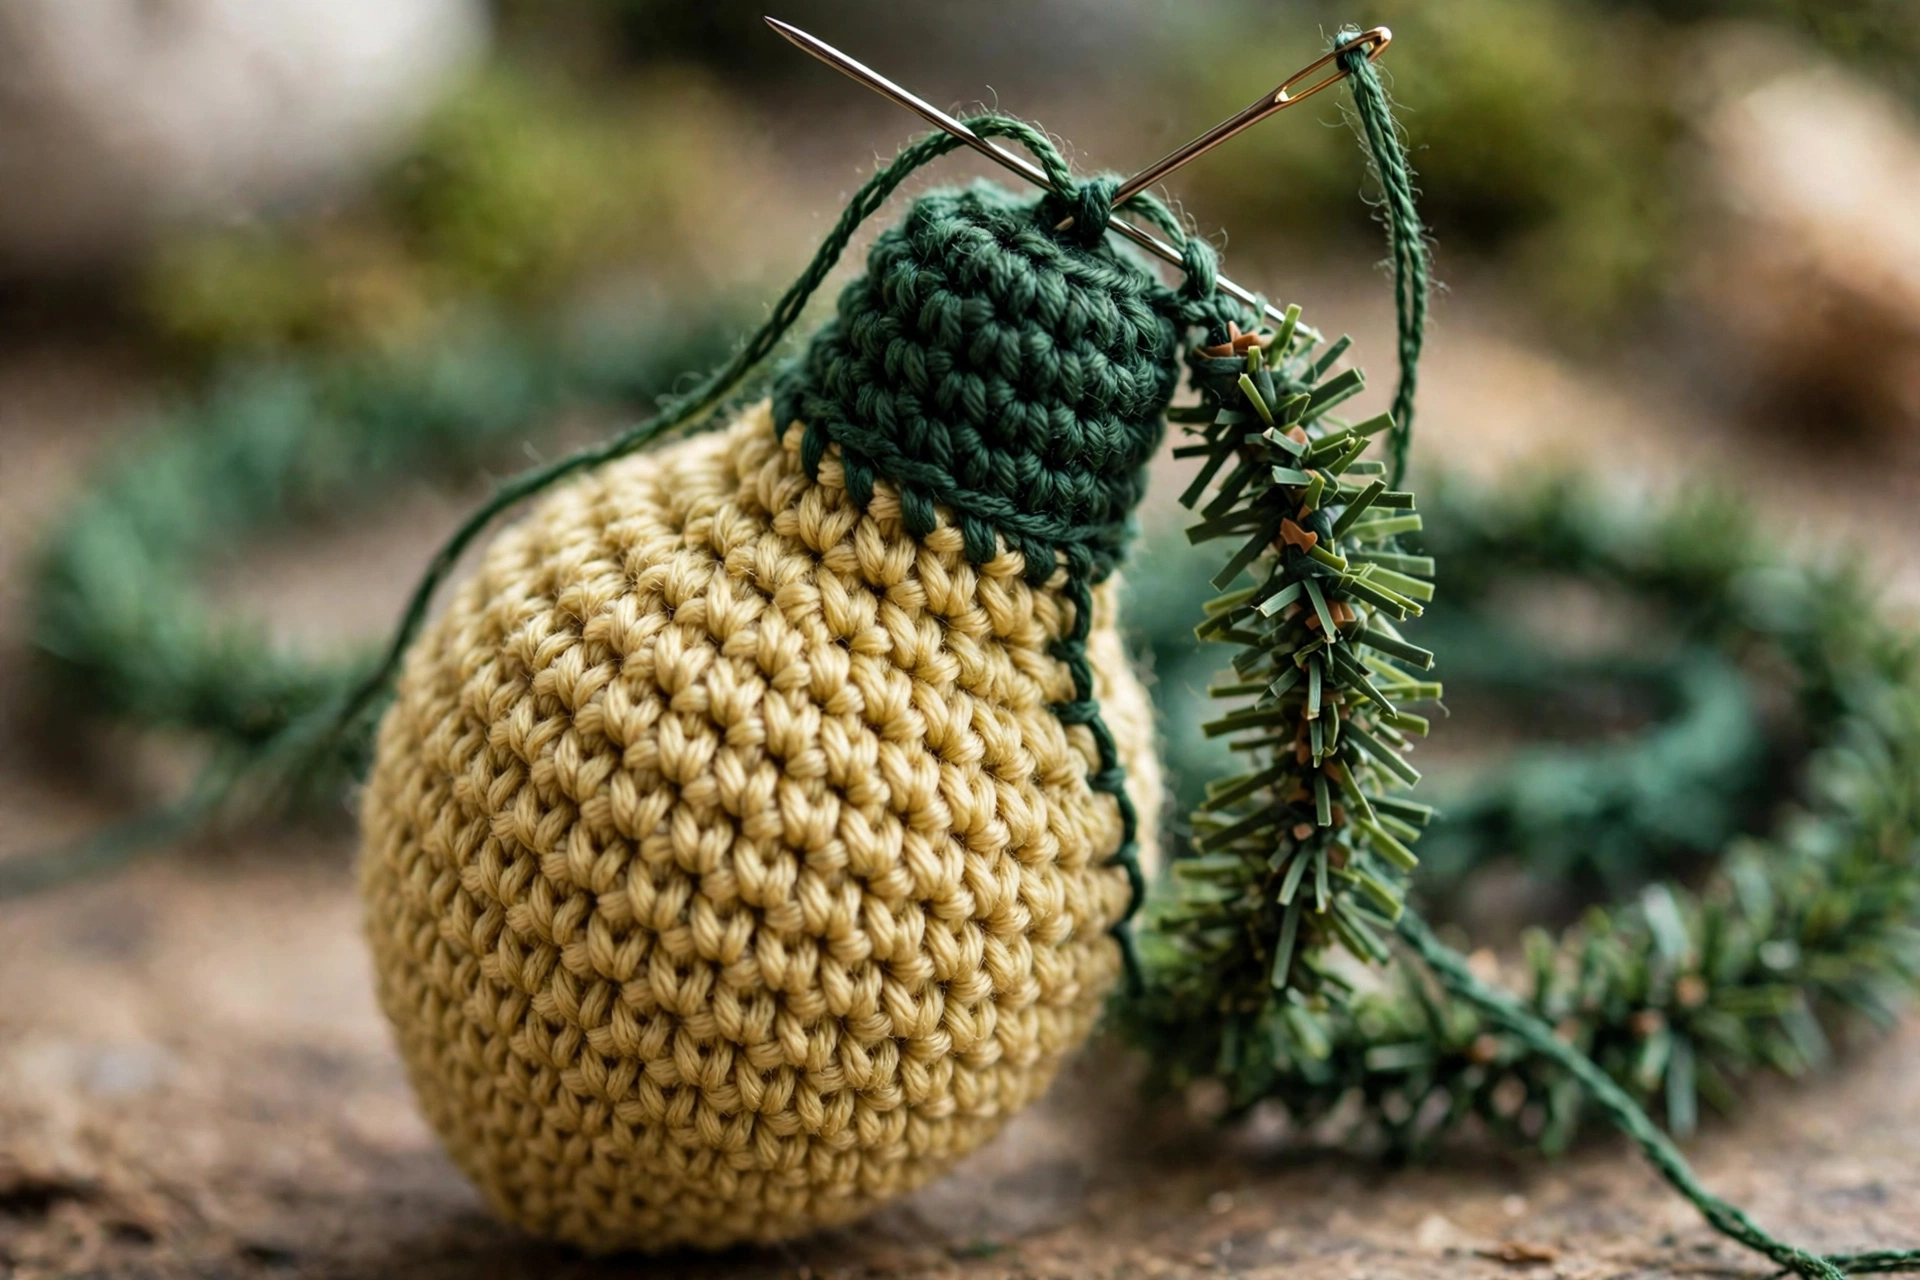
4. Sew on caps: Place cap over open top of bulb, so cap covers opening and wire of fairy lights comes out from under edge of cap. Using long tail left on cap and tapestry needle, whipstitch cap to top round of bulb all way around, catching garland cord in few stitches at top so bulb hangs from cord at marked position. Repeat for all 12 bulbs, keeping bulbs in same order along both cord and fairy-light string.
5. Tidy ends: Weave in all remaining yarn ends except cord tails. At each end of cord, fold last 2 inches back and stitch down to form small hanging loop, or simply tie knot and leave tail for tying garland in place. Trim loose ends. 6. Check before hanging: Switch LED lights on and check every light is cool to touch and no bulb is squashed or pulling hard on wire. Hang garland by end loops or ties, keeping battery pack accessible at one end. Never hang where it could contact heat, open flame, or mains light fitting.
Tips
Keep tension even — firm even tension helps bulbs hold teardrop shape; if first bulb floppy try 3.25 mm hook, if stiff try 4 mm. Use stitch marker every round, especially Rounds 5–7 where count stays at 24. Plan colour order before sewing — lay finished bulbs out along cord in chosen order and check sequence balanced. Do not over-stuff or force lights — LED light inside is enough to support bulb. Make spare bulb — practice bulb first to check gauge and fit, keep as spare. Store flat — remove batteries, store garland flat or loosely coiled, not hanging stretched out.
FAQ
Can I use different yarn weight? Yes, but finished size will change; thicker yarn larger hook larger bulbs, thinner yarn smaller hook smaller bulbs; always check finished bulb still fits snugly over cool-touch LED light before making all 12. Can I make garland longer or shorter? Yes, keep spacing 4 inches between bulbs and 8 inches at each end, add or remove bulbs in pairs so colour sequence stays balanced, lengthen/shorten cord to match: each extra bulb needs about 4 inches extra cord. Can I use garland without lights? Yes, without lights bulbs will be softer and flatter, but garland still looks pretty as plain crochet decoration; sew caps on and stitch bulbs to cord same way, skipping fitting lights. Can I wash garland? Remove LED fairy lights first if you can, or make version without lights for washing; hand wash gently in cool water, reshape bulbs while damp, lay flat to dry; do not machine wash garland with lights attached, never put battery pack or lights in water. Is garland safe to leave on overnight? No — as with any decorative lights, do not leave switched on unattended or overnight; use battery-operated cool-touch LED fairy lights only, check lights regularly, switch off when leave room or go to bed.