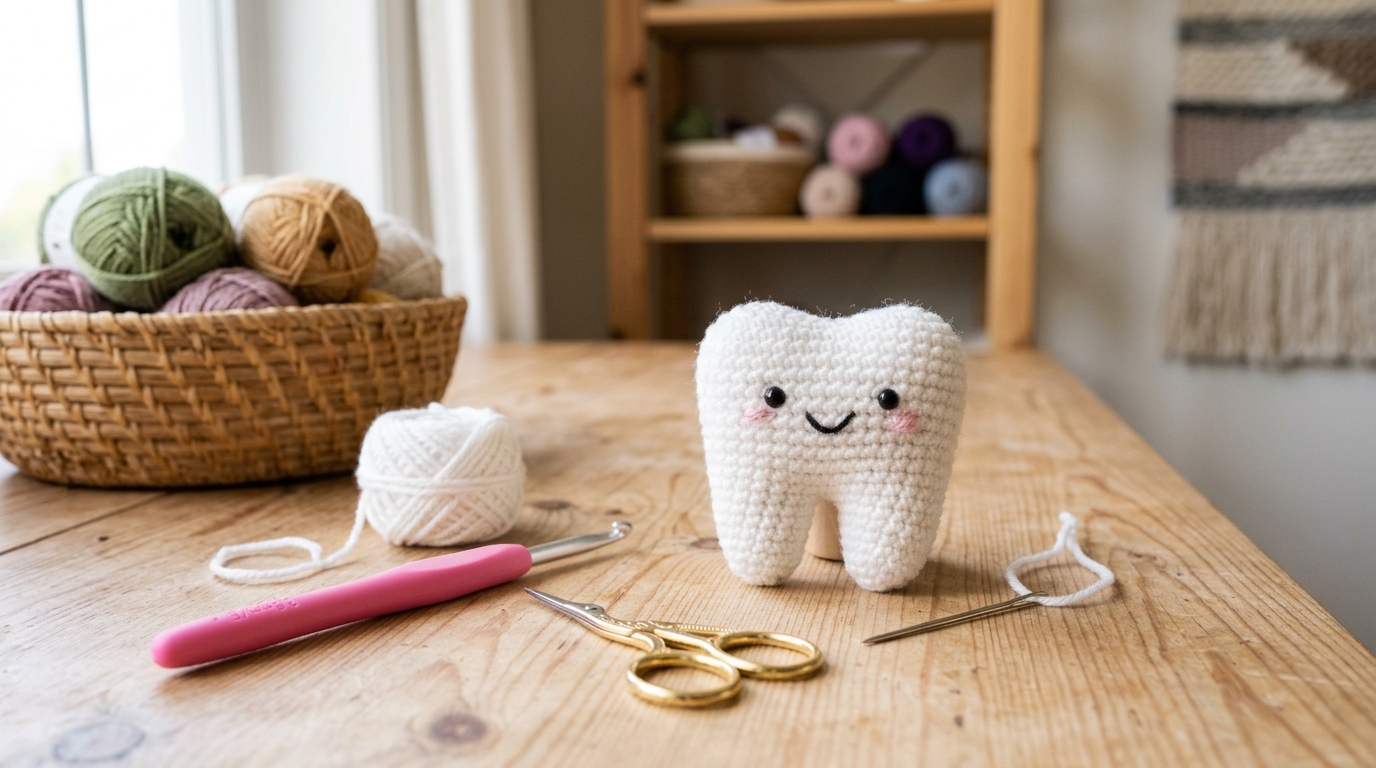
Looking for a quick and fun crochet project? This crochet tooth applique is a beginner-friendly design that’s perfect for decorating backpacks, pencil cases, baby blankets, dental office gifts, classroom displays, and handmade accessories. It works up quickly, uses only a small amount of yarn, and is an excellent stash-busting project.
The simple shaping technique makes it easy to achieve a realistic tooth silhouette while still leaving plenty of room for customization. Add embroidered eyes, a smiling face, rosy cheeks, or even tiny bows to create a playful character that’s perfect for kids and themed gifts.
Whether you’re making a thoughtful present for a dentist, creating educational decorations, or simply looking for a unique crochet applique, this free pattern is a great project to add to your collection.
Skill Level
Beginner
This project uses simple crochet stitches and straightforward shaping, making it ideal for anyone comfortable with basic crochet techniques.
Materials You’ll Need
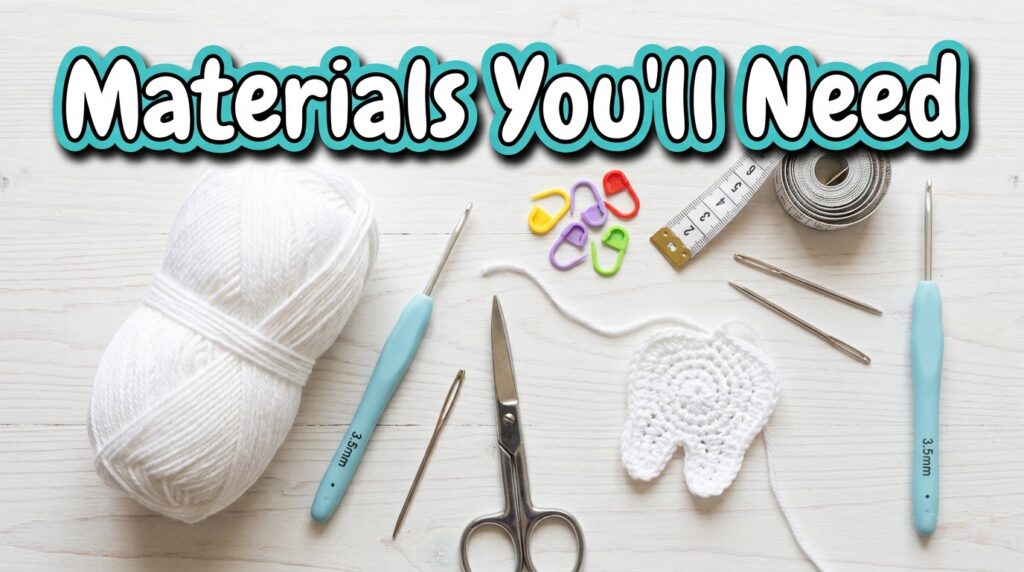
- Lightweight acrylic yarn in white
- 3.5 mm crochet hook
- Yarn needle
- Scissors
- Stitch marker (optional)
- Small buttons or embroidery thread for facial details (optional)
Finished Size
The finished applique is approximately palm-sized, although the final dimensions will vary depending on your yarn weight and crochet tension.
Crochet Abbreviations
- ch – Chain
- sc – Single Crochet
- hdc – Half Double Crochet
- dc – Double Crochet
- sl st – Slip Stitch
- inc – Increase
- dec – Decrease
Step 1: Create the Tooth Base
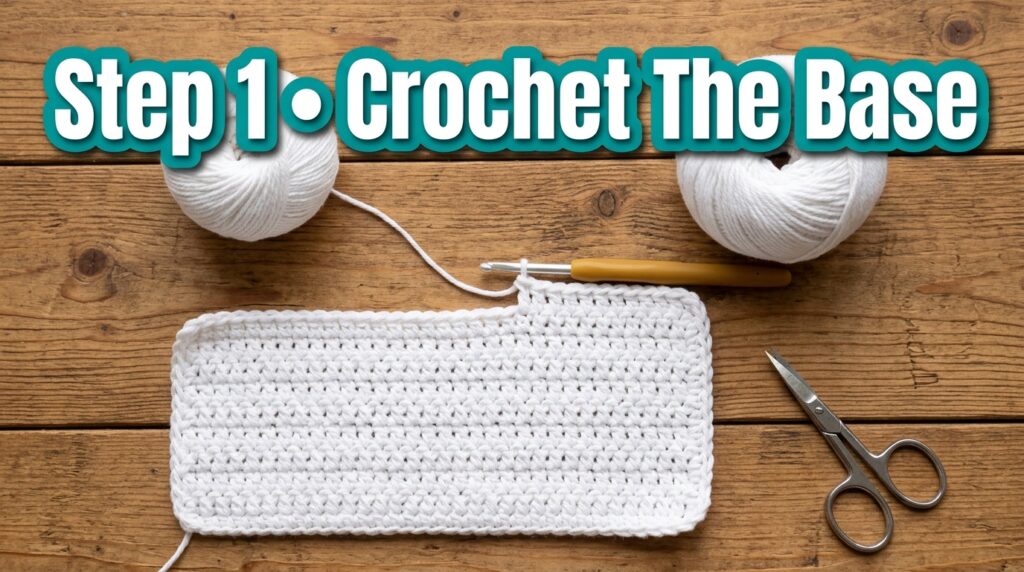
Begin with a slip knot and chain 14.
Row 1
Work 1 single crochet into the second chain from the hook and continue with single crochet across.
13 stitches
Chain 1 and turn.
Row 2
Increase in the first stitch.
Work single crochet across the middle stitches.
Finish with another increase in the final stitch.
15 stitches
Chain 1 and turn.
Rows 3–4
Crochet one single crochet in every stitch across.
These rows create the rounded top portion of the tooth.
Step 2: Shape the Tooth
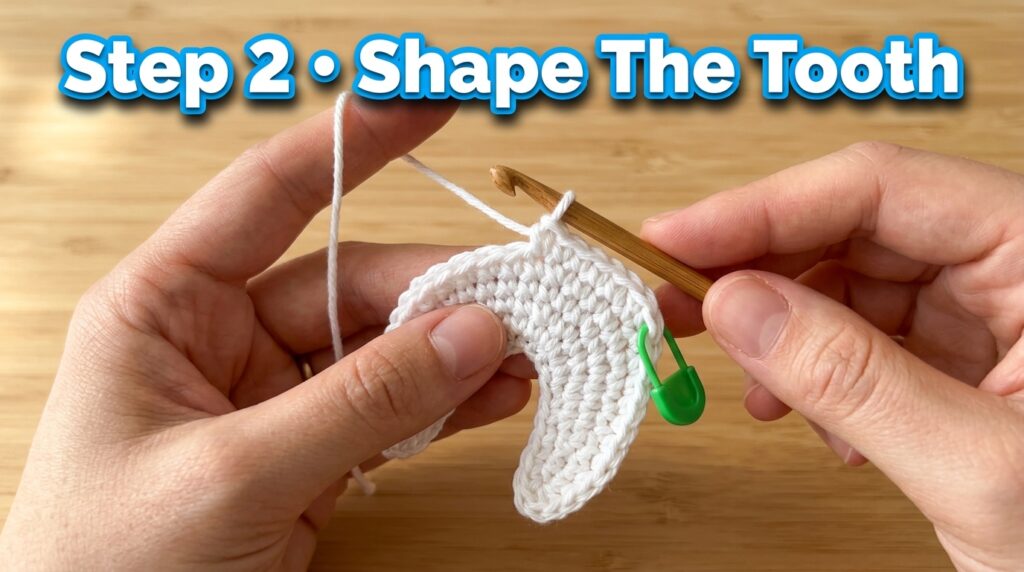
Now begin narrowing the sides to create the natural tooth shape.
Row 5
- Decrease at the beginning
- Single crochet across the center stitches
- Finish with another decrease
13 stitches
Row 6
Repeat the shaping:
- Beginning decrease
- Single crochet across
- Ending decrease
11 stitches
Row 7
Repeat once more.
9 stitches
Rows 8–9
Work evenly across without increasing or decreasing.
These rows help define the lower body before forming the roots.
Step 3: Crochet the First Root
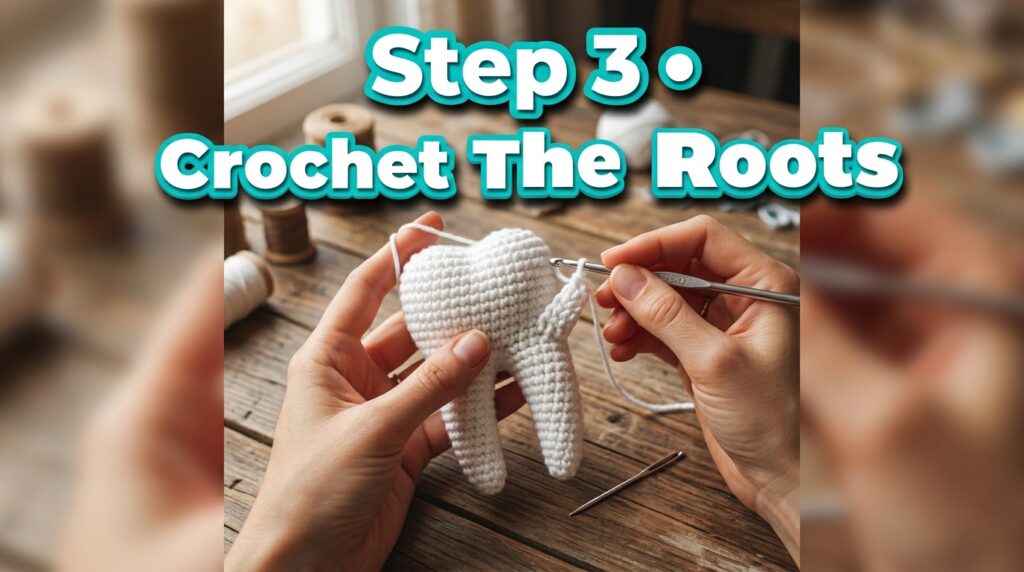
Increase at both ends of the next row to widen the root section slightly.
Continue working straight rows until the first root reaches your desired length.
To taper the tip:
- Skip the first stitch
- Crochet across the remaining stitches
- Repeat once more
- Fasten off neatly
The first root should now have a slightly rounded, natural appearance.
Step 4: Make the Second Root
Without starting a completely new piece, continue along the opposite side of the base.
Work several slip stitches down the edge before crocheting the second root.
Repeat the same process used for the first root:
- Crochet straight rows
- Shape the tip with small decreases
- Fasten off securely
Try to keep both roots approximately the same length for a balanced finish.
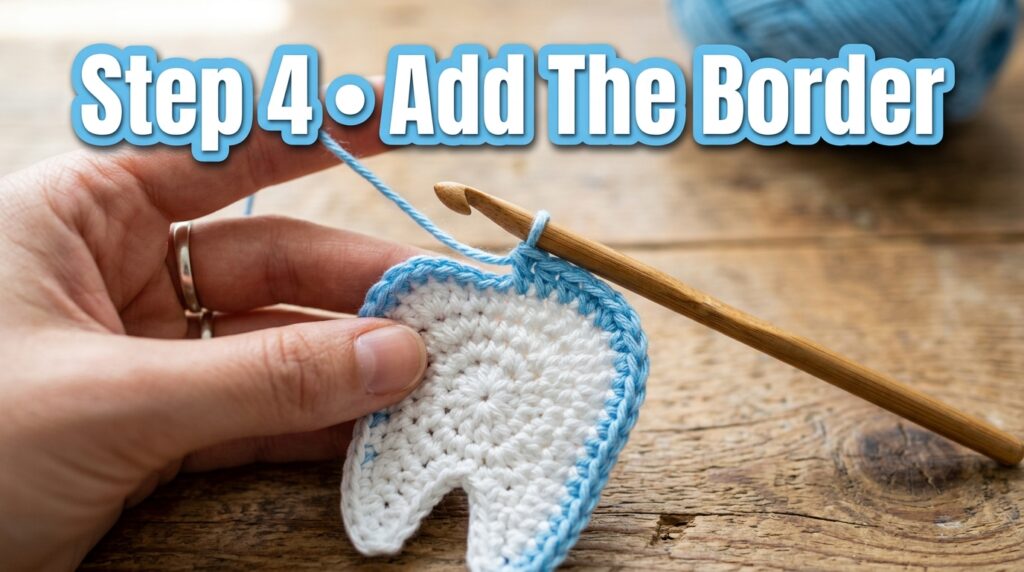
Step 5: Add the Border
To smooth the entire applique, crochet a border around the outside.
Use mostly single crochet stitches.
Around the curved top, combine:
- Single Crochet
- Half Double Crochet
- Double Crochet
- Slip Stitch
Mixing these stitches creates a smooth rounded edge and gives the tooth a clean professional finish.
Join with a slip stitch and weave in all loose yarn ends.
Step 6: Decorate Your Tooth
This is where you can get creative.
You can embroider:
- Cute smiling face
- Closed sleepy eyes
- Rosy cheeks
- Tiny eyelashes
Or decorate with:
- Mini buttons
- Bows
- Flowers
- Colorful embroidery
Every applique can have its own unique personality.
Creative Ways to Use This Applique
This little crochet tooth can be used for many fun projects:
- Backpack patches
- Pencil case decorations
- Children’s clothing
- Baby blankets
- Wall décor
- Dentist office decorations
- Tooth Fairy gifts
- Educational classroom displays
- Scrapbooking projects
- Handmade greeting cards
Helpful Tips
- Keep your stitches fairly tight to maintain a crisp shape.
- White yarn gives the most realistic finish, but pastel colors create adorable decorative versions.
- Blocking the finished applique helps smooth the edges.
- Weave in yarn tails securely since small appliques are handled frequently.
Final Thoughts
This Crochet Tooth Applique Pattern is a simple yet creative project that works up quickly and uses very little yarn. Despite its small size, it offers countless possibilities for personalization, making it a wonderful addition to gifts, educational crafts, and decorative crochet projects.
Whether you’re making one for a child, a dental professional, or simply adding something fun to your handmade collection, this beginner-friendly applique is both enjoyable to crochet and rewarding to finish.