Easy Crochet Gummy Bear Pattern for Beginners
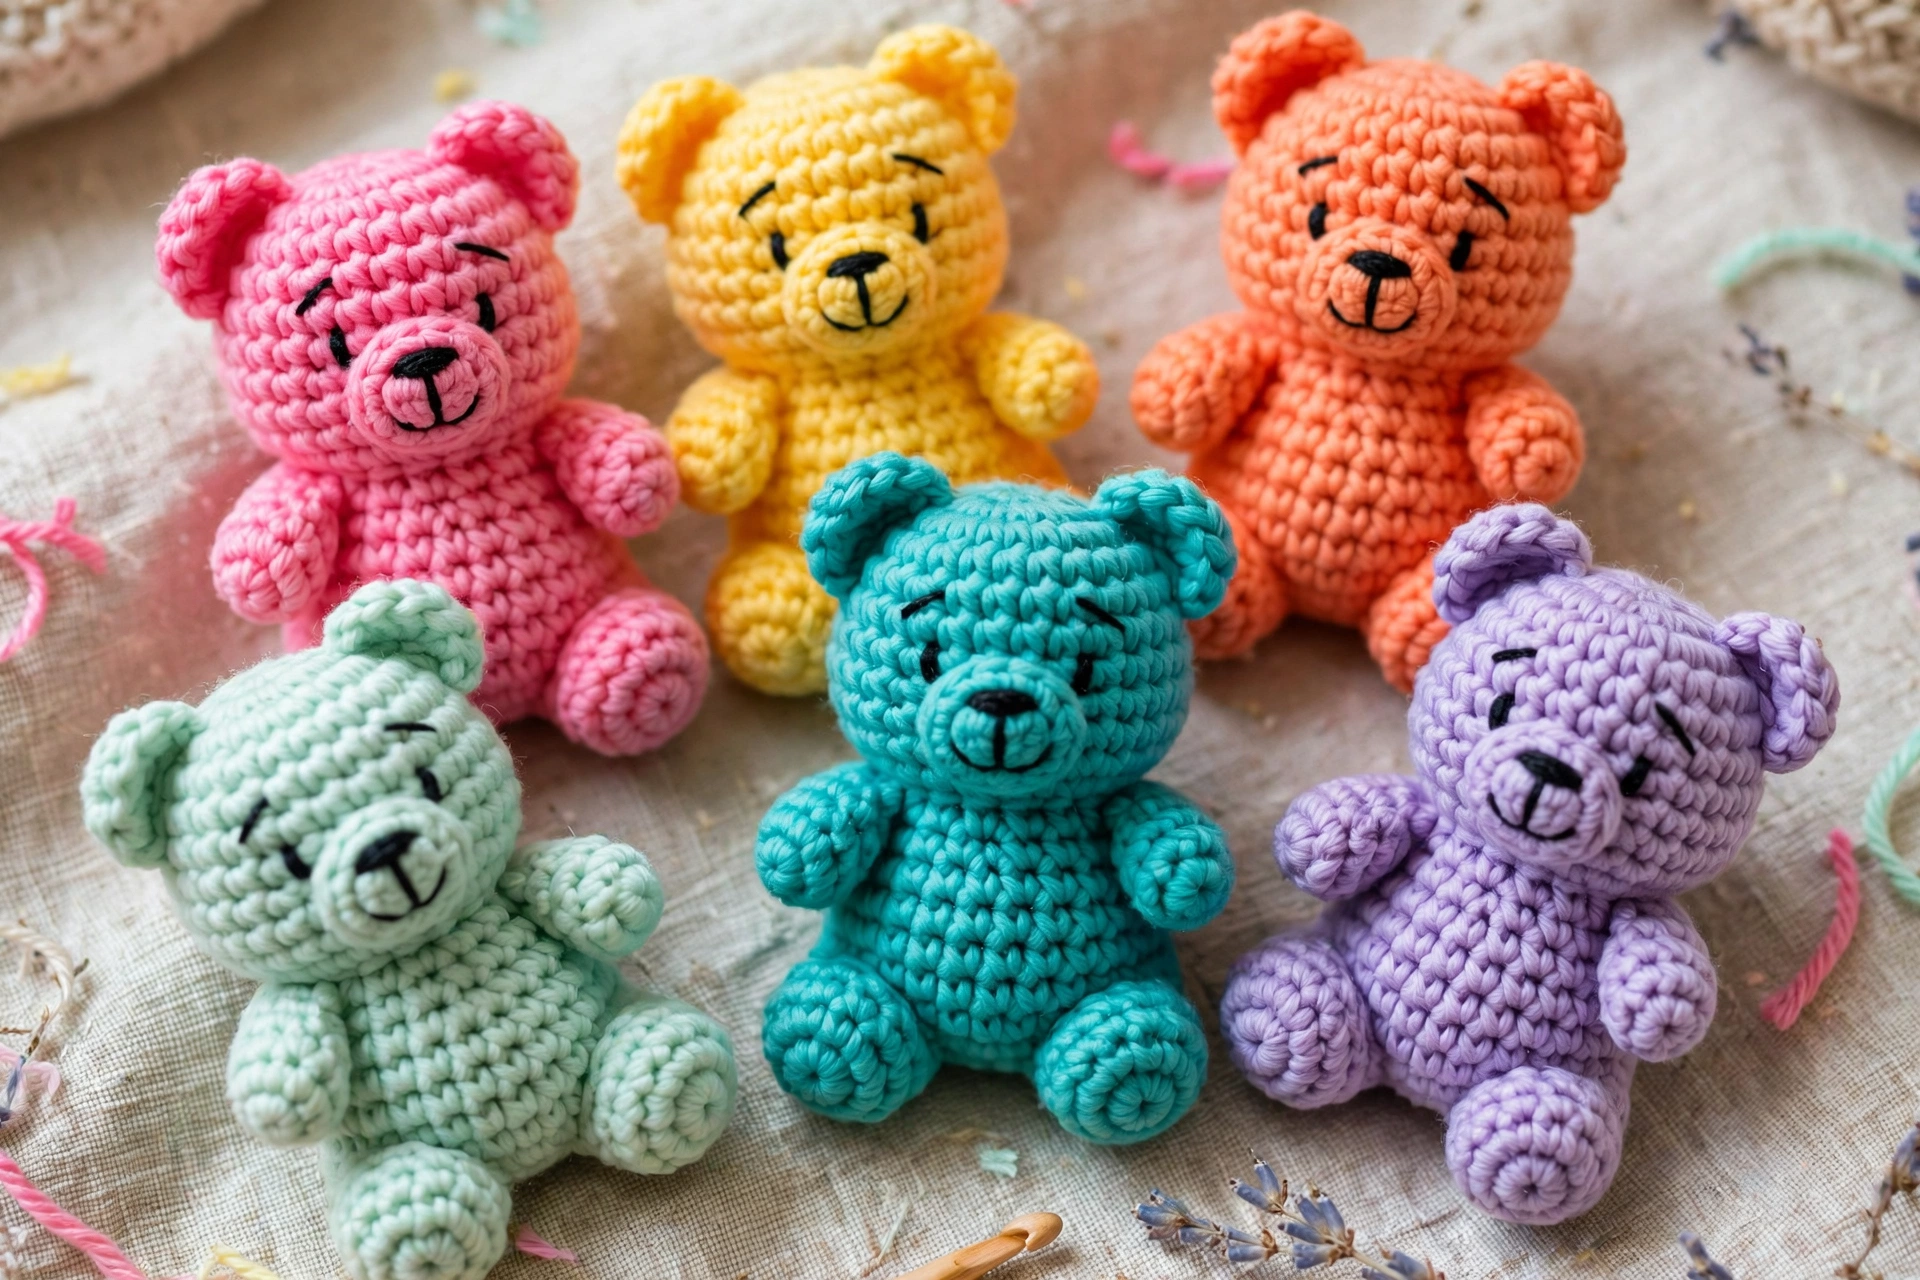
If you are searching for a quick amigurumi project that works up fast and uses only a small amount of yarn, this crochet gummy bear is a fun choice. The design is made as one continuous piece and uses strategically placed bobble stitches to create the ears, nose, arms, and legs. The finished bear is small enough for keychains, backpack charms, gift toppers, or cute desk decorations.
One of the things that makes this project so enjoyable is that there are very few parts to manage. Instead of crocheting separate limbs and sewing them on later, the bear’s features are formed directly into the body as you work.
Skill Level
Beginner-Friendly to Advanced Beginner.
Crocheters should be comfortable with:
- Magic rings
- Single crochet
- Increases
- Decreases
- Basic bobble stitches
Materials
- Super bulky yarn (weight 6) in your favourite gummy bear colour, approximately 40 yards (37 m)
- Crochet hook: 5.5 mm (US I-9)
- Fiberfill stuffing, a small handful
- Yarn needle
- Scissors
- Stitch marker
- Optional: small keychain ring or split ring, and a short length of yarn for a hanging loop
Gauge
Gauge is not critical for amigurumi, but your stitches should be tight enough that stuffing does not show through. With super bulky yarn and a 5.5 mm hook, 8 single crochet stitches = about 2 inches (5 cm). If your stitches are loose, try a 5.0 mm hook.
Finished Size
Approximately 3.5 inches (9 cm) tall, excluding any keychain ring.
Abbreviations (US Terms)
- MR — Magic Ring
- sc — Single Crochet
- inc — Increase (work 2 sc in the same stitch)
- dec — Decrease (single crochet 2 together)
- bo — Bobble Stitch (see below)
- st(s) — stitch(es)
- rep — repeat
How to Work a Bobble Stitch (bo)
*Yarn over, insert hook in the next stitch, yarn over, pull through, yarn over, pull through 2 loops* — repeat from * 5 times in the SAME stitch (6 loops on hook), yarn over and pull through all 6 loops. One bobble counts as 1 stitch.
Pattern Notes
Work in continuous rounds — do not join at the end of each round. Mark the first stitch of every round with a stitch marker and move it up as you work. Stitch counts are given in parentheses at the end of every round. The bear is worked top down: head first, then neck, body, and closing. Pull your magic ring closed firmly so no gap remains in the centre.
Crochet Gummy Bear Pattern
Step 1: Rounds 1-2 — Head Base
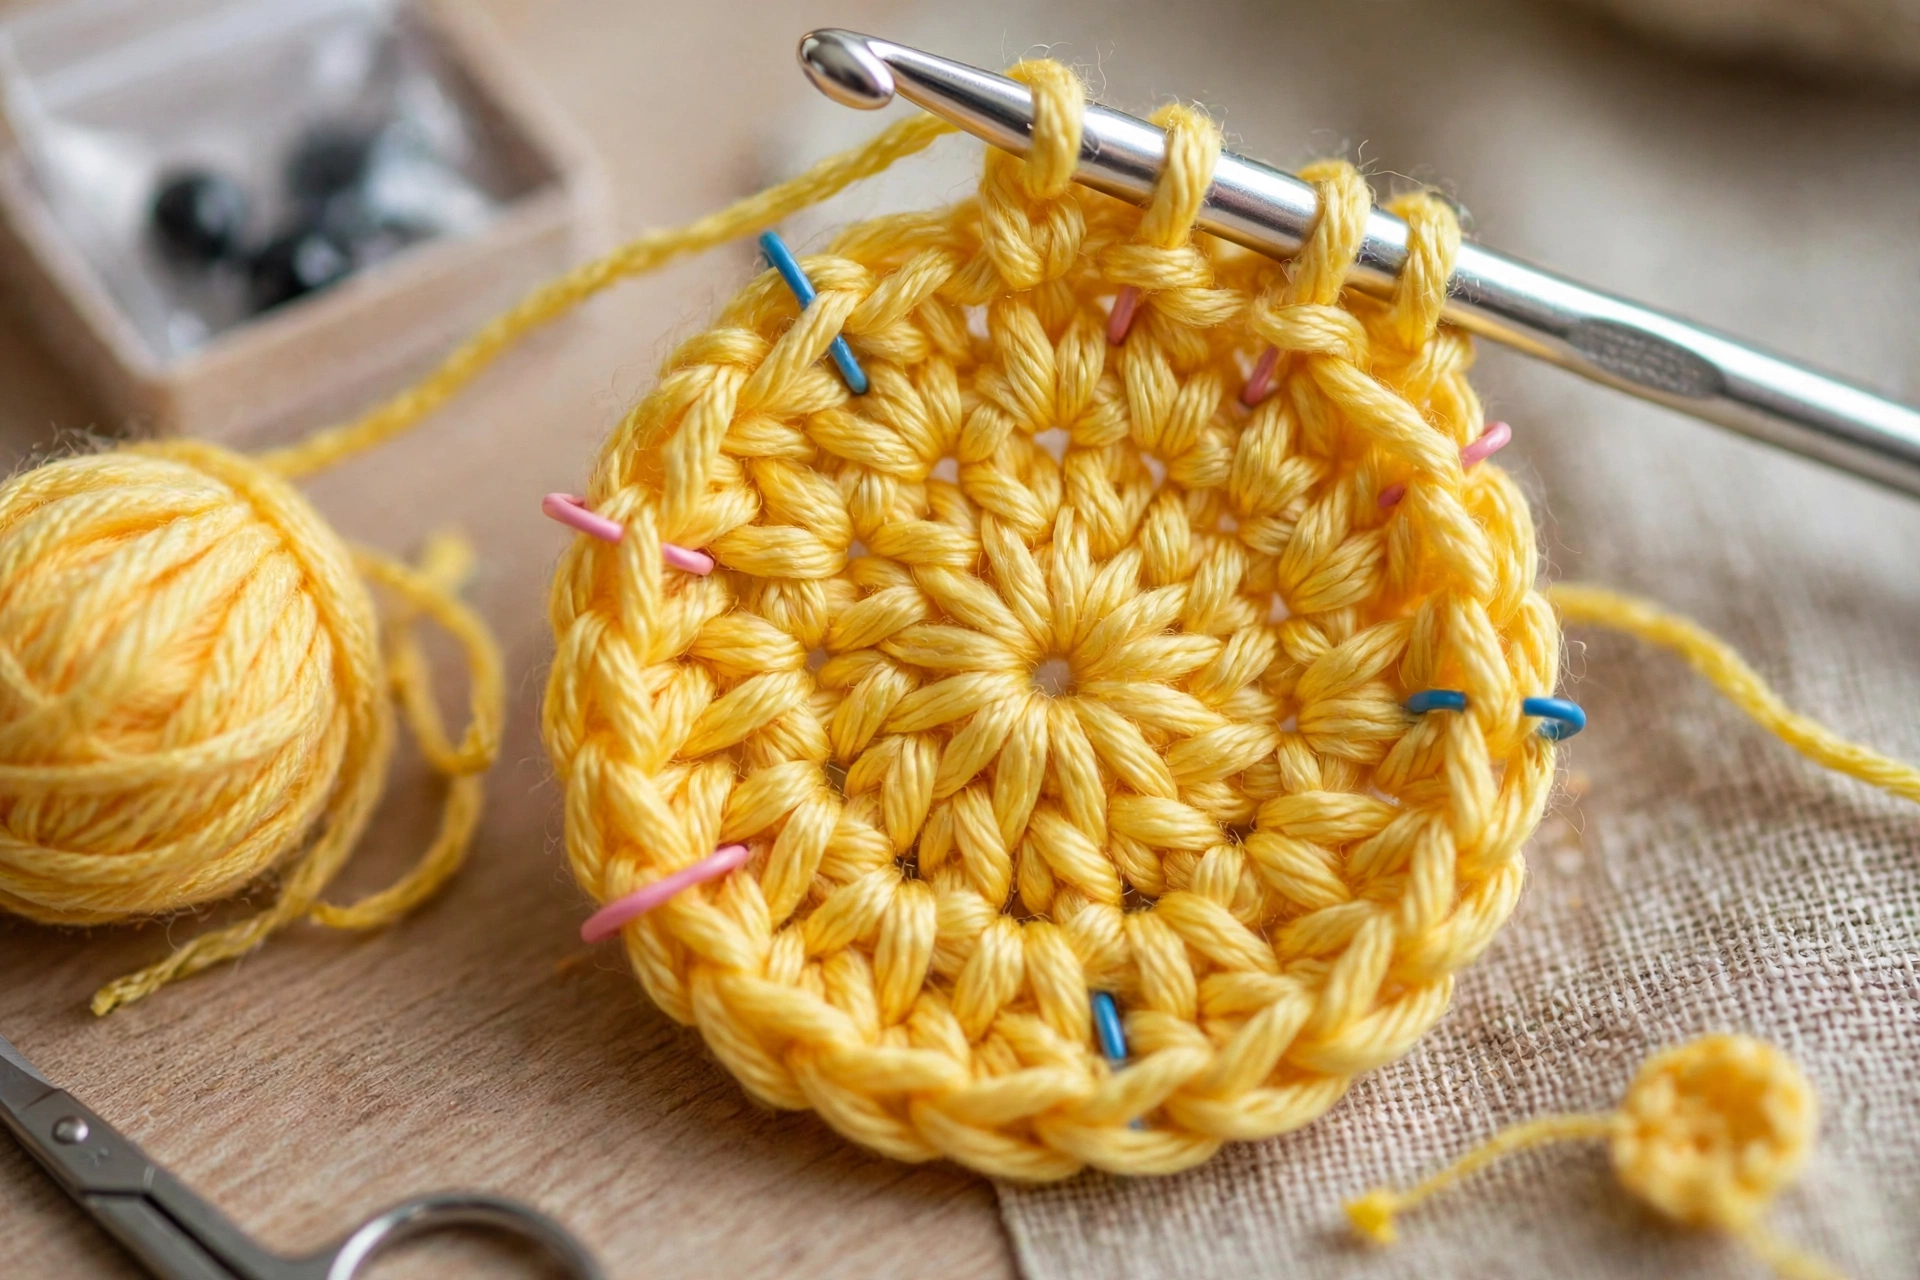
Round 1: Create a magic ring and work 8 sc into the ring. Pull the ring closed. (8 sc)
Round 2: Inc in each st around. (16 sc)
Step 2: Round 3 — Ears
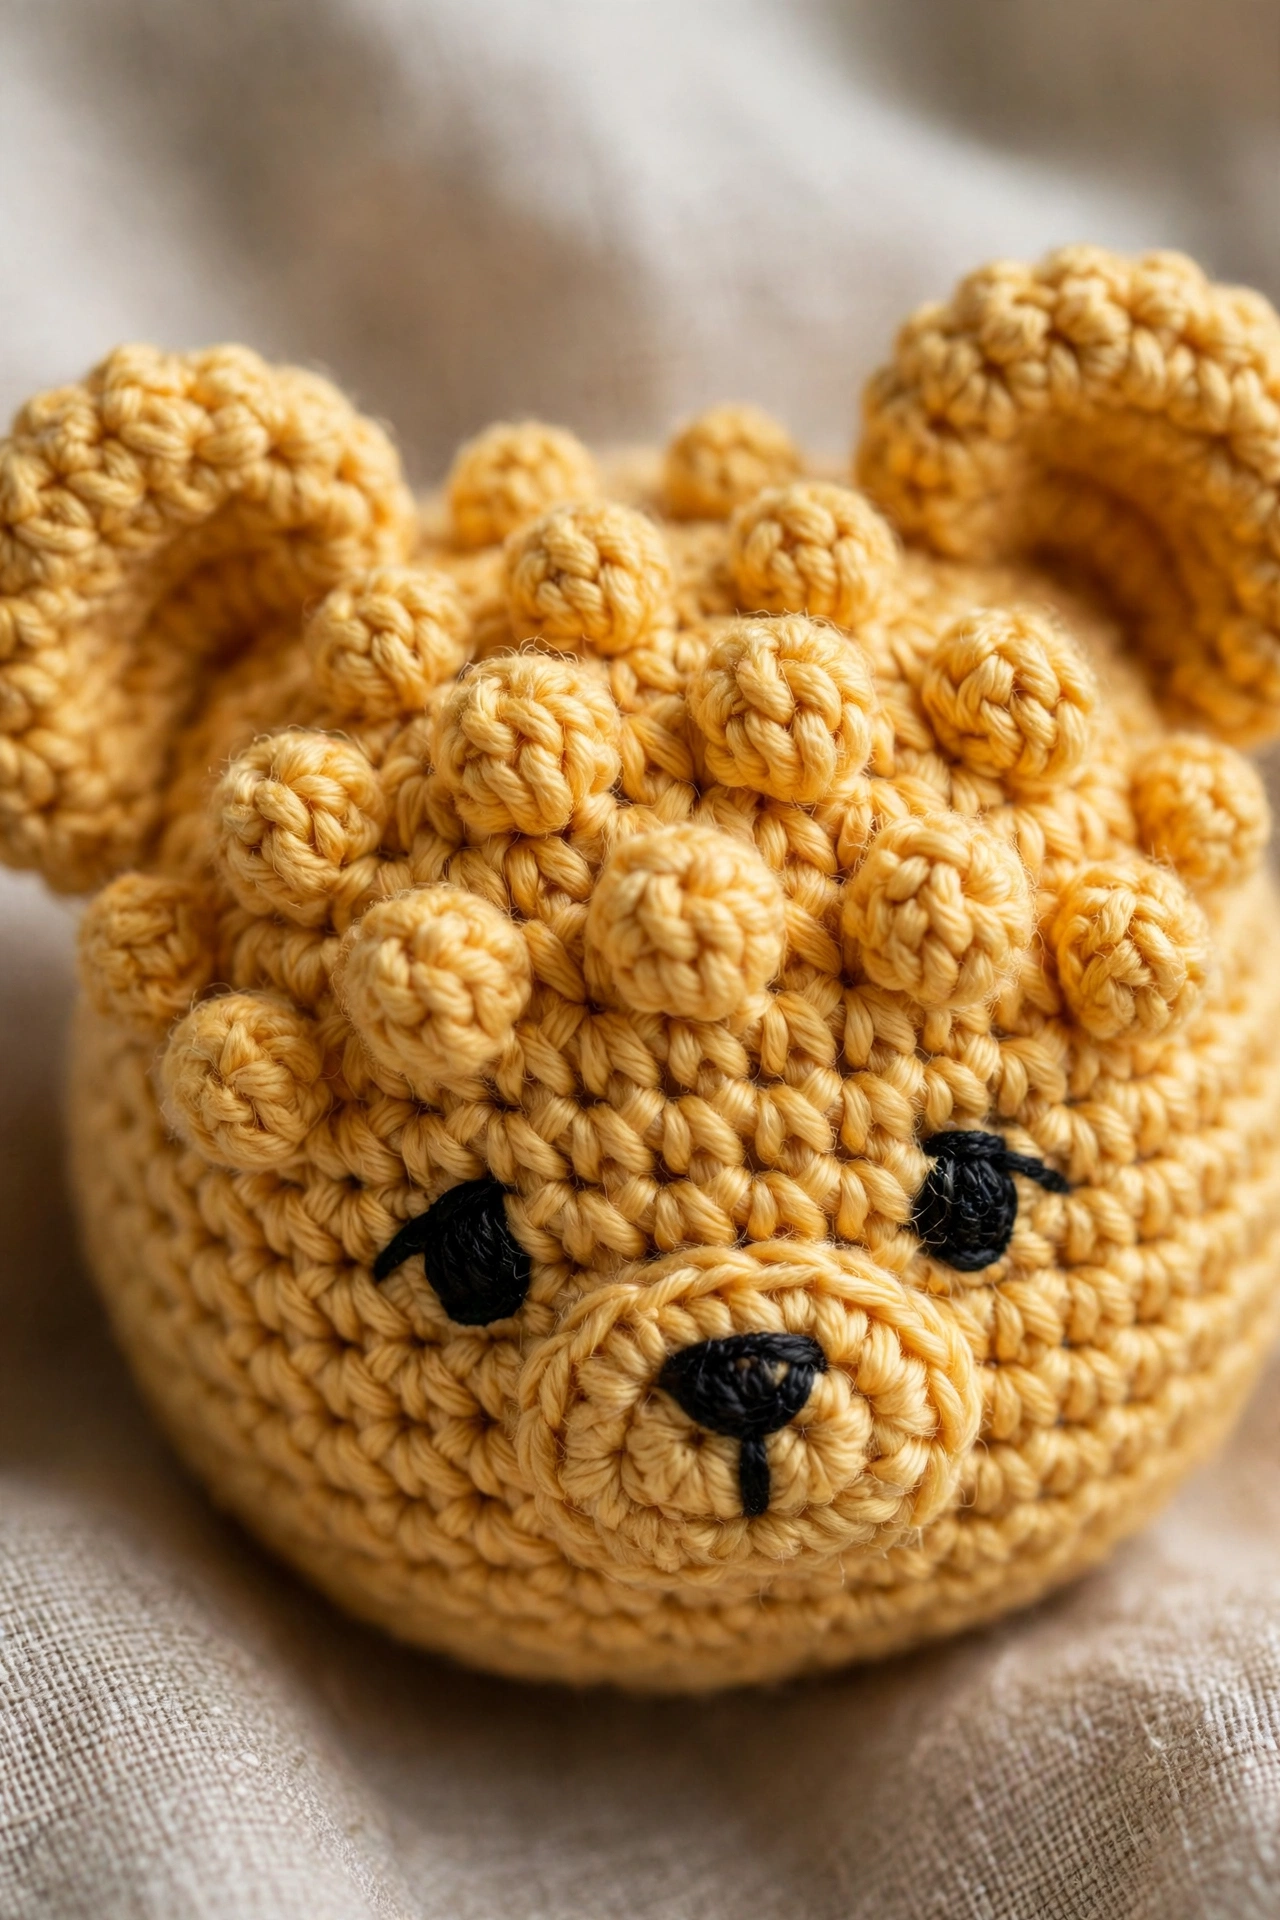
Round 3: Work: 5 sc, 1 bo, 5 sc, 1 bo, 4 sc. The two bobbles will become the ears. (16 sts)
Check the bobbles sit opposite each other — move your stitch marker if needed so the ears are even.
Step 3: Rounds 4-6 — Head and Nose
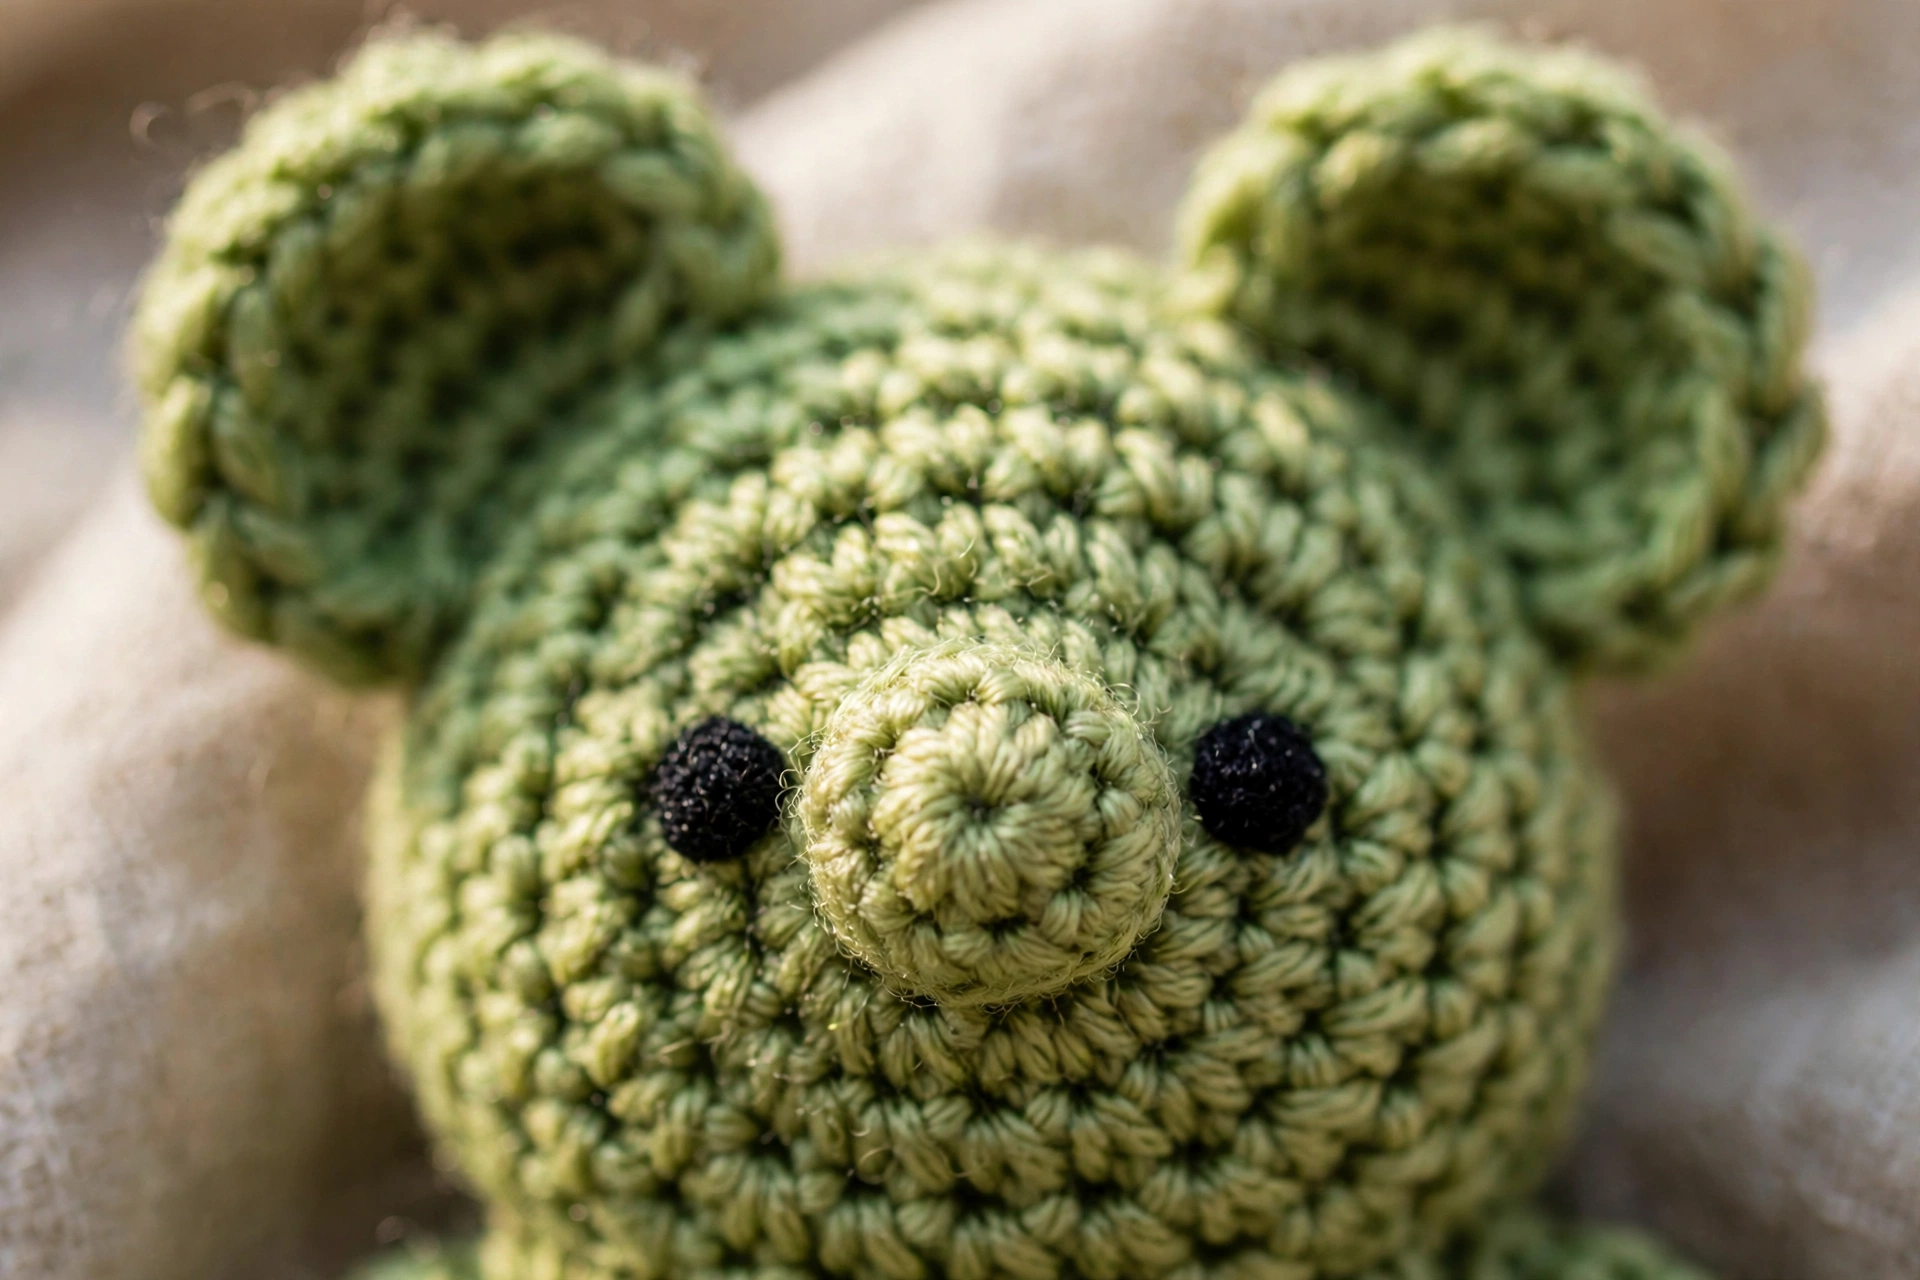
Round 4: Sc in each st around. (16 sc)
Round 5 — Nose: Work: 8 sc, 1 bo, 7 sc. Position the bobble between the ears to create the nose. (16 sts)
Round 6: Sc in each st around. (16 sc)
Step 4: Rounds 7-9 — Neck, Body and Arms
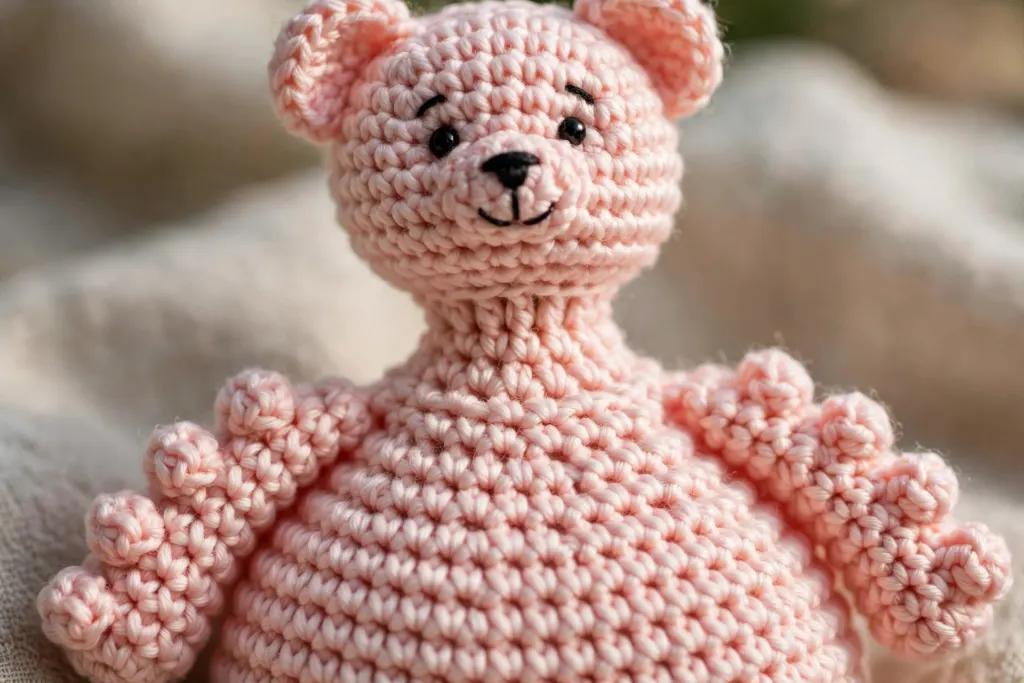
Round 7 — Neck: Dec in each st around (8 decreases). (8 sc) This creates the narrow neck section beneath the head.
Round 8 — Beginning the Body: Inc in each st around. (16 sc) The body should now begin widening beneath the neck.
Round 9 — Arms: Work: 7 sc, 1 bo, 5 sc, 1 bo, 2 sc. These bobbles create the bear’s arms. (16 sts)
Step 5: Rounds 10-13 — Body, Legs and Closing
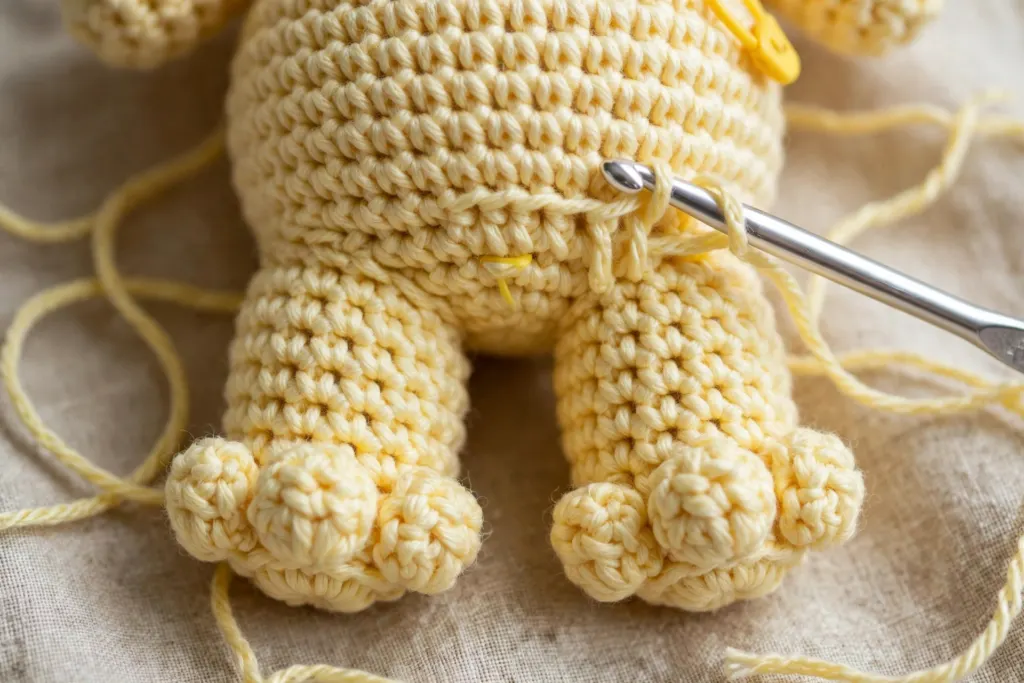
Rounds 10-11: Sc in each st around. (16 sc per round) These rounds add height to the body.
Round 12 — Legs: Work: 8 sc, 1 bo, 5 sc, 1 bo, 1 sc. The bobbles in this round form the legs. (16 sts)
Round 13: Dec in each st around (8 decreases). (8 sc) Do not fasten off yet.
Step 6: Finishing the Bear
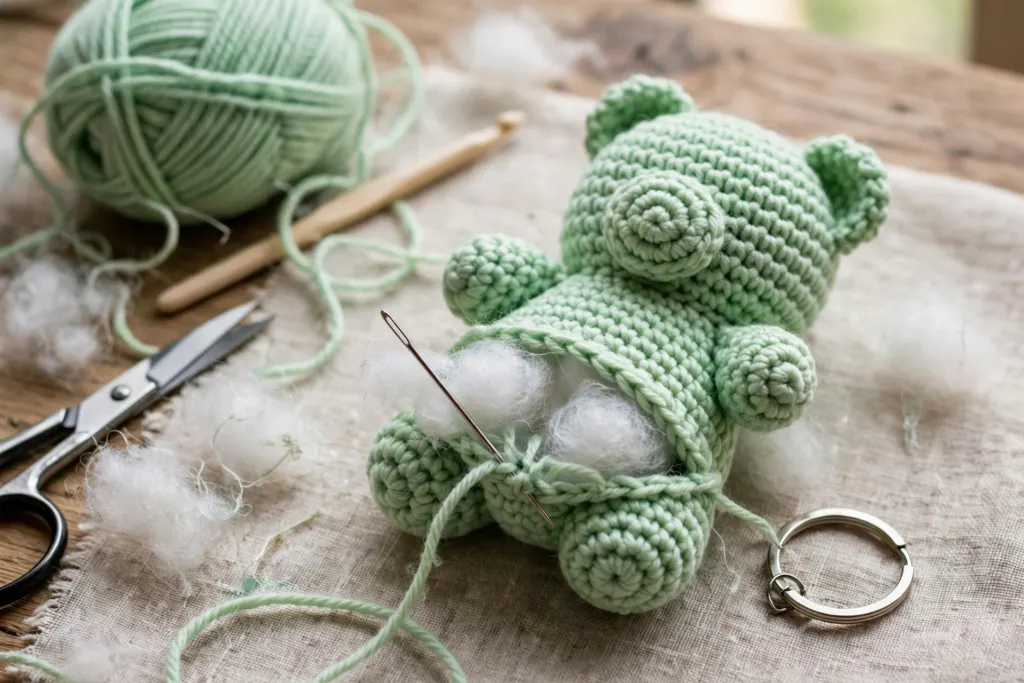
Before closing the opening, add fiberfill stuffing until the bear feels firm but not overstuffed. Stuff the head first, then the body, pushing a little stuffing into the neck so it does not flop.
Thread the yarn tail onto a yarn needle and pass it through the front loops of the remaining 8 stitches. Pull gently to gather the opening closed, secure with a knot, and weave in the remaining yarn end.
Optional: sew a keychain ring to the top of the head, or add a short hanging loop.
Check the bear from the front: ears at the top, nose in the centre, arms at the sides, legs at the bottom. If a bobble sits in the wrong place, it is usually because the stitch marker moved — note the placement for your next bear.
Tips
- Mark the first stitch of every round to avoid losing your place.
- Check the placement of each bobble stitch carefully since these create the bear’s features.
- Try to maintain even tension throughout the project for a smooth, symmetrical finish.
- Pull your magic ring closed firmly so no gap remains in the center.
- Stuff a little at a time. Overstuffing stretches the stitches and makes the stuffing show; understuffing makes the bear floppy.
Fun Color Ideas
The pattern can easily be customised with different yarn colors: red, orange, lemon yellow, green, blue, pink, purple gummy bear.
Crocheting several bears in different colors creates a playful candy-inspired collection.
Frequently Asked Questions
How long does the gummy bear take? Most crocheters finish one bear in 1-2 hours.
What yarn can I use instead of super bulky? Worsted weight yarn with a 3.5-4.0 mm hook makes a smaller bear, about 2.5 inches tall, with the same stitch counts. Use a smaller hook than usual so the stitches stay tight.
Is this pattern safe for babies? No — this bear is a decoration / keychain, not a baby toy, unless you use embroidered eyes (this pattern has no safety eyes) and secure all ends very firmly. Do not give a keychain bear to a child under 3.
Why are my bobbles not popping out? Push each bobble to the front (right side) of the work as you make the next stitch, and keep your tension a little looser on the bobble itself.
Can I sell bears made from this pattern? Yes. You may sell finished bears made from this pattern, with credit to Crochet Your Way. Please do not copy, redistribute or sell the pattern text or photos themselves.
Final Thoughts
This gummy bear is a fantastic project for practicing shaping techniques without dealing with complicated assembly. The use of bobble stitches gives the finished bear its recognizable gummy bear appearance while keeping the construction simple. Whether you turn it into a keychain, a small gift, or part of an amigurumi collection, it is a quick and satisfying crochet project that can be completed in a single sitting.