
Bobble Stitch Handbag Crochet Pattern: Make It in 10 Easy Steps
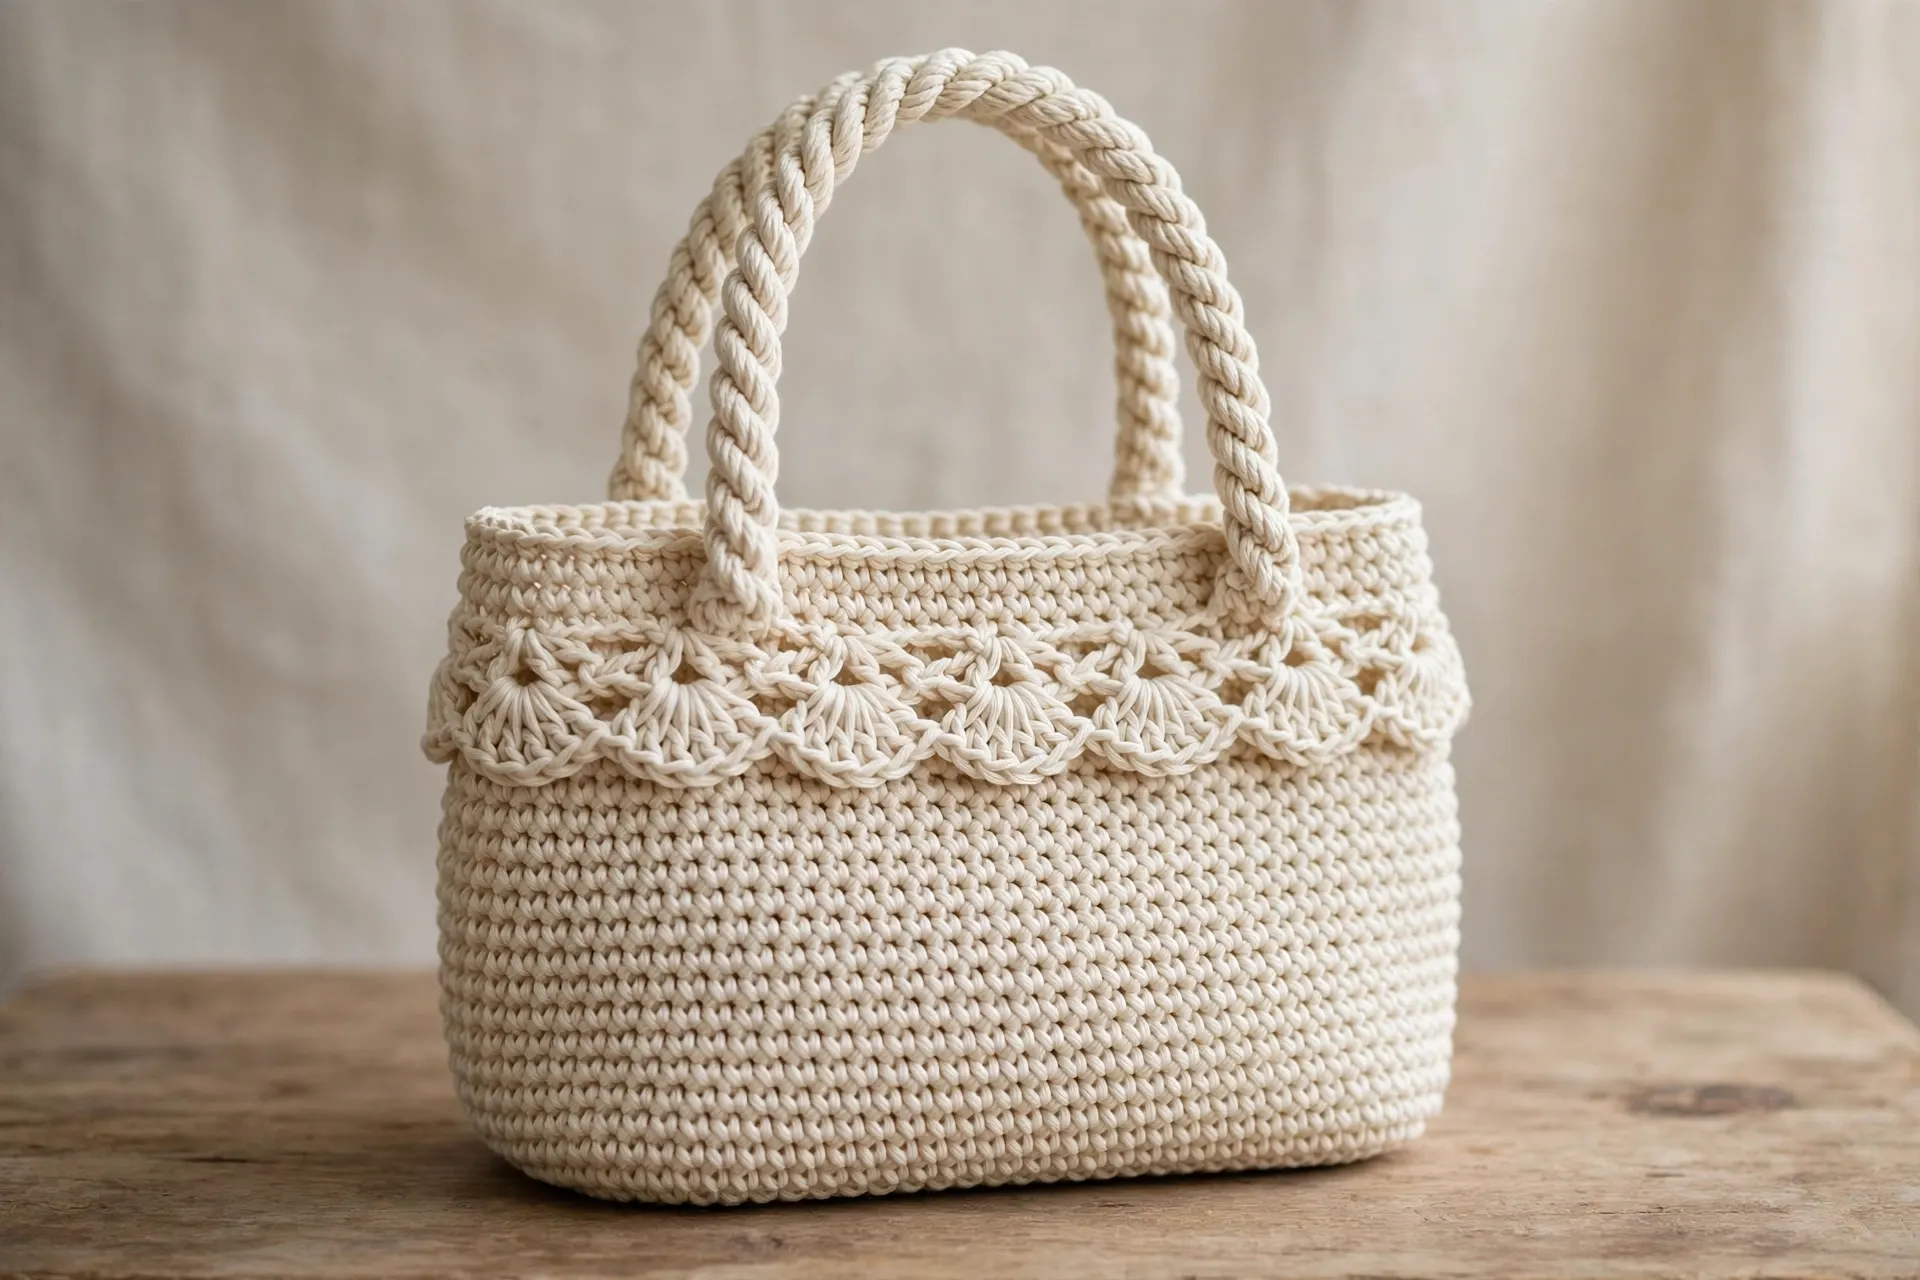
A bobble stitch handbag is the rare crochet project that is both fun to make and genuinely useful every day. The bobbles give the fabric real body, so the bag holds its shape instead of sagging, and the dense single crochet base and top band keep it sturdy where a bag works hardest. It is worked in worsted cotton yarn, which does not stretch the way acrylic does — exactly what you want when the bag is carrying a purse, a phone, a paperback and a bottle of water.
The construction is simple: a flat rectangular base, sides that rise straight up in alternating bobble and single crochet rounds, a firm top band, and two crocheted handles sewn on at the end. Every round is counted, and the side count never changes once it is set up, so if you can single crochet and follow a repeat, you can make this bag.
Materials and Tools
- Worsted weight (weight 4) cotton yarn, approx 550 m (600 yd). A bobble stitch handbag needs a yarn that will not stretch under load, so cotton is strongly recommended. The Craft Yarn Council’s standard yarn weight system explains yarn weight numbers if you are substituting.
- Crochet hook: 5.0 mm (US H-8)
- Stitch marker
- Yarn needle with a large eye, and scissors
- Optional lining: approx 40 × 60 cm of cotton fabric, plus a needle and thread

- Fiber: 100% Cotton
- Lily Sugar’n Cream yarn is a natural, soft, absorbent cotton yarn that comes in an economical 14 oz cone size.
- Ball Size Solids: 400g / 14 oz, 645 meters / 706 yards
Cotton is the right fibre for a bag you will use daily: it barely stretches, it does not go fuzzy, and it stands up to floors and car seats. Choose a smooth worsted cotton with a firm twist rather than a soft, loosely spun one, and buy all your balls at once from the same dye lot — a handbag shows shade differences mercilessly across its wide flat sides.

- Easy grip handle
- Amour means love
- Love crochet
Bobble stitches ask a lot of your hands — every bobble is five partial double crochets pulled through one stitch — so a comfortable 5.0 mm hook is worth having here. An ergonomic handle softens the repetitive motion, and a smooth, tapered point helps you pull all six loops of a bobble through in one clean movement.
Gauge, Finished Size and Abbreviations
Gauge: 16 sc and 18 rows = 10 cm (4 in) in single crochet, using a 5.0 mm hook.
Finished size: approx 30 cm (12 in) wide × 26 cm (10¼ in) tall, with a base depth of approx 10 cm (4 in). Handles add approx 17 cm of drop.
Abbreviations (US terms):
- ch = chain
- sc = single crochet
- dc = double crochet
- st(s) = stitch(es)
- sl st = slip stitch
- yo = yarn over
- rep = repeat
- bo = bobble stitch (explained fully in Step 3)
- RS = right side
Making Your Bobble Stitch Handbag
Step 1: Crochet the Base
The base is a flat rectangle of single crochet. Every stitch of the sides will be worked around its edge, so take a moment to keep these rows even.
Chain 49.
Row 1: Sc in the 2nd chain from your hook, then sc in every chain across. You should have 48 sc.
Rows 2–18: Ch 1, turn. Sc in every stitch across (48 sc).
After Row 18 your base should measure approx 30 × 10 cm (12 × 4 in). Do not fasten off — the sides of your bobble stitch handbag grow directly from this rectangle. If you like sturdy flat bases, the same idea is used in the only crochet basket pattern you’ll need.

Step 2: First Side Round — Working Into the Base Edge
Now work one round of single crochet around the edge of the base. This round sets the stitch count for the whole bag, so count carefully at the end.
Round 1: Ch 1 (does not count as a stitch). Do not turn. Sc in each of the 48 stitches of Row 18. Rotate the base a quarter turn and work 18 sc evenly down the first short side, placing one sc into the end of each row. Rotate again and work 48 sc along the bottom edge, one into the bottom loop of each foundation chain. Rotate once more and work 18 sc up the last short side, one into the end of each row. Join with a sl st to the first sc.
Count: 132 sc (48 + 18 + 48 + 18). Place your stitch marker in the first stitch and move it up at the start of every round. From here the bag is worked in joined rounds, right side facing out, and every round will have 132 stitches.

Step 3: The Bobble Round
First, the bobble itself. A 5-dc bobble (bo) is worked like this, all into one stitch: yarn over, insert your hook into the stitch, yarn over, pull up a loop, yarn over, pull through 2 loops. Repeat that sequence 5 times in total, always into the same stitch. You now have 6 loops on your hook. Yarn over and pull through all 6 loops at once. The bobble is made — push it out towards the right side of the bag with your fingertip as you work, because bobbles naturally pop backwards.
Round 2 (bobble round): Ch 1. Sc in the first 3 stitches, bo in the next stitch. Repeat sc in the next 3 stitches, bo in the next stitch all the way around. Join with a sl st to the first sc. Count: 132 stitches, including 33 bobbles.
If bobbles are new to you, this round is the whole skill — and it is the same bobble used at blanket scale in my crochet bobble blanket pattern, if you want more practice later.

Step 4: The Plain Single Crochet Round
Round 3: Ch 1. Sc in every stitch around. Join with a sl st to the first sc. Count: 132 sc.
Work into the top of each bobble exactly as if it were an ordinary stitch — one sc per bobble. This plain round separates the bobble rounds, levels the fabric, and gives the bobbles room to stand proud of the surface.

Step 5: Repeat to Height
Repeat Rounds 2 and 3 — one bobble round, one plain sc round — until you have worked 14 bobble rounds in total, and finish with a plain sc round. That is 28 rounds of pattern after the base round, and your sides should measure approx 23 cm (9 in) from the top of the base.
Because every round starts in the same place and the count never changes, your bobbles stack in neat vertical columns all the way up the bag. If you lose your place, count a bobble round: it must always contain 33 bobbles. A bobble stitch handbag grows quickly at this stage — a couple of extra repeats are fine if you want it taller, as long as you end on a plain round.

Step 6: The Firm Top Band
On a bobble stitch handbag, the top band takes the strain where the handles attach, so it is worked plain and tight.
Rounds 30–34: Ch 1. Sc in every stitch around. Join with a sl st to the first sc. (132 sc in each round; 5 rounds in total.)
After the fifth band round your bag should measure approx 26 cm (10¼ in) tall in total. Fasten off and weave in the end. Give the band a gentle steam so it sits flat and even before you attach the handles.

Step 7: The Handles (Make 2)
Each handle is a simple flat strap, worked in rows so it stays firm and does not curl.
Chain 9.
Row 1: Sc in the 2nd chain from your hook, then sc in every chain across. You should have 8 sc.
Rows 2–80: Ch 1, turn. Sc in every stitch across (8 sc).
Work until the strap measures approx 45 cm (17¾ in) — about 80 rows at the stated gauge — then fasten off, leaving a tail of about 30 cm for sewing. Make a second strap in exactly the same way.

Step 8: Attaching the Handles
Lay the bag flat with one wide side facing you — this is the front. Lay one strap across the top with its two ends on the inside of the top band. Centre each end so it sits 6 cm (2½ in) in from the nearest side edge of the front, and pin both ends in place. Using the long tail and your yarn needle, sew each end to the band with a neat square of stitches, working through both the strap and the band; then sew a cross inside the square for extra strength. Repeat with the second strap on the back of the bag.

- 1. DURABLE AND RUSTPROOF: Our darning needles are made of high quality stainless steel, free from rust or bending, and t…
- 2. DIFFERENT SIZES: 3 x 5.3 cm/2.1 inch, 3 x 6 cm/ 2.4 inch, 3 x 7 cm / 2.8 inch. Perfect sizes of yarn Knitting needls …
- 3. EXTENSIVE APPLICATIONS: These needles are suitable for weaving in ends and sewing up seams on your knit & crochet pro…
A large-eye yarn needle with a blunt tip makes handle sewing painless — it slides through crochet fabric without splitting the plies, and the generous eye swallows thick cotton tails without a fight. A small set with a couple of sizes covers everything from weaving in ends to sewing up blanket panels.
Check from the outside: both handles should sit level, with no twists in the straps, before you weave in the sewing tails.

Step 9: Optional Fabric Lining
A lining stops keys and pens poking between stitches and gives the bag a finished feel. It is simpler than it sounds:
- Cut two rectangles of cotton fabric, each 32 cm × 28 cm (12½ × 11 in).
- Place them right sides together and sew down one side, across the bottom, and up the other side, using a 1 cm seam allowance. Leave the top open.
- Fold the top edge 1.5 cm down towards the wrong side all the way around and press it flat.
- Slip the lining inside the bag, wrong sides against the crochet. Hand-sew the folded top edge to the inside of the top band with small, neat stitches, catching only the band so nothing shows on the outside.

- ★ Good quilt quality cotton fabric: Our cotton quilting fabric is made by 100% premium cotton which has a medium-weight …
- ★ Fat quarter pack: Each Bundle Collection contains 10 designs- 1 each of Fat Quarter (18”x21”each sheet) with different…
- ★ Precut fabric is always the first choice to use and store: Our fat quarter cotton quilting fabric can be cut for makin…
Fat quarters are the easiest way to buy lining fabric in small pieces — one is more than enough for this bag, with a little left over for a matching pouch. Pick a firm quilting cotton in a colour that peeks cheerfully from the top of the bag, and press it before you cut so your rectangles measure true.

Step 10: Finishing and Care
Weave in any remaining ends, push any shy bobbles outwards one last time, and give the top band a gentle steam to settle it. Your bobble stitch handbag is ready to use.
Cotton crochet washes well: hand wash, or machine wash on a gentle cycle inside a mesh laundry bag, then reshape and dry flat. Avoid hanging the bag by its handles while it is wet and heavy. Stored stuffed loosely with tissue, it will keep its shape for years.
If this has started a bag habit, my elegant crochet handbag pattern is a dressier next make, the crochet daisy bag is a cheerful granny square tote, and there is plenty more in my round-up of 10 crochet bag patterns you’ll want to carry everywhere. For a smaller textured project, try the bean stitch purse crochet pattern.