Stripy Motif Crochet Pattern: A Colourful Striped Motif Tutorial in 7 Steps
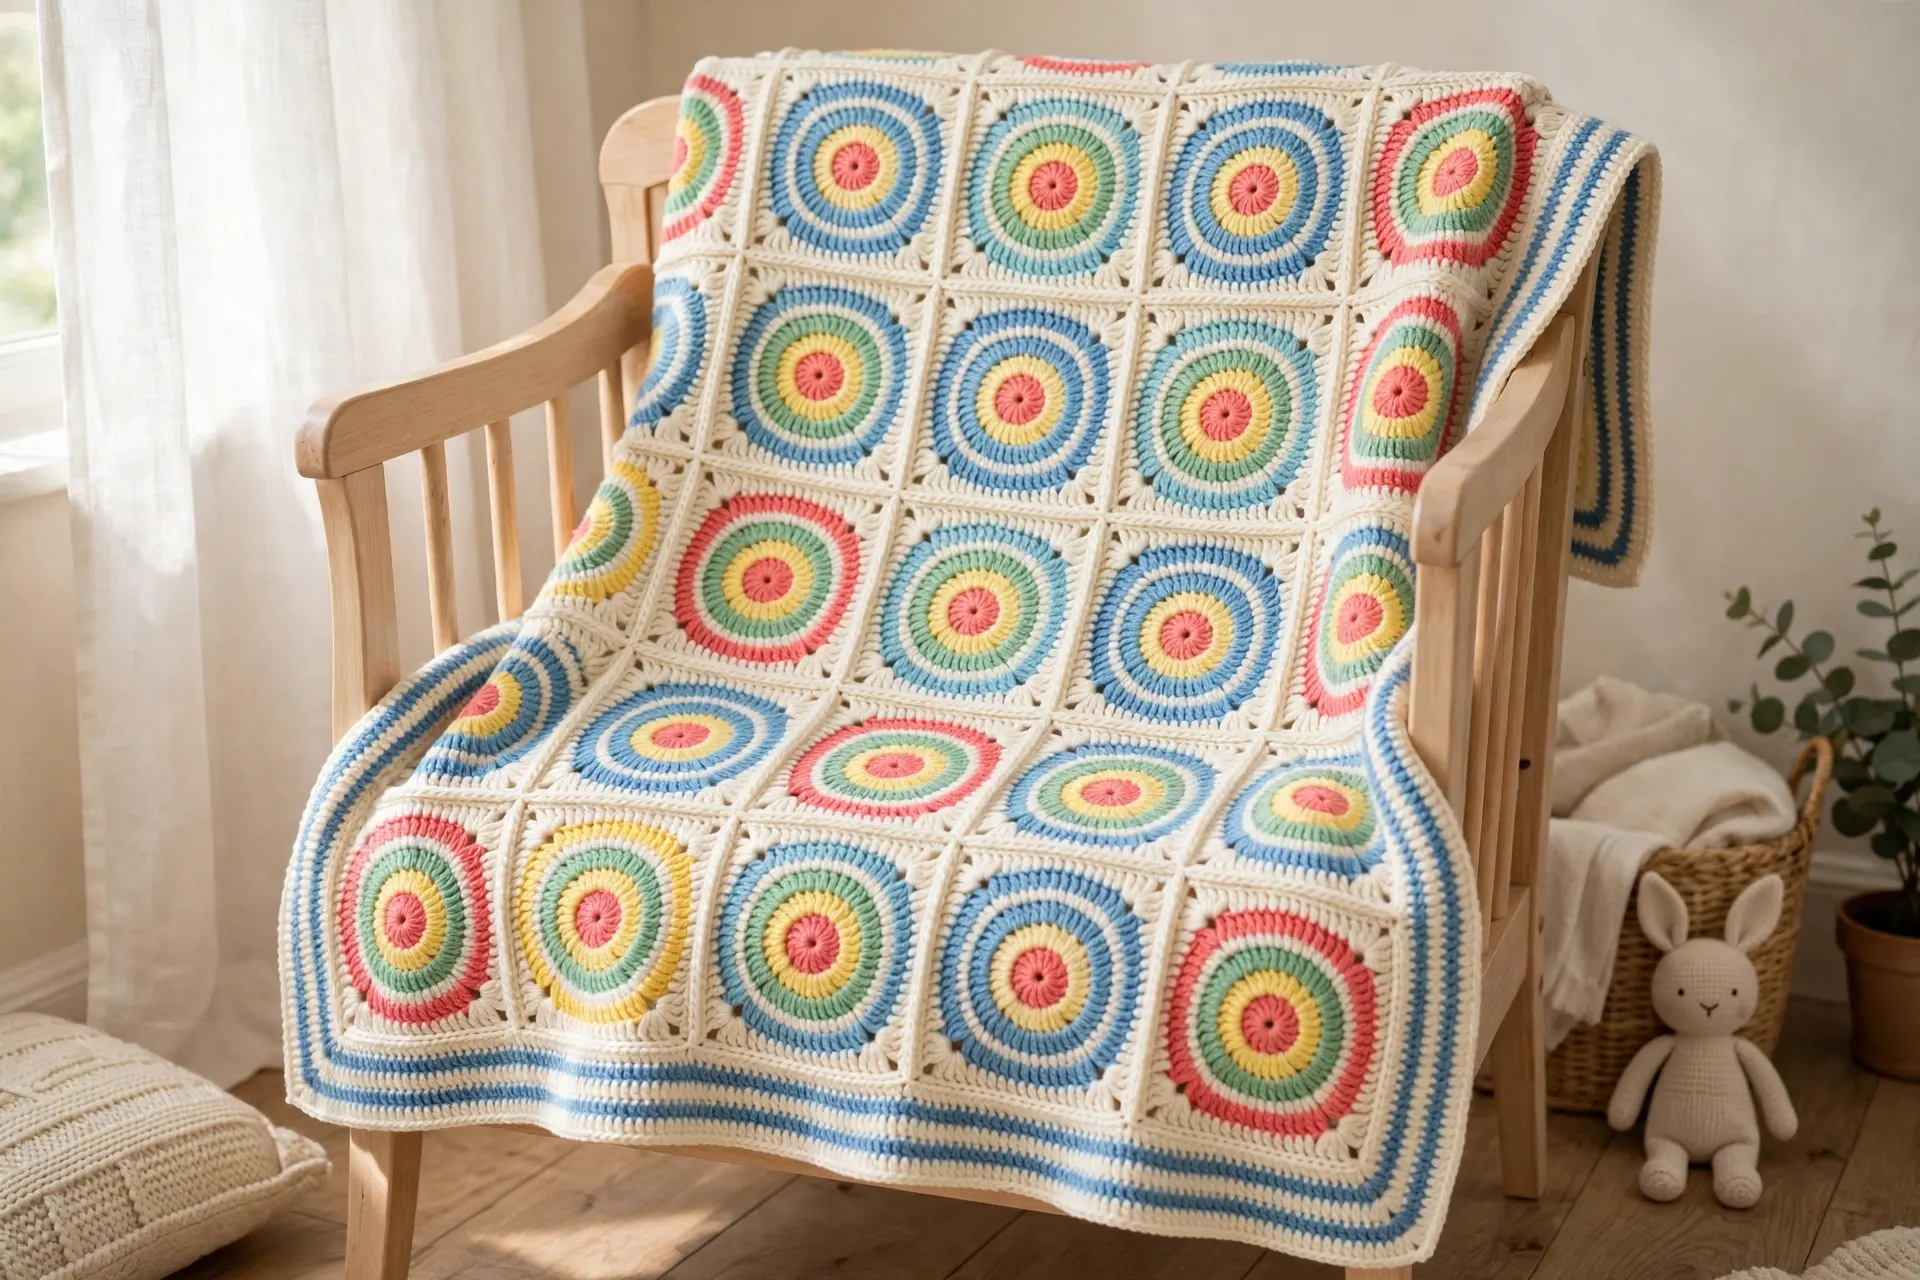
Got a basket of half-used yarn balls too small for a project but too pretty to throw away? This stripy motif crochet pattern was made for them. Each motif starts as a little circle of double crochet, changes colour on every round so the stripes ripple outward like a tiny rainbow target, and finishes with one clever round that turns it into a neat 5-inch square. Make a stack, join them up, and you have a baby blanket that looks far more complicated than it is.
What Is a Stripy Motif?
A motif is a small piece of crochet made separately and joined to other pieces later – the idea behind the classic granny square. A stripy motif is built from stripes: you change colour at the end of every round, so each round becomes one bold stripe radiating from the centre.
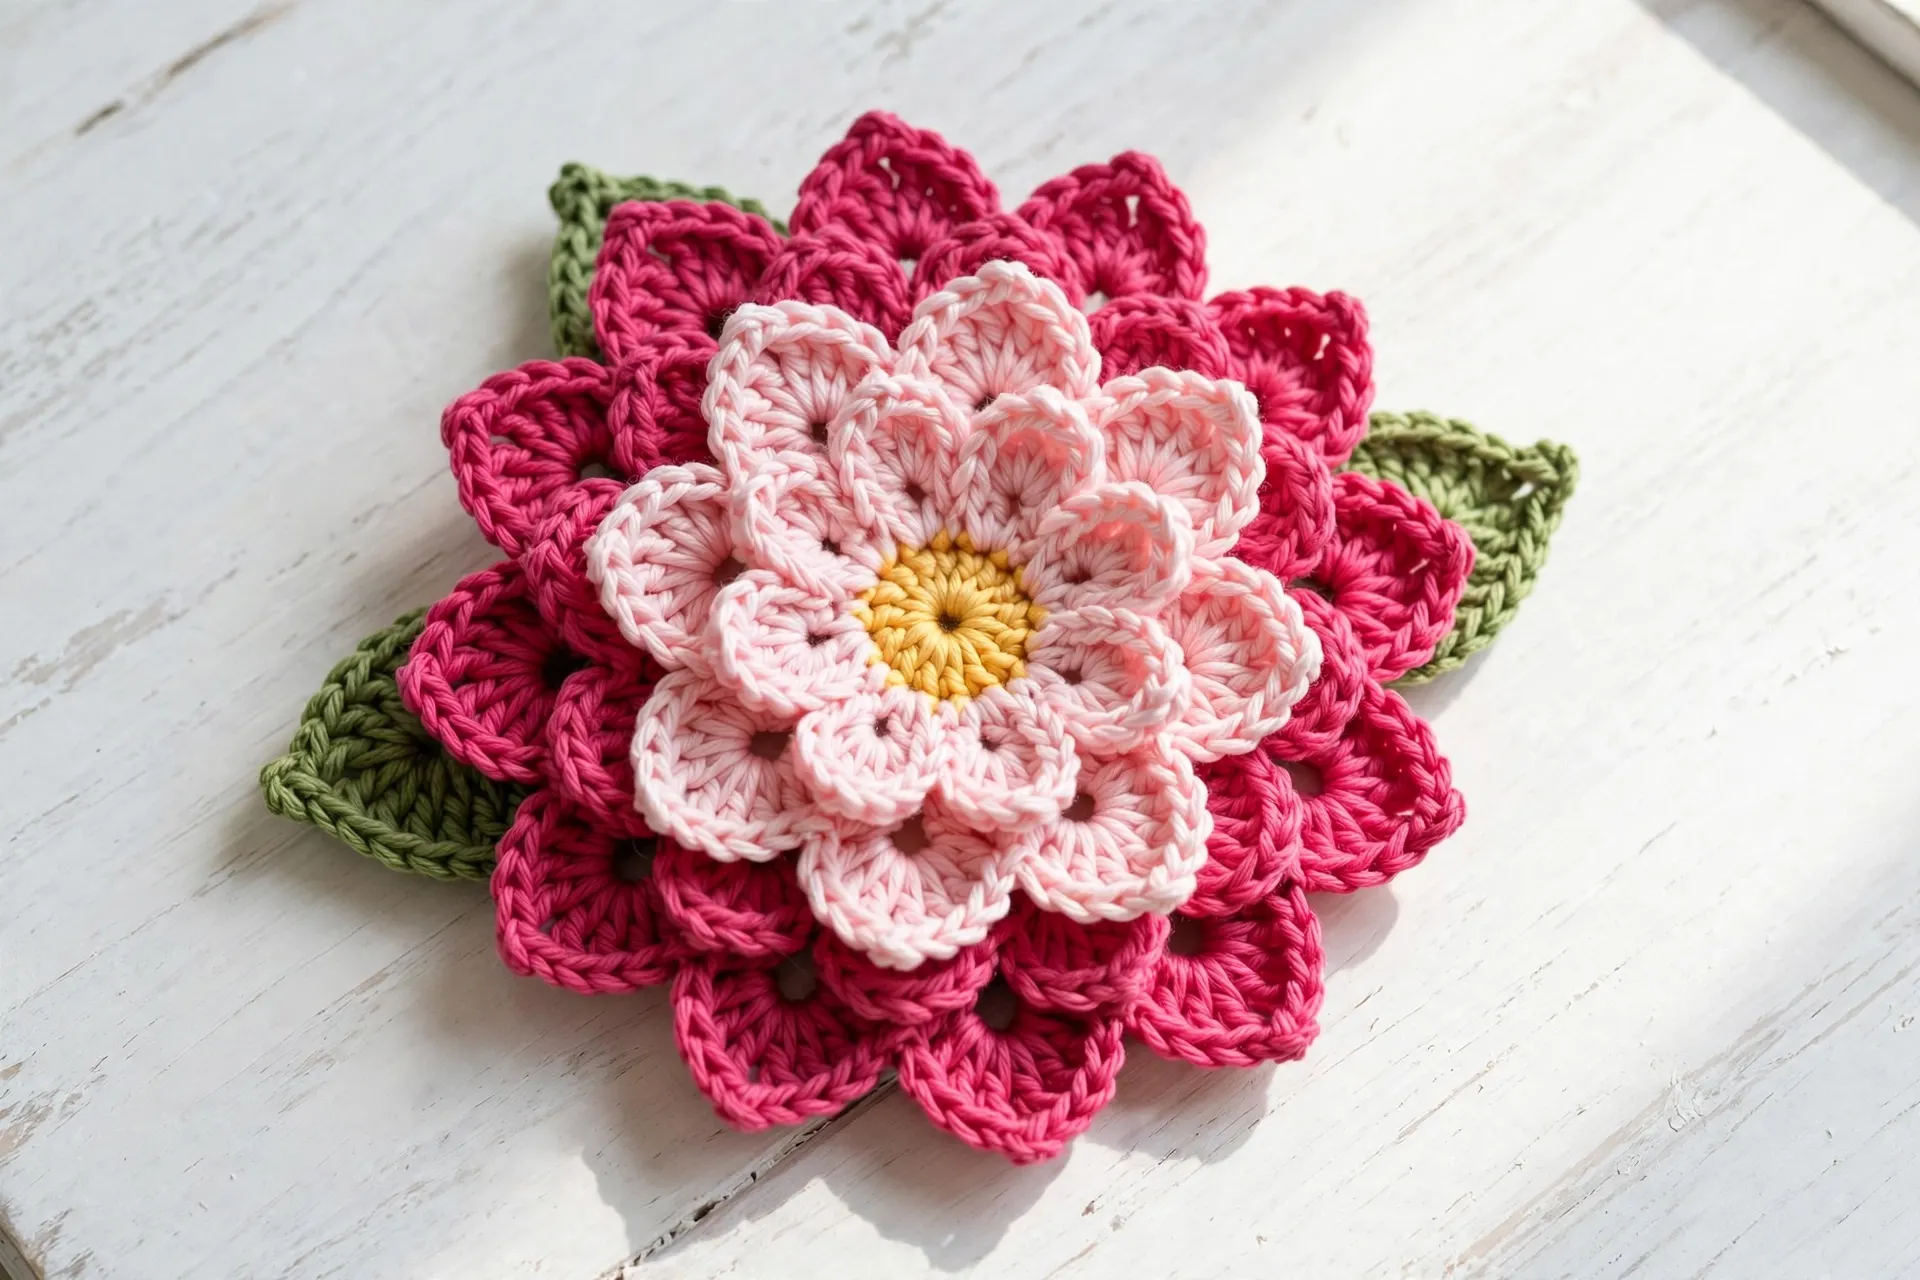
Shuffling the colour order changes the whole mood of a project, which makes this stripy motif crochet pattern a brilliant scrap-buster. It is a cousin of our festive star-centre granny square, but the solid stripes give a smoother, gap-free fabric – perfect for blankets, cushions, totes and bunting.
Materials and Gauge
For one motif you need only a few yards of each colour, so raid the stash first.
- Worsted weight (size 4) yarn in 5 colours. For the full blanket you will need approx. 700 yd (640 m) in total: about 320 yd of cream (Colour E – every squaring round, the joining and the border) plus roughly 95 yd each of four bright colours (Colours A-D). Smooth acrylic washes best for a baby blanket. If yarn labels puzzle you, the Craft Yarn Council’s standard yarn weight system explains what the 4 on the band means.
- 5.0 mm (US H-8) crochet hook
- Yarn needle with a large eye
- Scissors
- Stitch markers (4, for marking the corners in Step 4)
- Blocking mat and pins (optional, but they make every motif the same size)
Gauge: one finished, lightly blocked motif = 5 in (12.5 cm) square. With motifs, the finished piece is your gauge swatch – make one first and change hook size if it is more than 1/4 in (0.5 cm) out.
My colour order (per motif): Round 1 coral (A), Round 2 butter yellow (B), Round 3 mint green (C), Round 4 sky blue (D), Round 5 cream (E). Keeping Round 5 cream on every motif makes the finished blanket look planned rather than random.
Useful Materials from Amazon

- SET OF 24: This 24-pack includes 25-gram mini skeins of Knit Picks Brava Worsted weight yarn in the curated Rainbow colo…
- ALL PURPOSE YARN: Brava worsted weight yarn is a soft and hardy yarn with machine washable convenience and long-lasting …
- MINI SKEINS: Mini skeins are great for small knit projects and general crafts including baby clothes, Fair Isle designs,…
A multi pack of small worsted balls gives a rainbow of stripe colours without buying five full skeins.

- High Quality Material: Our hook head is made of high quality aluminum material, which is durable and not easy to break o…
- Ergonomic Design: Our crochet handles are ergonomically designed. The shape of the grip has been specially designed to a…
- Various Sizes Available: Our crochet hooks are approximately 5.9 inches in length. But we provide you with 9 different s…
A soft-grip ergonomic 5 mm hook keeps hands comfortable through twenty motifs of double crochet.

- All IN ONE Tapestry Knitting Needle Set:The sewing darning needles set comes with 12 pieces of random colored bent tapes…
- Easy for Yarn threading:These knitting needles are designed with large eyes, and it’s convenient for threading yarn, eve…
- 2 Types Needles for Different Demands:The darning yarn needles set comes with colorful bent needles and blunt straight n…
Every colour change leaves a tail; large-eye tapestry needles make weaving them in quick and painless.

- WHAT YOUR PURCHASE COMES WITH: 9 premium EVA blocking boards (12.6″ × 12.6″ × 0.75″), 150 rust-resistant T-pins, a gray …
- EASY TO USE & CARE: Made from durable extra-thick EVA foam, each board holds pins securely and stays firmly in place. Th…
- INTERLOCKING & EXPANDABLE SET: Interlocking tiles create a stable 36″ × 36″ blocking surface or can be arranged in any s…
Foam blocking mats and pins ease every motif to exactly 5 inches square – the secret to flat joins.
Abbreviations (US Terms)
- ch = chain
- dc = double crochet
- hdc = half double crochet
- sc = single crochet
- sl st = slip stitch
- st(s) = stitch(es)
- rep = repeat
- BLO = back loop only
- MR = magic ring
- RS = right side
The beginning ch-3 counts as a double crochet throughout this stripy motif crochet pattern. Fasten off at the end of every round and join the new colour with a slip stitch, then ch 3. Every stripe round is an even repeat, so start each round in any stitch.
The Stripy Motif Crochet Pattern, Step by Step
Step 1 – Materials and Gauge

Decide your stripe order first, then work one test motif following Steps 2-4. Pin it to a blocking mat and check it measures 5 in (12.5 cm) square. Too small? Go up to a 5.5 mm hook; too big, drop to 4.5 mm.
Step 2 – Rounds 1 and 2: The Centre and First Stripes

Round 1 (Colour A): Make a magic ring. Ch 3 (counts as dc), work 11 dc into the ring. Pull the ring closed and join with a sl st to the top of the beginning ch-3. Fasten off. (12 dc)
Round 2 (Colour B): Join Colour B with a sl st in any stitch. Ch 3 (counts as dc), dc in the same stitch, then work 2 dc in every stitch around. Join with a sl st to the top of the beginning ch-3. Fasten off. (24 dc)
Your piece should sit flat; if it is already ruffling, check the mistakes section below before you go on.
Step 3 — Building the Stripe Rounds: Rounds 3 and 4

Round 3 (Colour C): Join Colour C with a sl st in any stitch. Ch 3 (counts as dc), 2 dc in the next stitch, dc in the next stitch, 2 dc in the next stitch; repeat around. Join with a sl st to the top of the beginning ch-3. Fasten off. (36 dc)
Round 4 (Colour D): Join Colour D with a sl st in any stitch. Ch 3 (counts as dc), dc in the next stitch, 2 dc in the next stitch, dc in each of the next 2 stitches, 2 dc in the next stitch; repeat around. Join with a sl st to the top of the beginning ch-3. Fasten off. (48 dc)
You now have a flat, four-stripe circle about 4 in (10 cm) across. A neat habit for this stripy motif crochet pattern: crochet over the starting tail of each new colour for the first five or six stitches – it hides the tail and leaves far fewer ends to weave in.
Step 4 — The Squaring Round and Finishing One Motif

This round turns your circle into a square. Place a marker in every 12th stitch of Round 4 (stitches 12, 24, 36 and 48) – these become the corners.
Round 5 (Colour E, squaring round): Join Colour E with a sl st in any unmarked stitch. Ch 2 (counts as hdc) and hdc in each stitch until you reach a marked corner stitch. In each marked corner stitch work (2 dc, ch 2, 2 dc). Continue around the same way: hdc in each of the 11 stitches along every side, corner group in every marked stitch, then join with a sl st to the top of the beginning ch-2. Fasten off. (60 sts: 44 hdc + 16 dc, plus 4 ch-2 corner spaces)
Weave in the ends, pin the motif out into a true square on a blocking mat, and mist lightly. It should dry to 5 in (12.5 cm) from edge to edge.
Step 5 — Making the Full Motif Set: Counts and Layout

For the baby blanket, make 20 motifs in total and lay them out 5 across x 4 down. Joined, the panel measures 25 x 20 in (63.5 x 51 cm); Step 7’s border brings it to about 27 x 22 in (69 x 56 cm) – a pram and stroller size.
A few batch-working habits make this step fly:
- Work round by round, not motif by motif. Crochet all twenty Round 1 centres, then all the Round 2s, and so on – your hands learn one repeat at a time and every motif matches.
- Keep Round 5 cream on every motif, but shuffle Colours A-D from motif to motif for a scrappy, confetti look.
- Block in piles. Pin four or five motifs in a stack, mist and weight the pile – they all come out at 5 inches.
- Weave ends as you finish each batch – little-and-often beats a mountain of tails at the end.
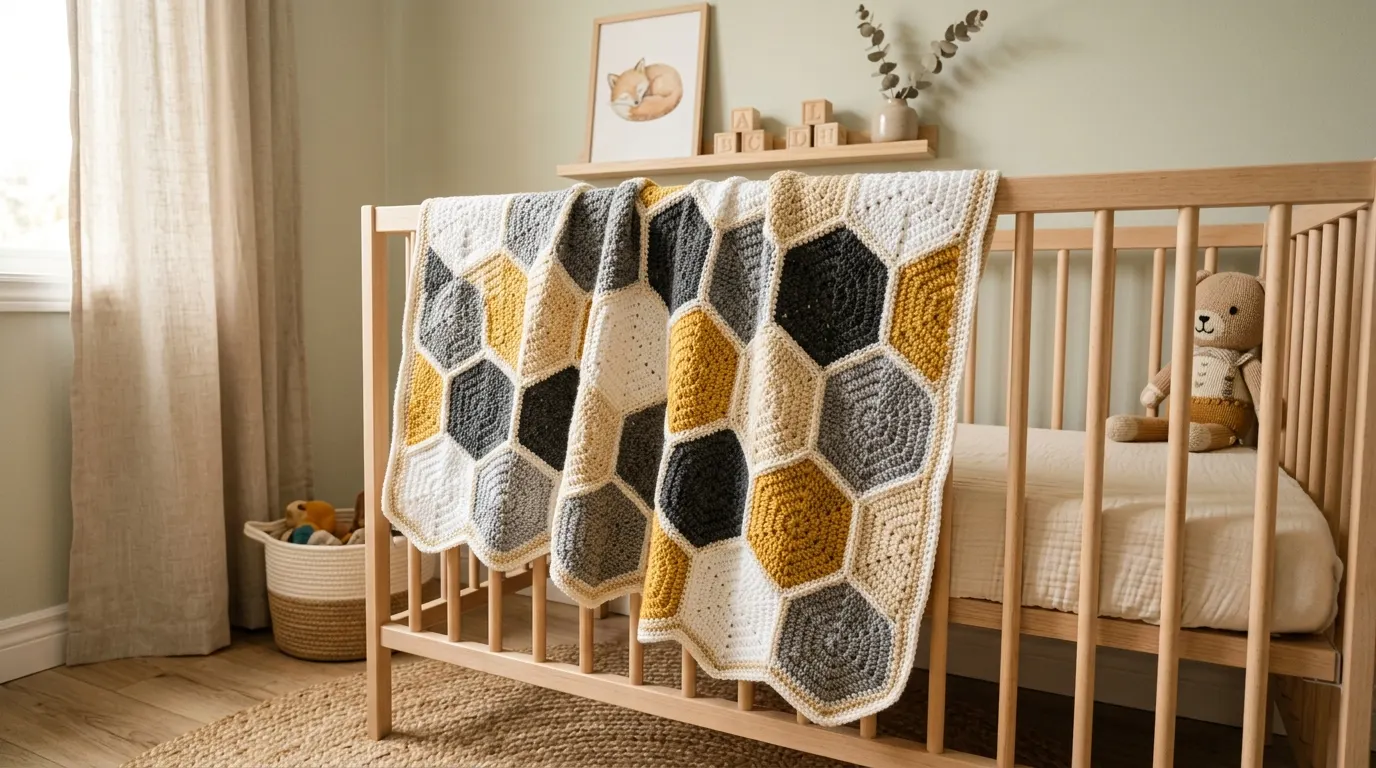
For a bigger blanket, add motifs: 6 across x 5 down (30 motifs) gives a generous cot blanket. Our round-up of crochet baby blanket patterns and the textured honeycomb baby blanket are lovely next projects too.
Step 6 — Joining the Motifs

I use a slip-stitch join through the back loops: fast, no sewing, and it leaves a pretty cream ridge framing every square. First join the motifs into 4 strips of 5, then join the strips.
Lay two motifs wrong sides together, right sides facing out, edges aligned stitch for stitch – each side has 15 stitches between its corner spaces, so the counts match exactly.
- Join Colour E (cream) with a slip stitch through the corner ch-2 spaces of both motifs at once.
- Working along the edge, insert your hook through the back loop only of the next stitch on the front motif and the matching back-loop stitch on the back motif, yarn over, and pull through everything on your hook – one slip stitch made.
- Repeat in every pair of stitches along the side (15 slip stitches), then work one slip stitch through both corner spaces at the far end.
- Carry straight on to the next motif in the strip in the same way; at a four-motif junction, work one slip stitch into the shared corner point to keep everything anchored.
Keep the joining yarn relaxed – tight slip stitches are the number one cause of a puckered blanket. Join the four strips, then join the strips together the same way, across the long edges, and stretch the panel gently to settle the seams.
Step 7 — Border and Finishing

Work all three border rounds with the right side facing.
Border Round 1 (Colour E, cream): Join cream in any stitch along one edge. Ch 2 (counts as hdc), hdc in every stitch around, working 1 hdc into each junction point where two motifs meet along the edge, and (2 hdc, ch 2, 2 hdc) into each of the four outer corner spaces. Join with a sl st to the top of the beginning ch-2. (300 hdc + 4 ch-2 corner spaces)
Border Round 2 (one bright colour – I used Colour D, sky blue): Join the new colour in any stitch. Ch 3 (counts as dc), dc in every stitch around, working (2 dc, ch 2, 2 dc) into each corner ch-2 space. Join with a sl st to the top of the beginning ch-3. (316 dc + 4 ch-2 corner spaces)
Border Round 3 (Colour E, cream): Join cream in any stitch. Ch 1, sc in every stitch around, working 3 sc into each corner ch-2 space. Join with a sl st to the first sc. Fasten off. (328 sc)
Weave in the last ends and block the blanket flat for a few hours. Finished size: about 27 x 22 in (69 x 56 cm). The same joined panel makes a wonderful cushion front, too – our waffle stitch pillow shows how a panel becomes a finished cushion cover.
Tips for Neat Stripes
- Count every round. Stripes are unforgiving: one missed increase shows up as a wobble forever. The counts sit at the end of every round – use them.
- Finish each round fully before changing colour. The tidy join and fasten-off is what gives crisp stripes instead of muddy spirals.
- Always square in the same colour. A constant Round 5 frames every motif identically.
- Block before joining, and join on a table. Five minutes with pins saves an hour of wavy seams.
Common Mistakes and How to Fix Them
- The circle ruffles like a lettuce leaf. Too many stitches – usually a double increase crept in. Recount against the round totals (12, 24, 36, 48) and rework from the last correct round.
- The circle cups into a bowl. Increases were missed, or your tension tightened. Check the counts; if they are right, relax your grip or go up a hook size.
- The square is wonky. The corner groups missed the marked stitches, or the ch-2 corner spaces are too tight. Mark stitches 12, 24, 36 and 48 of Round 4, keep corner chains generous, and let blocking finish the job.
- The joined blanket puckers. The joining slip stitches were pulled too tight. Rejoin with a loose hand, or go up one hook size for the joining.
- Motifs are all different sizes. A tension-and-blocking issue, not a counting one: block every motif to exactly 5 inches before joining.
Frequently Asked Questions
How big is one finished motif?
Each motif measures 5 in (12.5 cm) square after light blocking, in worsted weight yarn with a 5.0 mm hook. In DK yarn with a 4 mm hook the same stripy motif crochet pattern gives a motif of about 4 in (10 cm) – handy for smaller projects.
Can I make the motif bigger?
Yes. Add one more stripe round before squaring: dc in each of the next 3 stitches, 2 dc in the next stitch repeated around (60 dc). Then mark every 15th stitch as a corner and work the squaring round with 14 hdc along each side (72 sts + 4 corner spaces). The motif grows to roughly 6 in (15 cm) square.
What yarn works best for this motif?
A smooth worsted weight (size 4) acrylic or blend is friendliest: stripes sit crisply, the blanket washes well, and stash balls match in thickness. Avoid fuzzy yarns – they blur the stripe edges. Whichever yarn you choose, keep your tension even so this stripy motif crochet pattern stays square.
How many motifs would I need for a throw?
For a sofa throw of about 42 x 52 in (107 x 132 cm) with border, plan on 8 across x 10 down – 80 motifs: a very manageable one-a-day project at roughly twenty minutes each.
Final Thoughts
The stripy motif crochet pattern rewards you twice: while you crochet, because every round brings a new colour, and at the end, when scrappy squares become a blanket that looks genuinely designed. Start with the twenty-motif baby blanket; after that, the same squares become cushion covers, bunting, or the front panels of a tote from our collection of crochet bag patterns. Happy striping! If you enjoy quick, colourful makes, this stripy motif crochet pattern is an easy one to return to again and again.