Easy Crochet Circle Coaster Pattern for Beginners
A simple crochet coaster is one of those projects that never goes out of style. It is quick to make, uses very little yarn, and instantly adds a handmade touch to coffee tables, dining spaces, and work desks. This crochet circle coaster pattern creates a neat round design that is both decorative and practical, helping protect surfaces from hot mugs, cold drinks, and everyday spills.
Whether you are just learning how to crochet in the round or looking for a relaxing weekend project, these coasters are a great choice. They work up quickly and can easily be customised with different colours to match your home decor. Make one in an evening, or make a set of four in a weekend.
Why You Will Love This Pattern
- Beginner-friendly construction
- Uses basic crochet stitches only
- Fast project with minimal yarn
- Great for gifts and craft fairs
- Easy to customise with different colours
- Durable enough for everyday use
Skill Level
Easy
This pattern is ideal for beginners who want to practice working in the round while building confidence with double crochet and single crochet stitches.
Materials
- DK / light worsted cotton yarn, approximately 25 yards (23 m) per coaster; approximately 100 yards for a set of four
- Crochet hook: 4.0 mm (US G-6) — use the hook that matches your yarn
- Tapestry / yarn needle
- Scissors
- Stitch marker (optional)
Cotton yarn is recommended because it absorbs moisture and holds its shape.
Gauge
14 double crochet stitches and 8 rows = 4 inches (10 cm) in double crochet, using a 4.0 mm hook. Gauge is not critical for a coaster, but if your coaster curls or ruffles, check your stitch count at the end of each round — that is usually the cause.
Finished Size
Approximately 4.5 inches (11.5 cm) in diameter per coaster, after light blocking.
Abbreviations (US Terms)
- ch — chain
- sl st — slip stitch
- sc — single crochet
- dc — double crochet
- st(s) — stitch(es)
- rep — repeat
- RS — right side
Pattern Notes
- The coaster is worked in joined rounds, from the centre outward.
- Always join each round with a slip stitch to the top of the beginning chain.
- The beginning chain counts as the first stitch where indicated.
- Stitch counts are given in parentheses at the end of every round.
- Finished size may vary slightly depending on yarn weight and tension.
Step 1: Round 1 — Create the Center Ring
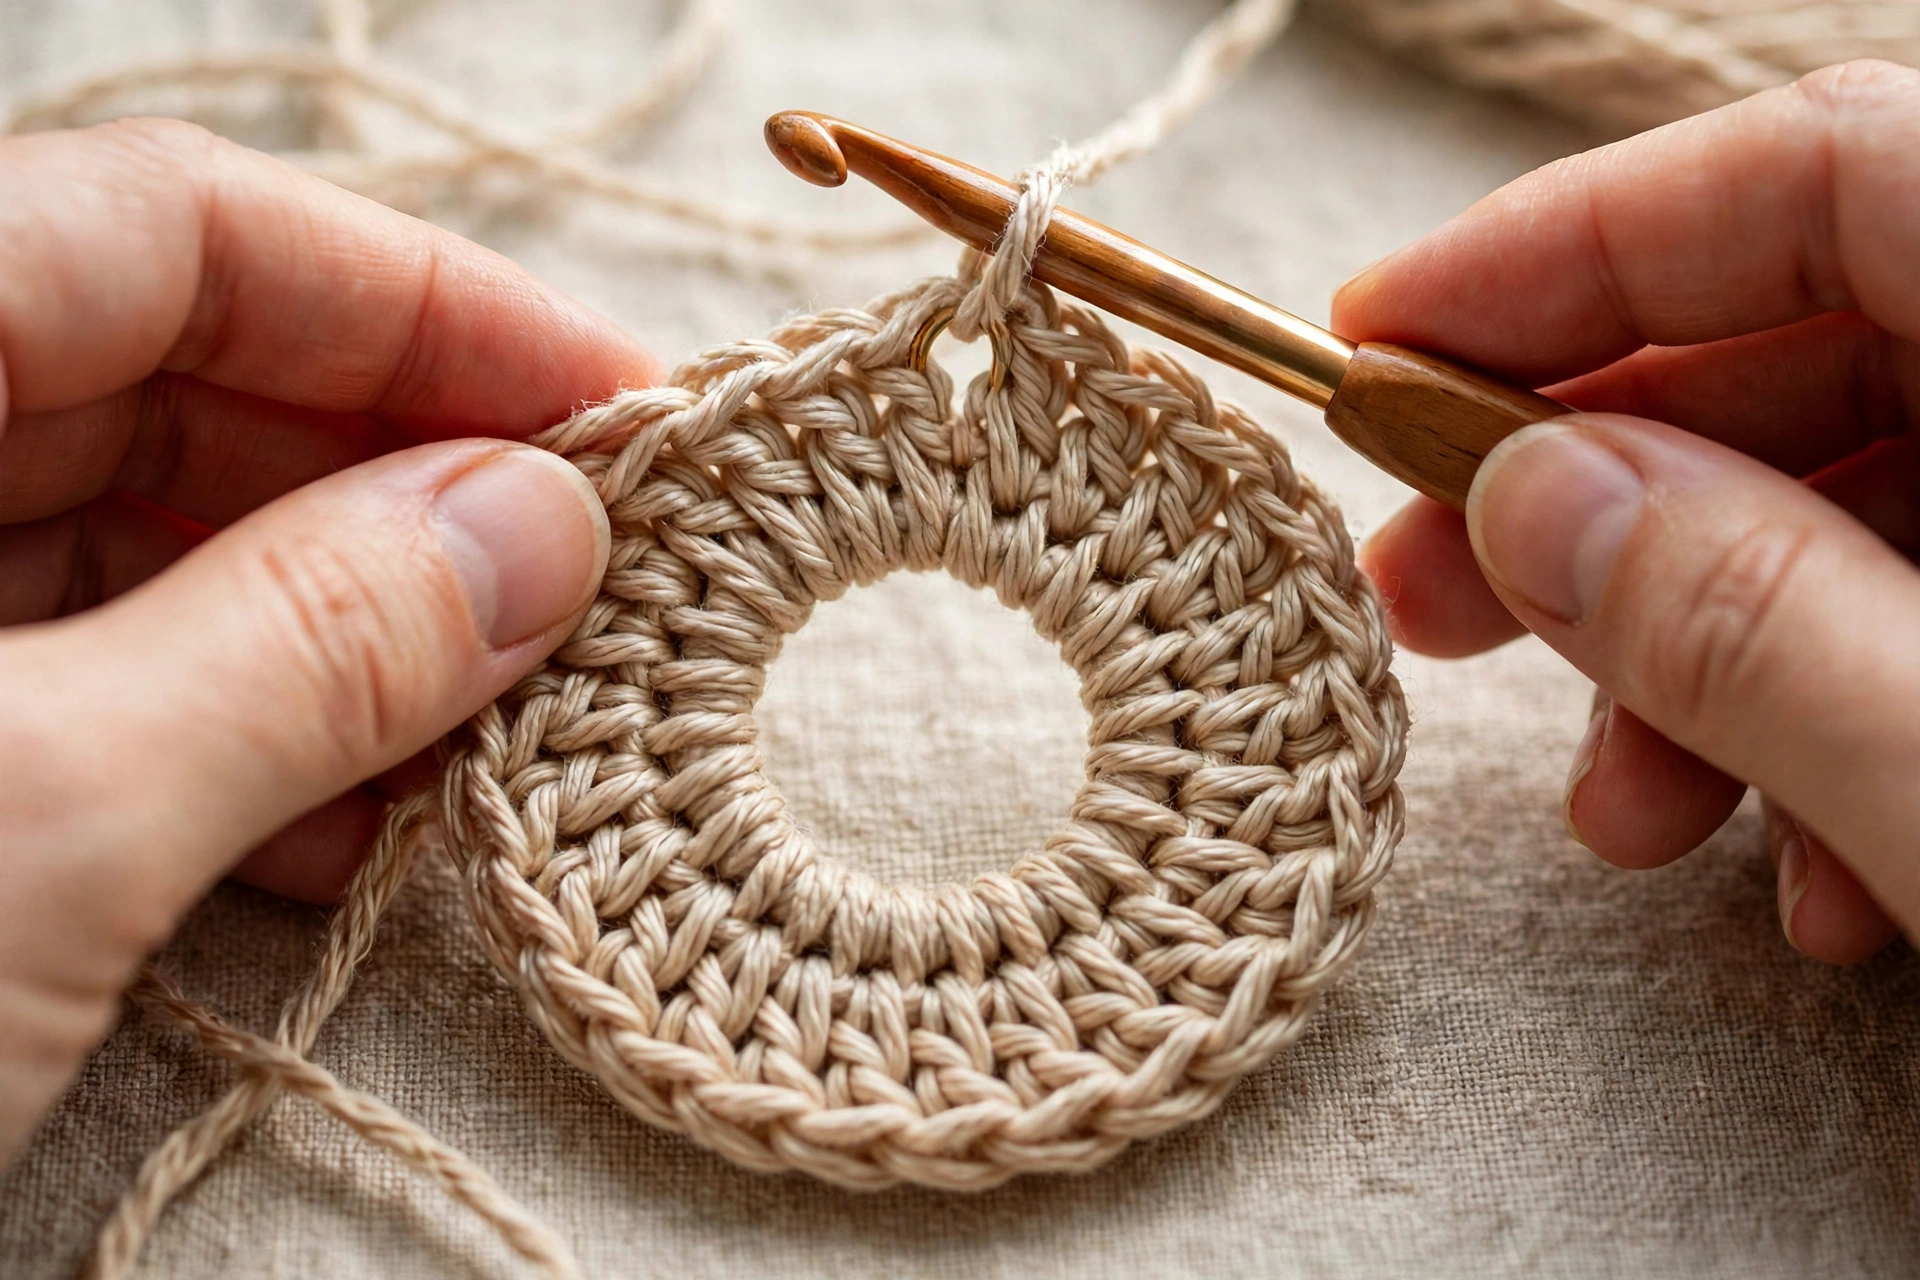
Begin by making a slip knot. Chain 4 stitches and join with a slip stitch to the first chain to form a small ring. Chain 3 to start the round (counts as the first double crochet). Work 11 double crochets into the center of the ring. Join to the top of the beginning chain with a slip stitch. (12 dc)
At the end of this round, you will have a small circular base.
Step 2: Round 2 — Expand the Circle
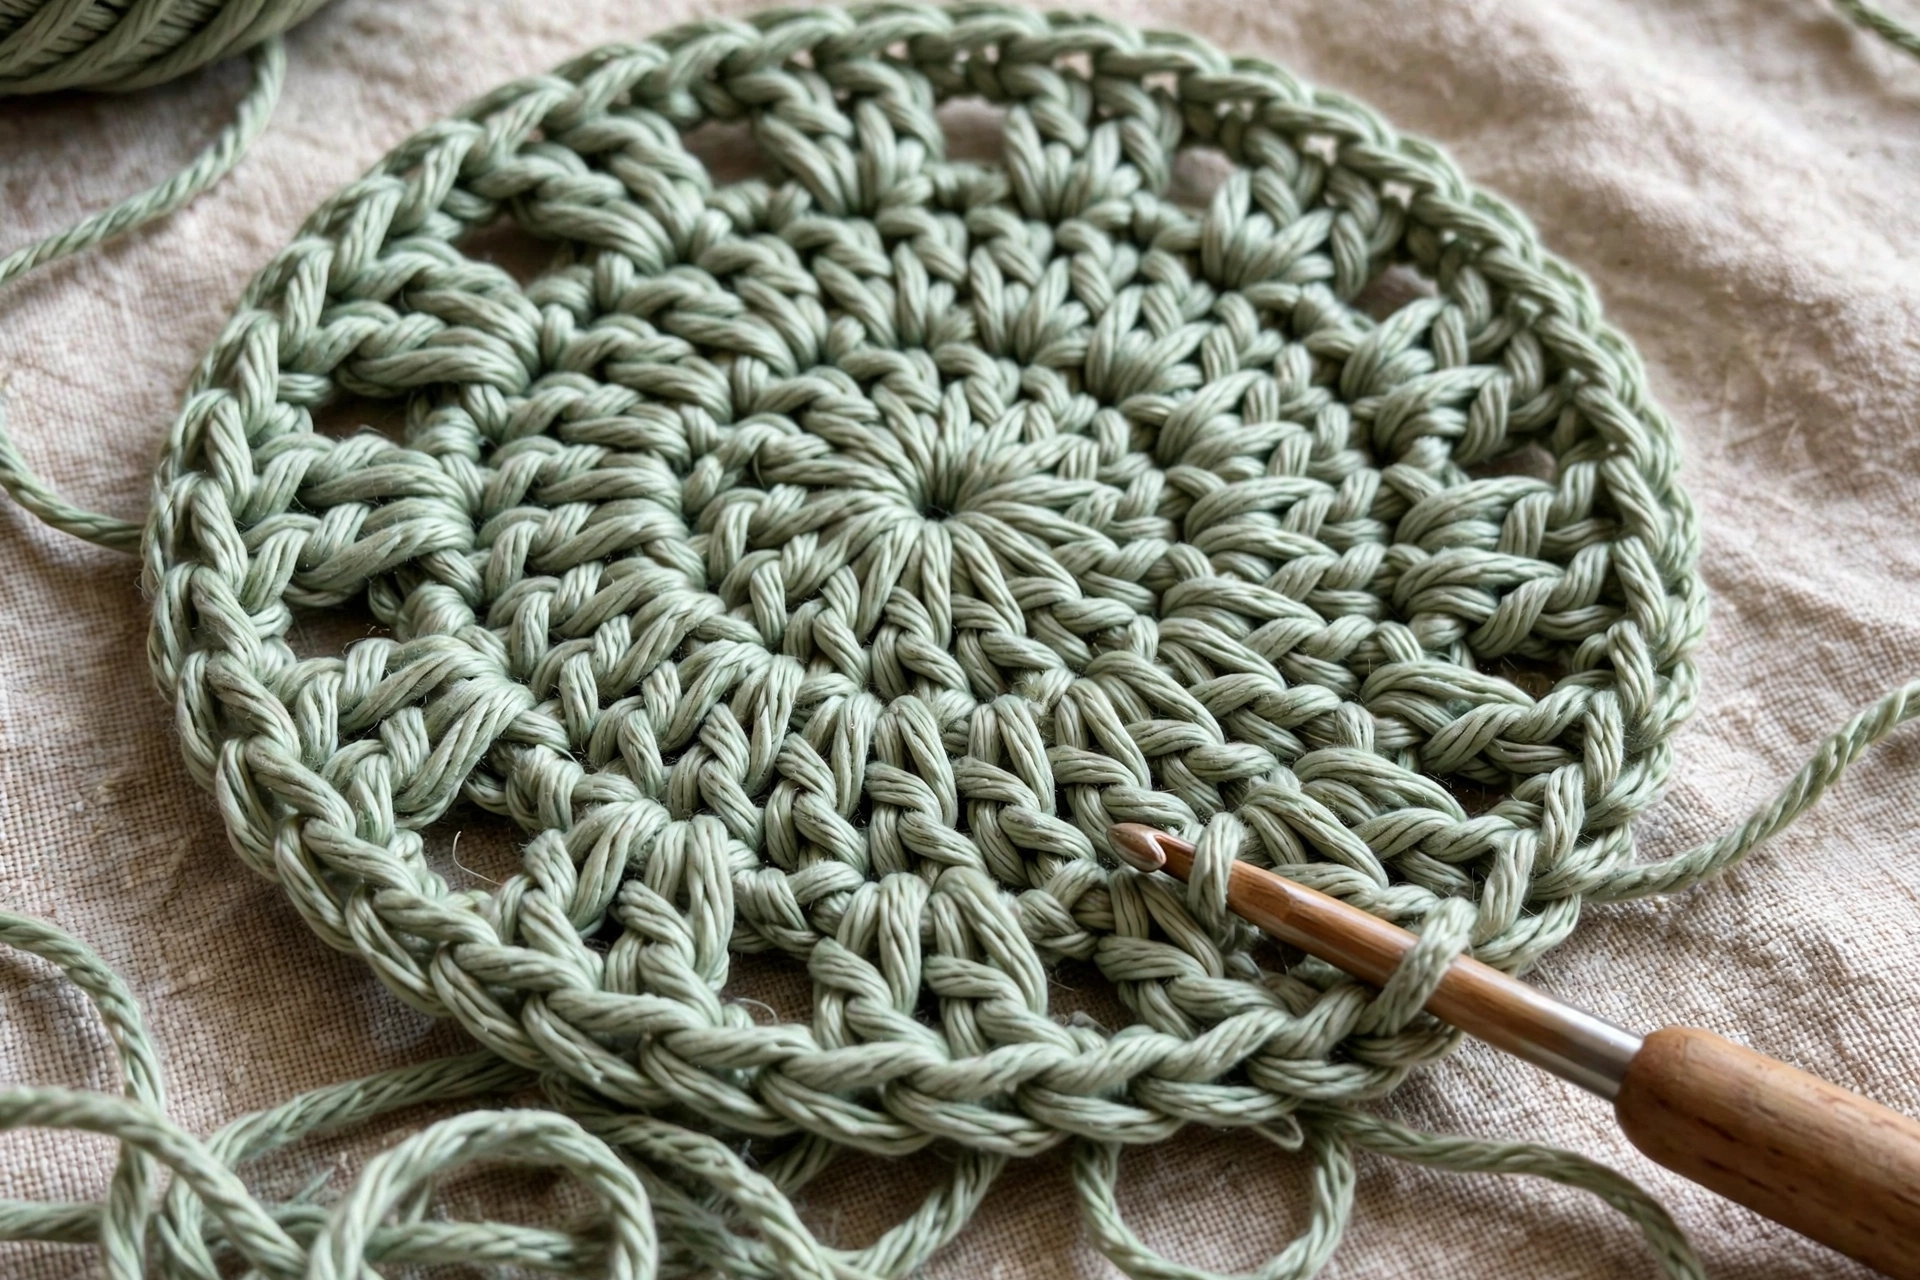
Chain 3 (counts as first dc). Work 1 double crochet into the same stitch where the chain begins. Place 2 double crochets into every stitch around the circle. Join with a slip stitch to the top of the beginning chain. (24 dc)
This increase round helps the coaster stay flat while creating a larger circle.
Step 3: Round 3 — Increase with a Repeating Pattern
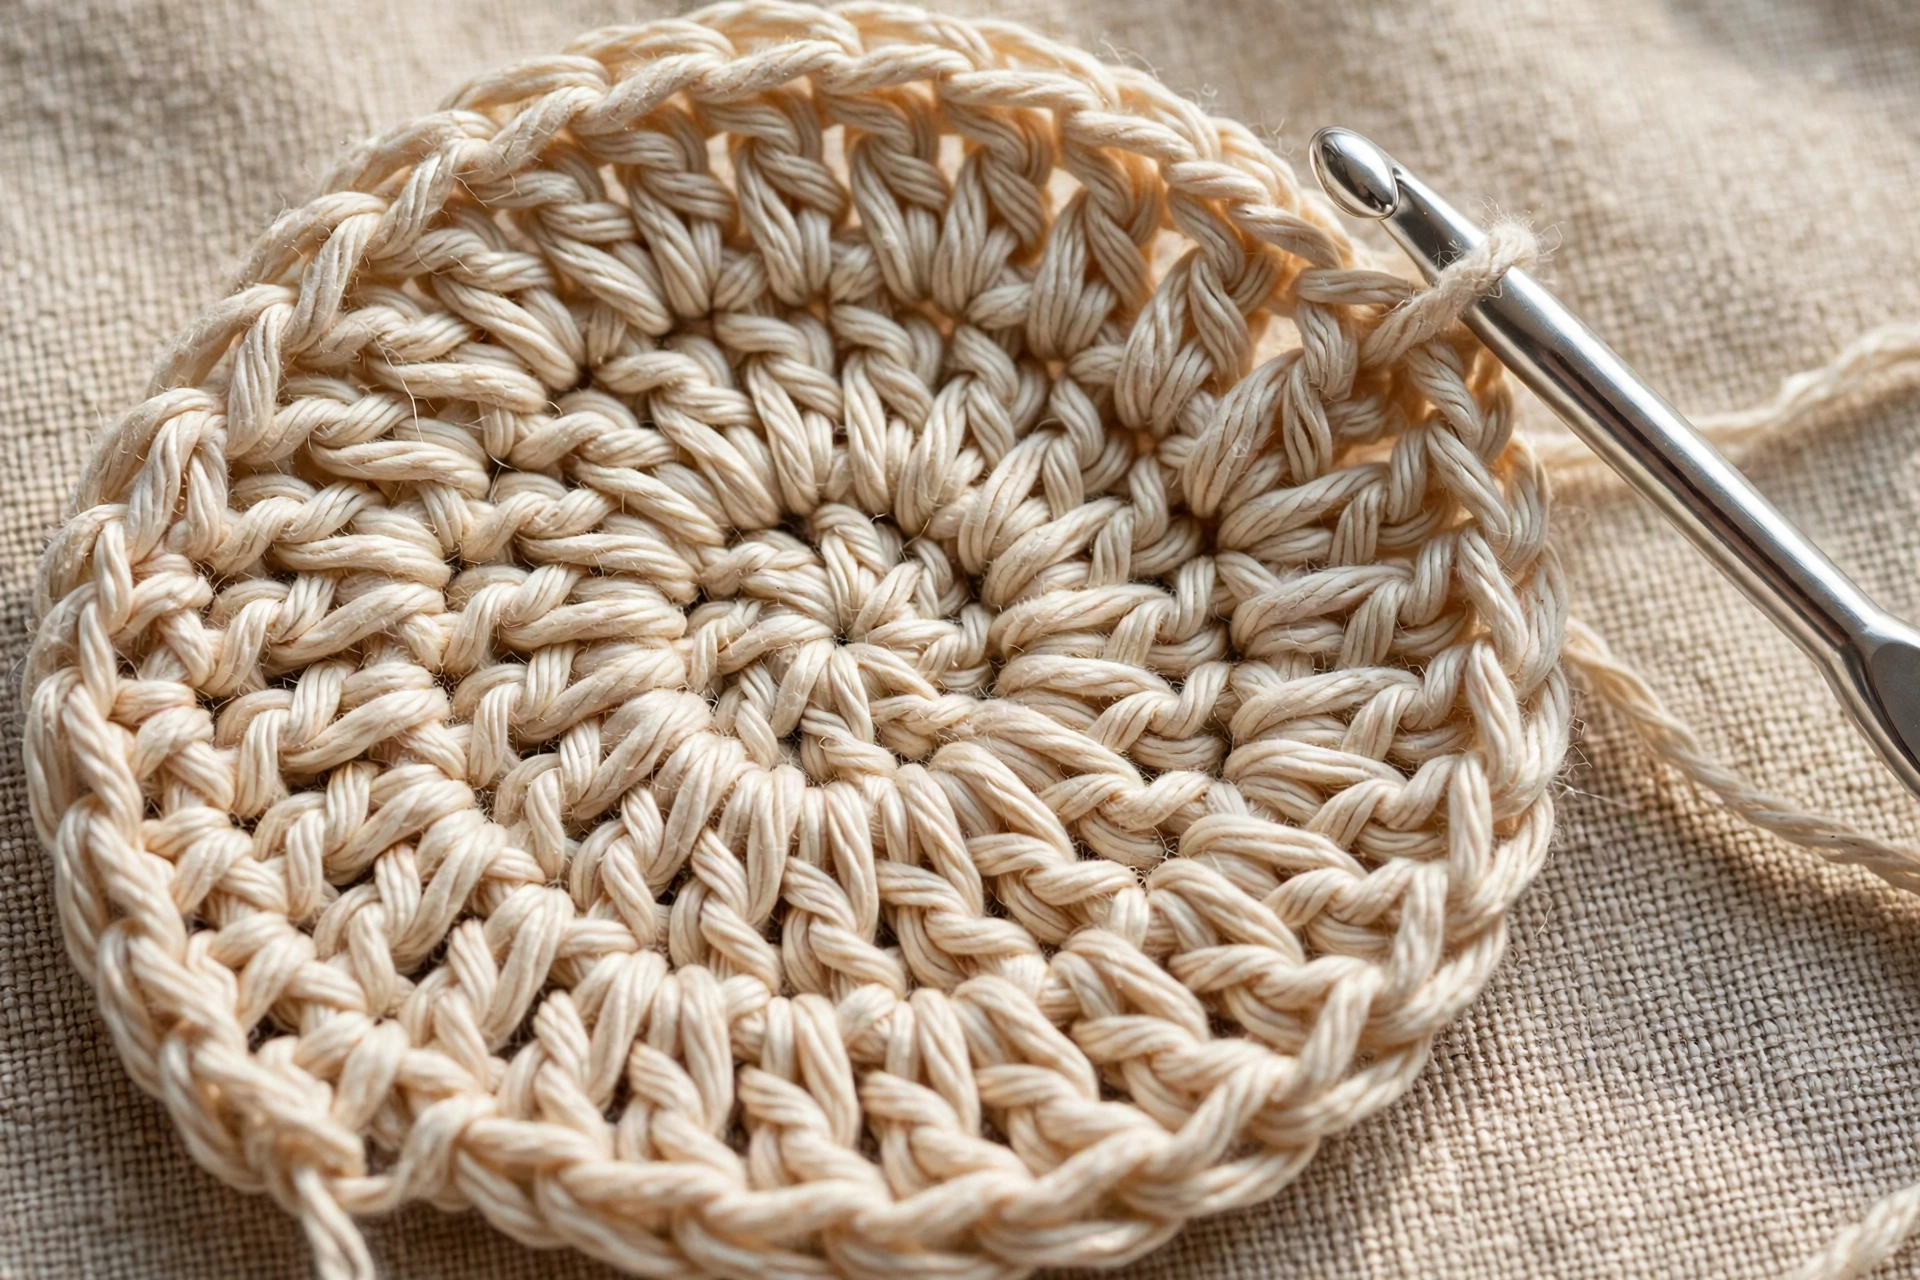
Chain 3 (counts as the first dc). Work 1 dc in the same stitch as the chain (increase), then work the repeat around: *1 dc in the next stitch, 2 dc in the next stitch* — repeat around. Join the round with a slip stitch to the top of the beginning chain. (36 dc)
You should notice the coaster becoming wider while maintaining its round shape. Count to 36 before you continue — a missed increase is the usual reason a coaster starts to cup or ruffle.
Step 4: Round 4 — Add Decorative Texture
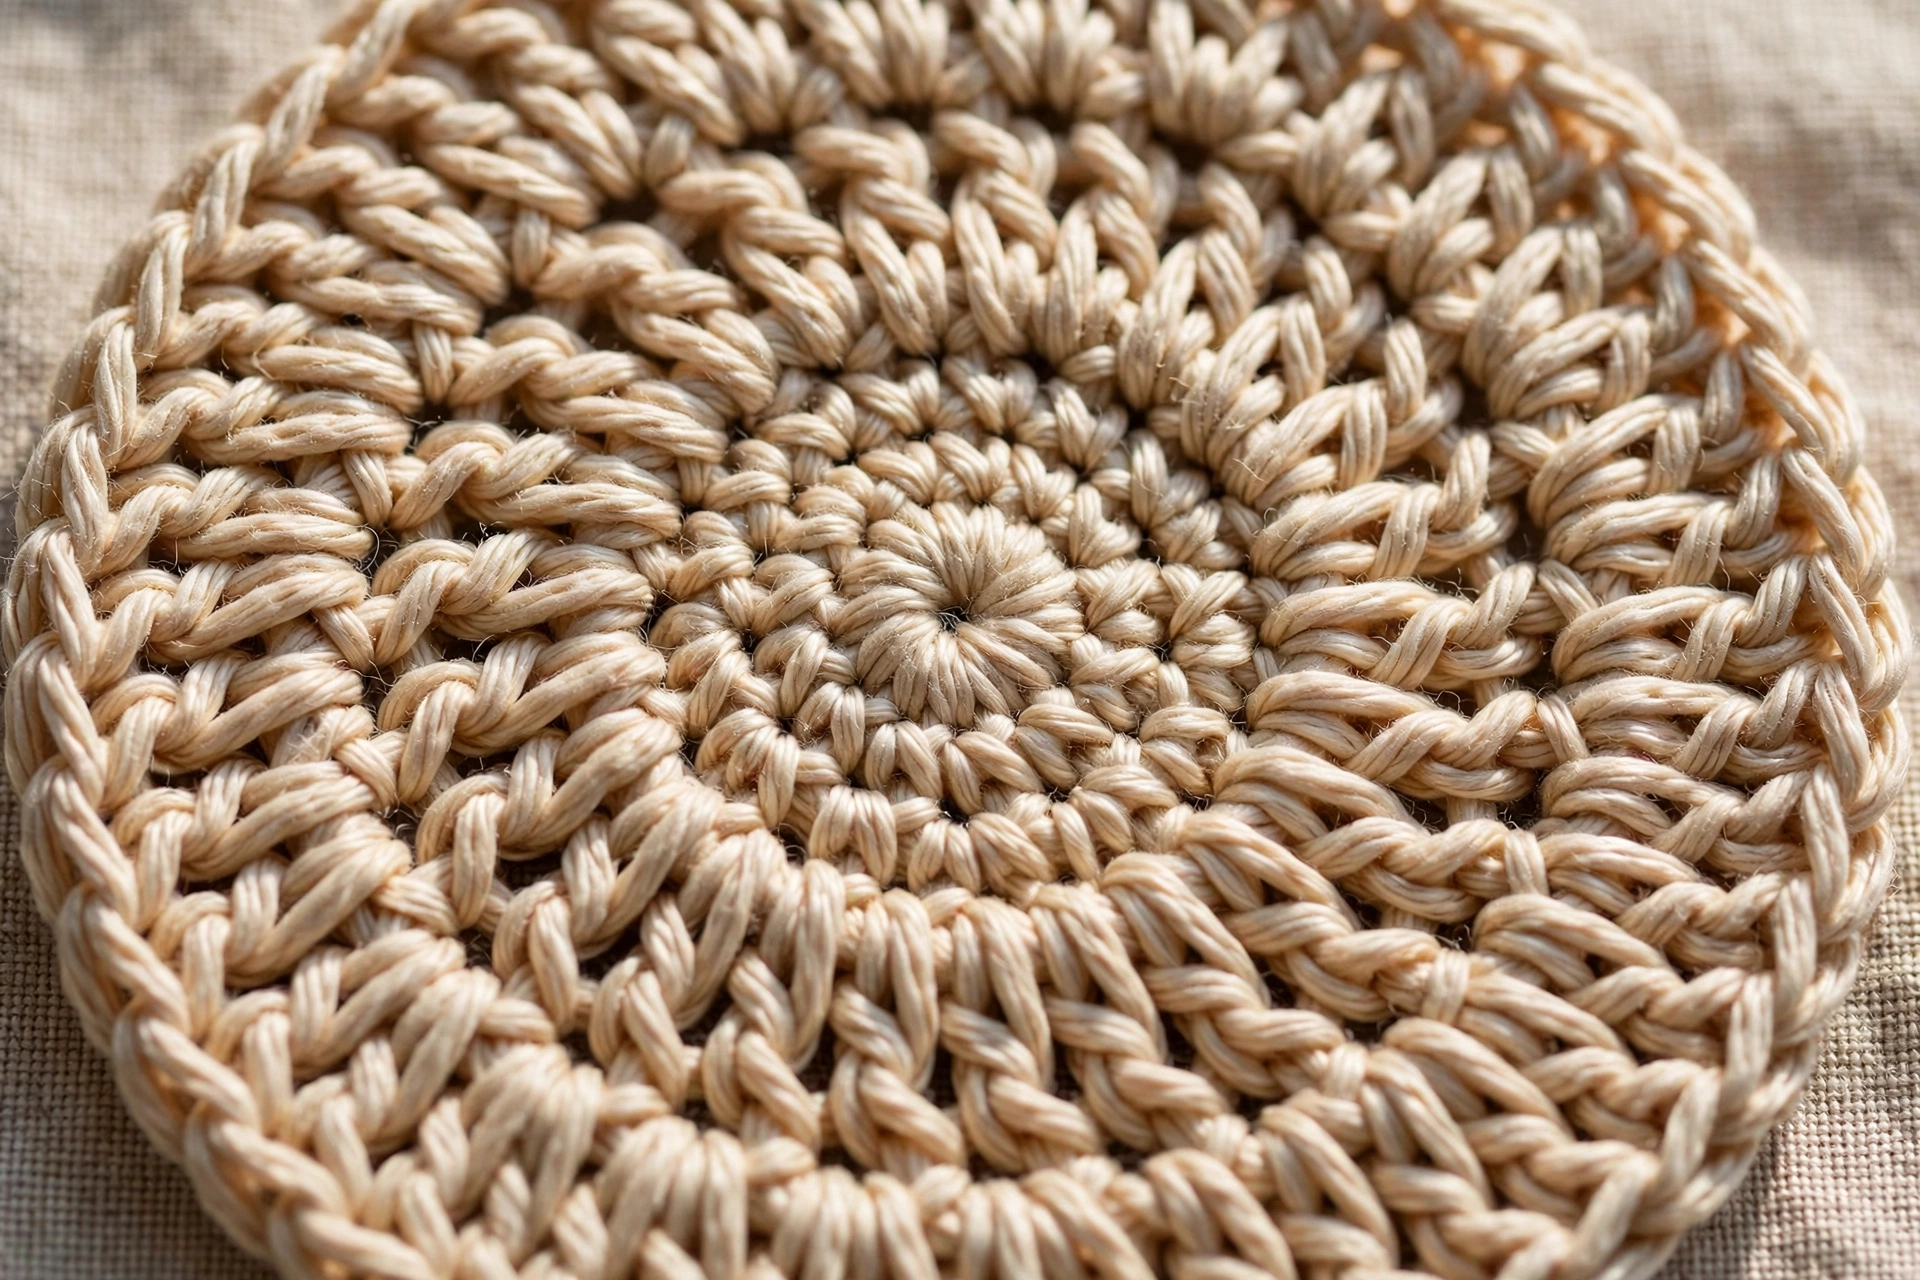
Chain 1 (does not count as a stitch). Work the following repeat around the entire coaster: *sc in each of the next 2 stitches, dc in each of the next 2 stitches* — repeat around. Join with a slip stitch to the first stitch. (36 sts: 18 sc + 18 dc)
This round creates subtle texture and gives the coaster a more decorative appearance. Keep your tension even — if this round pulls in, work a little more loosely.
Step 5: Round 5 — Finish with a Clean Border
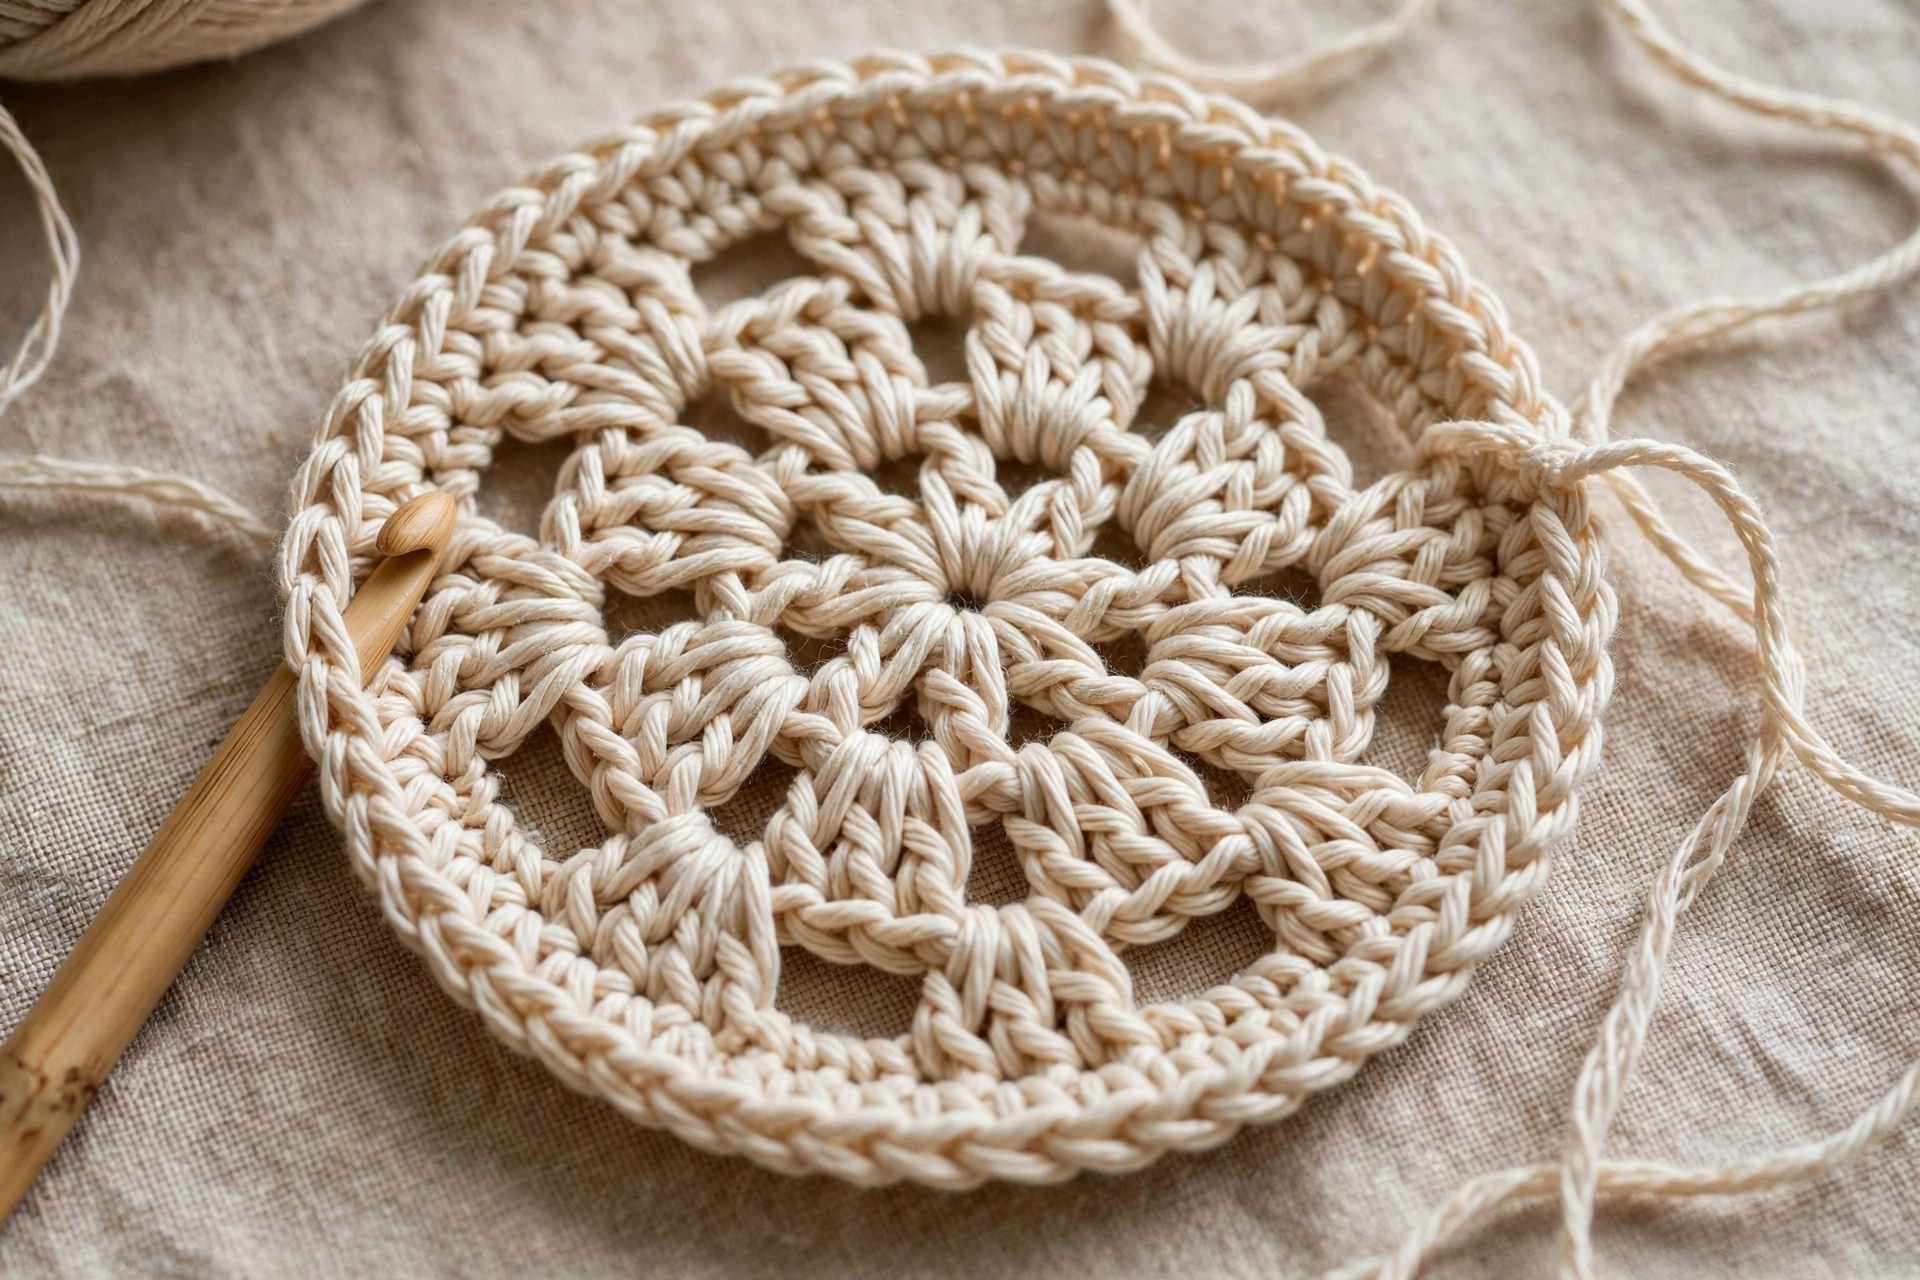
Chain 1 (does not count as a stitch). Work 1 single crochet into every stitch around the coaster. (36 sc) Once you have completed the round, join with a slip stitch to the first stitch. Fasten off and cut the yarn, leaving a 4-inch tail. Weave in any loose ends using a yarn needle.
Step 6: Finishing — Block and Make a Set
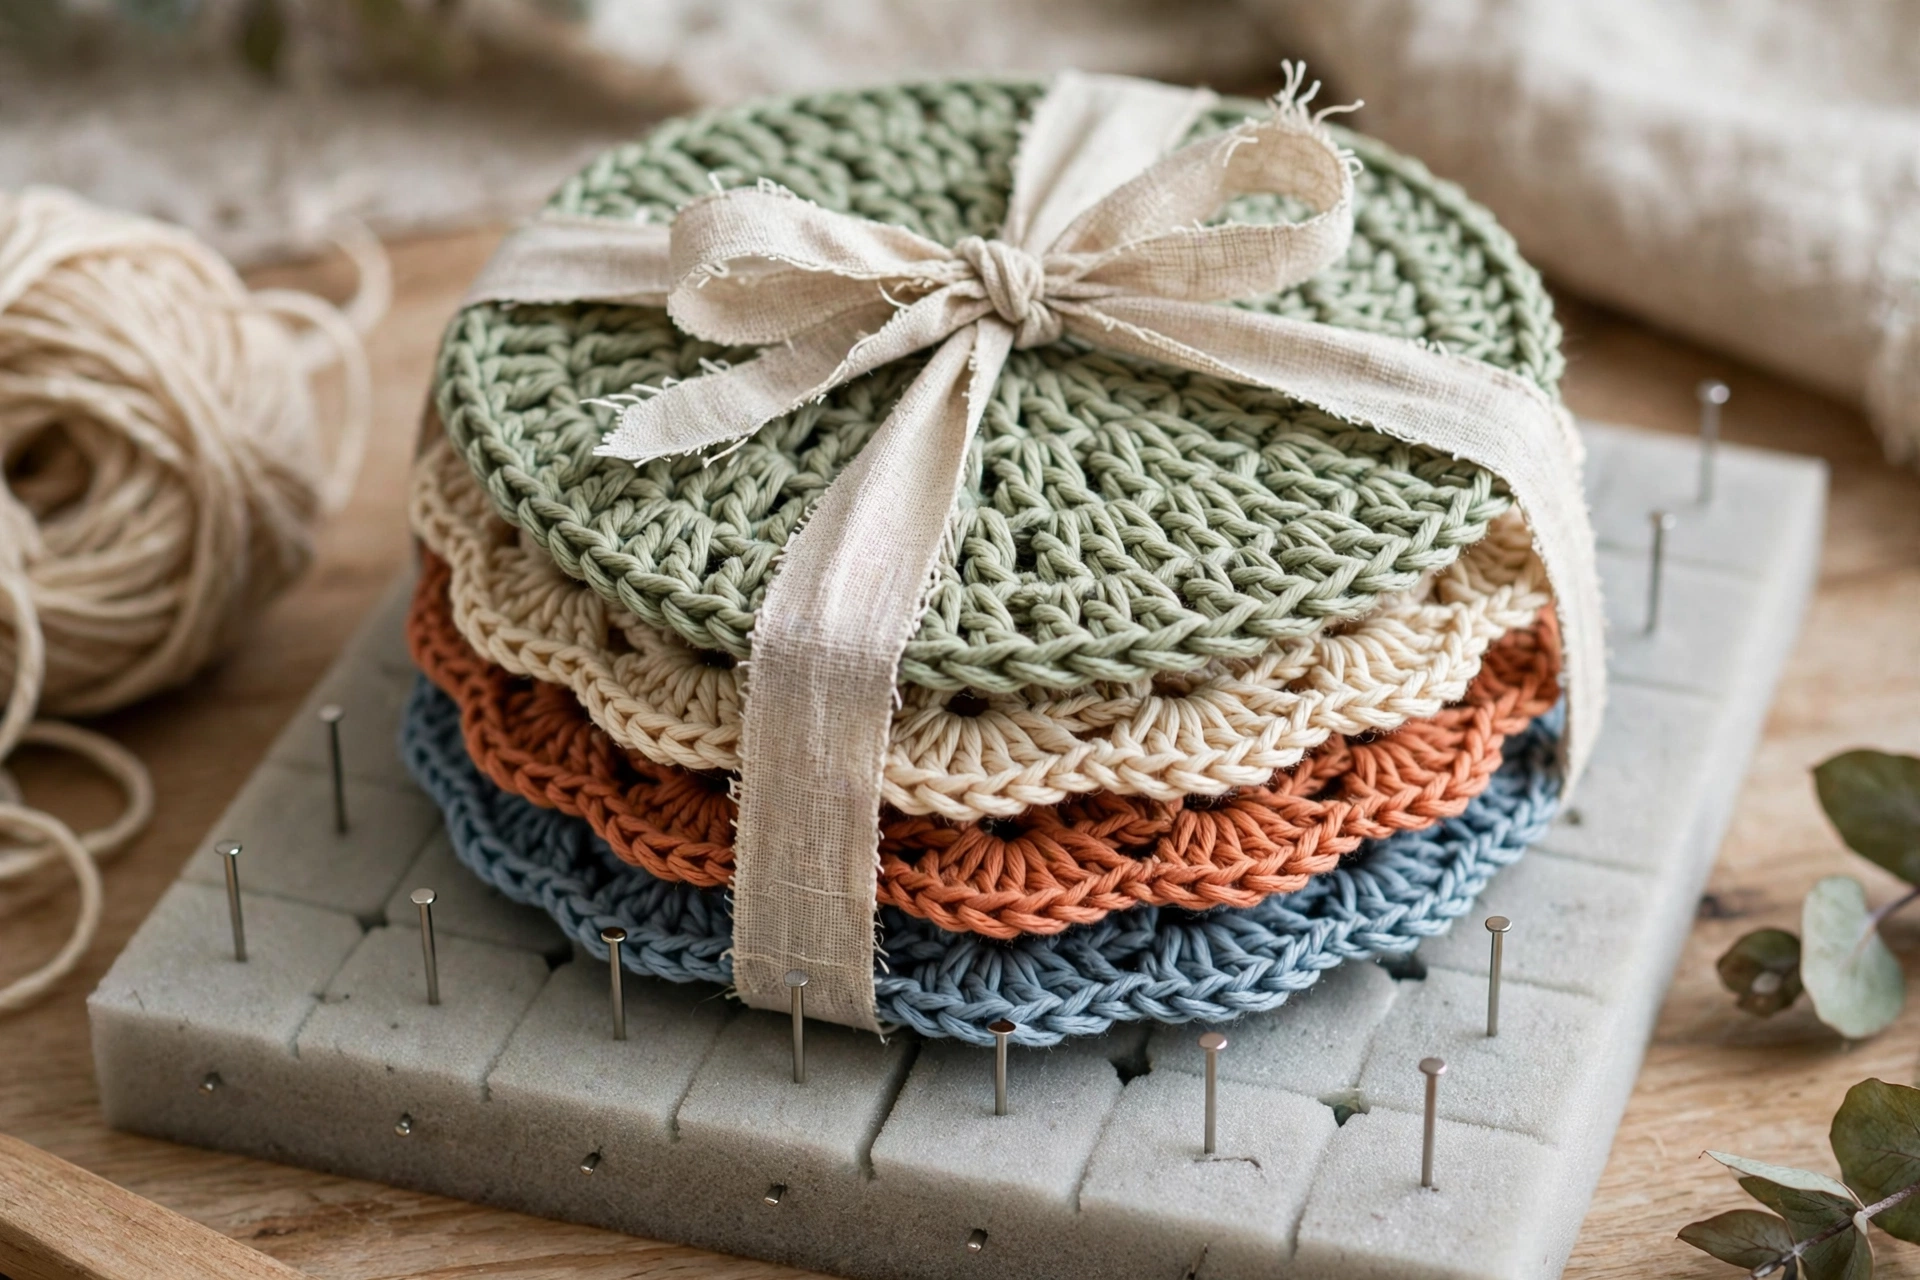
After weaving in the ends, gently flatten the coaster with your hands. If needed, lightly block it to achieve a perfectly round shape: lay it flat, mist lightly with water, shape it into a round, and leave it to dry flat.
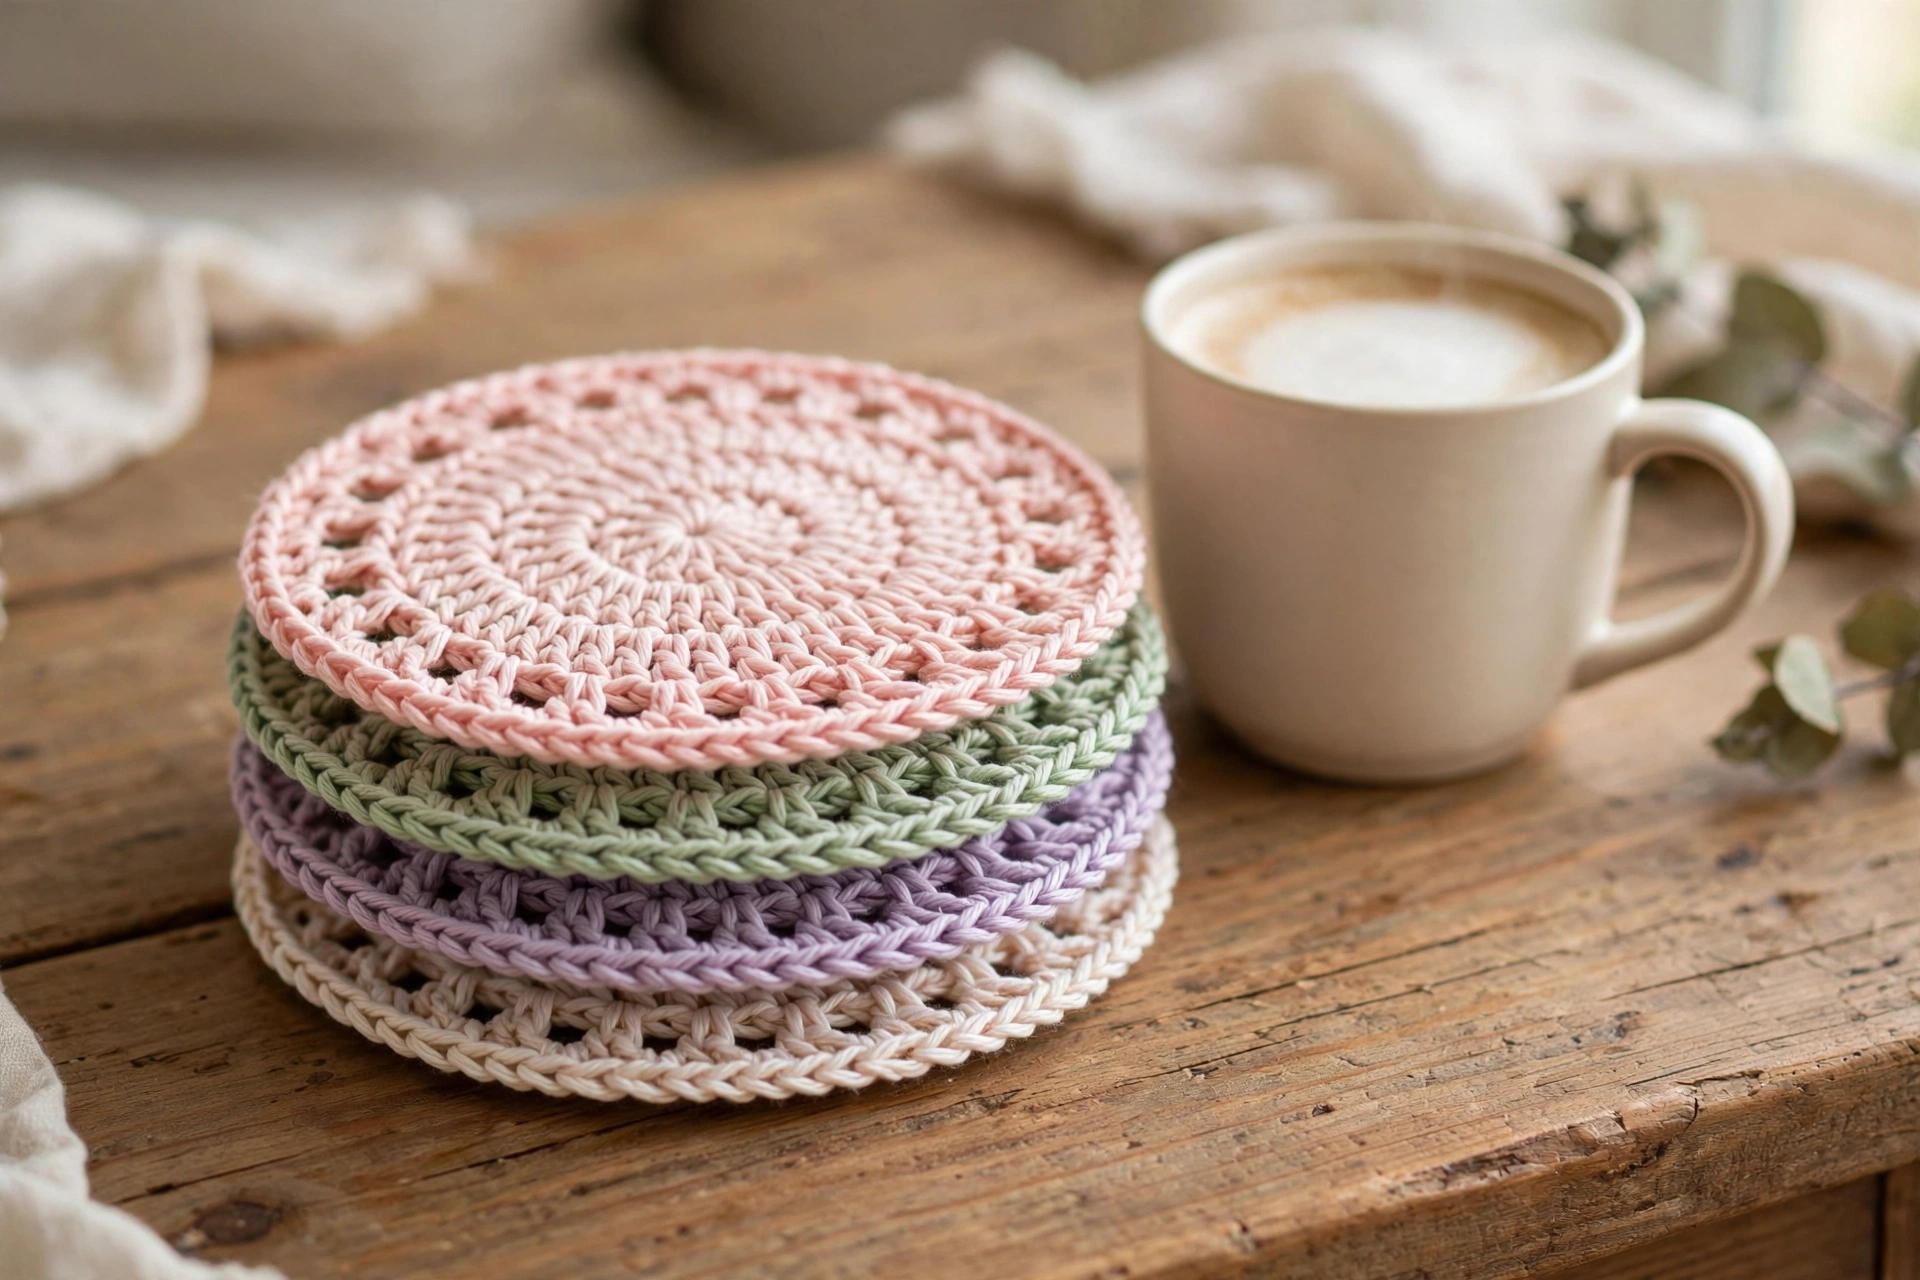
For a coordinated set, make several coasters in matching or complementary colors. Neutral tones work beautifully in modern homes, while bright colors can add a fun pop of personality to your table settings. Stack four coasters and tie them with ribbon for a ready-made gift.
Tips
- Count after Round 3. If you have 36 stitches, the coaster will lie flat. If you have fewer, it will cup; if you have more, it will ruffle.
- Use cotton yarn, not acrylic, for coasters that will hold hot mugs — cotton absorbs moisture and does not melt or go shiny with heat.
- For a larger coaster, add one more increase round before the texture round: chain 3, *2 dc in the next stitch, 1 dc in each of the next 2 stitches* repeat around (48 dc), then work Rounds 4–5 as written, adjusting the repeat counts to 48 stitches.
- For a smaller coaster, stop after Round 3 and work the border round directly (36 sc).
FAQ
What skill level is this coaster pattern?
Easy beginner. You need chain, slip stitch, single crochet and double crochet, and the ability to count stitches at the end of a round.
How long does one coaster take?
Most beginners finish one coaster in under an hour, and a set of four in an evening.
Can I use a different yarn weight?
Yes, but the finished size will change. A thinner yarn makes a smaller coaster; a thicker yarn makes a larger one. Adjust your hook to match the yarn.
Why is my coaster curling up?
Usually a missed increase in Round 2 or Round 3, or tension that is too tight. Count your stitches, work a little more loosely, and block the finished coaster flat.
How do I wash the coasters?
Hand wash in cool water and lay flat to dry, reshaping while damp. Cotton coasters can usually be machine washed on a gentle cycle — follow your yarn label.
Can I sell coasters made from this pattern?
Yes. You may sell finished coasters made from this pattern, with credit to Crochet Your Way. Please do not copy, redistribute or sell the pattern text or photos themselves.
Creative Ways to Use These Coasters
- Coffee mug coasters
- Tea cup mats
- Housewarming gifts
- Holiday gift sets
- Office desk accessories
- Handmade market products
- Decorative table accents
Final Thoughts
This crochet circle coaster pattern is proof that simple projects can still be incredibly useful and beautiful. With just a few rounds and basic stitches, you will have a durable handmade coaster that is perfect for everyday use. It is an excellent beginner project and a wonderful way to practice crocheting in the round while creating something you will actually use around the house.