Crochet Christmas Plushies: A Complete Reindeer Amigurumi Pattern
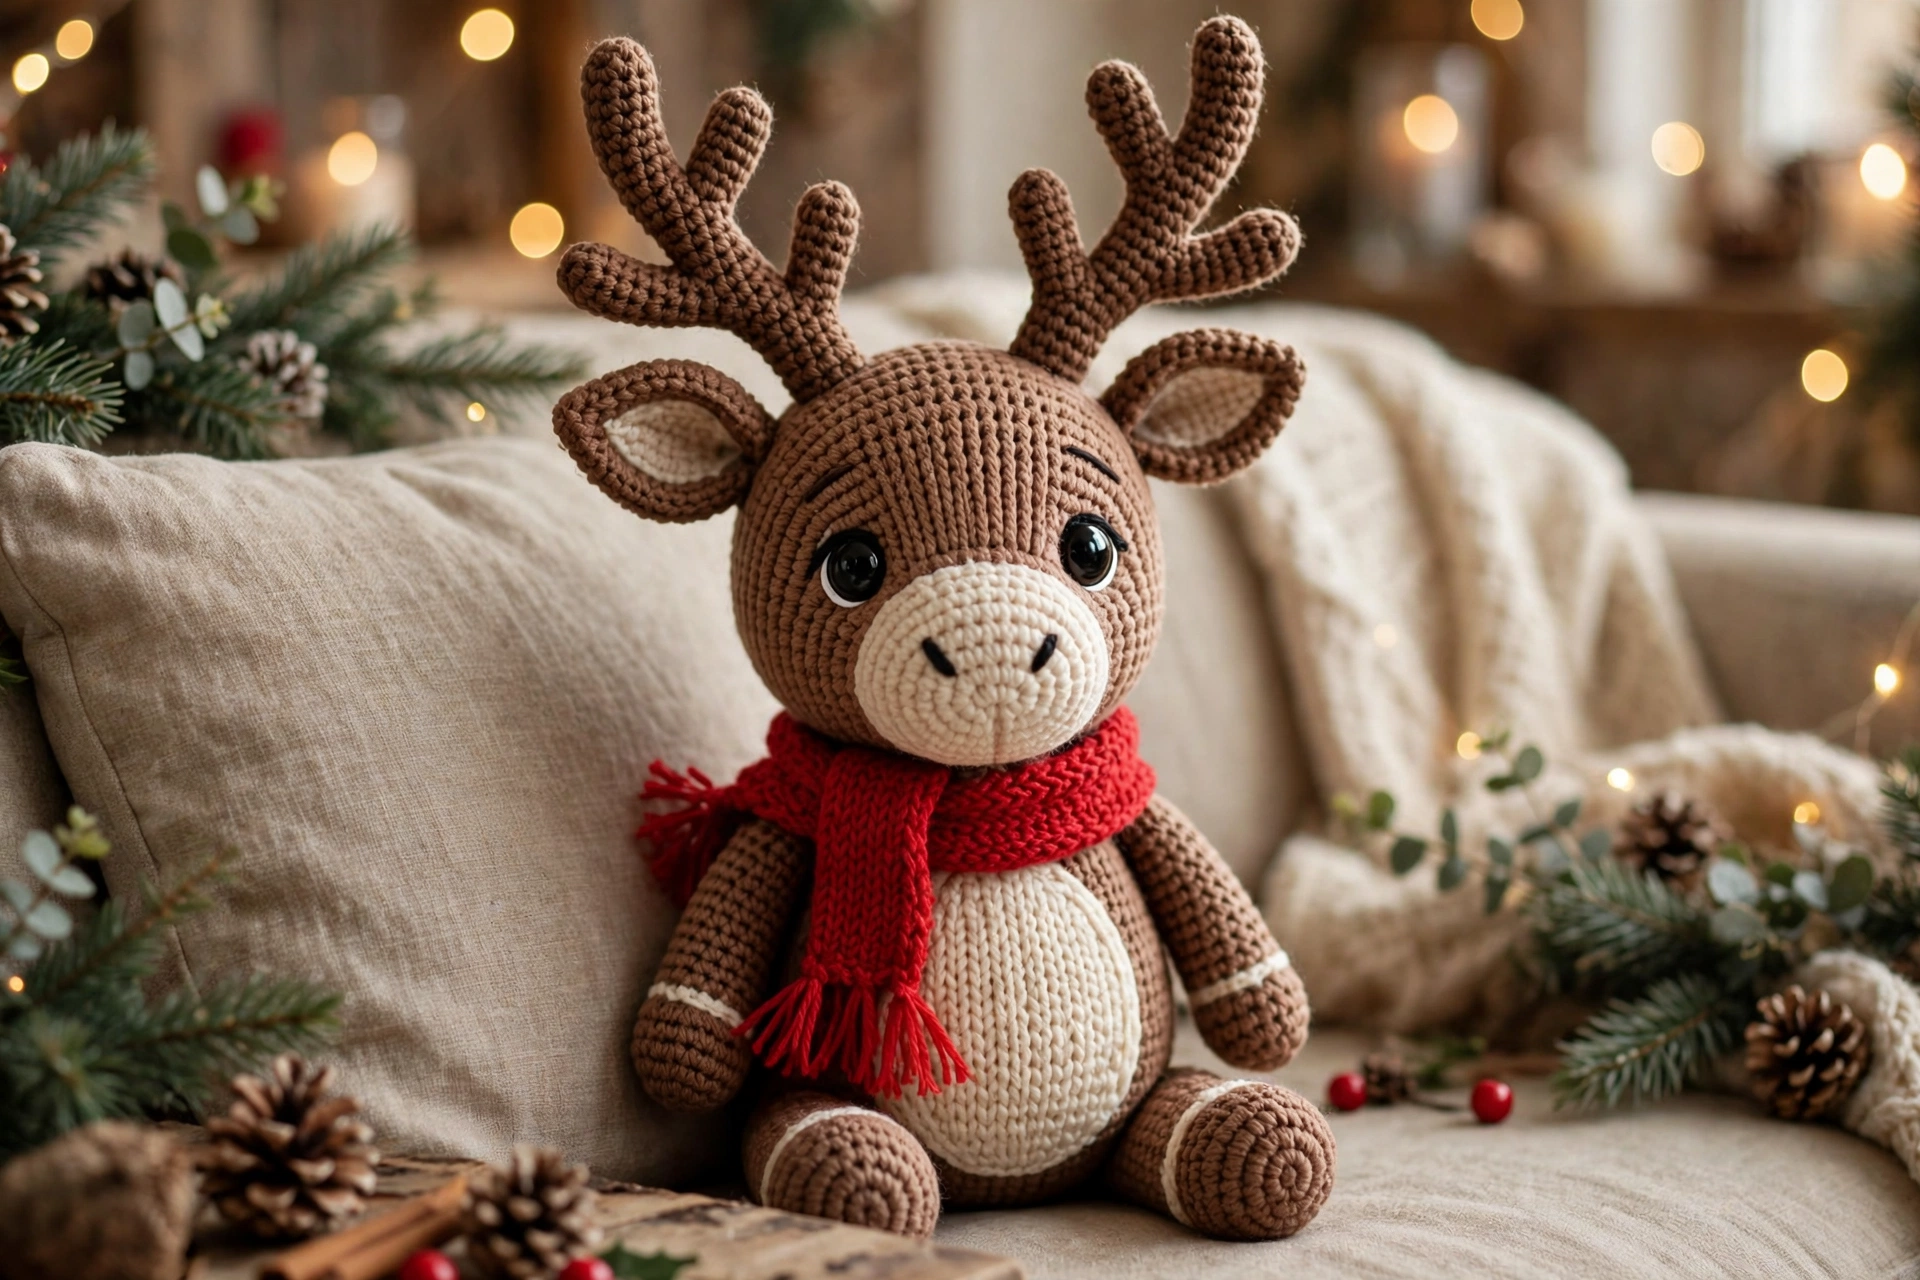
Christmas reindeer is made to be cuddled, displayed, loved year after year. Worked in simple single crochet rounds, so if can work in spiral and keep track of stitch counts, can make it. Finished reindeer has round head, lighter muzzle, branching antlers, floppy ears, cream belly patch, short red scarf with fringe. Pieces crocheted separately then sewn together, easy to adjust position of ears, arms, legs as assemble. Take time with stuffing: firm, even stuffing is what gives amigurumi smooth, rounded shape. Stuff little at a time, push filling into edges before close each piece.
Materials
Worsted weight yarn (medium / weight 4), approximate amounts: Main brown about 230 yards (210 metres), about 110 g; Cream or light tan, for muzzle and belly patch about 70 yards (64 metres); Dark brown, for antlers about 35 yards (32 metres); Red, for scarf about 50 yards (46 metres); Black, for nose and embroidered details small amount. Hook: 4.0 mm (US G-6). Stuffing: Polyester fibre filling, about 150 g. Eyes: One pair 12 mm safety eyes, with washers. Notions: Stitch marker, tapestry needle, scissors, pins for positioning before sewing.
Safety Notes for Small Parts: Safety eyes secure when fitted correctly, but still small parts; follow manufacturer’s fitting instructions and tug-test each eye after fitting. For toy intended for child under three, embroider eyes instead of safety eyes, sew every piece very securely, check seams regularly, do not add buttons, beads, or other small decorations that could come loose.
Gauge
18 single crochet stitches and 18 rounds = 4 inches (10 cm), worked in rounds with 4.0 mm hook. Gauge does not need exact for plushie, but stitches should be tight enough stuffing does not show through. If can see gaps, try smaller hook; if fabric very stiff and hard to work, try hook one size larger.
Finished Size
Approximately 10 inches (25 cm) tall from base to top of antlers, and about 4 inches (10 cm) wide across body. Without antlers, reindeer measures about 8 inches (20 cm) tall. Finished size will vary with yarn, hook, stuffing.
Abbreviations (US Terms)
ch — chain; sc — single crochet; hdc — half double crochet; sl st — slip stitch; inc — increase: work 2 sc in same stitch, unless stated otherwise; dec — decrease: sc 2 together; st(s) — stitch(es); rnd(s) — round(s); rep — repeat; MR — magic ring; FO — fasten off. Work in continuous rounds unless row stated, do not join rounds and do not turn, unless instructions say to. Place stitch marker in first stitch of each round and move up. Stitch count in brackets at end of round is total number of stitches in that round.
Step 1: Head
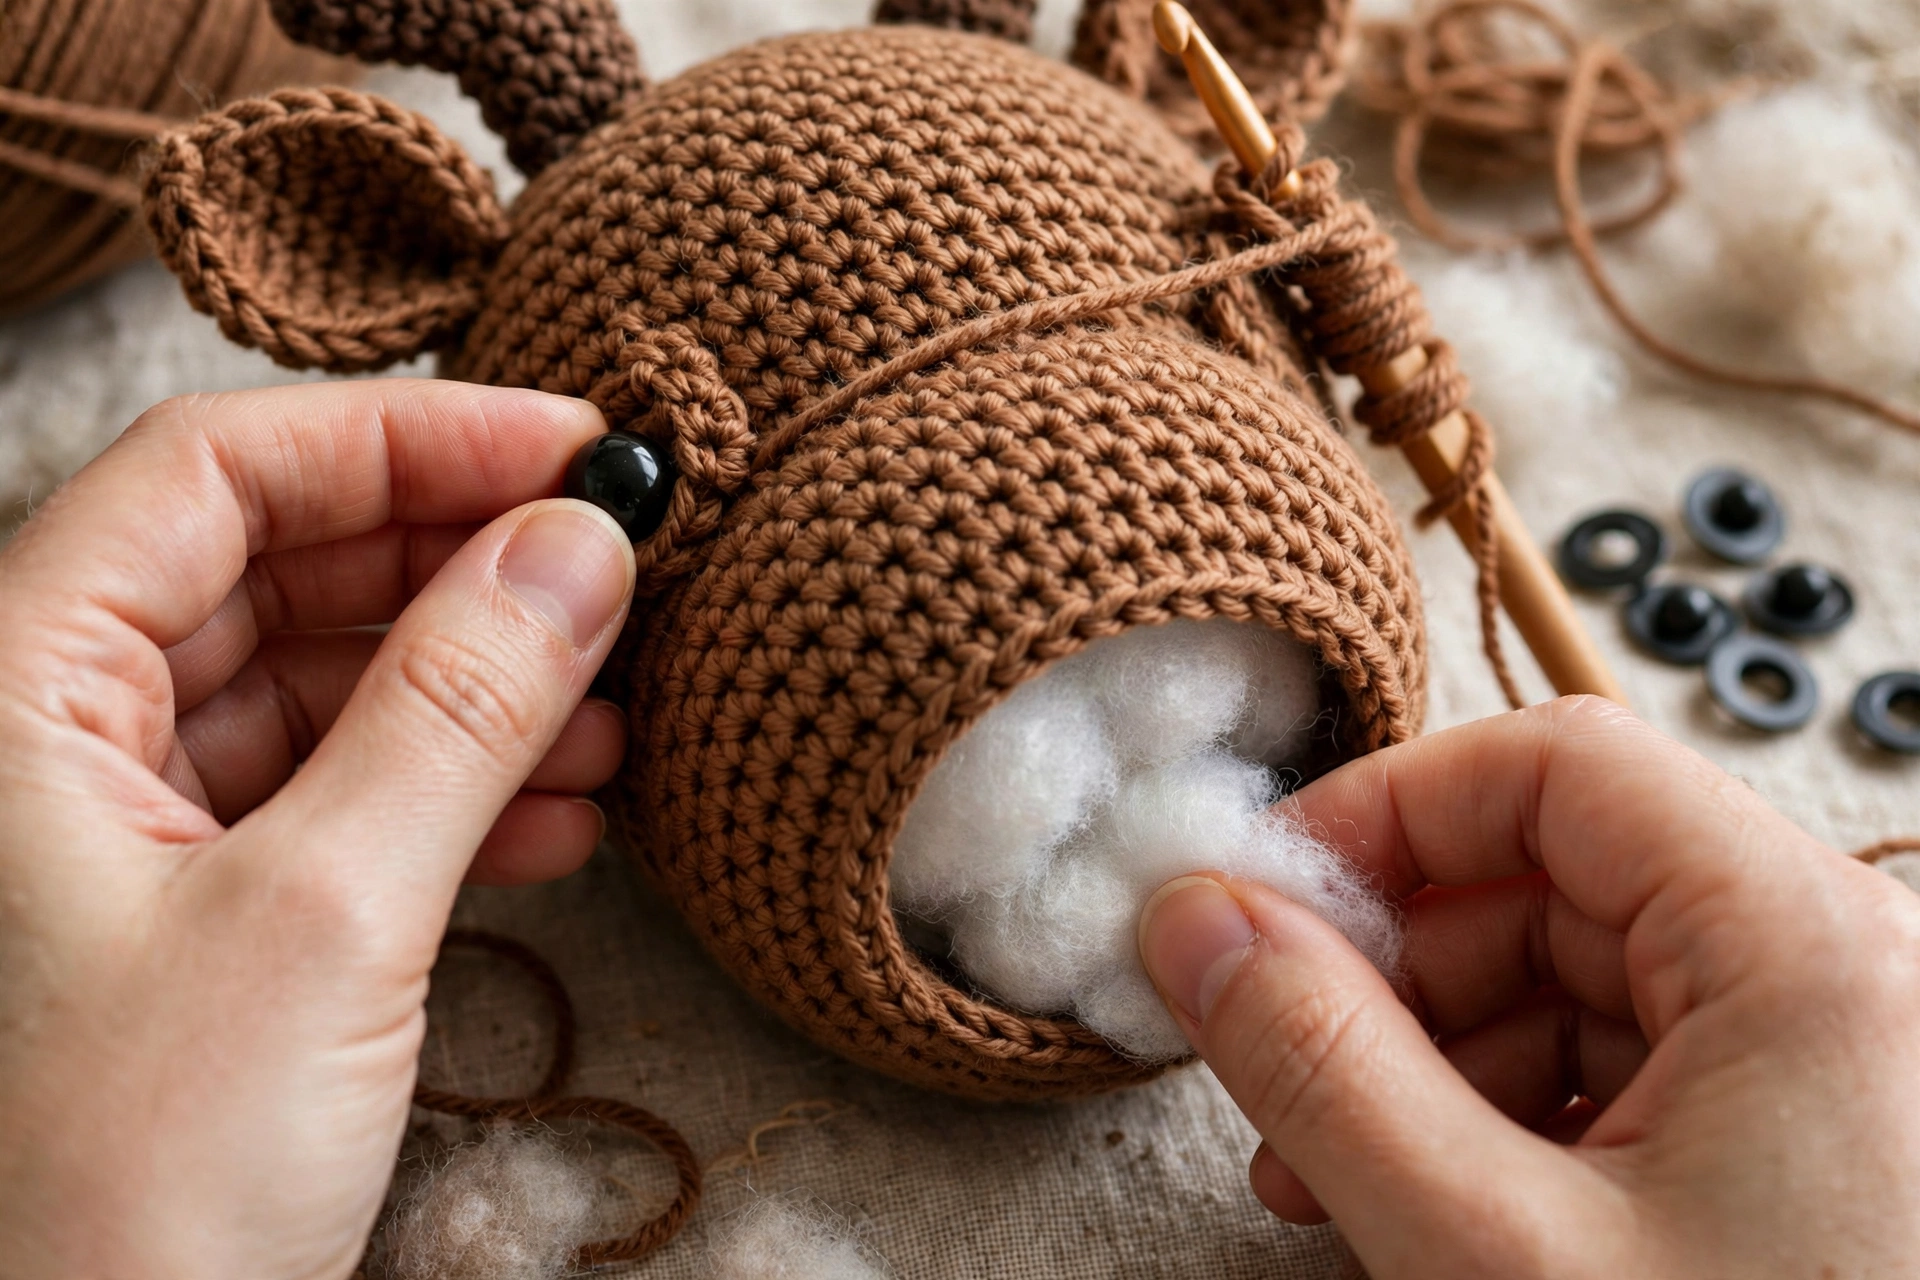
Worked in main brown, continuous rounds, starting at top of head. Rnd 1: MR, 6 sc. (6). Rnd 2: inc each st. (12). Rnd 3: (sc, inc) rep 6. (18). Rnd 4: (2 sc, inc) rep 6. (24). Rnd 5: (3 sc, inc) rep 6. (30). Rnd 6: (4 sc, inc) rep 6. (36). Rnd 7: (5 sc, inc) rep 6. (42). Rnds 8–14: sc each st. (42). Rnd 15: (5 sc, dec) rep 6. (36). Rnd 16: (4 sc, dec) rep 6. (30). Rnd 17: (3 sc, dec) rep 6. (24). Rnd 18: (2 sc, dec) rep 6. (18). Rnd 19: (sc, dec) rep 6. (12). Rnd 20: dec 6 times. (6). Insert safety eyes between Rnds 11 and 12, about 7 stitches between inner edges of eyes, before finish stuffing. If embroidering eyes instead, can add after assembly. Stuff head firmly, keeping round. FO, leaving long tail. Thread tail through front loops of remaining 6 stitches, pull closed, weave end.
Step 2: Muzzle and Nose
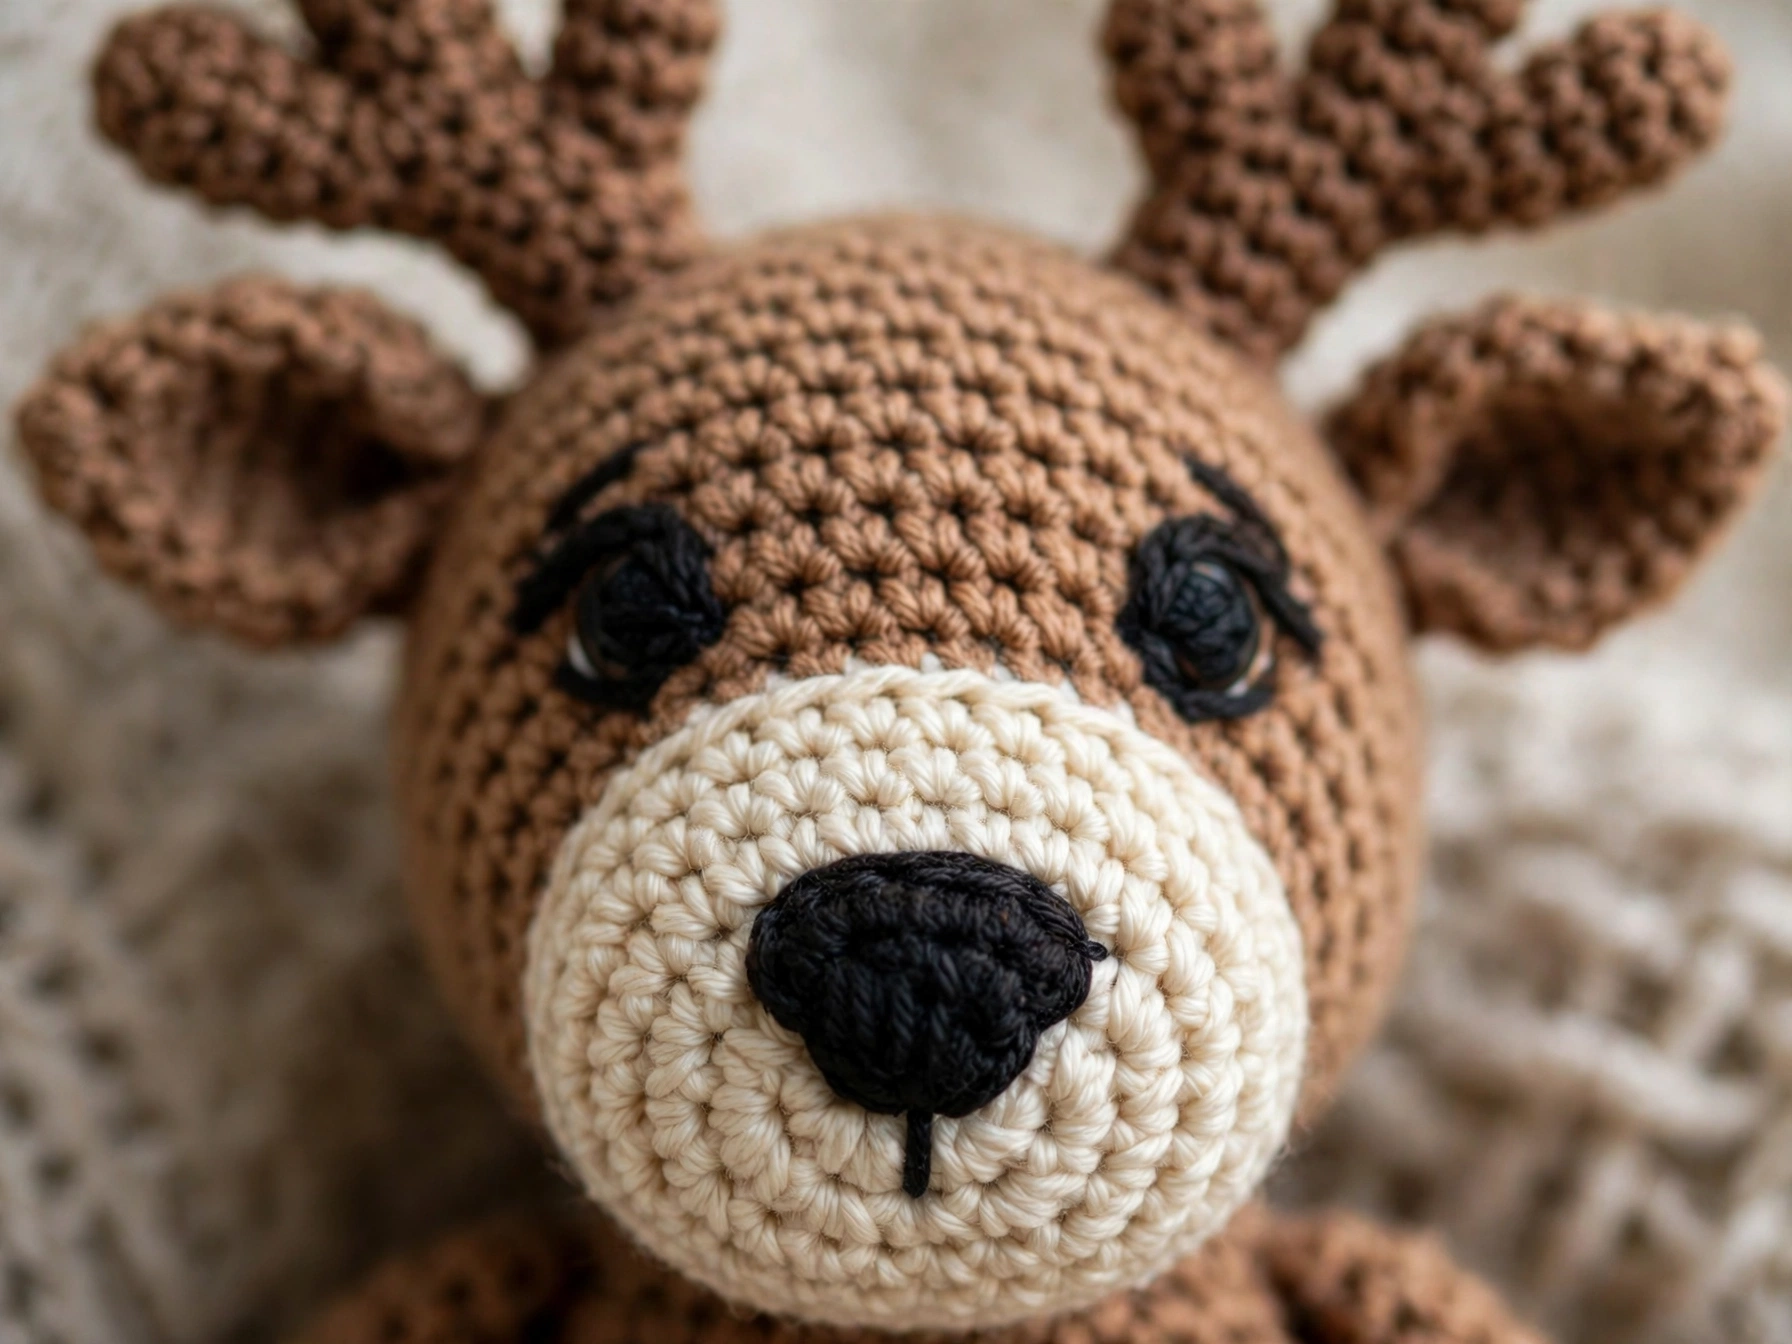
Muzzle: Worked in cream or light tan, continuous rounds. Rnd 1: MR, 6 sc. (6). Rnd 2: inc each st. (12). Rnd 3: (sc, inc) rep 6. (18). Rnd 4: (2 sc, inc) rep 6. (24). Rnds 5–6: sc each st. (24). FO, leaving long tail for sewing. Stuff muzzle lightly so stays softly rounded rather than hard. Nose: Worked in black, continuous rounds. Rnd 1: MR, 6 sc. (6). Rnd 2: inc each st. (12). Rnd 3: sc each st. (12). FO, leaving long tail for sewing. Stuff very lightly, or leave unstuffed and sew flat for flatter nose. Sew muzzle to lower centre of head, over about Rnds 10–17 of head, top of muzzle sitting below eyes. Sew black nose to centre of muzzle. If prefer, embroider small smile below nose with black yarn.
Step 3: Body and Belly Patch
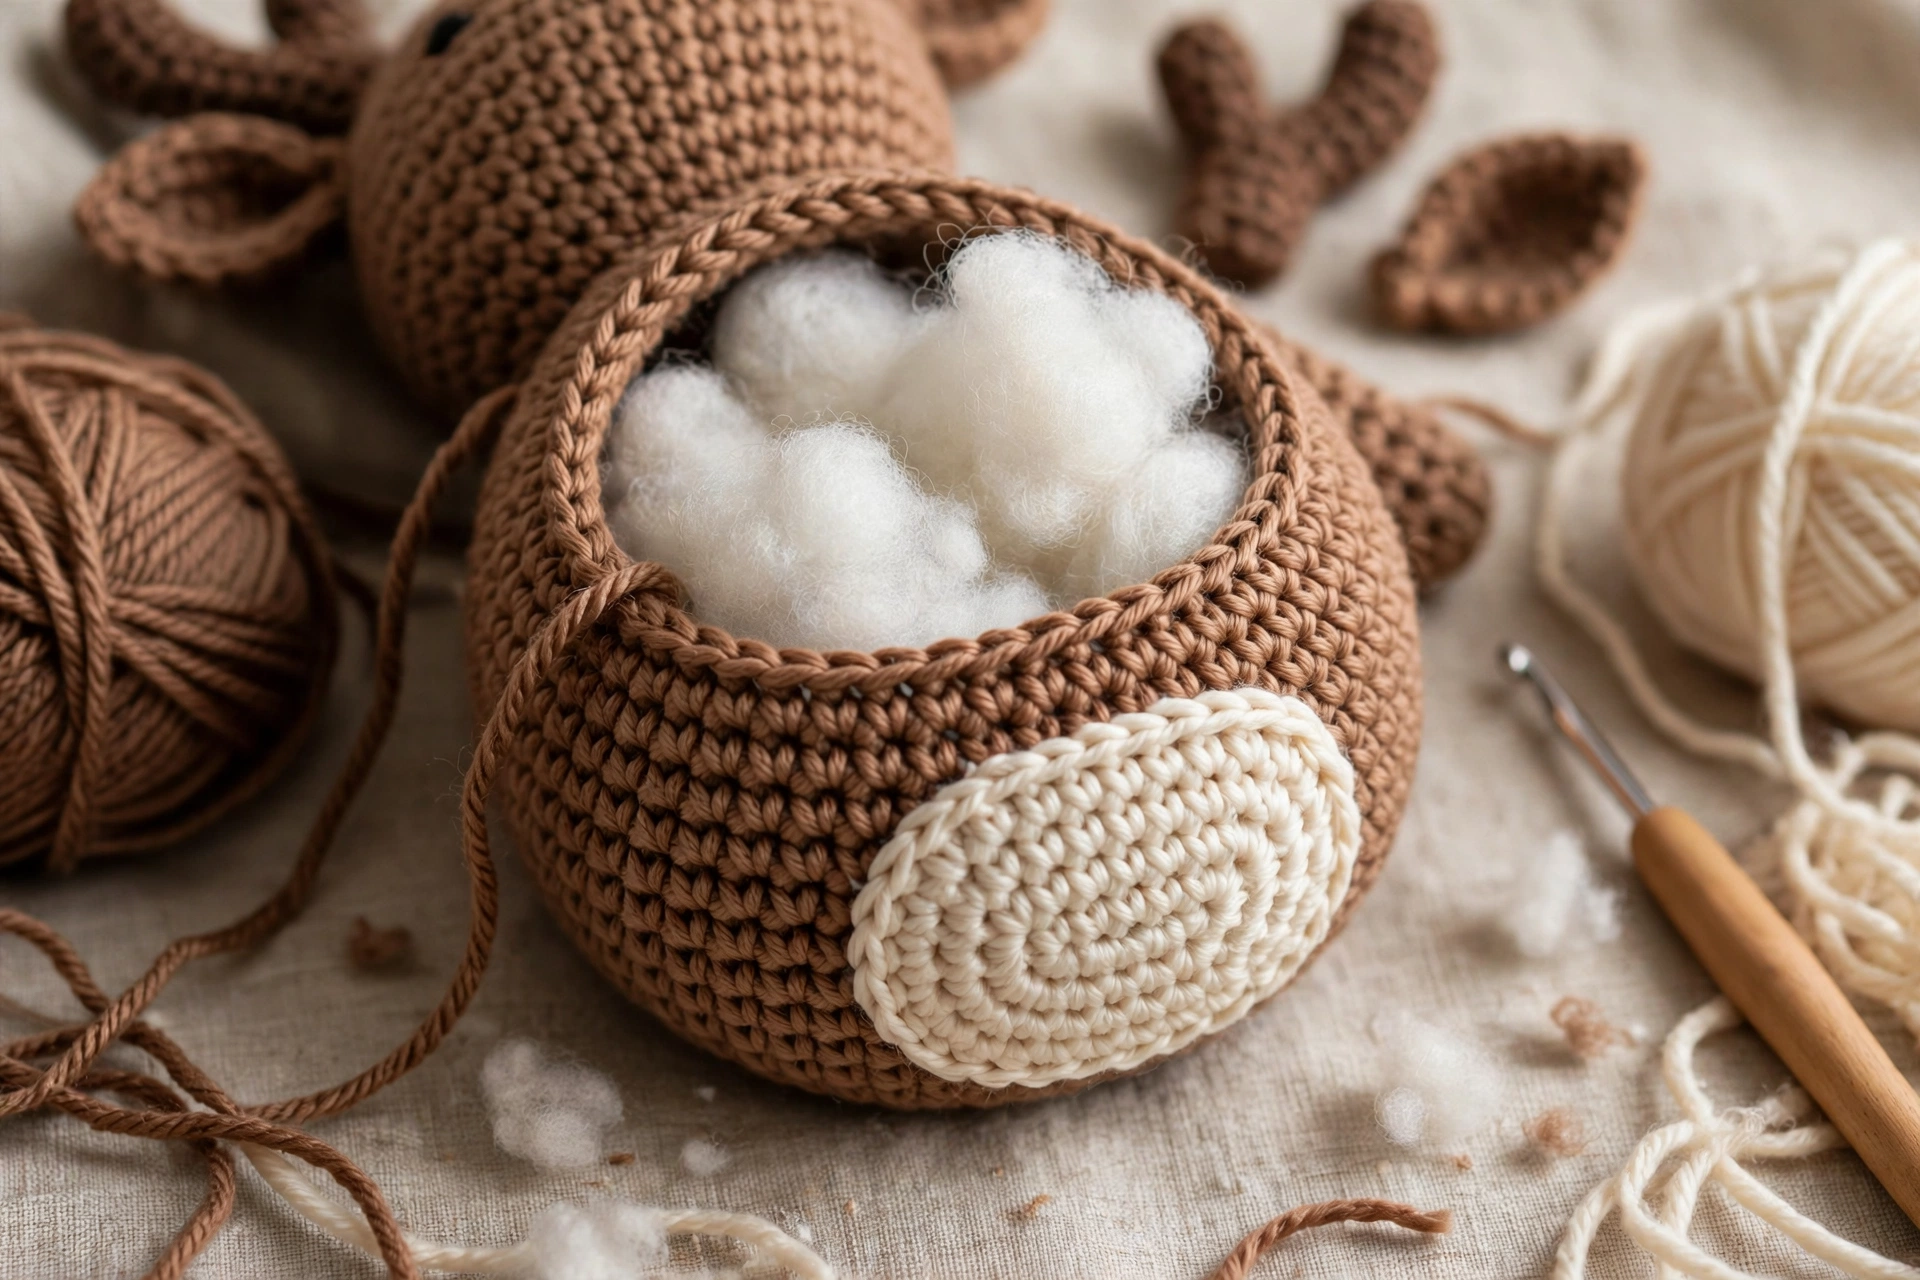
Body: Worked in main brown, continuous rounds, starting at base of body. Rnd 1: MR, 6 sc. (6). Rnd 2: inc each st. (12). Rnd 3: (sc, inc) rep 6. (18). Rnd 4: (2 sc, inc) rep 6. (24). Rnd 5: (3 sc, inc) rep 6. (30). Rnd 6: (4 sc, inc) rep 6. (36). Rnd 7: (5 sc, inc) rep 6. (42). Rnd 8: (6 sc, inc) rep 6. (48). Rnds 9–15: sc each st. (48). Rnd 16: (6 sc, dec) rep 6. (42). Rnd 17: (5 sc, dec) rep 6. (36). Rnd 18: (4 sc, dec) rep 6. (30). Rnd 19: (3 sc, dec) rep 6. (24). Rnd 20: (2 sc, dec) rep 6. (18). Rnd 21: (sc, dec) rep 6. (12). Rnd 22: dec 6 times. (6). Stuff body firmly, shaping into rounded egg shape with slightly flatter base so sits well. FO, leaving long tail. Thread tail through front loops of remaining 6, pull closed, weave end. Belly Patch: Worked in cream or light tan, oval rounds. Patch sewn flat to front of body and not stuffed. Ch 9. Rnd 1: sc in 2nd ch from hook, sc in next 6 ch, 3 sc in last ch, working along opposite side of chain, sc in next 6 ch, 2 sc in last ch. (18). Rnd 2: inc, sc 6, inc 3 times, sc 6, inc 2 times. (24). Rnd 3: (sc, inc), sc 6, (sc, inc) 3 times, sc 6, (sc, inc) 2 times. (30). Check Rnd 3: first (sc, inc) gives 3, then 6 sc gives 9, then three (sc, inc) repeats give 18, then 6 sc gives 24, then two (sc, inc) repeats give 30. FO, leaving long tail for sewing. Sew cream belly patch flat to front of body, centred, widest part facing forward; use small stitches just inside edge of patch.
Step 4: Ears and Antlers
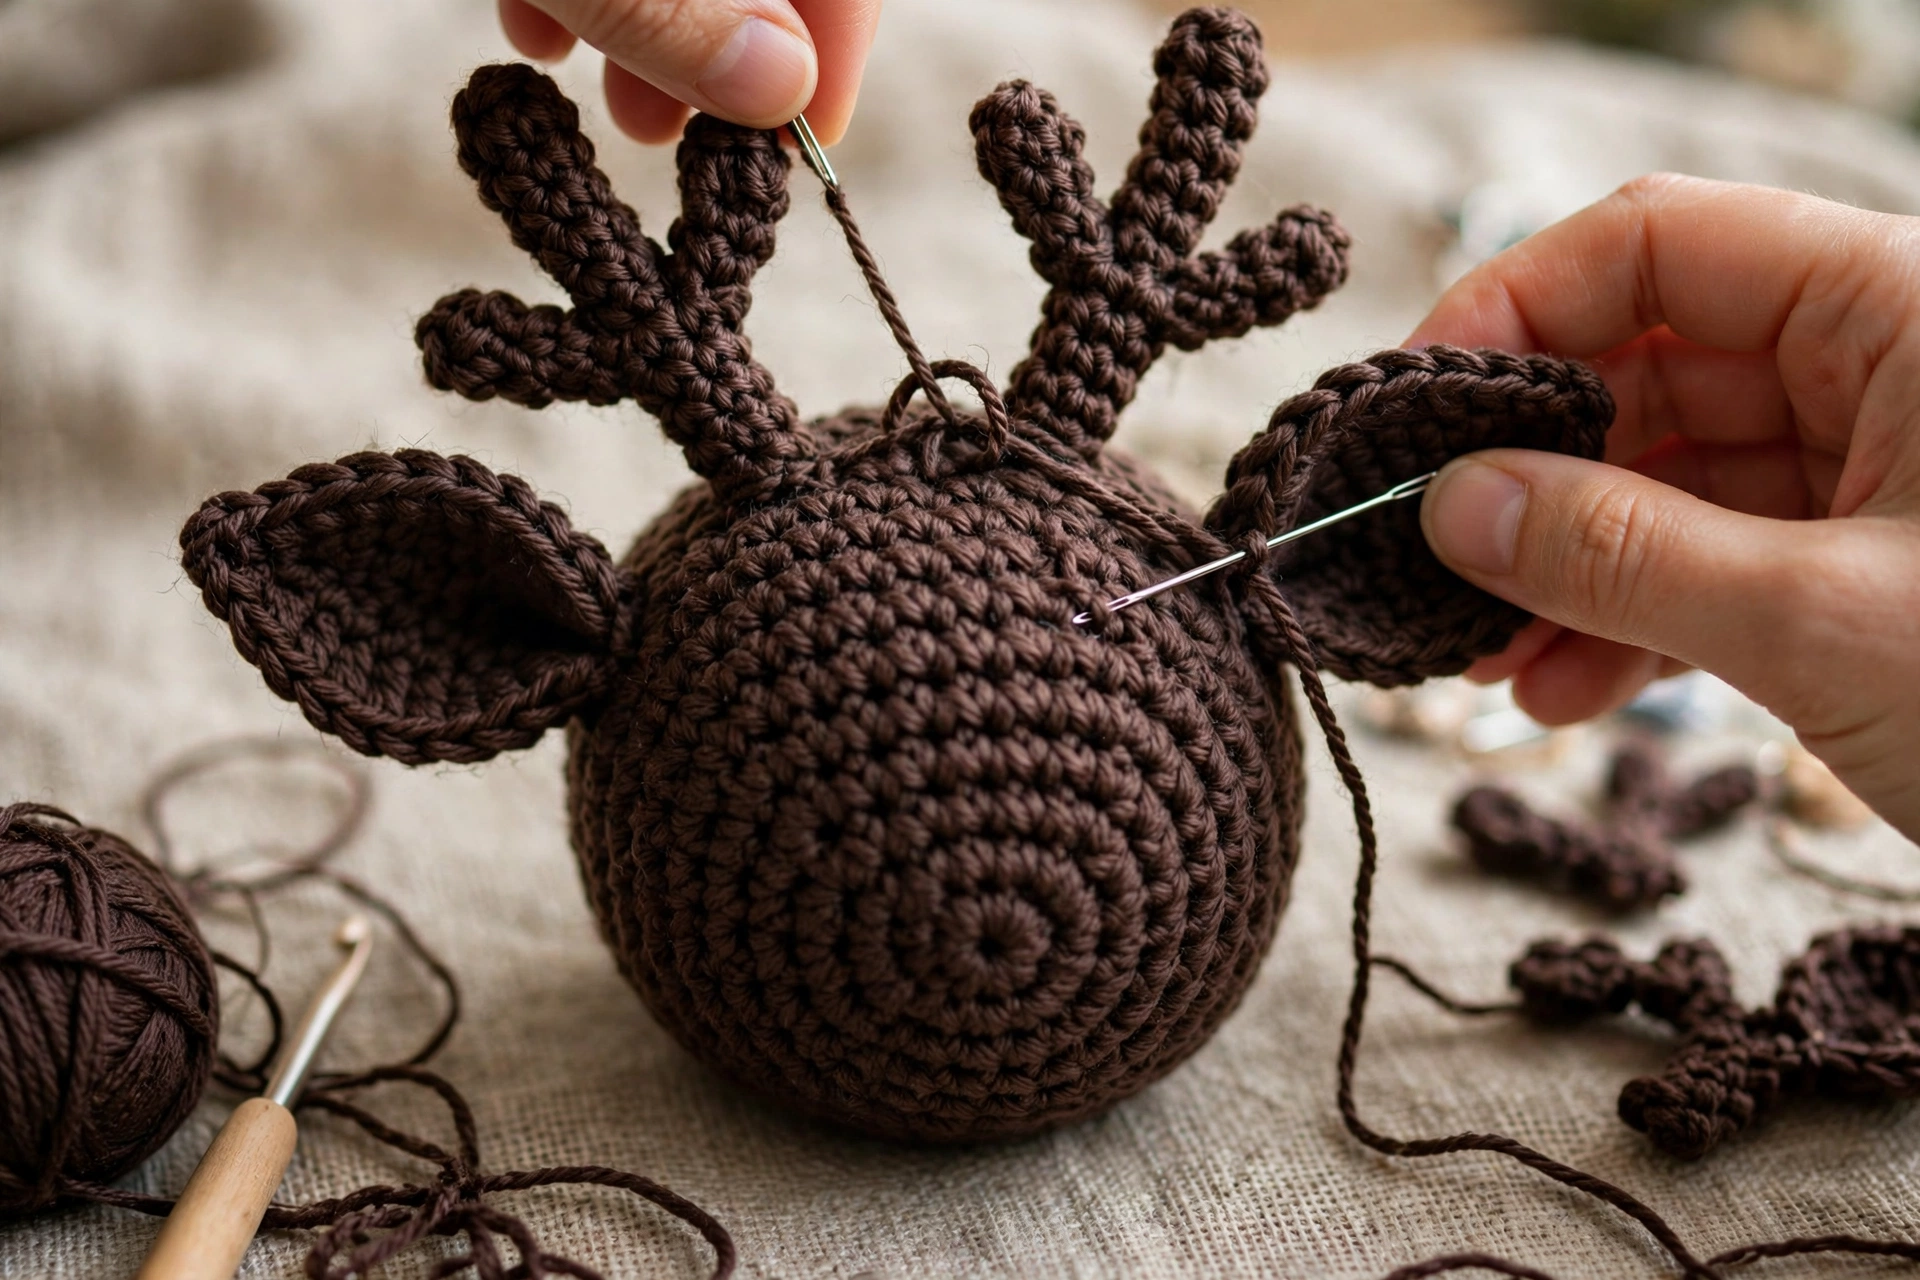
Ears — Make 2: Worked in main brown, continuous rounds, do not stuff. Rnd 1: MR, 6 sc. (6). Rnd 2: inc each st. (12). Rnd 3: (sc, inc) rep 6. (18). Rnds 4–5: sc each st. (18). Rnd 6: (sc, dec) rep 6. (12). Rnd 7: sc each st. (12). Rnd 8: (2 sc, dec) rep 3. (9). FO, leaving long tail for sewing. Flatten open end of each ear. Antlers — Make 2: Main Branch — Make 2: Worked in dark brown, continuous rounds. Rnd 1: MR, 6 sc. (6). Rnd 2: (sc, inc) rep 3. (9). Rnds 3–10: sc each st. (9). FO, leaving long tail for sewing. Stuff very lightly, or leave unstuffed, so branch holds shape without becoming stiff. Side Branches — Make 4: Worked in dark brown, continuous rounds; need two side branches for each main branch. Rnd 1: MR, 6 sc. (6). Rnds 2–4: sc each st. (6). FO, leaving long tail for sewing, do not stuff. Sew two side branches to each main branch: one angled outward near top, one angled outward few rounds lower down; exact placement can vary slightly, as long as two antlers look like matching pair.
Step 5: Arms, Legs and Tail
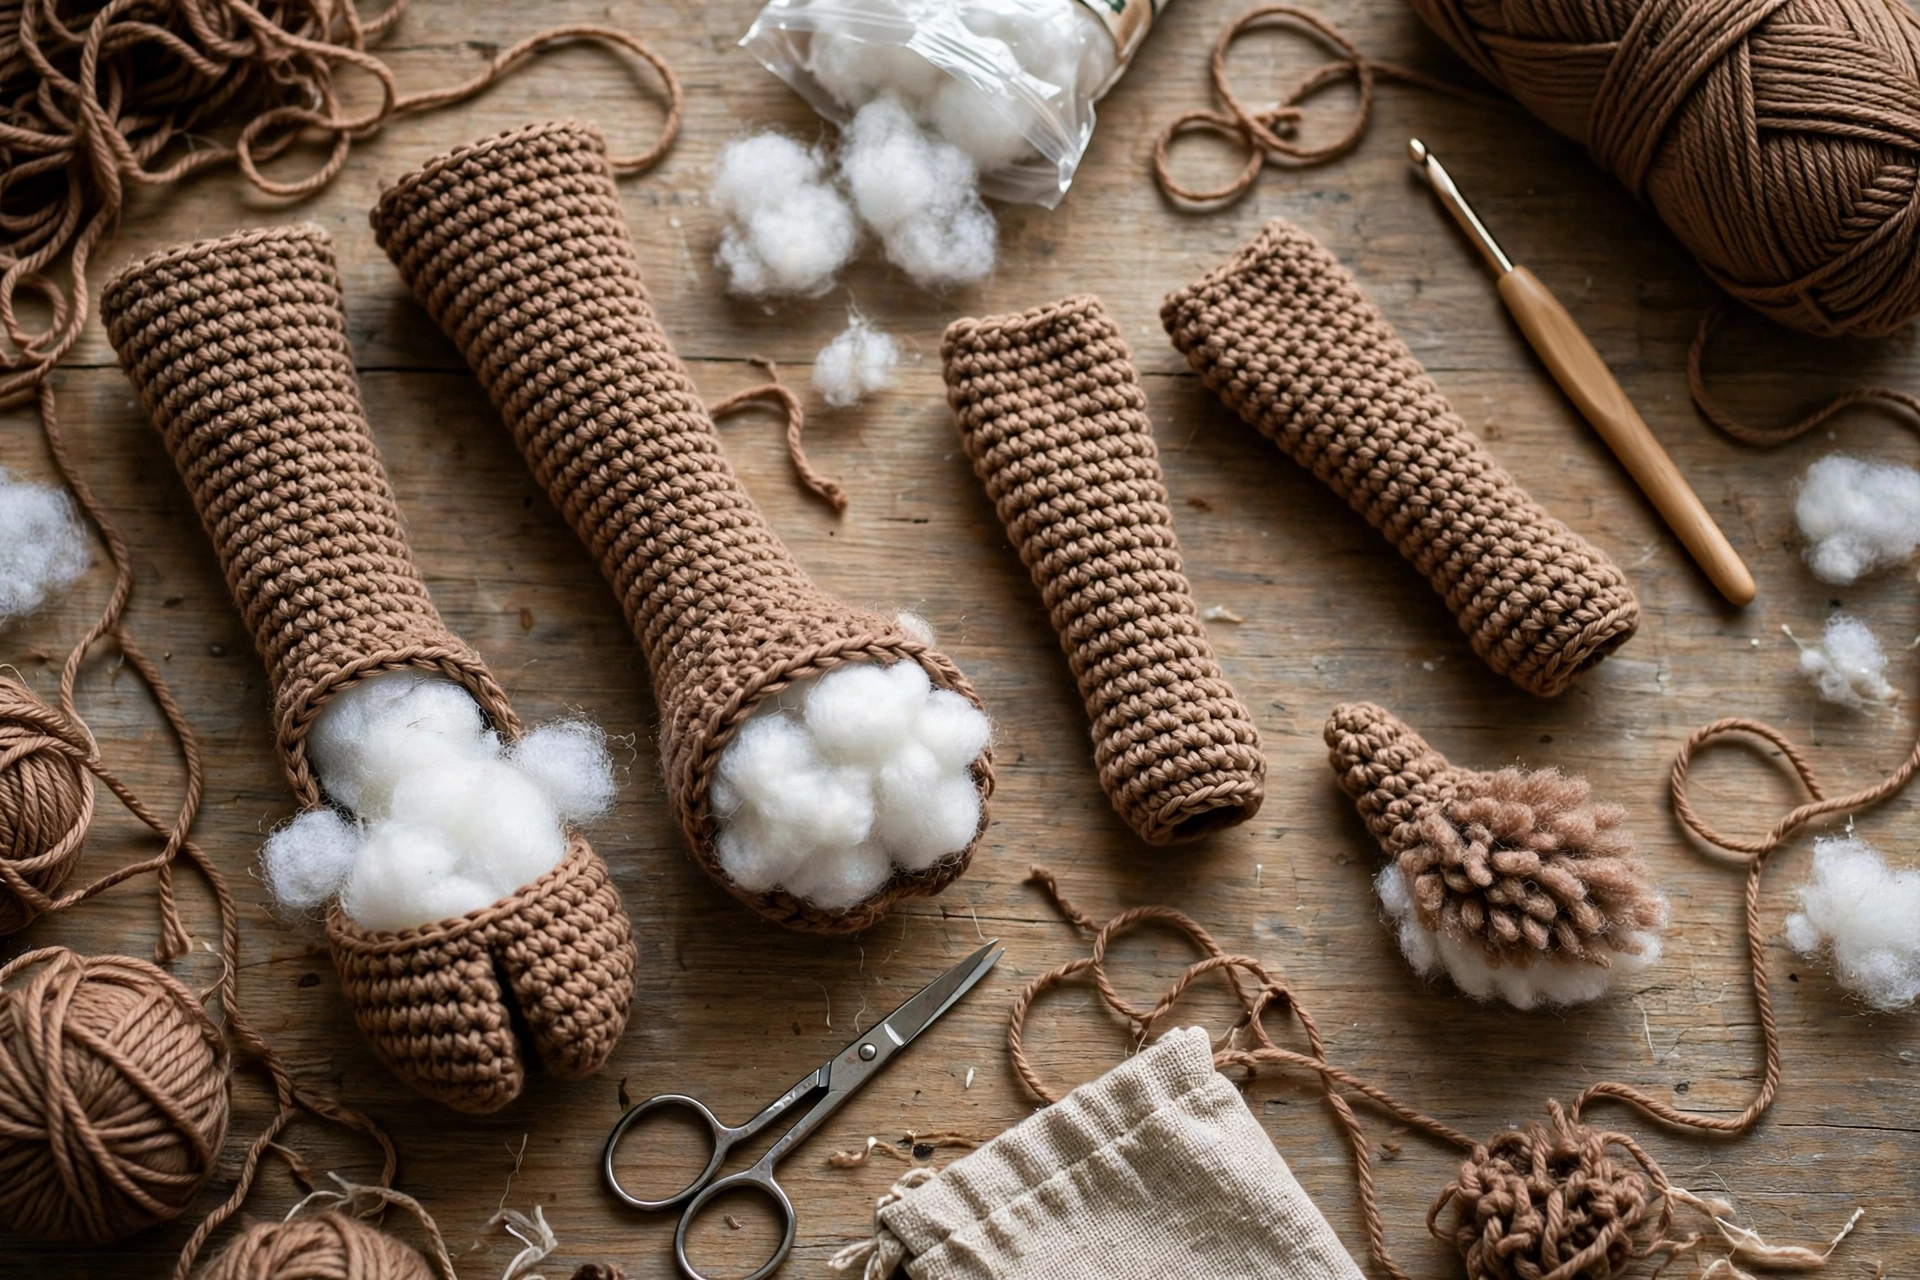
Arms — Make 2: Worked in main brown, continuous rounds. Rnd 1: MR, 6 sc. (6). Rnd 2: inc each st. (12). Rnds 3–4: sc each st. (12). Rnd 5: (2 sc, dec) rep 3. (9). Rnds 6–8: sc each st. (9). FO, leaving long tail for sewing. Stuff lower end lightly and leave top end unstuffed so sews flat against body. Legs — Make 2: Worked in main brown, continuous rounds. Rnd 1: MR, 6 sc. (6). Rnd 2: inc each st. (12). Rnd 3: (sc, inc) rep 6. (18). Rnds 4–6: sc each st. (18). Rnd 7: (sc, dec) rep 6. (12). Rnds 8–9: sc each st. (12). FO, leaving long tail for sewing. Stuff foot end firmly and top end lightly. Tail: Worked in main brown, continuous rounds. Rnd 1: MR, 6 sc. (6). Rnd 2: inc each st. (12). Rnds 3–4: sc each st. (12). Rnd 5: dec 6 times. (6). FO, leaving long tail for sewing. Stuff lightly before closing.
Step 6: Scarf
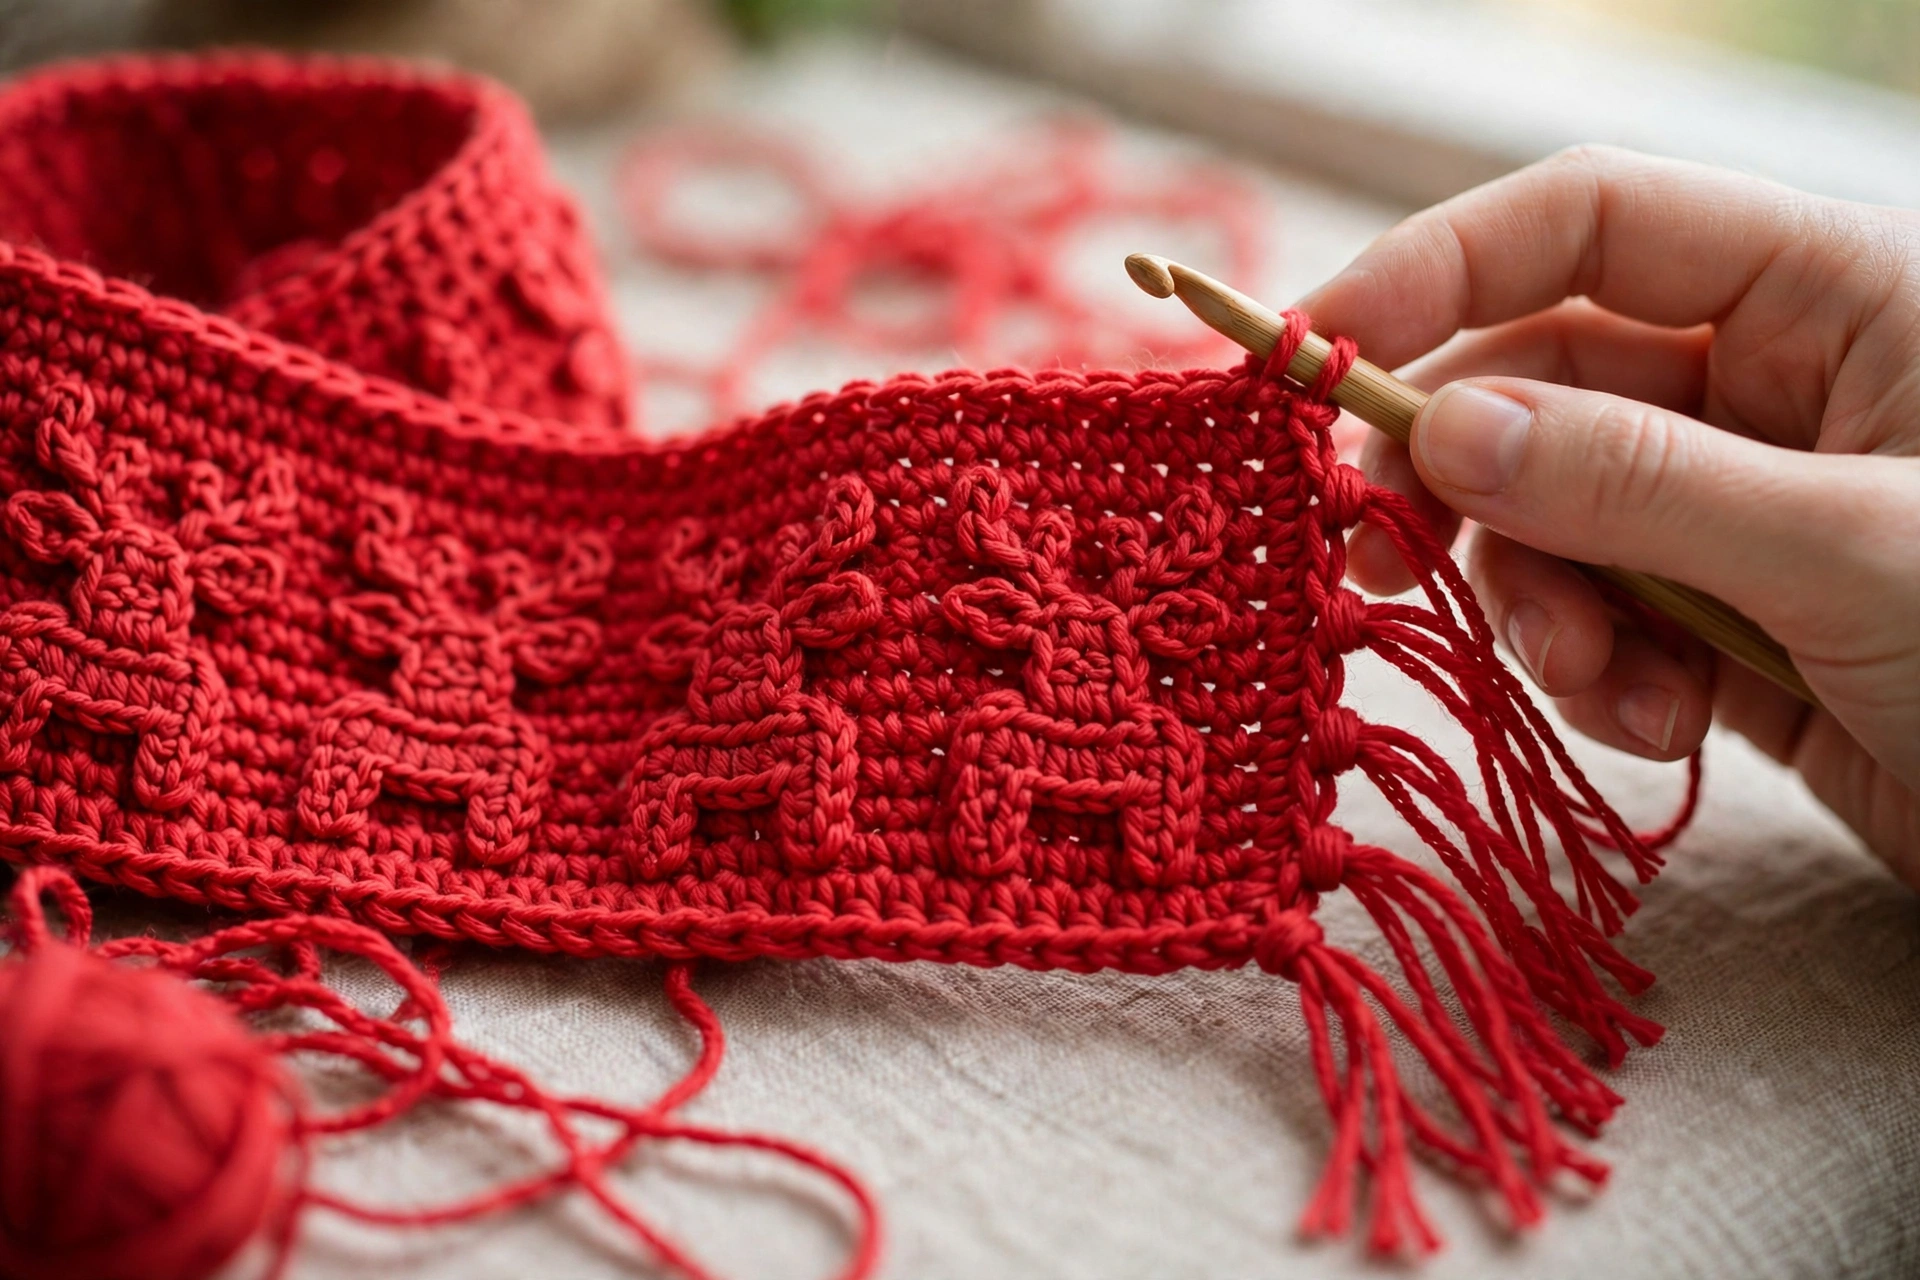
Worked in red, rows. Ch 61. Row 1: hdc in 3rd ch from hook and each ch across. (59 hdc). Rows 2–3: ch 2 — turning chain does not count — hdc each st across. (59 hdc). FO and weave ends. For fringe, cut short lengths of red yarn, fold each length in half, pull fold through stitch at end of scarf, pull ends through loop, trim fringe evenly. Add about five fringes to each short end.
Step 7: Assemble Reindeer
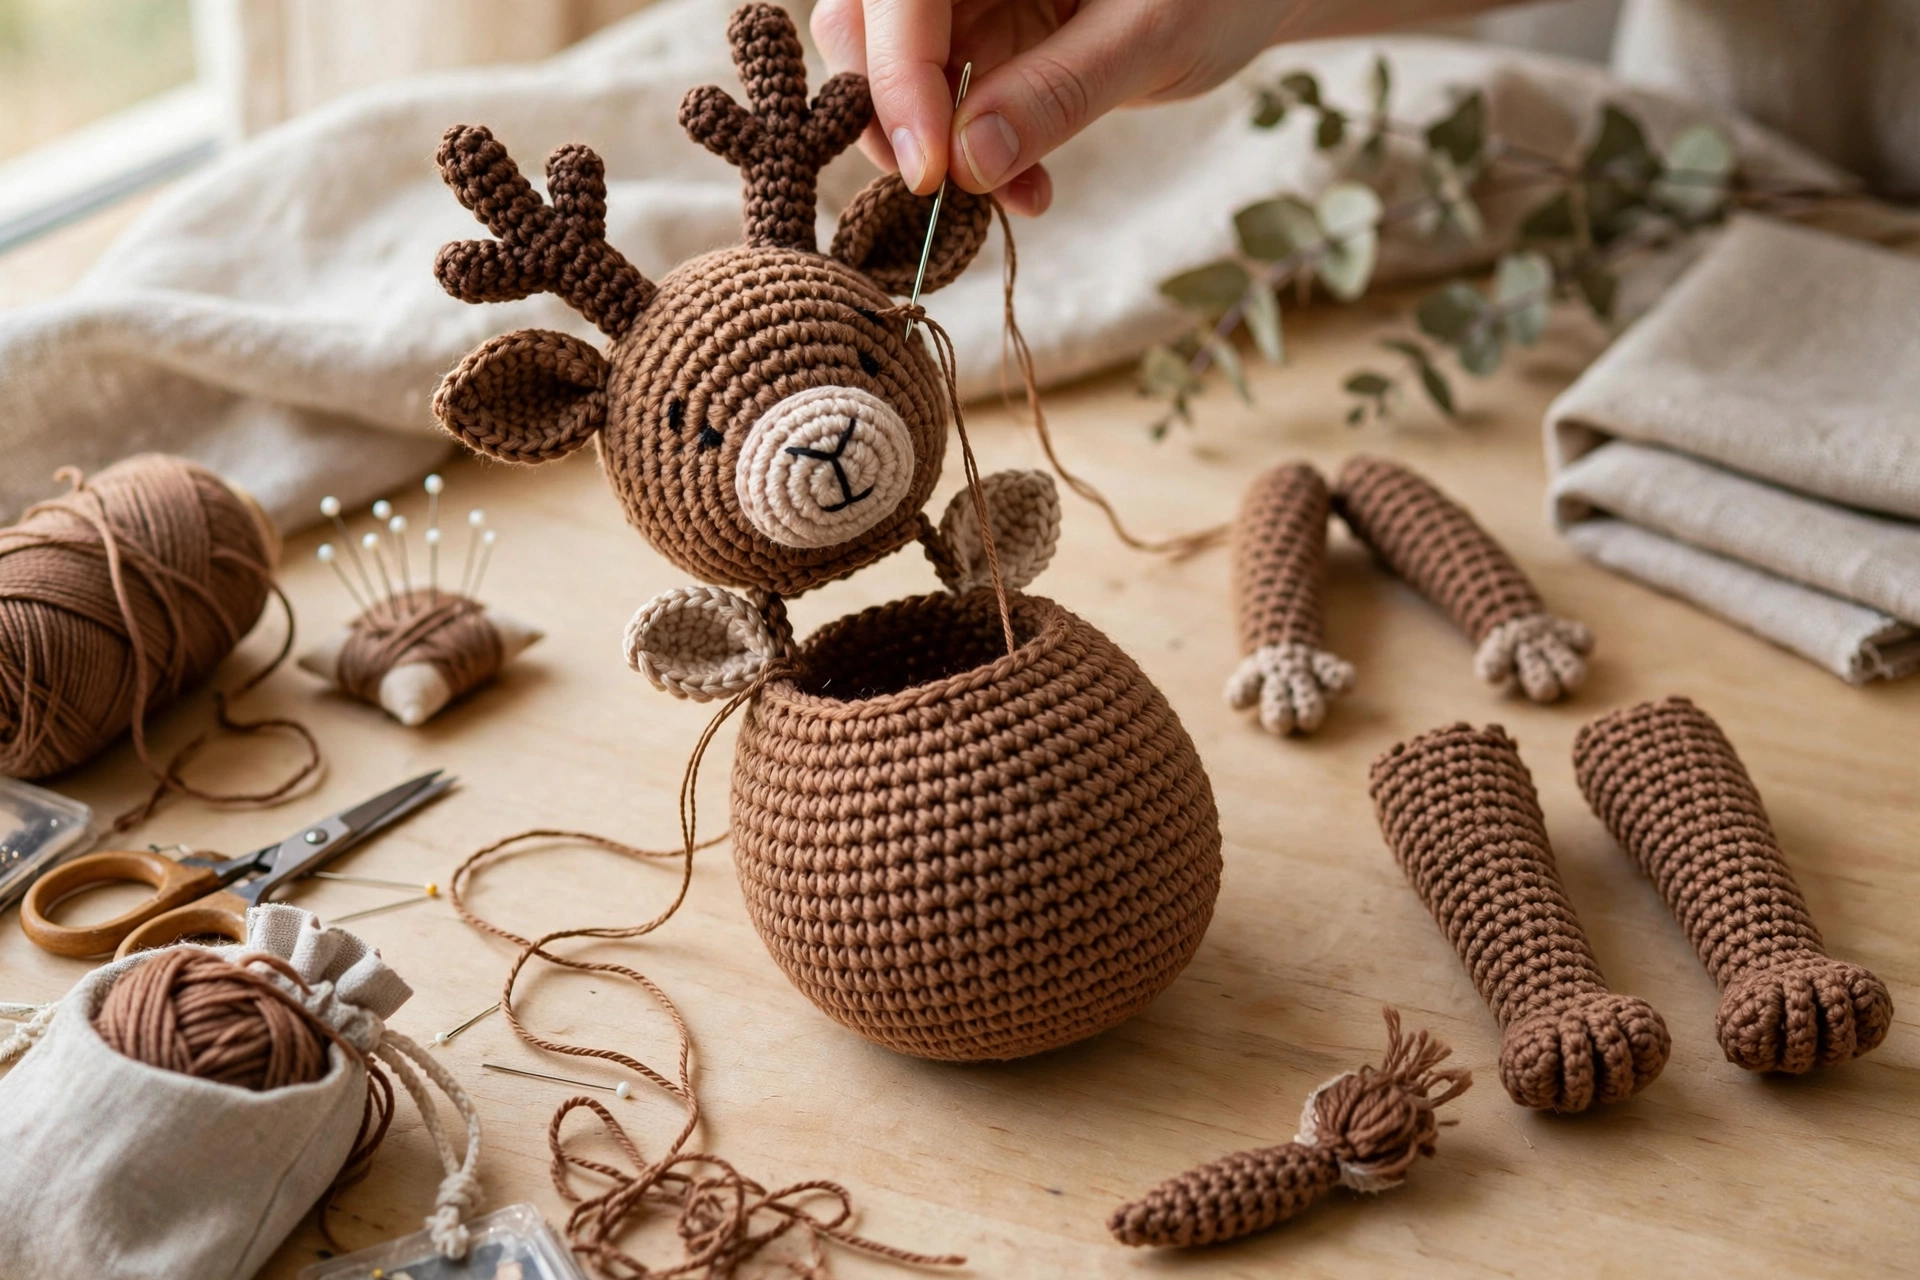
Work in order, pinning each piece before sew so can check reindeer from front and side. Sew head to top centre of body, tilting very slightly forward. Work small neat stitches around join, add little extra stuffing at neck if needed so head does not wobble. Sew ear to each side of head, just below and slightly behind where each antler will sit. Sew antler behind each ear, angling antlers slightly outward; check antlers same height before finish sewing second one. Sew arms to upper sides of body, just below head, angled slightly forward. Sew legs to lower front of body so reindeer sits upright and does not tip forward. Sew tail to centre back of body, at about middle height of body.
Step 8: Finish with Scarf, Final Shaping and Safety Check
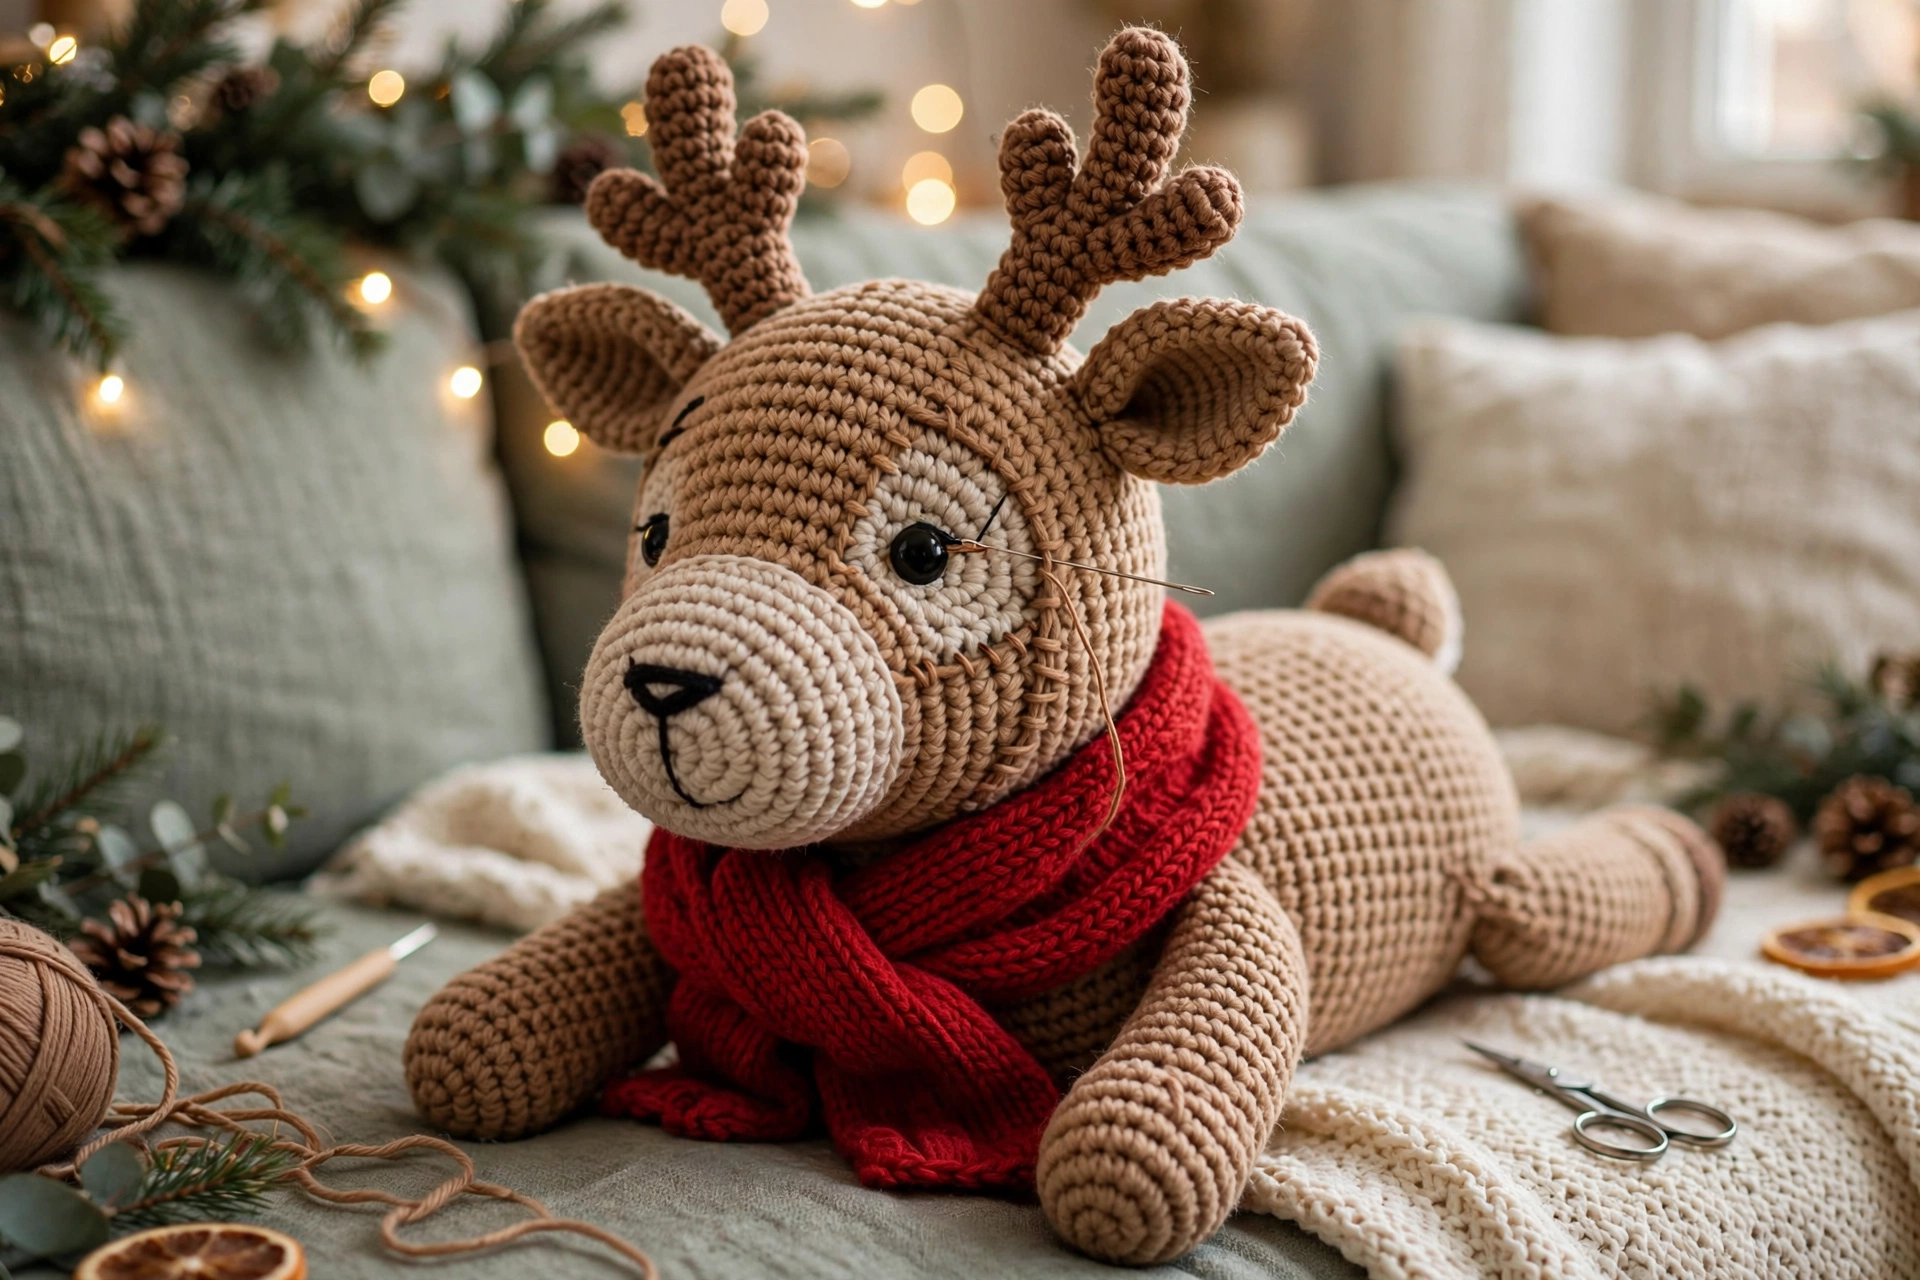
Wrap scarf once around neck, crossing at front, let fringed ends hang down over belly patch; tack scarf in place at back of neck with few stitches if will be handled often. Weave in any remaining ends, then give reindeer final shape: roll gently between hands, smooth head and body, fluff fringe. Final safety check: tug-test safety eyes, check every seam is secure, check no loose ends or small decorations could come loose, especially if toy is for a child.
Finishing and Assembly
Work in order, pinning each piece before sew so can check reindeer from front and side. 1. Muzzle and nose: already sewn in Step 2, check position. 2. Eyes: If not already fitted safety eyes, fit or embroider now, between Rnds 11 and 12 of head; keep both eyes level and evenly spaced. 3. Head to body: as in Step 7. 4. Belly patch: as in Step 3. 5. Ears and antlers: as in Step 4. 6. Arms and legs: as in Step 7. 7. Tail: as in Step 7. 8. Scarf: as in Step 8.
Tips
Count after increase and decrease rounds — most amigurumi mistakes come from missed increase or decrease; counting at end of those rounds saves unpicking later. Use stitch marker every round — in continuous rounds easy to lose start of round, especially on larger head and body pieces. Stuff gradually — add small pieces of filling and press into sides before adding more; lumpy plushie usually needs filling redistributed, not more filling. Sew with same yarn, split if needed — if yarn thick, splitting off one ply for sewing can give neater join without weakening seam. Make matching pair — crochet both ears, both arms, both legs, both antlers before start assembling, lay side by side to check match. Adjust expression — moving eyes one round higher or lower, or one stitch closer together, changes look quite a lot; pin eyes in place and step back before commit to position.
FAQ
Is reindeer suitable for beginner? Yes, if comfortable with single crochet, increases, decreases; shapes all simple rounds, pieces sewn together at end, can practise each piece separately. What if reindeer turns out bigger or smaller? Normal; different yarn weight or hook size will change finished size, but proportions stay same; use hook small enough to keep stitches tight so stuffing does not show through. Can I use safety eyes for baby’s toy? For toy for child under three, embroider eyes instead; safety eyes best for decorative toys and older children, every seam should still be checked regularly. How do I wash finished reindeer? Hand wash gently in cool water with mild soap, squeeze out water without wringing, reshape reindeer, lay flat to dry; do not machine wash if has safety eyes or fringed scarf. Can I change scarf colour? Yes, scarf separate piece, can make in any colour, add stripes by changing colour on Row 2 or Row 3, or leave fringe off for simpler finish.