
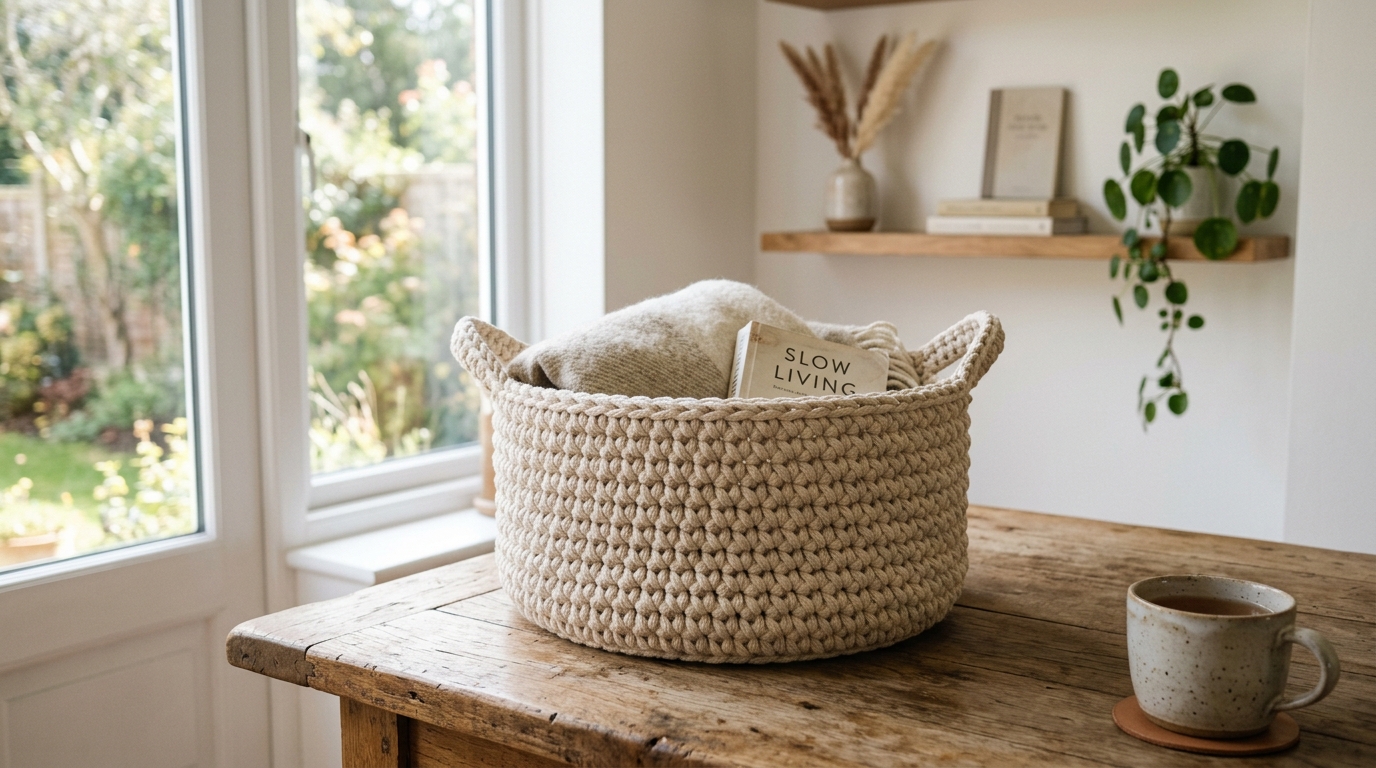
Crochet baskets look simple but getting them to stand upright, hold weight, and not collapse after a few days is where most patterns fail. I’ve made a lot of baskets over time (some great, some floppy disasters 😅), and here’s what I’ve learned:
👉 A good basket is built, not just crocheted.
This pattern is designed to give you:
- A firm base that doesn’t wobble
- Straight, structured sides
- A basket you can actually use (not just display)
🧶 Materials (What Actually Works Best)
- Bulky cotton yarn or T-shirt yarn (highly recommended)
- 6 mm – 8 mm hook
- Stitch marker
- Yarn needle
👉 Real tip from experience:
If you only have medium-weight yarn, hold 2 strands together. One strand alone almost always results in a soft, floppy basket.
📌 Abbreviations
- MR = Magic Ring
- sc = single crochet
- inc = increase (2 sc in one stitch)
- BLO = back loop only
- sl st = slip stitch
🪡 Step-by-Step Pattern
🔵 PART 1: The Base (Flat Circle That Stays Flat)
This is the foundation. If this part is wrong, the whole basket will look off.
Round 1:
MR, 6 sc
(6)
Round 2:
inc in each stitch
(12)
Round 3:
(sc, inc) ×6
(18)
Round 4:
(2 sc, inc) ×6
(24)
Round 5:
(3 sc, inc) ×6
(30)
Round 6:
(4 sc, inc) ×6
(36)
👉 How to know if it’s correct:
- It should lay completely flat
- No curling up
- No ruffling
👉 Adjust size here:
- Stop early → smaller basket
- Add more rounds → larger basket
🧱 PART 2: Turning the Base Into a Basket (CRUCIAL STEP)
Round 7:
sc in back loop only (BLO) around
👉 This single round is what creates the sharp “corner” between base and walls.
💡 Without this step, your basket will look like a bowl instead of a structured container.
🧺 PART 3: Building Strong Sides
Rounds 8–18:
sc in both loops around
👉 Keep your tension tight and consistent.
🔍 What you should see:
- Sides going straight up
- No flaring outward
- No collapsing inward
👉 Want a taller basket?
Just keep adding more rounds.
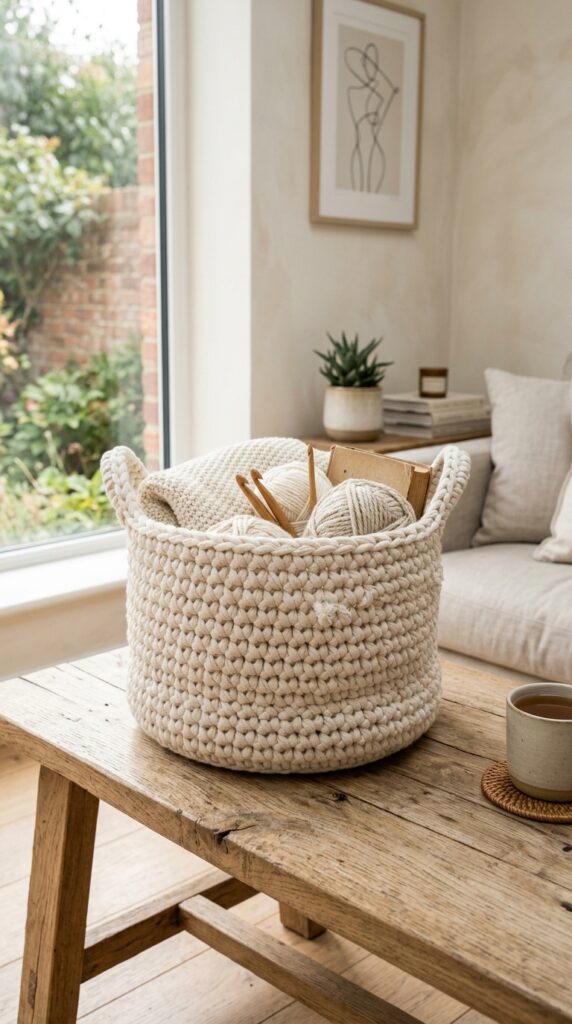
🪢 PART 4: Adding Handles (Optional but Very Useful)
Step 1:
Mark 2 opposite sides of your basket
Step 2 (Handle Round):
When you reach marker:
- ch 8
- skip 8 stitches
- continue sc
Repeat on opposite side
Step 3 (Next Round):
- sc into each chain space
👉 Pro tip:
For stronger handles, go around one more round of sc.
🔚 PART 5: Finishing
- sl st into next stitch
- fasten off
- weave in ends securely
💡 Real Experience Tips (This is What Actually Matters)
✔️ If your basket is floppy:
- Yarn is too thin
- Hook is too big
✔️ If your base curls up:
- Not enough increases
✔️ If your base waves:
- Too many increases
✔️ If sides lean outward:
- Tension too loose
👉 Best result comes from:
- Tight stitches
- Thick yarn
- Consistent tension
🎯 Customization Ideas
Once you master this base pattern, you can easily modify it:
🧺 Taller Storage Basket
- Add 10–15 more rounds
🧺 Mini Desk Basket
- Stop at round 4–5
🧺 Decorative Basket
- Switch colors every few rounds
🧺 Textured Basket
- Alternate sc with hdc
🧠 Final Thought (From Real Crochet Time)
After making dozens of baskets, here’s the truth:
👉 Even the simplest stitch can look premium if the structure is right.
This pattern may look basic—but when done correctly, it creates a clean, modern, store-quality basket you’ll actually use daily.