Crochet Christmas Jumper Pattern: Easy Festive Tree Jumper in Red, Green and Cream
Introduction
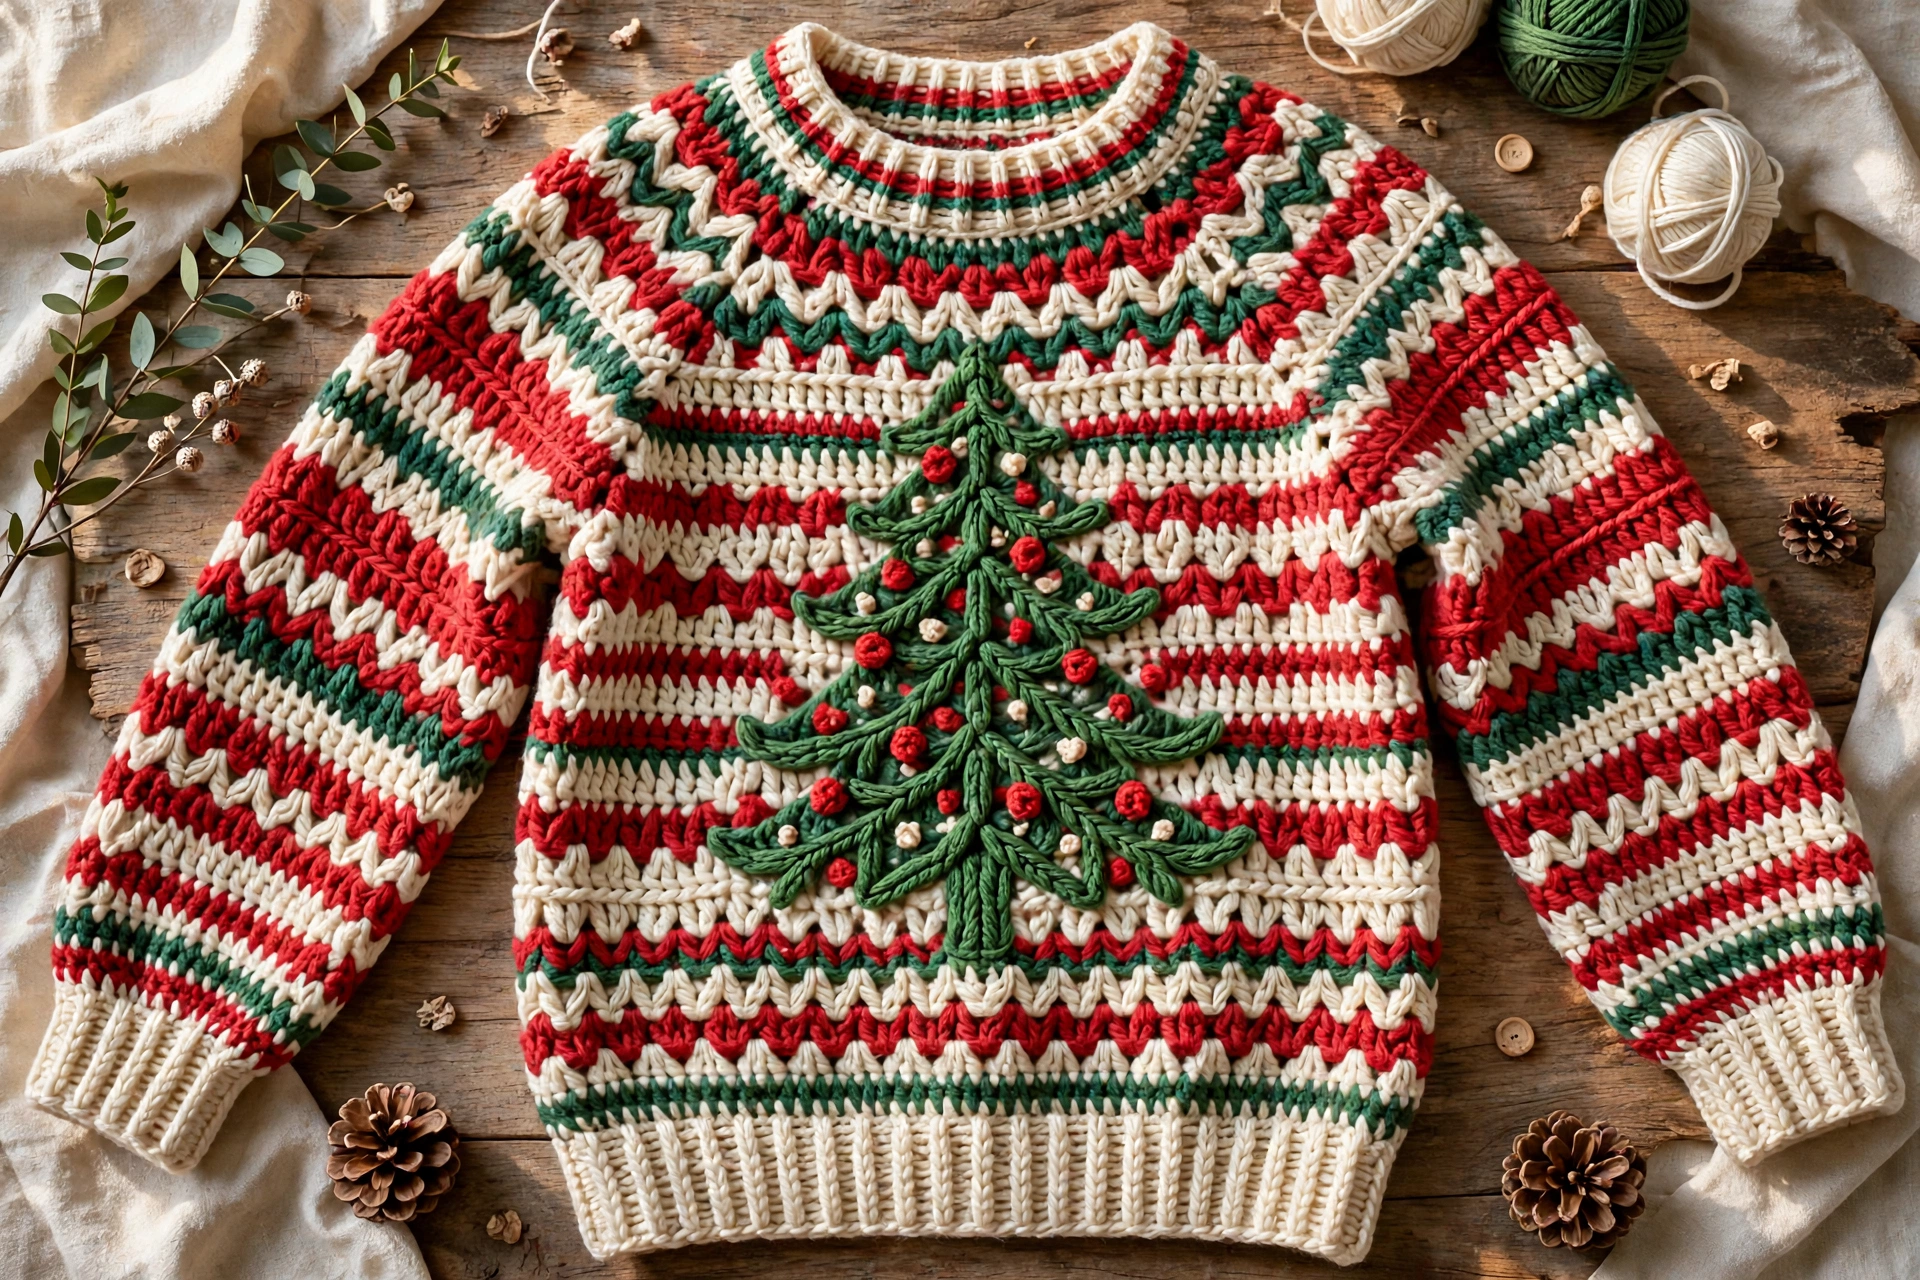
This is a proper, wearable Christmas jumper — not a decoration, not a roundup. It is worked flat in two panels (front and back) plus two sleeves, all in double crochet, with a simple Christmas tree worked into the front panel in green. If you can double crochet, chain and change colour, you can make this jumper. The main size is written out in full, stitch by stitch. Other sizes are given as target measurements with the exact stitch counts you need to change.
Finished measurements (main size: Adult Medium)
- Chest: 40 in / 102 cm (20 in per panel)
- Length (shoulder to hem): 24 in / 61 cm
- Sleeve length (underarm to cuff): 18 in / 46 cm
- Sleeve width at upper arm: 16 in / 41 cm
- Fits chest 38–42 in with 2 in of positive ease. For other sizes: Small — chest 36 in, panel 63 dc, length 23 in; Large — chest 44 in, panel 77 dc, length 25 in; XL — chest 48 in, panel 84 dc, length 26 in; 2XL — chest 52 in, panel 91 dc, length 27 in. In every size, panel width in stitches = chest in inches ÷ 2 × 3.5 dc per inch. Sleeve length and motif stay the same in all sizes.
Materials
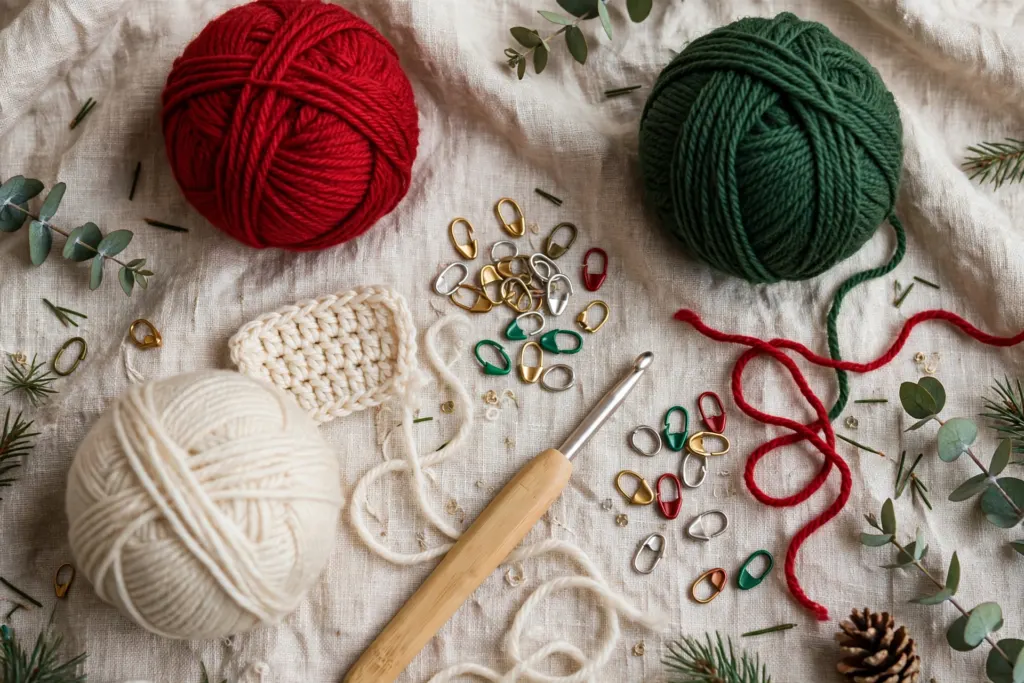
- Worsted weight / medium weight (#4) yarn in three colours:
- Colour A — Deep Christmas Red (main): approx. 1,100–1,200 yards / 1,000–1,100 metres for main size
- Colour B — Forest Green (tree motif, cuffs, hem and neck edging): approx. 260–300 yards / 240–275 metres
- Colour C — Cream / Winter White (thin hem stripe and star): approx. 90–110 yards / 80–100 metres
- Crochet hook: 5.0 mm (US H-8)
- Tapestry needle for seaming and weaving in ends
- Stitch markers (at least 4)
- Scissors
- Blocking mats and T-pins for finishing — blocking is what turns flat panels into a jumper that actually fits and hangs straight, so do not skip it.

- Red heart super saver solid yarn
- Made of 100-percent acrylic medium worsted material
- Available for 5-mm knitting needle and 5.5-mm crochet hook

- Easy grip handle
- Amour means love
- Love crochet

- 【Material】FIVEIZERO stitch markers set are made of plastic material,safe to use and not easy to break or fade,can be reu…
- 【235 Pcs Sewing Accessories】Comes with 220 pieces of locking stitch markers safely.In addition, there are 15 pieces big …
- 【Thoughtful Design】FIVEIZERO knitting clips has 15 different candy colors, bright colors can meet your various needs, ca…
Gauge
14 double crochet and 8 rows = 4 in / 10 cm with a 5.0 mm hook, worked in double crochet. Check your gauge before you start: chain 22, work 12 rows of dc, measure the middle 4 in. If you have more than 14 dc in 4 in, go up to a 5.5 mm hook; if you have fewer, go down to a 4.5 mm hook. A jumper that is one stitch per inch out will be 5 in too big or too small at the chest, so this step matters more here than in any ornament pattern.
Abbreviations (US terms)
- ch = chain
- dc = double crochet
- sc = single crochet
- sl st = slip stitch
- st(s) = stitch(es)
- RS = right side
- WS = wrong side
- MC = main colour (red), CC B = green, CC C = cream
- dc2tog = double crochet two together (decrease)
- rep = repeat
Pattern notes
- The turning chain (ch 3) counts as the first dc in every row.
- The jumper is worked flat in rows, then seamed. There is no working in the round except the neck edging.
- Colour changes: carry the unused colour loosely up the side of the tree motif, or cut it and rejoin — do not carry green across the whole red panel, it will show through.
- The tree motif is worked in double crochet only, reading the chart rows below. Every motif row still has 70 stitches in total — red plus green always adds up to 70.
Step 1 — Back panel
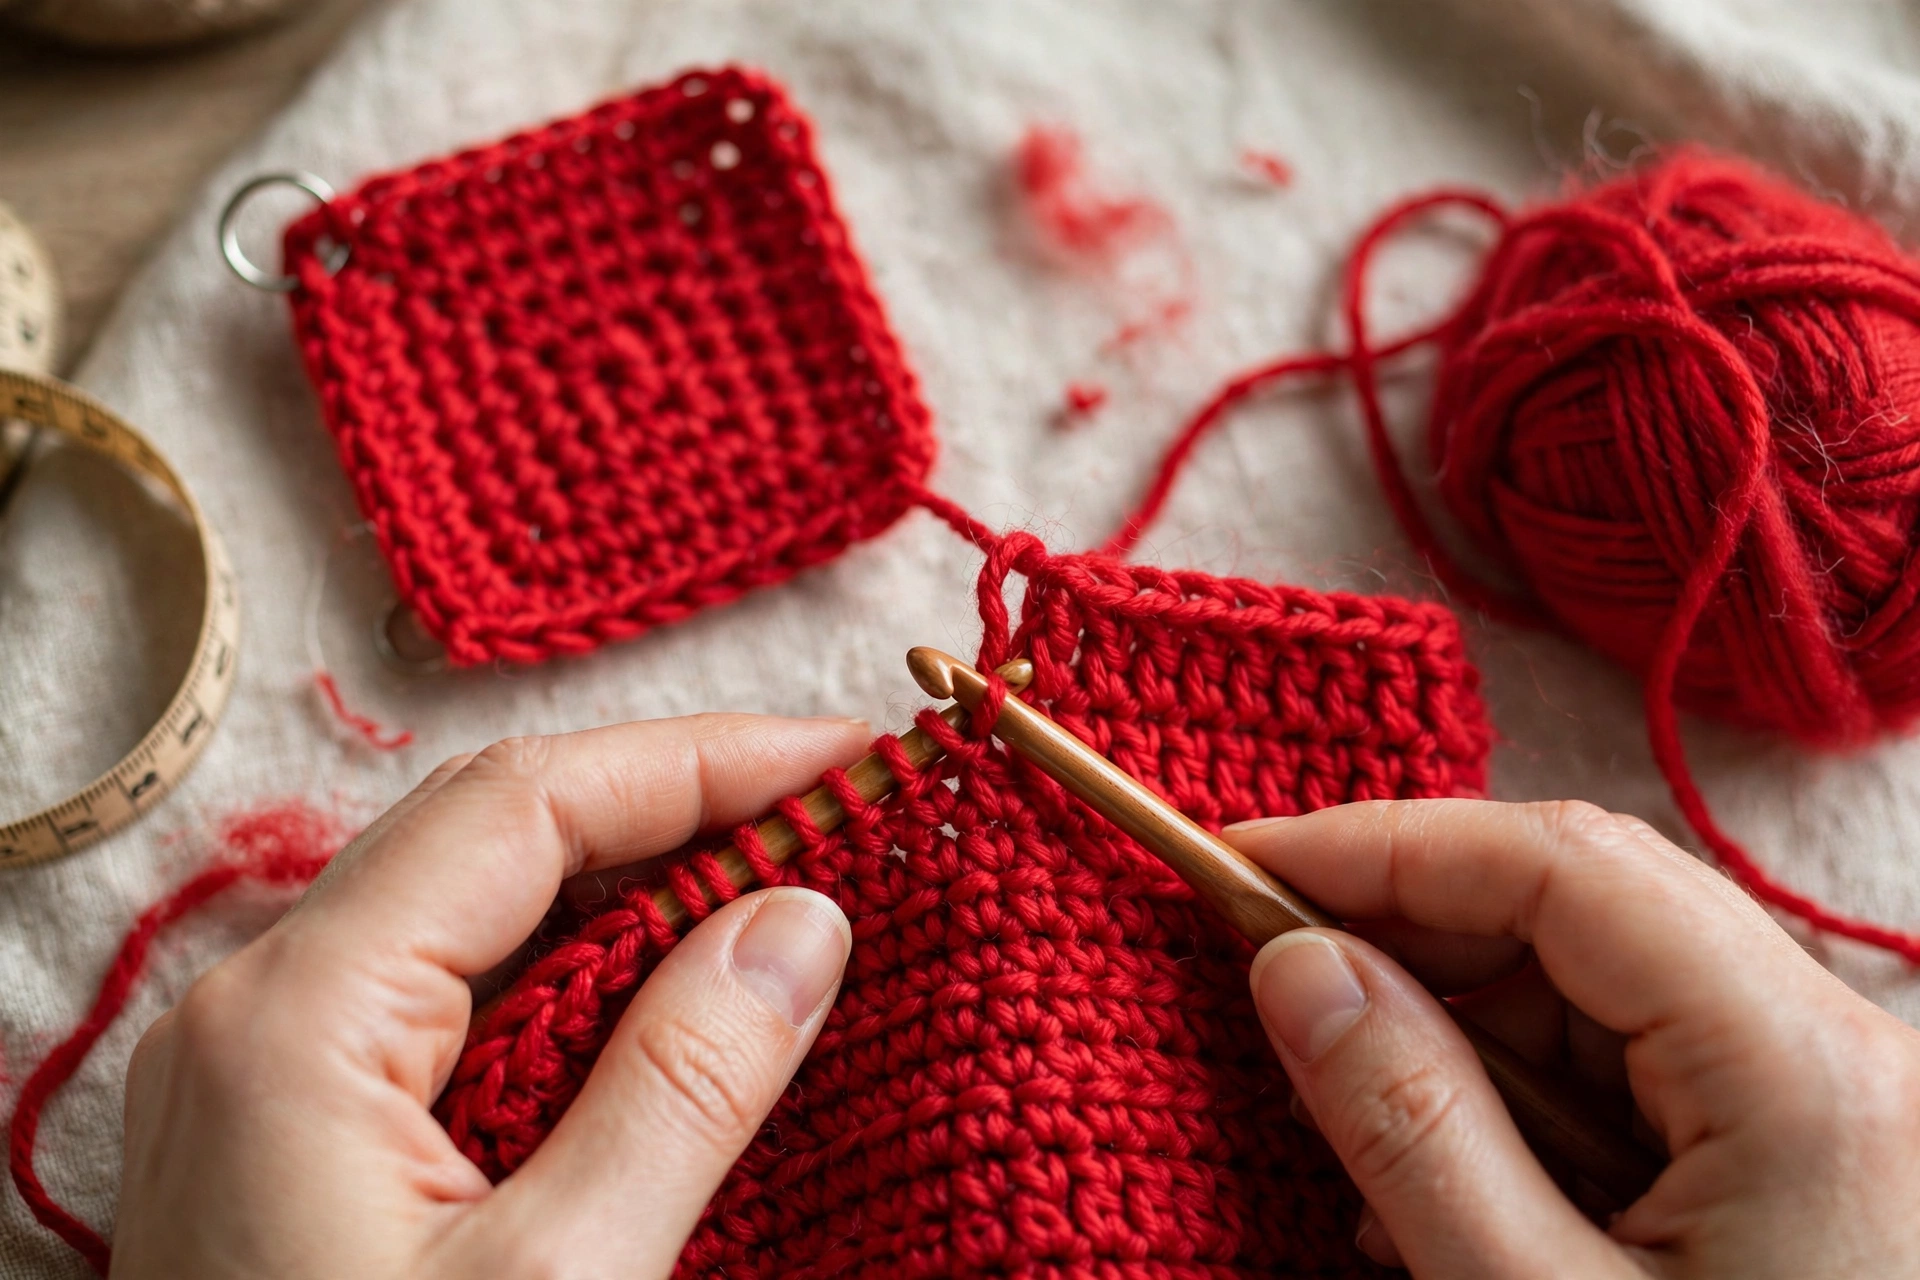
With Colour A (red) and a 5.0 mm hook, ch 72.
Row 1 (RS): dc in the 4th ch from the hook and in each ch across — 70 dc.
Rows 2–44: ch 3 (counts as dc), turn, dc in each st across — 70 dc. Work even, no increases or decreases. At the end of Row 44 the panel measures about 22 in long.
Rows 45–46 (hem stripe): join Colour C (cream) at the start of Row 45. Ch 3, dc in each st across — 70 dc. Fasten off cream at the end of Row 46.
Rows 47–48 (hem band): join Colour B (green). Ch 3, dc in each st across — 70 dc. Fasten off at the end of Row 48. Panel now measures 24 in long and 20 in wide. Make one back panel and set it aside.
Step 2 — Front panel and the Christmas tree motif
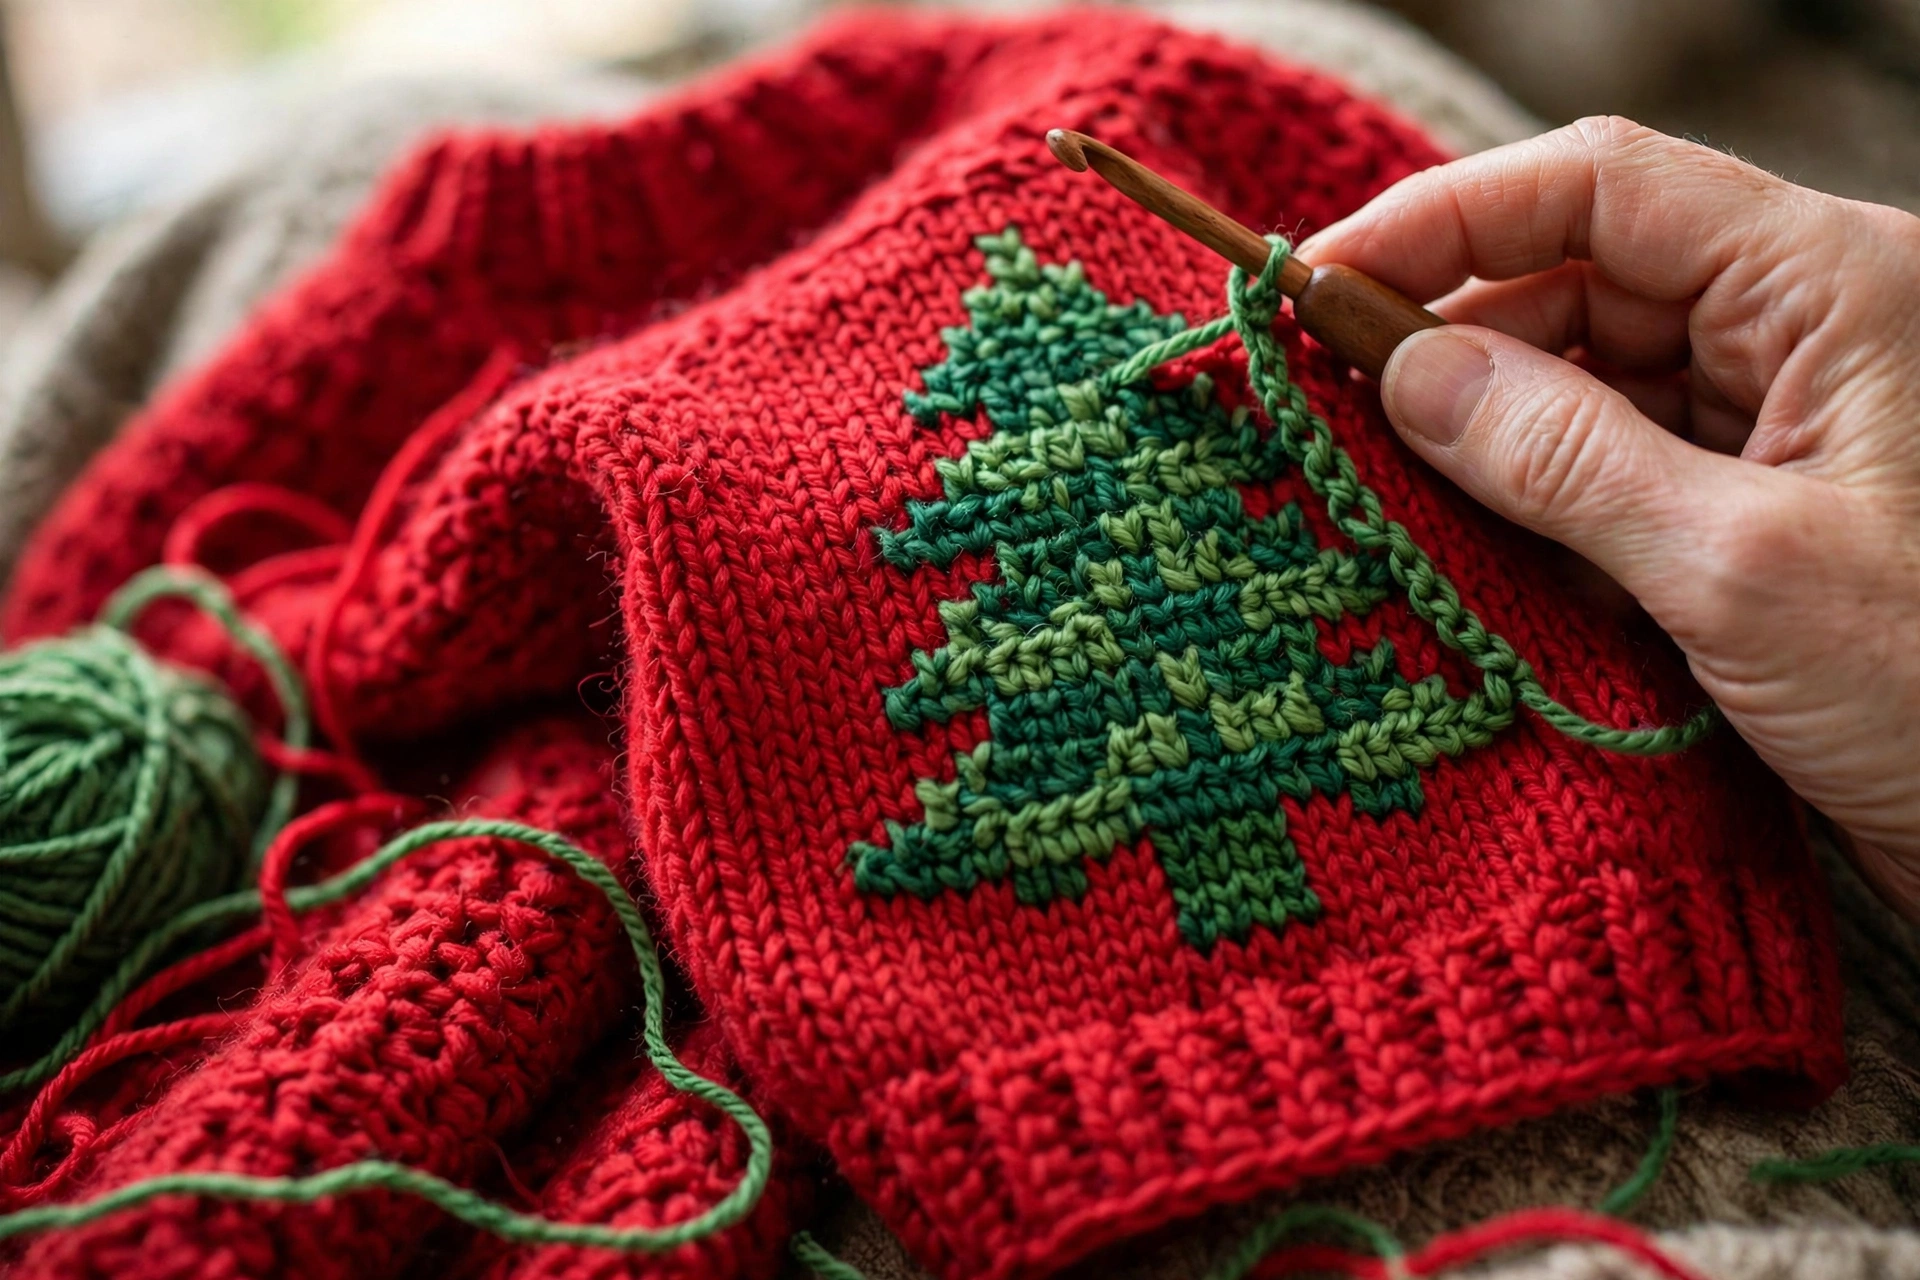
Work exactly as the back panel through Row 17 — 70 dc in red, 17 rows.
The tree is worked in Rows 18–33, centred on the panel. The green stitch counts below are the tree stitches in that row; the rest of the row is red. Read each row as: red dc, then green dc, then red dc.
- Row 18: 34 red, 2 green, 34 red = 70
- Row 19: 33 red, 4 green, 33 red = 70
- Row 20: 32 red, 6 green, 32 red = 70
- Row 21: 31 red, 8 green, 31 red = 70
- Row 22: 30 red, 10 green, 30 red = 70
- Row 23: 29 red, 12 green, 29 red = 70
- Row 24: 28 red, 14 green, 28 red = 70
- Row 25: 27 red, 16 green, 27 red = 70
- Row 26: 26 red, 18 green, 26 red = 70
- Row 27: 25 red, 20 green, 25 red = 70
- Row 28: 24 red, 22 green, 24 red = 70
- Row 29: 23 red, 24 green, 23 red = 70
- Row 30 (top of the tree): 33 red, 4 green, 33 red = 70 — this is the star point in green; the cream star is sewn on later.
- Row 31 (trunk): 33 red, 4 green, 33 red = 70
- Row 32 (trunk): 33 red, 4 green, 33 red = 70
- Row 33 (trunk): 33 red, 4 green, 33 red = 70
Rows 34–44: all red, 70 dc per row.
Rows 45–48: repeat the hem stripe and band exactly as the back panel — Rows 45–46 cream, Rows 47–48 green.
Step 3 — Front neckline shaping
The neckline is shaped in the last 7 rows of the front panel. Work Rows 42–44 as normal first (70 dc, all red), then shape.
Row 45 (RS, cream stripe row): ch 3, dc in the next 24 sts (25 dc worked), turn, leaving the remaining 45 sts unworked. You are now working on the left shoulder only.
Row 46 (WS): ch 3, dc2tog over the first 2 sts (neck edge decrease), dc in each st across — 24 dc.
Row 47 (RS, green band row): ch 3, dc in each st across — 24 dc.
Row 48 (WS): ch 3, dc2tog at the neck edge, dc in each st across — 23 dc. Fasten off. Left shoulder is 23 sts wide.
Right shoulder: rejoin cream yarn at the right-hand side of the neckline (right side facing you), at stitch 46 of the row. Ch 3, dc in the remaining 24 sts — 25 dc. Work Rows 46–48 as a mirror image of the left shoulder (decrease at the neck edge on Row 46 and Row 48), ending with 23 dc. Fasten off. The neck opening is 20 sts wide in the middle, with 23-st shoulders on each side (23 + 20 + 23 = 66, plus the 4 decreased stitches = 70).
Step 4 — Sleeves (make 2)
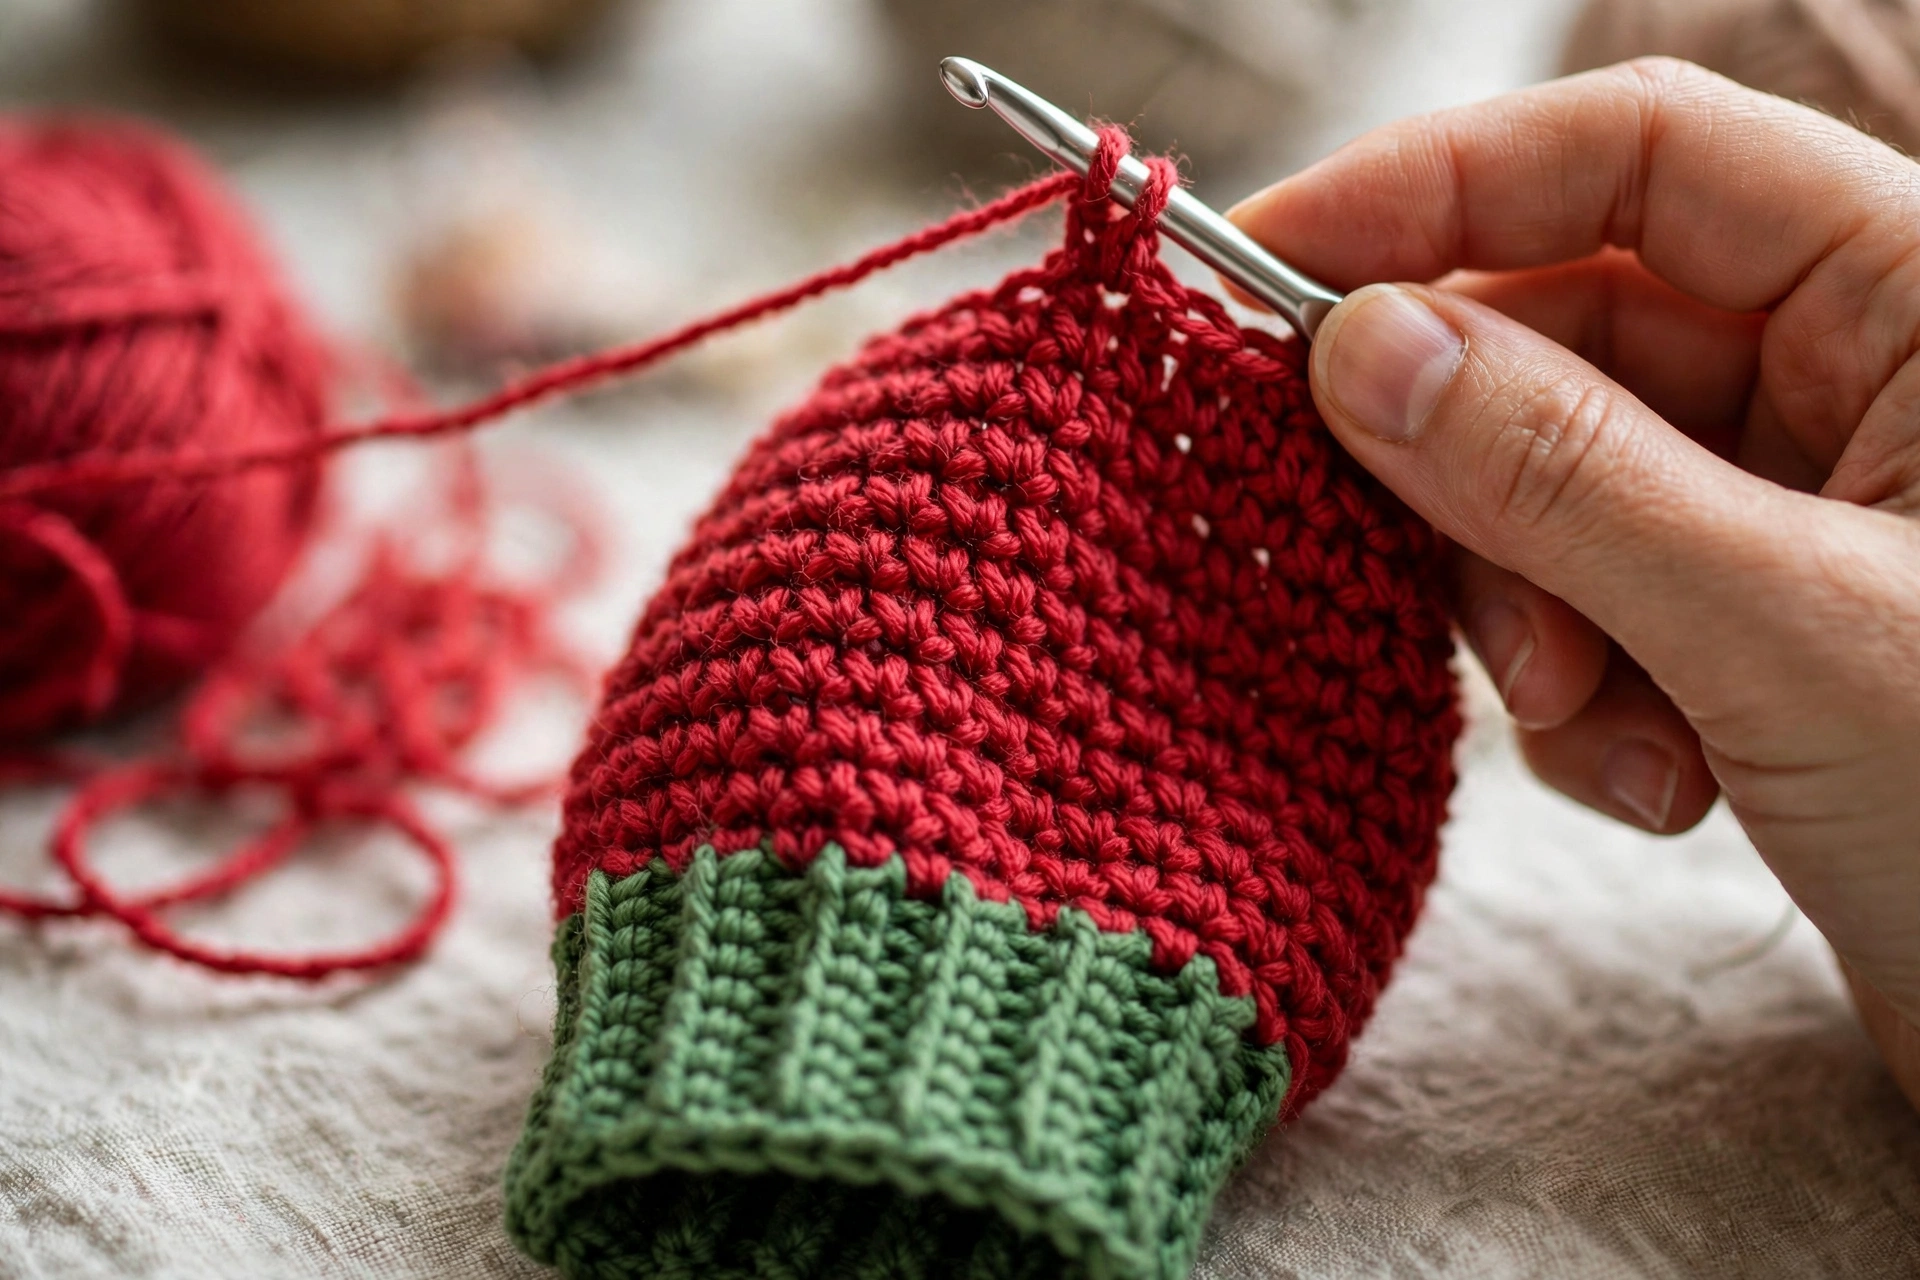
Cuff: with Colour B (green), ch 44. Row 1: dc in the 4th ch from the hook and in each ch across — 42 dc. Rows 2–3: ch 3, dc in each st across — 42 dc.
Body: join Colour A (red) at the start of Row 4. Work even in red, increasing 1 st at each end of every 6th row: Rows 4, 10, 16, 22, 28 and 34 are increase rows (work 2 dc in the first and last st). Stitch counts: after Row 4 — 42 dc; Row 10 — 44 dc; Row 16 — 46 dc; Row 22 — 48 dc; Row 28 — 50 dc; Row 34 — 52 dc; Rows 35–36 — 52 dc even. Total sleeve length is 36 rows, about 18 in. Fasten off. The top of the sleeve is 52 sts wide (about 15 in) and fits the 16 in armhole with a little ease.
Step 5 — Assembly
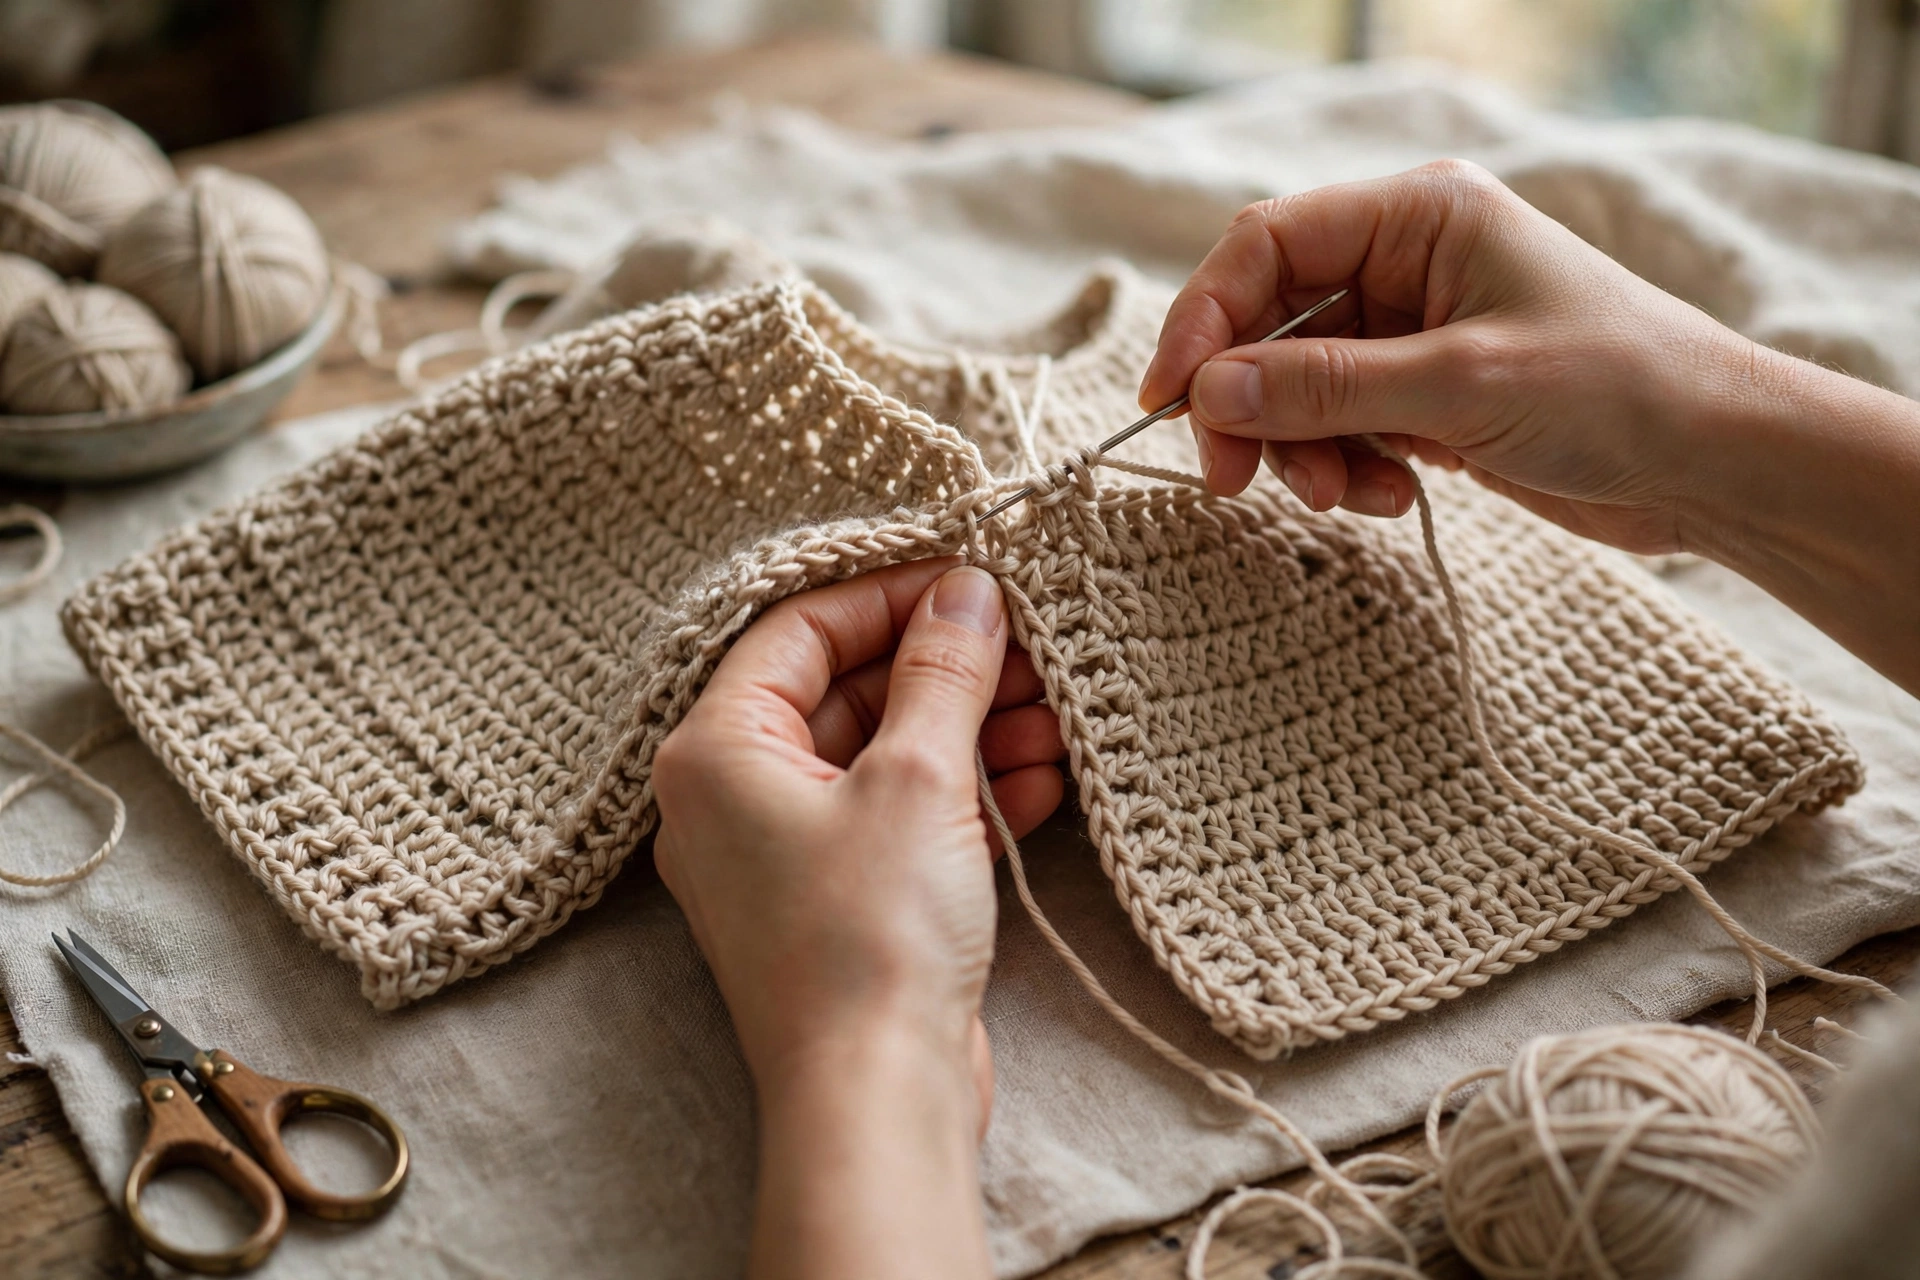
Block all four pieces before seaming — pin each to the finished measurements on blocking mats, spray with water, and leave until completely dry.
- Lay the front and back panels right sides together. Sew the shoulder seams with a tapestry needle and red yarn, joining the 23-st shoulders on each side — about 6.5 in per shoulder.
- Sew the sleeves to the body: centre the top of each sleeve on the shoulder seam and sew around the armhole, easing the 52-st sleeve top into the opening.
- Fold the jumper at the shoulders so the sleeve hangs down, then sew the side seams from the hem to the underarm, and continue down each sleeve from the underarm to the cuff, in one continuous seam per side.
- Star: with cream yarn, work a small 5-point star on top of the tree — chain 2, work 5 sc into the 2nd chain from the hook, join, then work 5 points of (ch 3, sl st in the 2nd ch from the hook, sc in the next ch, sl st into the next sc of the ring). Sew it to the top of the tree at Row 30. Weave in all ends.
Step 6 — Neck edging and finishing
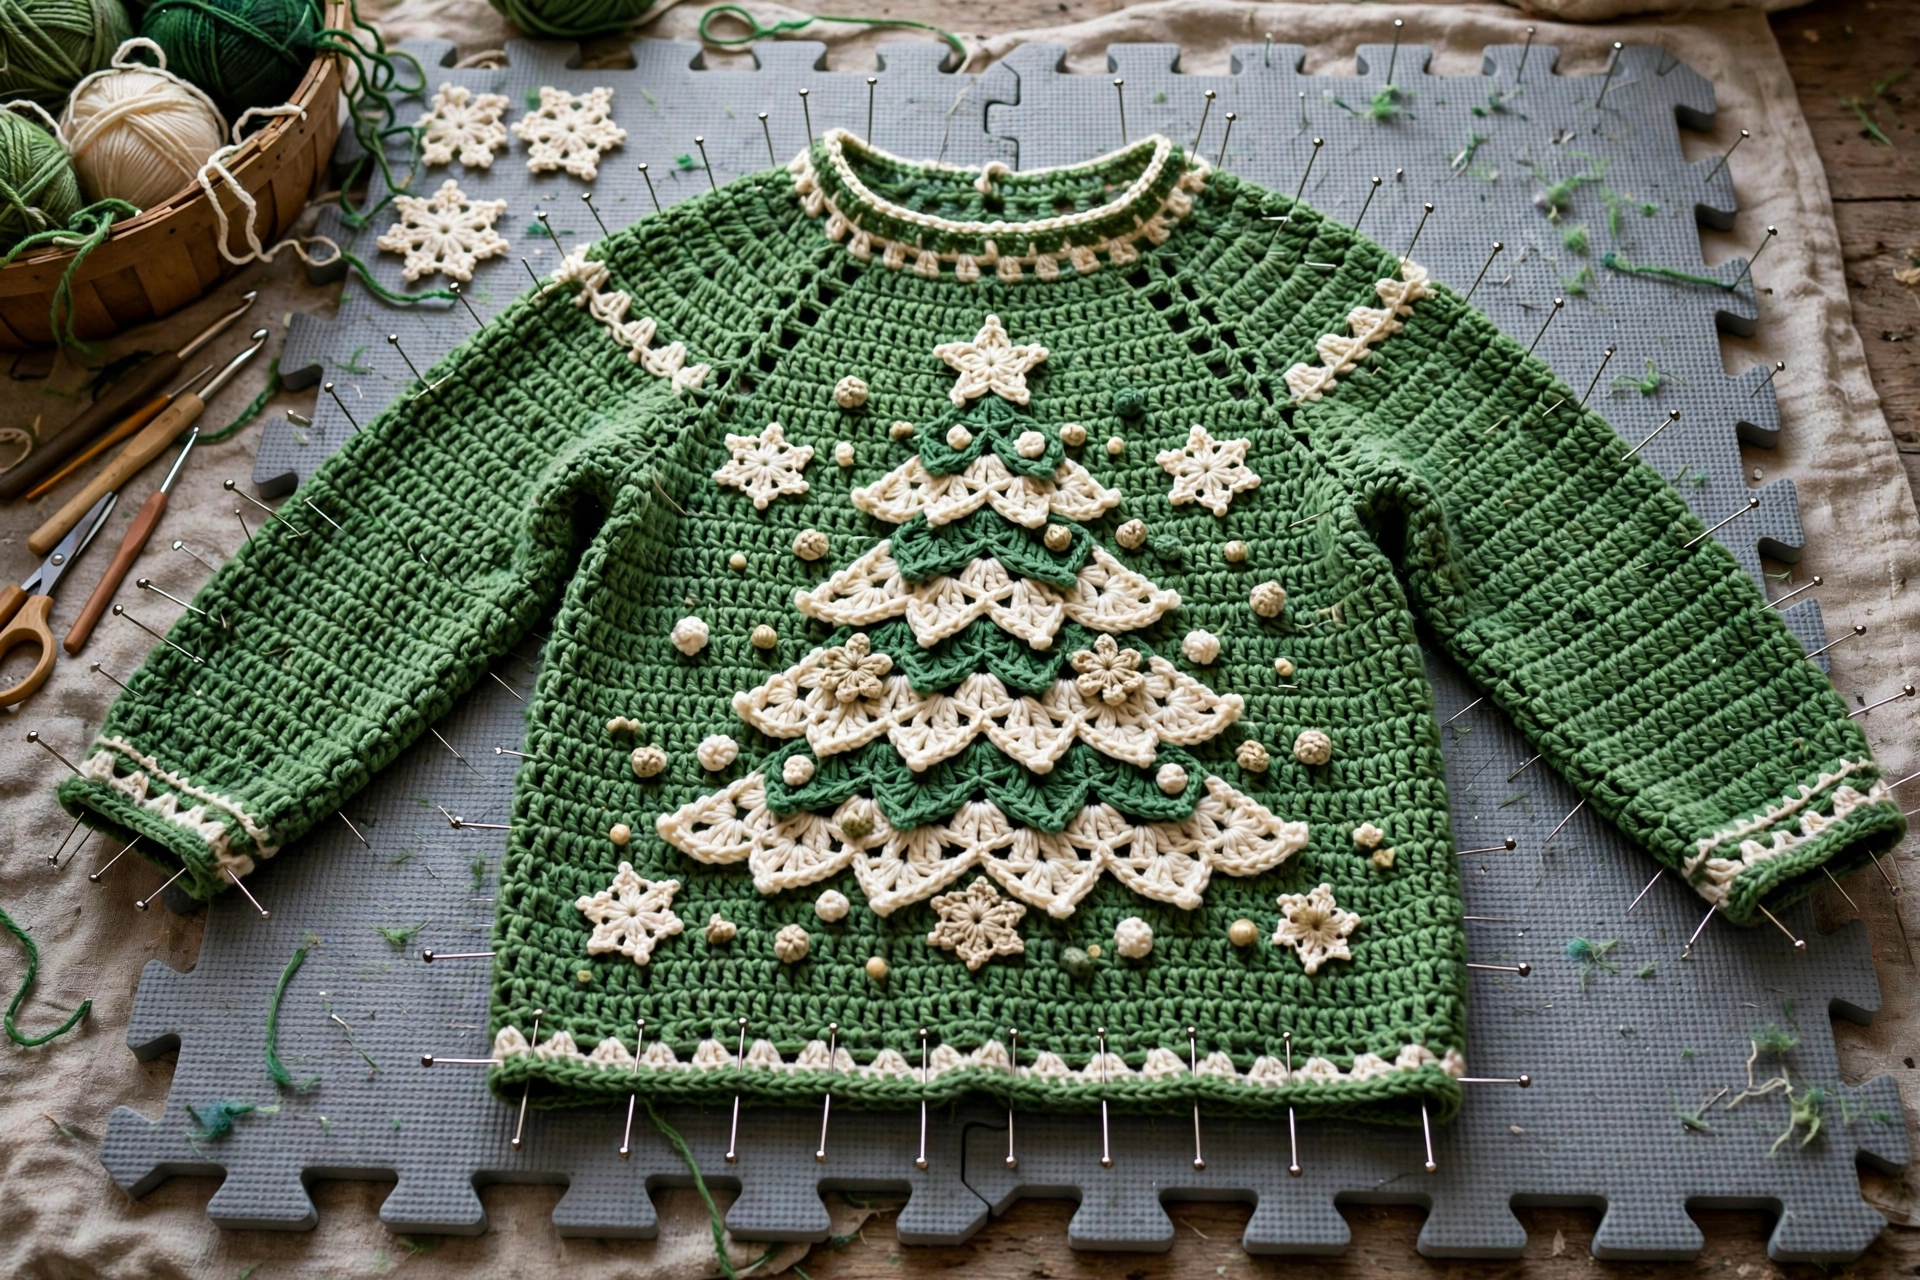
Neck edging: with Colour B (green), right side facing, join at the right shoulder seam. Work 1 round of sc evenly around the neck opening — 1 sc in each st and 1 sc in the end of each row around the shaping — about 64 sc in total. Join with a sl st, then work 1 more round of sc, and fasten off. The edging should lie flat, not ruffle; if it ripples, work the second round with a 4.5 mm hook.
Final blocking: lay the finished jumper flat, pin it to the finished measurements (40 in chest, 24 in long), spray lightly, and dry flat.

- WHAT YOUR PURCHASE COMES WITH: 9 premium EVA blocking boards (12.6″ × 12.6″ × 0.75″), 150 rust-resistant T-pins, a gray …
- EASY TO USE & CARE: Made from durable extra-thick EVA foam, each board holds pins securely and stays firmly in place. Th…
- INTERLOCKING & EXPANDABLE SET: Interlocking tiles create a stable 36″ × 36″ blocking surface or can be arranged in any s…
Try it on before you call it done: check the shoulders sit on your shoulders, the tree is centred on your chest, and the sleeves reach your wrists. If the body is too long, the hem band can be unpicked and reworked shorter; if the sleeves are too long, fold the cuff up once — the green cuff is designed to look good folded.
Tips
- The single most useful purchase for this pattern is the right yarn in the right weight — a bulky yarn will not match the gauge and the jumper will come out enormous. Buy worsted weight (#4) only, and buy all the red at once so the dye lots match.
- If the tree motif feels fiddly, work the whole front panel in red and sew a tree appliqué on afterwards — the counts are identical, only the method changes.
- Count your stitches at the end of every motif row. The tree only stays centred if every row still totals 70.
- Wash the jumper by hand in cool water and dry it flat. A machine wash will felt the tree into a blob.
FAQ
Is this jumper pattern suitable for beginners?
Yes, if you are comfortable with double crochet. There is no working in the round, no raglan shaping and no complicated stitch — the only new skill is changing colour for the tree, and the counts are given row by row.
How much yarn do I need?
For Adult Medium: about 1,100–1,200 yards of red, 260–300 yards of green and 90–110 yards of cream. Buy an extra ball of red if you are between sizes — running out mid-panel is worse than having a ball left over.
Can I make it in other sizes?
Yes. The panel stitch count is chest ÷ 2 × 3.5 dc per inch (Small 63 dc, Large 77 dc, XL 84 dc, 2XL 91 dc). Keep the tree motif centred and the same width — it is 24 sts at its widest, so it fits every size from Small up.
What if I do not want the tree?
Work the front panel exactly like the back panel and add a cream snowflake or a green wreath appliqué instead. The shaping, sleeves and assembly are unchanged.
Why does my jumper need blocking?
Double crochet panels curl and the seams pull. Blocking evens the stitches, sets the measurements and makes the tree motif sit flat. It takes an hour of drying and makes the difference between homemade-looking and handmade-looking.