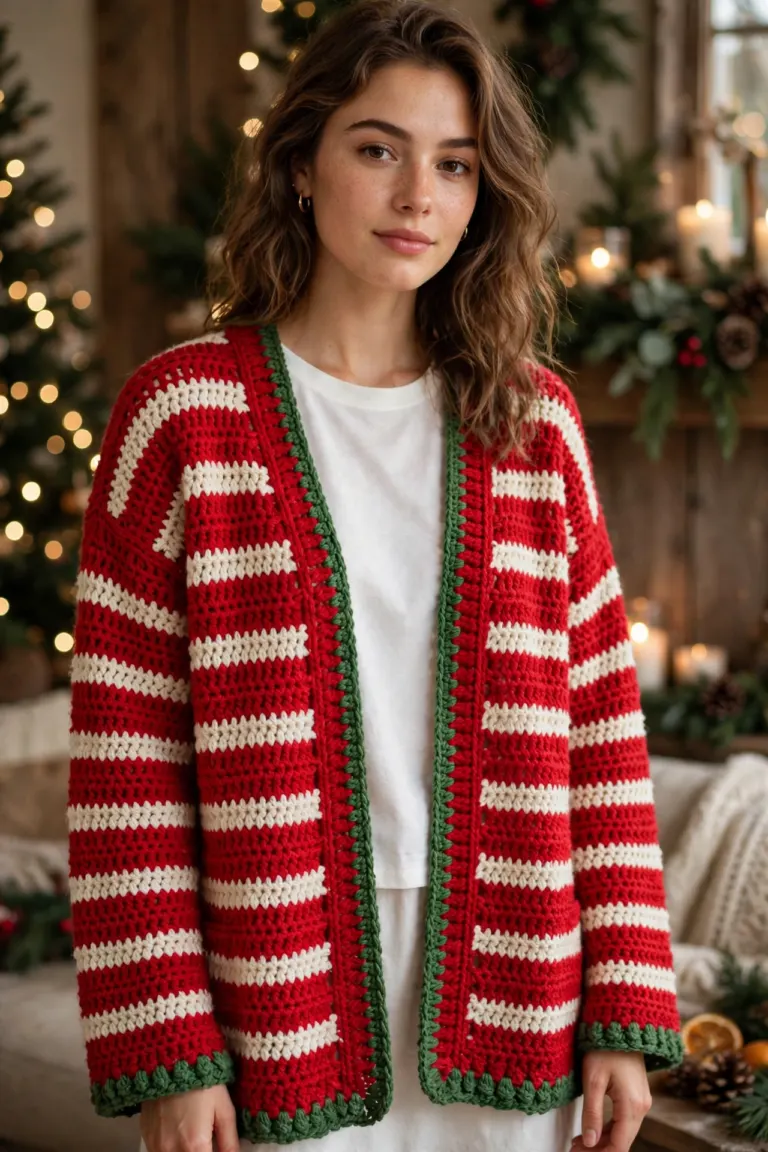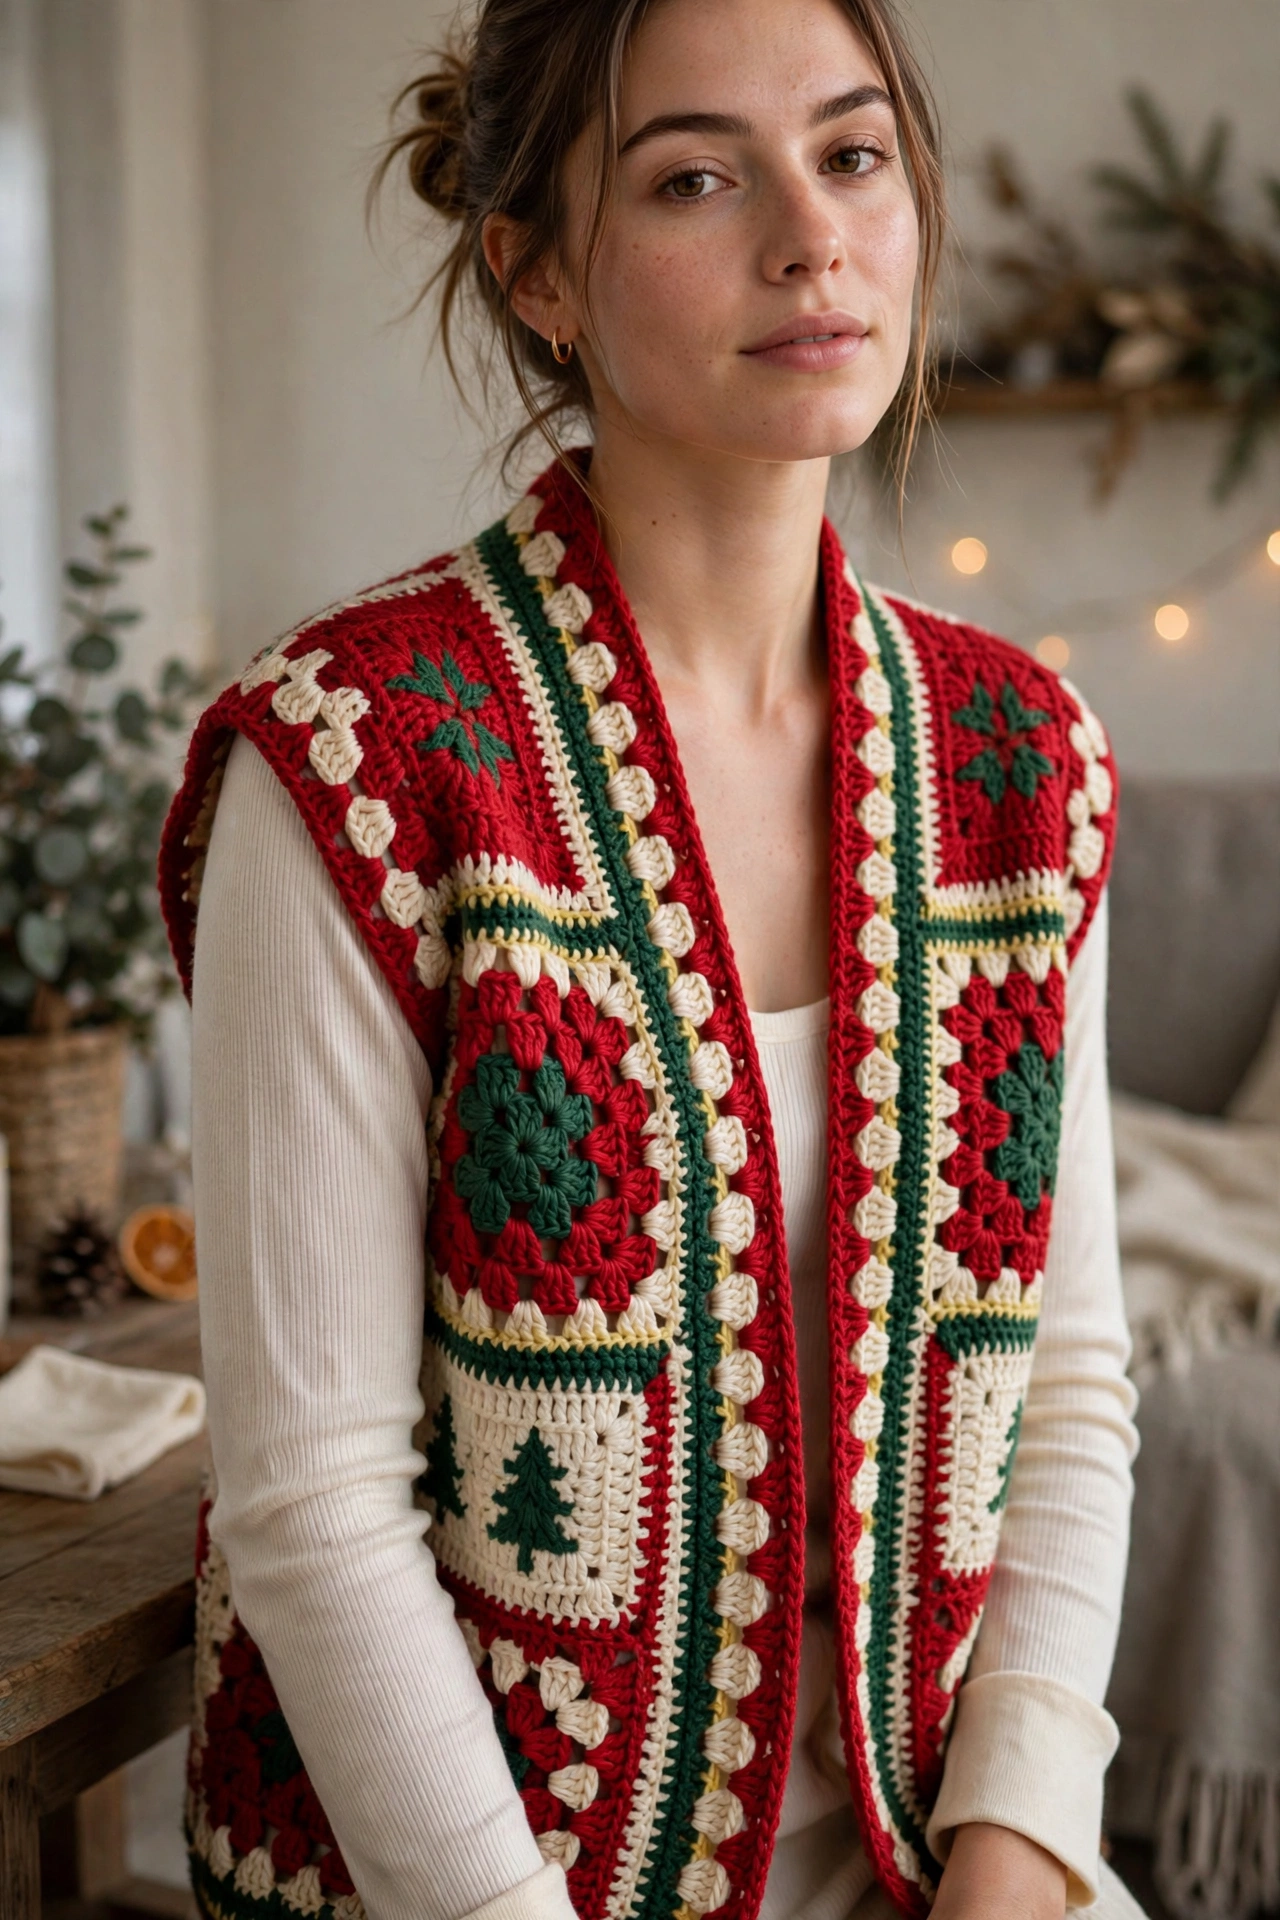
Crochet Christmas Vest Pattern: Easy Festive Slipover in Red, Green and Cream
A simple, cosy, open-front crochet Christmas vest to wear over a long-sleeved top, blouse, or plain dress. Worked in easy double crochet, with straight back and front panels, a gentle V-neck, and festive stripes at the hem. No complicated shaping and no buttons or zip.
The back is one rectangle; each front is a rectangle with a simple one-stitch decrease at the neck edge to form the V. After seaming the three panels, add tidy single crochet edging around armholes, neck, and front opening.
The main size, Adult Medium, is written out row by row with checked stitch counts. Other sizes are given as target measurements with gauge-based adjustment guidance only, not checked row-by-row counts.
It is a good first garment project if you are comfortable with chain, double crochet, and double crochet two together.
Materials
- Worsted weight / medium weight (#4) yarn in three festive colours.
- Colour A — Deep Christmas Red (main colour), approximately 800–900 yards / 730–825 metres.
- Colour B — Forest Green (hem band and edging), approximately 180–220 yards / 165–200 metres.
- Colour C — Cream / Winter White (thin hem stripe), approximately 70–90 yards / 65–85 metres.
- Hook: 5.0 mm (US H-8).
- Tapestry / yarn needle, scissors, measuring tape, and at least 2 stitch markers to mark the neck edge on each front panel.
Yarn amounts are approximate for Adult Medium and will vary with gauge, yarn, and length changes.
Gauge
14 double crochet stitches and 8 rows = 4 inches / 10 cm in double crochet, using a 5.0 mm hook, after light blocking. Work a swatch larger than 4 inches square, block lightly if you plan to block the finished vest, and measure the centre 4 inches.
More than 14 stitches in 4 inches: try a larger hook. Fewer than 14 stitches in 4 inches: try a smaller hook. Stitch gauge matters most for width; row gauge matters most for length.
Finished Size — Adult Medium
Designed to fit a chest of 38–40 inches with about 0–2 inches of positive ease.
- Finished chest circumference: 40 inches.
- Finished width, laid flat (back panel): 20 inches.
- Length, shoulder to hem: 22 inches.
- Side seam length, hem to armhole: 13.5 inches.
- Armhole depth: 8.5 inches.
- Shoulder width, each front after V shaping: about 6.25 inches (22 stitches).
- Back neck width, between shoulder seams: about 7.5 inches (26 stitches).
- V-neck depth, from shoulder to start of shaping: about 6.5 inches (13 rows).
Adjustment Guidance for Other Sizes
Do not simply guess at new stitch counts. Use your gauge and your own measurements. The design can be adapted for Adult XS/S, Adult Medium (main size), Adult L/XL, and Adult 2X.
Width: measure your chest, add 0–2 inches ease for finished chest circumference, divide that number in half for flat back width, and multiply flat back width in inches by 3.5 stitches per inch (from a gauge of 14 stitches per 4 inches) to get the back stitch count. Each front is half the back stitch count, rounded to a whole stitch.
Length: work straight rows before any shaping until the piece is 2 rows short of the desired length for every 1 inch to add or remove; row gauge is 2 rows per inch, so add or remove 2 rows per inch of length change, keeping hem stripes at the bottom.
Armhole and V-neck: keep side seam length and armhole depth close to main-size proportions, adjusting to your own torso length; start V-neck shaping so that decreasing 1 stitch at the neck edge on every row leaves a shoulder about 6–6.5 inches wide; count the remaining shoulder stitches on the front and seam the same number of stitches on each side of the back, leaving centre stitches open for the back neck.
Try it on before edging: pin or loosely seam shoulders and sides and try the vest on, as length and V depth are much easier to adjust before edging is added. Only Adult Medium counts in the pattern have been fully checked row by row.
Abbreviations (US Terms)
- ch — chain
- dc — double crochet
- dc2tog — double crochet two together (decrease 1 stitch)
- sc — single crochet
- sl st — slip stitch
- st(s) — stitch(es)
- RS — right side
- WS — wrong side
- rep — repeat
Notes
Turning chain, ch 3, counts as first double crochet throughout, unless stated otherwise.
To work dc2tog: yarn over, insert hook in next stitch, yarn over, pull through, yarn over, pull through 2 loops, yarn over, insert hook in next stitch, yarn over, pull through, yarn over, pull through 2 loops, yarn over, pull through all 3 loops on hook. This counts as 1 stitch and decreases the count by 1.
To change colour: work the last stitch of the old colour until the last yarn over, then yarn over with the new colour and pull through to complete the stitch. Carry or cut the old colour neatly at the side edge. Row 1 is the right side.
Construction order: back panel, front panels, shoulder seams, side seams, armhole edging, neck and front edging, finishing.
Step 1: Checking Gauge and Chaining the Back Panel
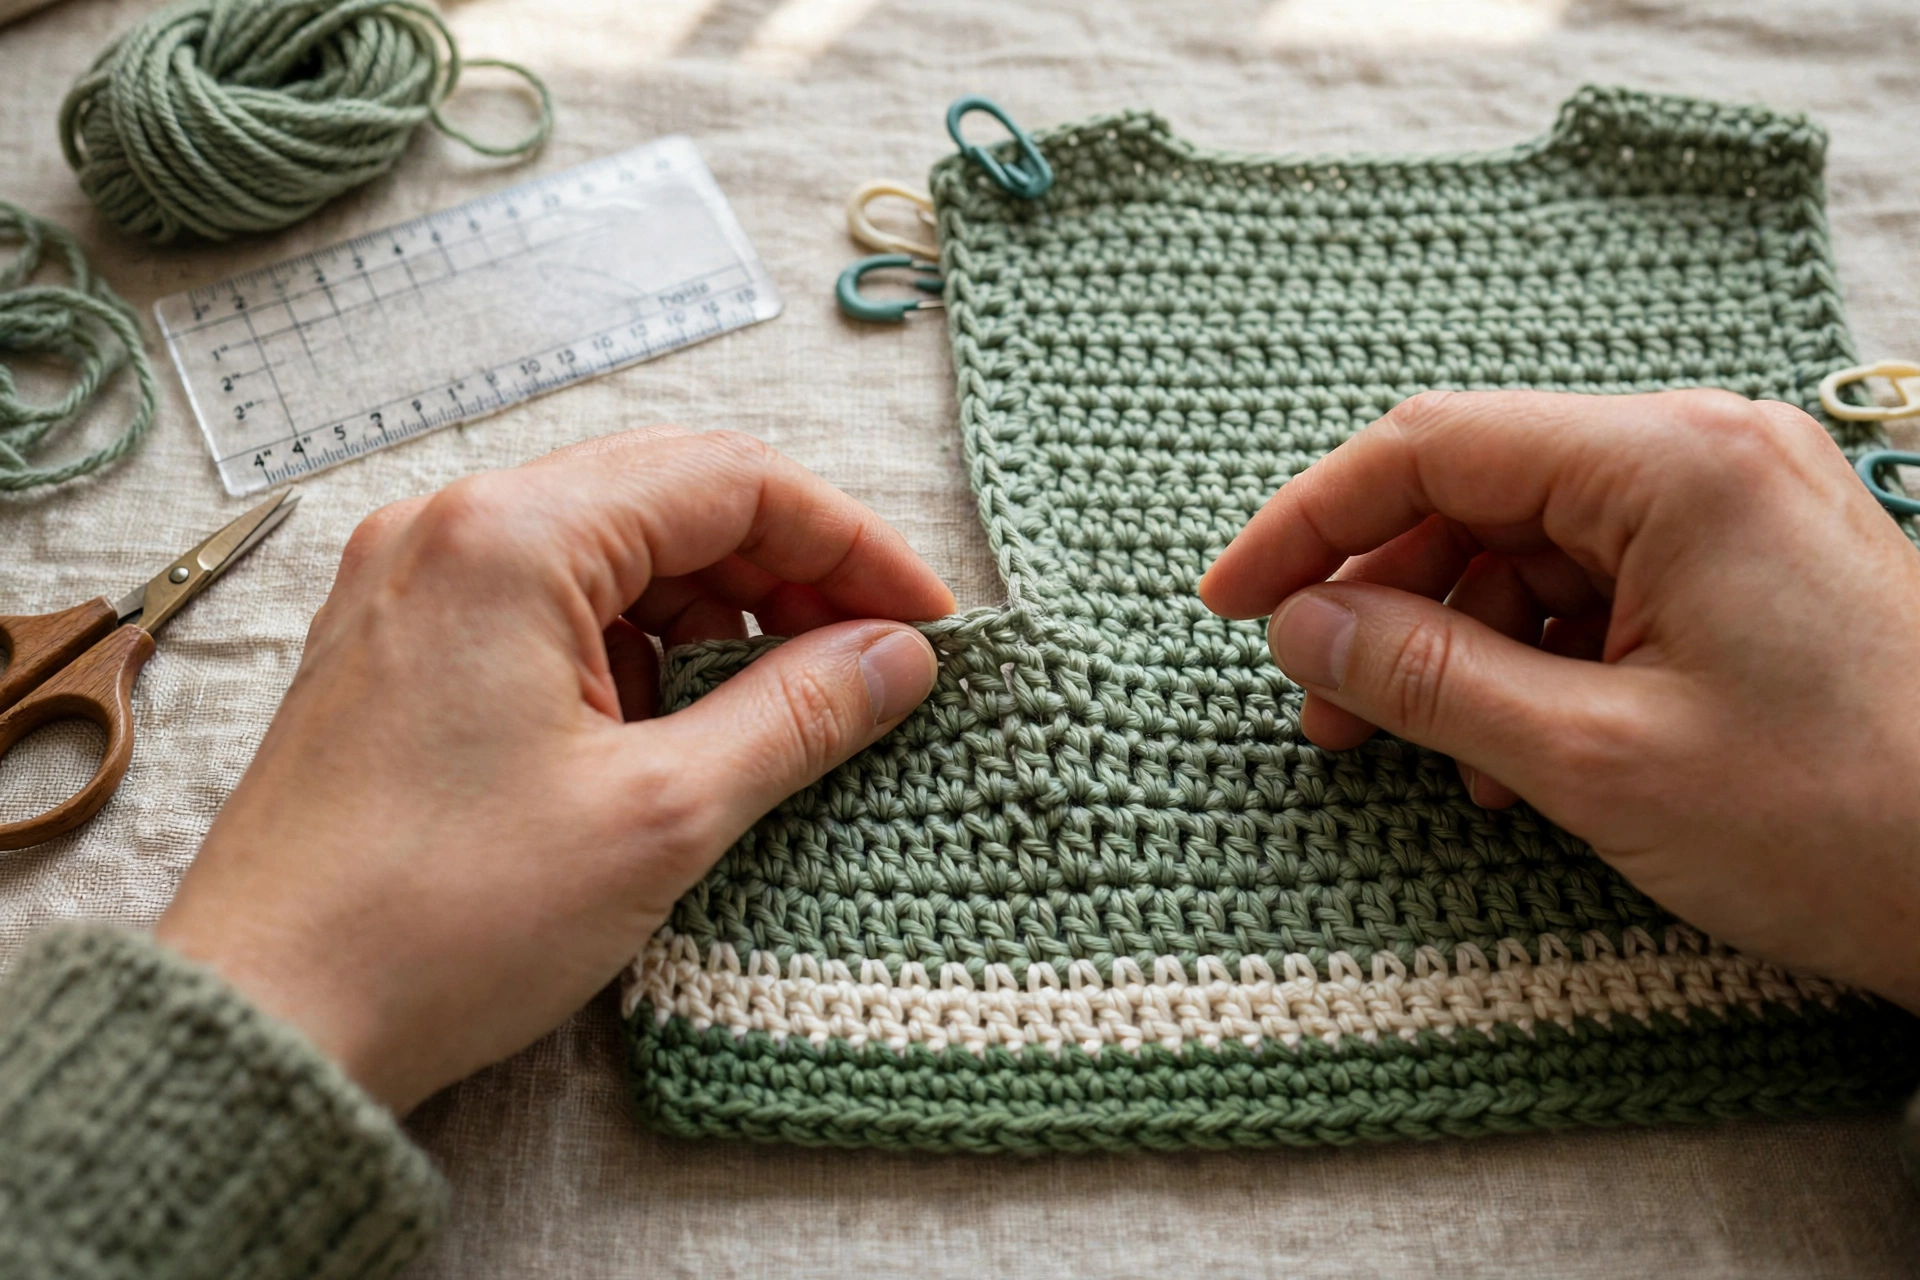
Back Panel, worked bottom to top, stitch count does not change. With Colour B, ch 72.
Row 1 (RS), Colour B: dc in 4th ch from hook and each ch across — 70 dc. Row 2, Colour B: ch 3 (counts as first dc), turn, dc in each st across — 70 dc. Row 3, Colour B: ch 3, turn, dc in each st across — 70 dc. Row 4, Colour C: ch 3, turn, dc in each st across — 70 dc.
Step 2: Working the Back Panel in Red Double Crochet
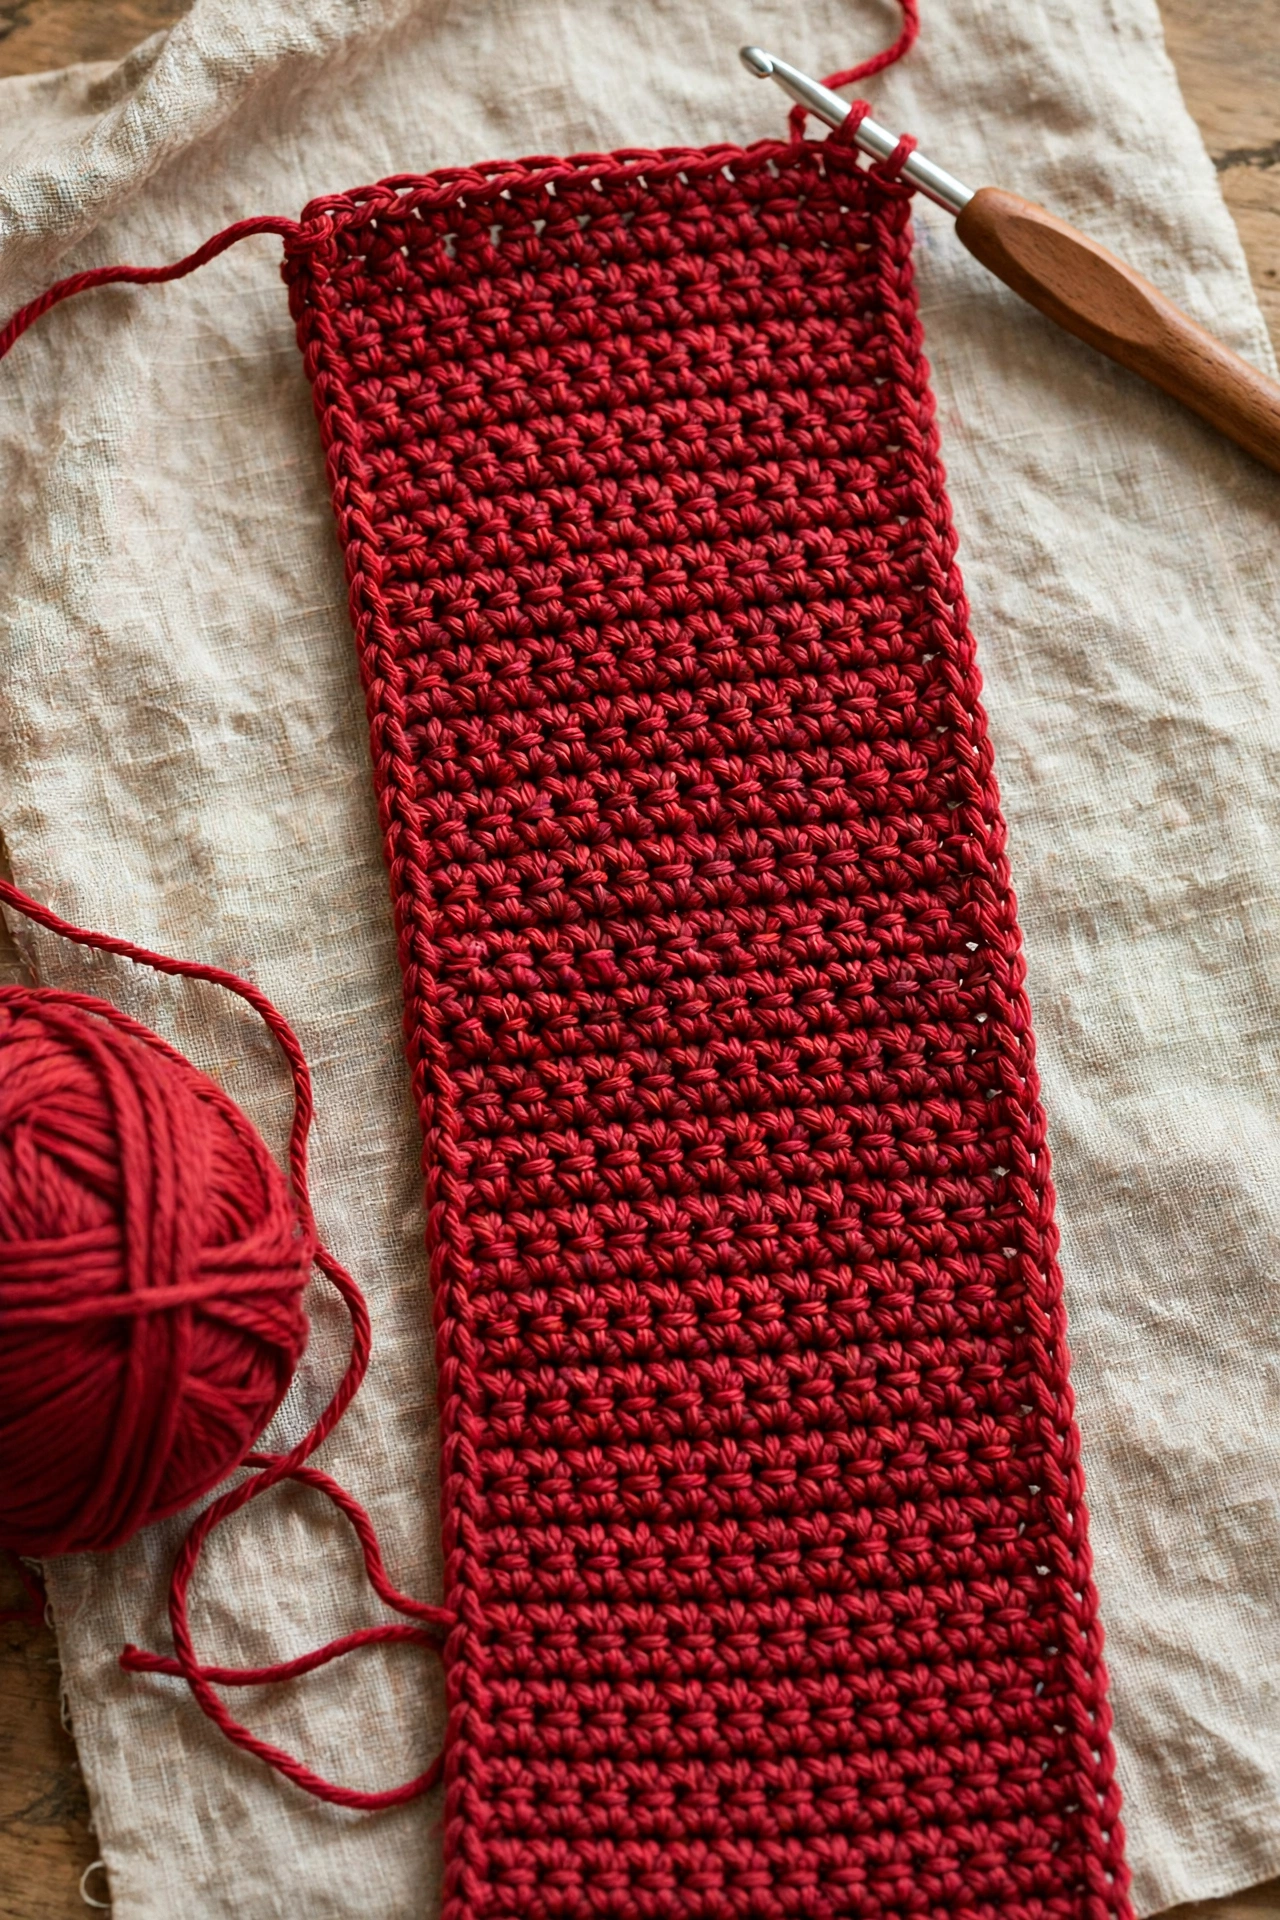
Rows 5–44, Colour A: ch 3, turn, dc in each st across — 70 dc on each row.
Back panel measures 20 inches wide and 22 inches long: Rows 1–3 in green form a 1.5-inch hem band, Row 4 in cream forms a 0.5-inch stripe, and Rows 5–44 in red form the main body. Fasten off, leaving a tail for seaming if wished.
Step 3: Starting the First Front Panel
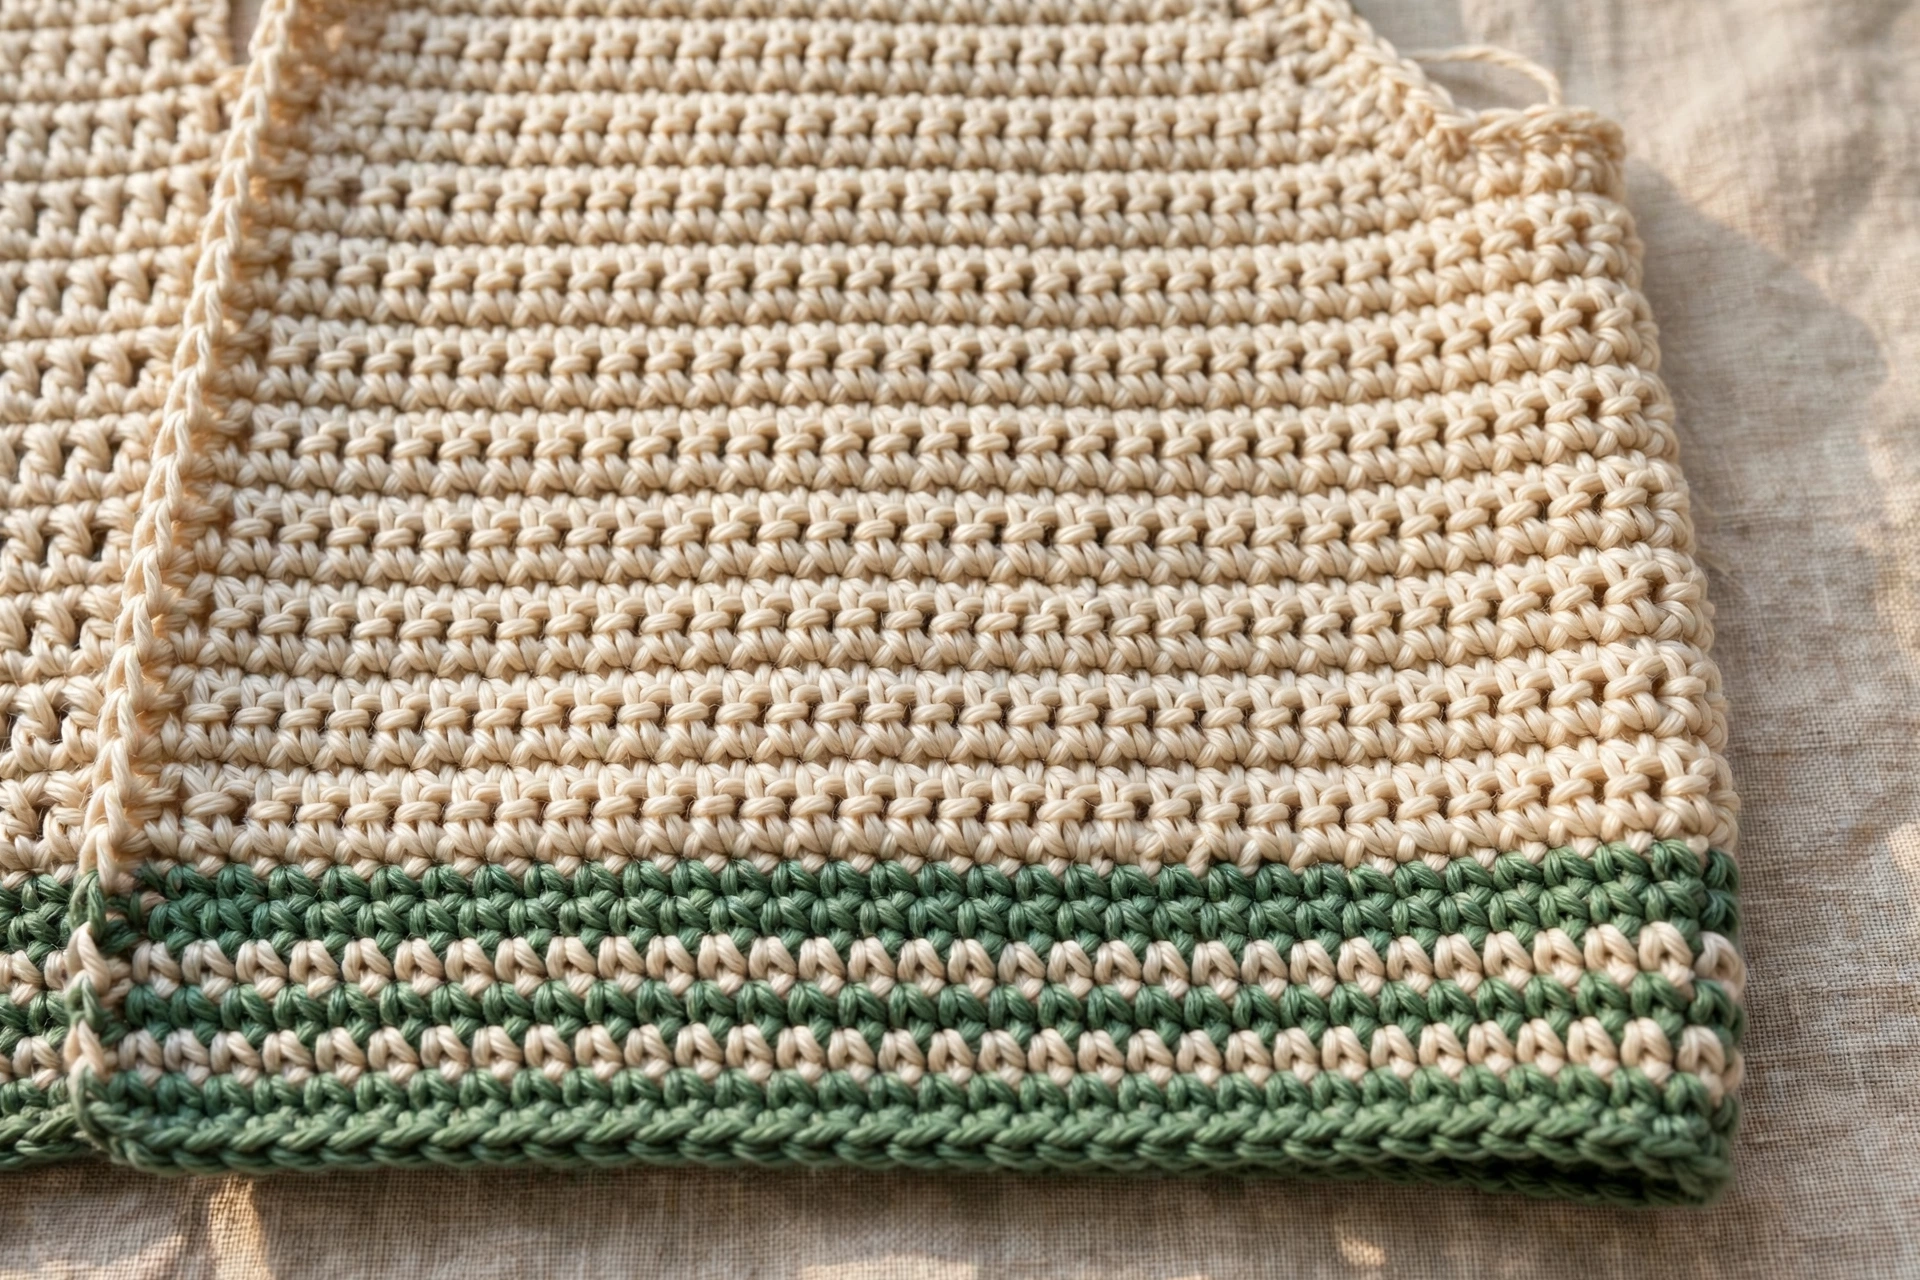
Front Panels — Make 2, Mirrored. Each front is worked bottom to top. Rows 1–31 are straight. Rows 32–44 decrease 1 stitch at the neck edge on every row to form the V-neck. Place a stitch marker at the neck edge — the inner edge that will sit next to the centre opening — after Row 1, and move it up as work progresses. For one front the neck edge will be on the left when the right side is facing; for the second front it will be on the right. Apart from that reversal, the two fronts are worked the same way, with the same stitch counts.
With Colour B, ch 37. Row 1 (RS), Colour B: dc in 4th ch from hook and each ch across — 35 dc. Row 2, Colour B: ch 3, turn, dc in each st across — 35 dc. Row 3, Colour B: ch 3, turn, dc in each st across — 35 dc. Row 4, Colour C: ch 3, turn, dc in each st across — 35 dc. Rows 5–31, Colour A: ch 3, turn, dc in each st across — 35 dc on each row.
Step 4: Shaping the V-Neck on the Front Panel
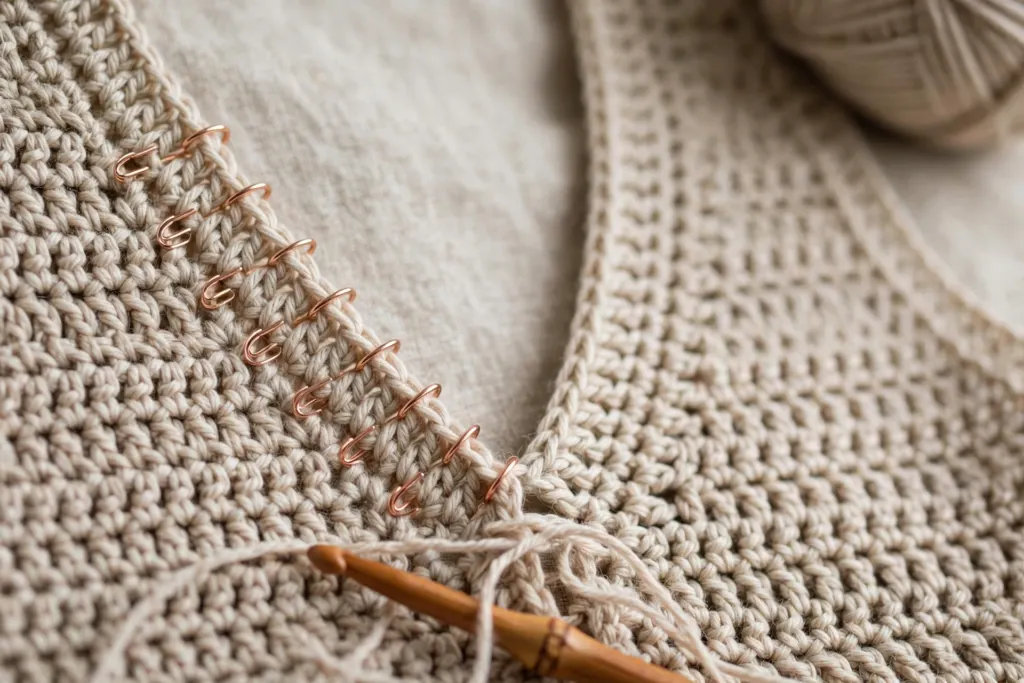
V-neck shaping: on every row from Row 32 to Row 44, work dc2tog once at the marked neck edge — at the beginning of the row on rows where the neck edge comes first, and at the end of the row, over the last 2 stitches, on rows where the neck edge comes last. Work all other stitches as double crochet.
Count falls by 1 stitch on each of these rows: Row 32 — 34 dc; Row 33 — 33 dc; Row 34 — 32 dc; Row 35 — 31 dc; Row 36 — 30 dc; Row 37 — 29 dc; Row 38 — 28 dc; Row 39 — 27 dc; Row 40 — 26 dc; Row 41 — 25 dc; Row 42 — 24 dc; Row 43 — 23 dc; Row 44 — 22 dc.
Each front panel measures 10 inches wide at the hem and 22 inches long. The shoulder at the top of each front is 22 stitches, about 6.25 inches wide. Fasten off.
Step 5: Completing the Second, Mirrored Front Panel
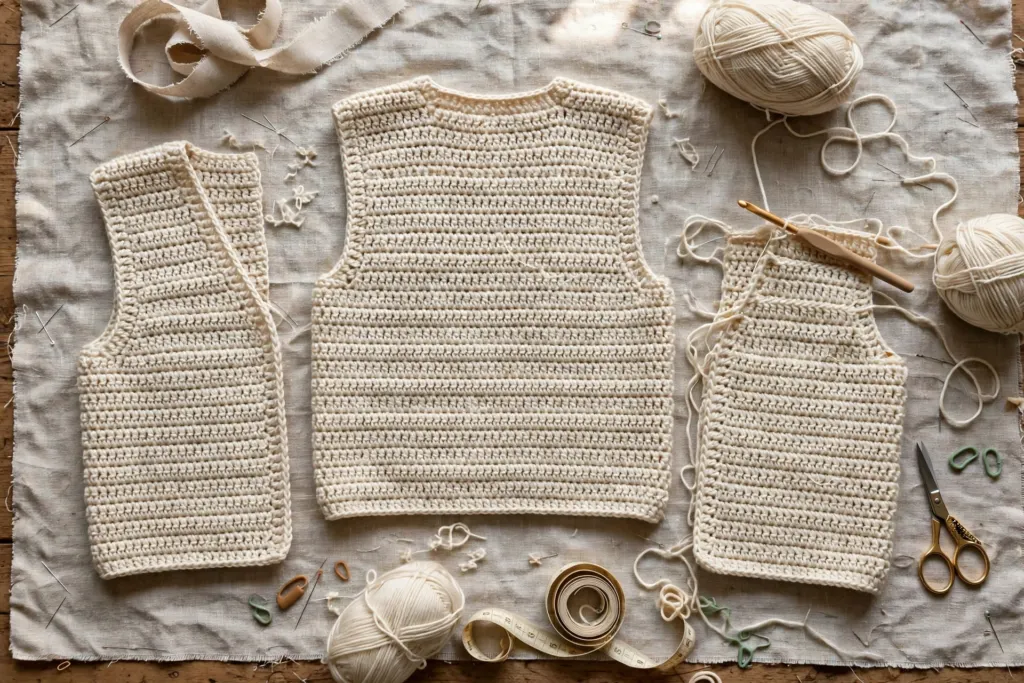
Make the second front the same way, reversing the neck edge so the two fronts mirror each other.
Check before seaming: back top = 70 stitches; front shoulders = 22 + 22 = 44 stitches; back neck left open = 70 − 44 = 26 stitches, about 7.5 inches. This matches the finished measurements above. Lay out the back and both fronts for seaming.
Step 6: Seaming Shoulders and Sides
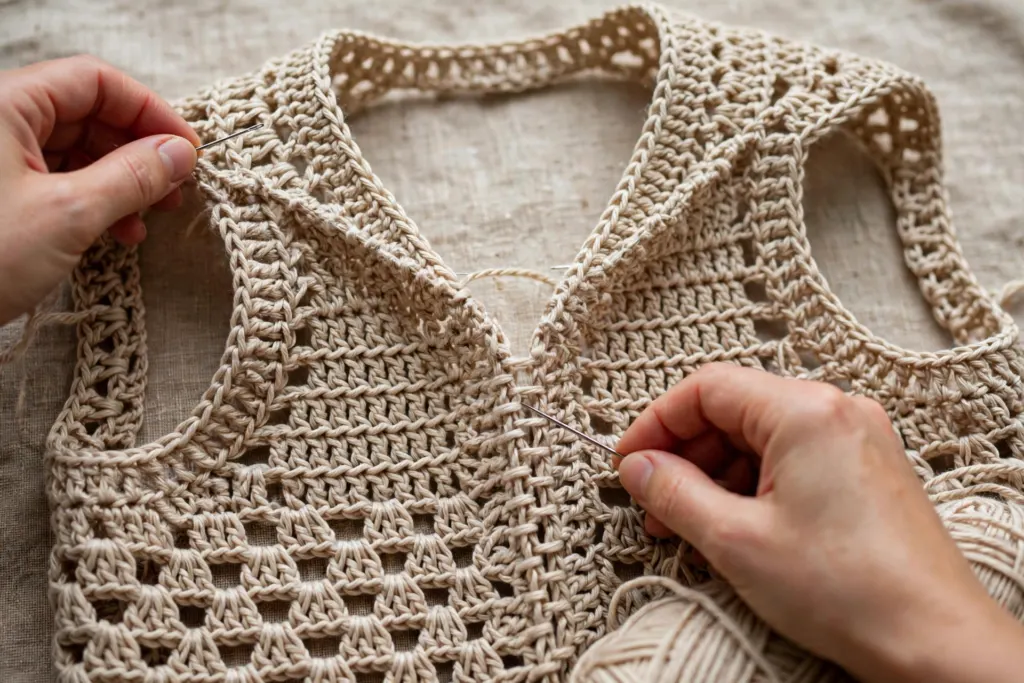
Finishing / Assembly, with right sides together unless stated otherwise, using Colour A or Colour B and a tapestry needle, with whip stitch or mattress stitch, keeping seam tension even so seams do not pucker.
- Block panels lightly if desired: lay back and both fronts flat, shape them to the finished measurements, and steam or damp-block lightly according to yarn care. Let dry flat before seaming.
- Shoulder seams: place fronts on top of back with right sides together and top edges aligned. Seam 22 stitches of each front shoulder to the back, starting at the armhole edge and working inward. Leave the centre 26 stitches of the back open for the back neck. Do not seam across the back neck.
- Side seams: with right sides together, seam each side from the hem upward for 13.5 inches, ending at the start of the armhole. Leave the remaining 8.5 inches open on each side for armholes. Check both side seams are the same length.
Step 7: Working the Armhole Edging
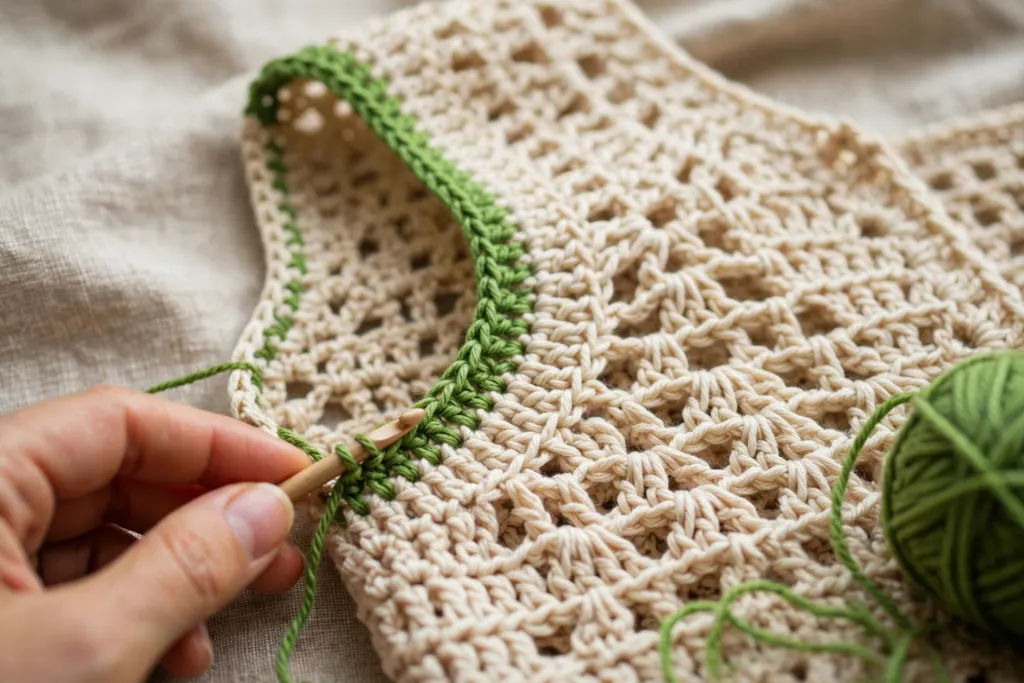
- Armhole edging: with right side facing and Colour B, join yarn at the underarm seam of one armhole. Work single crochet evenly around the armhole opening, working about 1 single crochet per row-end along front and back side edges, about 34 single crochet total around each armhole. Join with slip stitch to the first single crochet and fasten off. Repeat for the second armhole. Keep the edging flat — if it pulls in, work a little more loosely; if it flares, work a little more firmly.
Step 8: Working the Neck and Front Edging
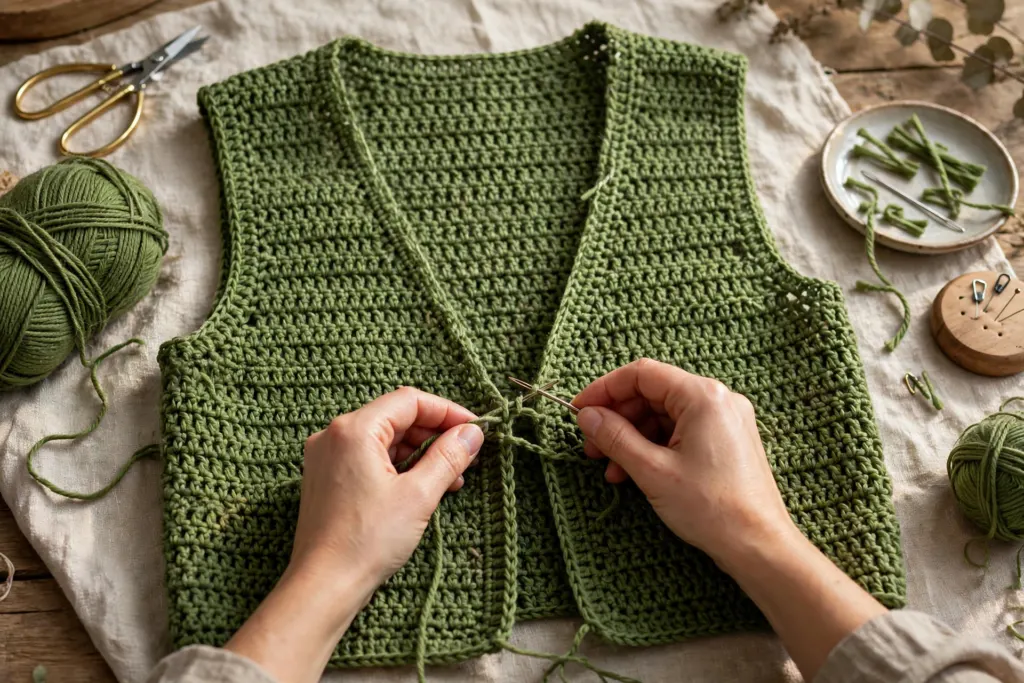
- Neck and front edging: with right side facing and Colour B, starting at the bottom of one front edge at the hem, work single crochet evenly up the front edge, around the V-neck, across the back neck, down the other side of the V-neck, and down the second front edge to the hem. Work about 1 single crochet per row-end along front and V edges and 1 single crochet in each stitch across the back neck, about 114 single crochet total around the whole opening. Do not turn at corners; work smoothly around the V point. Fasten off.
- Finish: weave in all ends securely on the wrong side. Try the vest on and check shoulders sit evenly and the V-neck lies flat. Give the edging a final light steam or press if the yarn allows, taking care not to flatten the double crochet texture.
Tips
- Count after each decrease row — the V-neck only works if decreasing exactly once per row from Row 32 to Row 44; a quick count at the end of each of those rows will keep both fronts matching.
- Mark the neck edge — the neck edge swaps from one end of the row to the other as work is turned; a stitch marker saves confusion, especially on the second, mirrored front.
- Keep hem stripes aligned — change colour on the last yarn over of the last stitch of the previous row so the green band and cream stripe line up across the back and both fronts.
- Try it on before edging — pin shoulders and sides, try the vest on over the top planned to wear it with, and check length and V depth before adding edging.
- For a longer vest: add straight rows in Colour A before Row 32, in pairs of rows for each extra inch, and keep the same V shaping rows at the top; a longer vest will need a little more yarn.
- For a cosier look: wear the vest over a cream or green long-sleeved top to echo the hem and edging colours.
FAQ
Is the crochet Christmas vest suitable for beginners? Yes, if the maker can chain, double crochet, and work double crochet two together. Panels are rectangles, and the only shaping is a one-stitch V-neck decrease on each front.
What size does the main pattern make? The full row-by-row pattern makes Adult Medium, with finished chest circumference 40 inches and length 22 inches, designed to fit a chest of 38–40 inches. Adjustment guidance for other sizes is given above.
Can the vest be made in different colours? Yes. Keep Colour A as the main colour and use any two contrasting colours for the hem band, stripe, and edging. A single-colour version, with edging in the main colour, also works well.
Can the front of the vest be closed? The pattern is written as an open-front vest with no fastening. If a closure is wanted, a shawl pin or decorative brooch at the front could be added, rather than changing the stitch pattern, so the V-neck and edging still lie flat.
How do I wash the finished vest? Follow the care instructions for the yarn. In general, hand wash or machine wash on a gentle cycle if the yarn allows, reshape while damp, and dry flat so the vest keeps its measurements.