
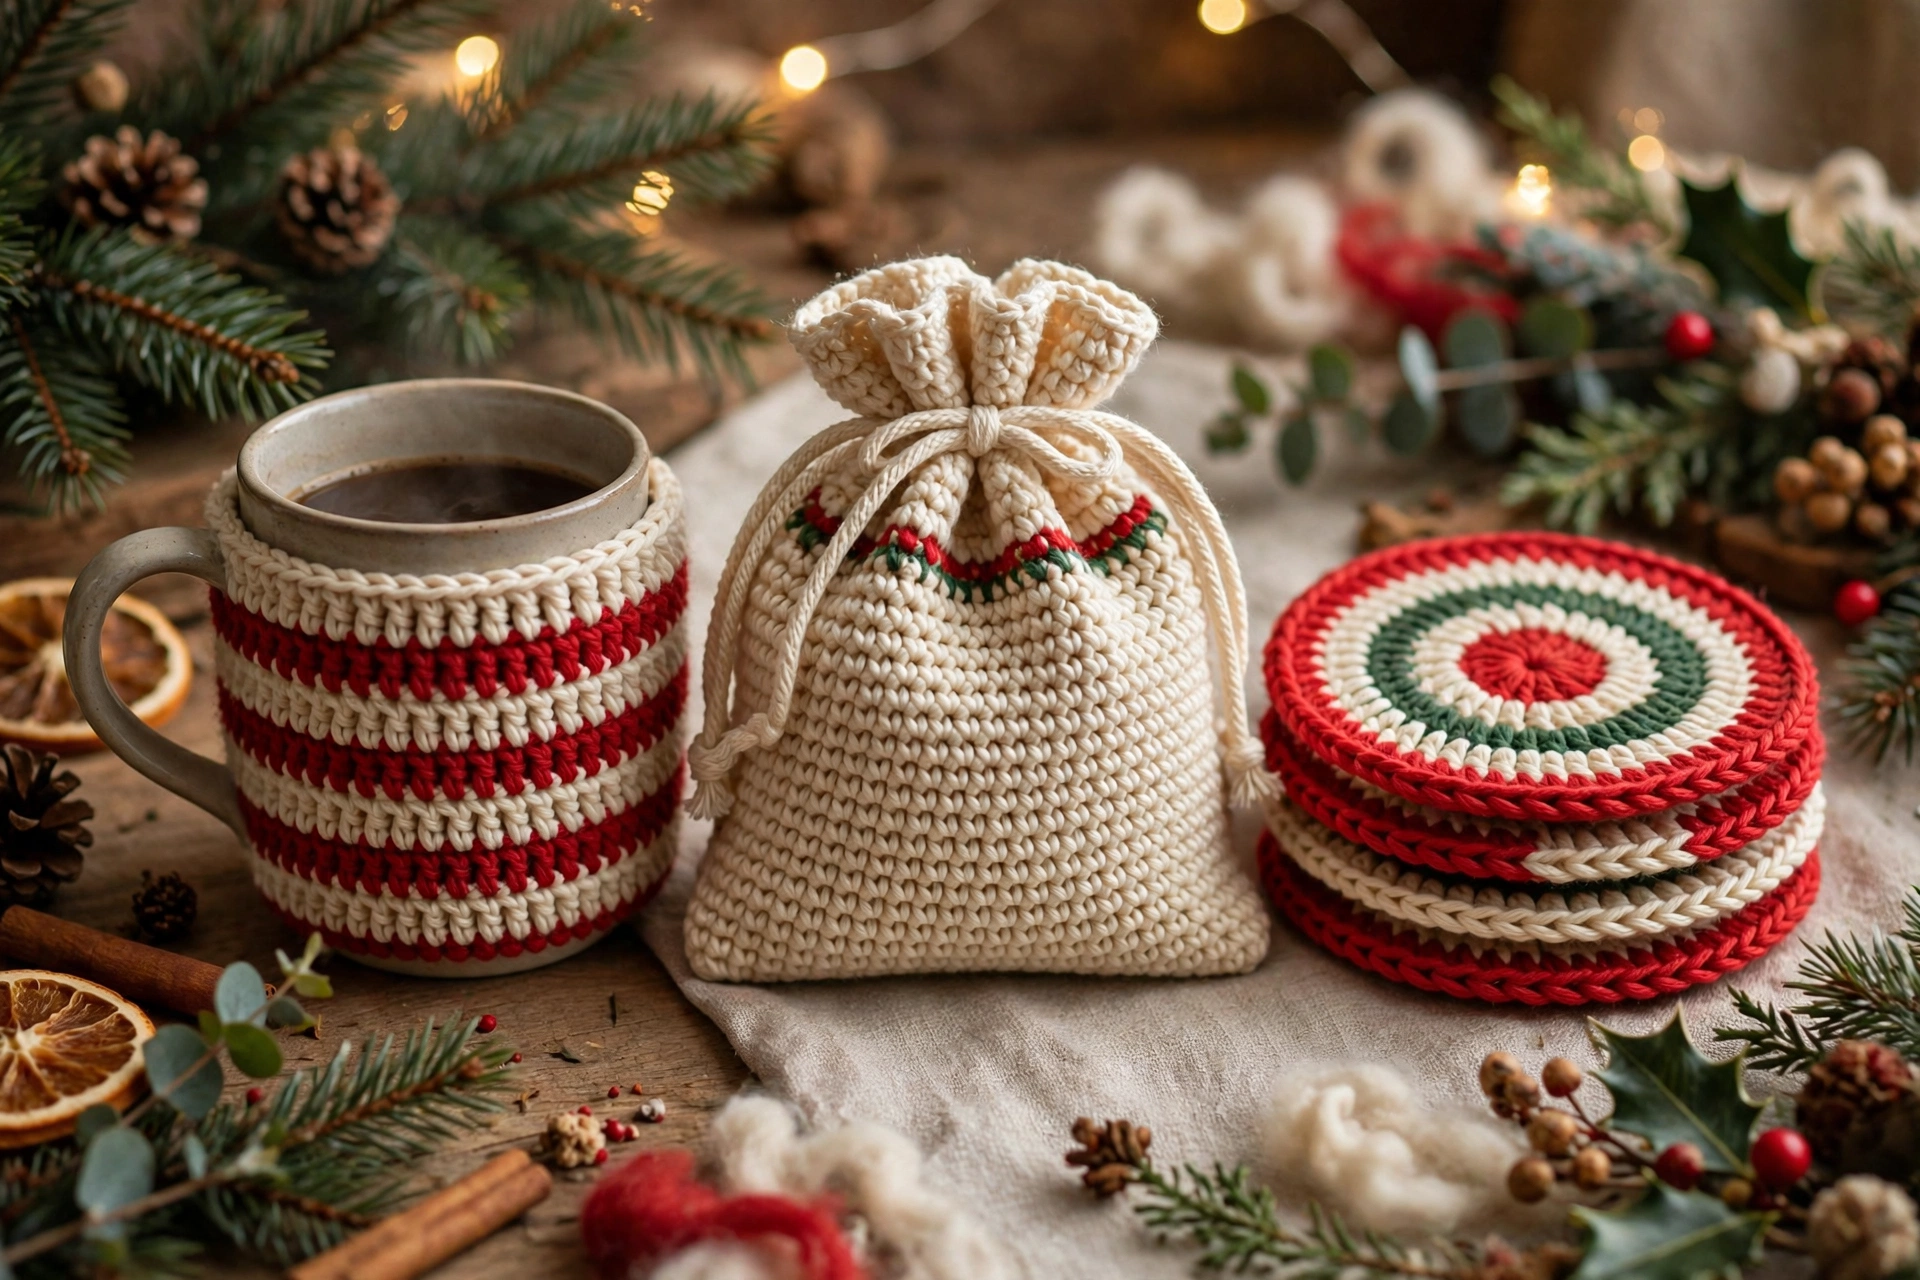
Christmas Crochet Ideas: 3 Easy DIY Gifts to Make — Mug Cozy, Gift Pouch & Coaster Set
If you want handmade Christmas gifts that are quick, useful, and genuinely enjoyable to make, these three mini projects are perfect place to start. Each one is complete, original pattern — not just idea — so can follow it from first chain to last weave-in and finish with gift ready to wrap. In this article you will make: 1) striped mug cozy with button loops; 2) drawstring gift pouch for small presents, treats, or jewellery; 3) set of four round coasters. All three use same easy, beginner-friendly stitches and worsted-weight yarn, so can use yarn already have, mix festive colours, and make several gifts in weekend. Make one of each for thoughtful gift set, or repeat favourite for everyone on list.
Abbreviations — US Terms (Shared for All Three Patterns)
ch: chain; sc: single crochet; hdc: half double crochet; sl st: slip stitch; inc: increase — work 2 stitches in same stitch; BLO: back loop only — work into back loop of stitch only; st(s): stitch(es); rnd(s): round(s); rep: repeat; RS: right side; WS: wrong side; * *: repeat instructions between asterisks; [ ]: work instructions inside brackets number of times stated. Turning chains do not count as stitch unless stated otherwise.
Gift 1: Striped Mug Cozy
Cosy, stretchy sleeve that slips over standard mug, with two stripes and button-loop closure. Quick to make, uses very little yarn, easy to customise with recipient’s favourite colours. Materials: Worsted-weight yarn in two colours: approximately 60 yards Main Colour (MC) and 15 yards Contrast Colour (CC); 5 mm (H) hook; two buttons, approximately 1 inch diameter; tapestry needle; scissors. Gauge / Finished Size: Gauge: 14 hdc = 4 inches; 11 rows of hdc worked in back loop only = 4 inches. Finished size: 3.5 inches tall x 9.5 inches around, unstretched. Back-loop ribbing stretches comfortably to fit mug with circumference 10 to 10.5 inches. Cozy worked flat as rectangle, then buttoned closed around mug.
Step 1: Mug Cozy — Starting Striped Rectangle
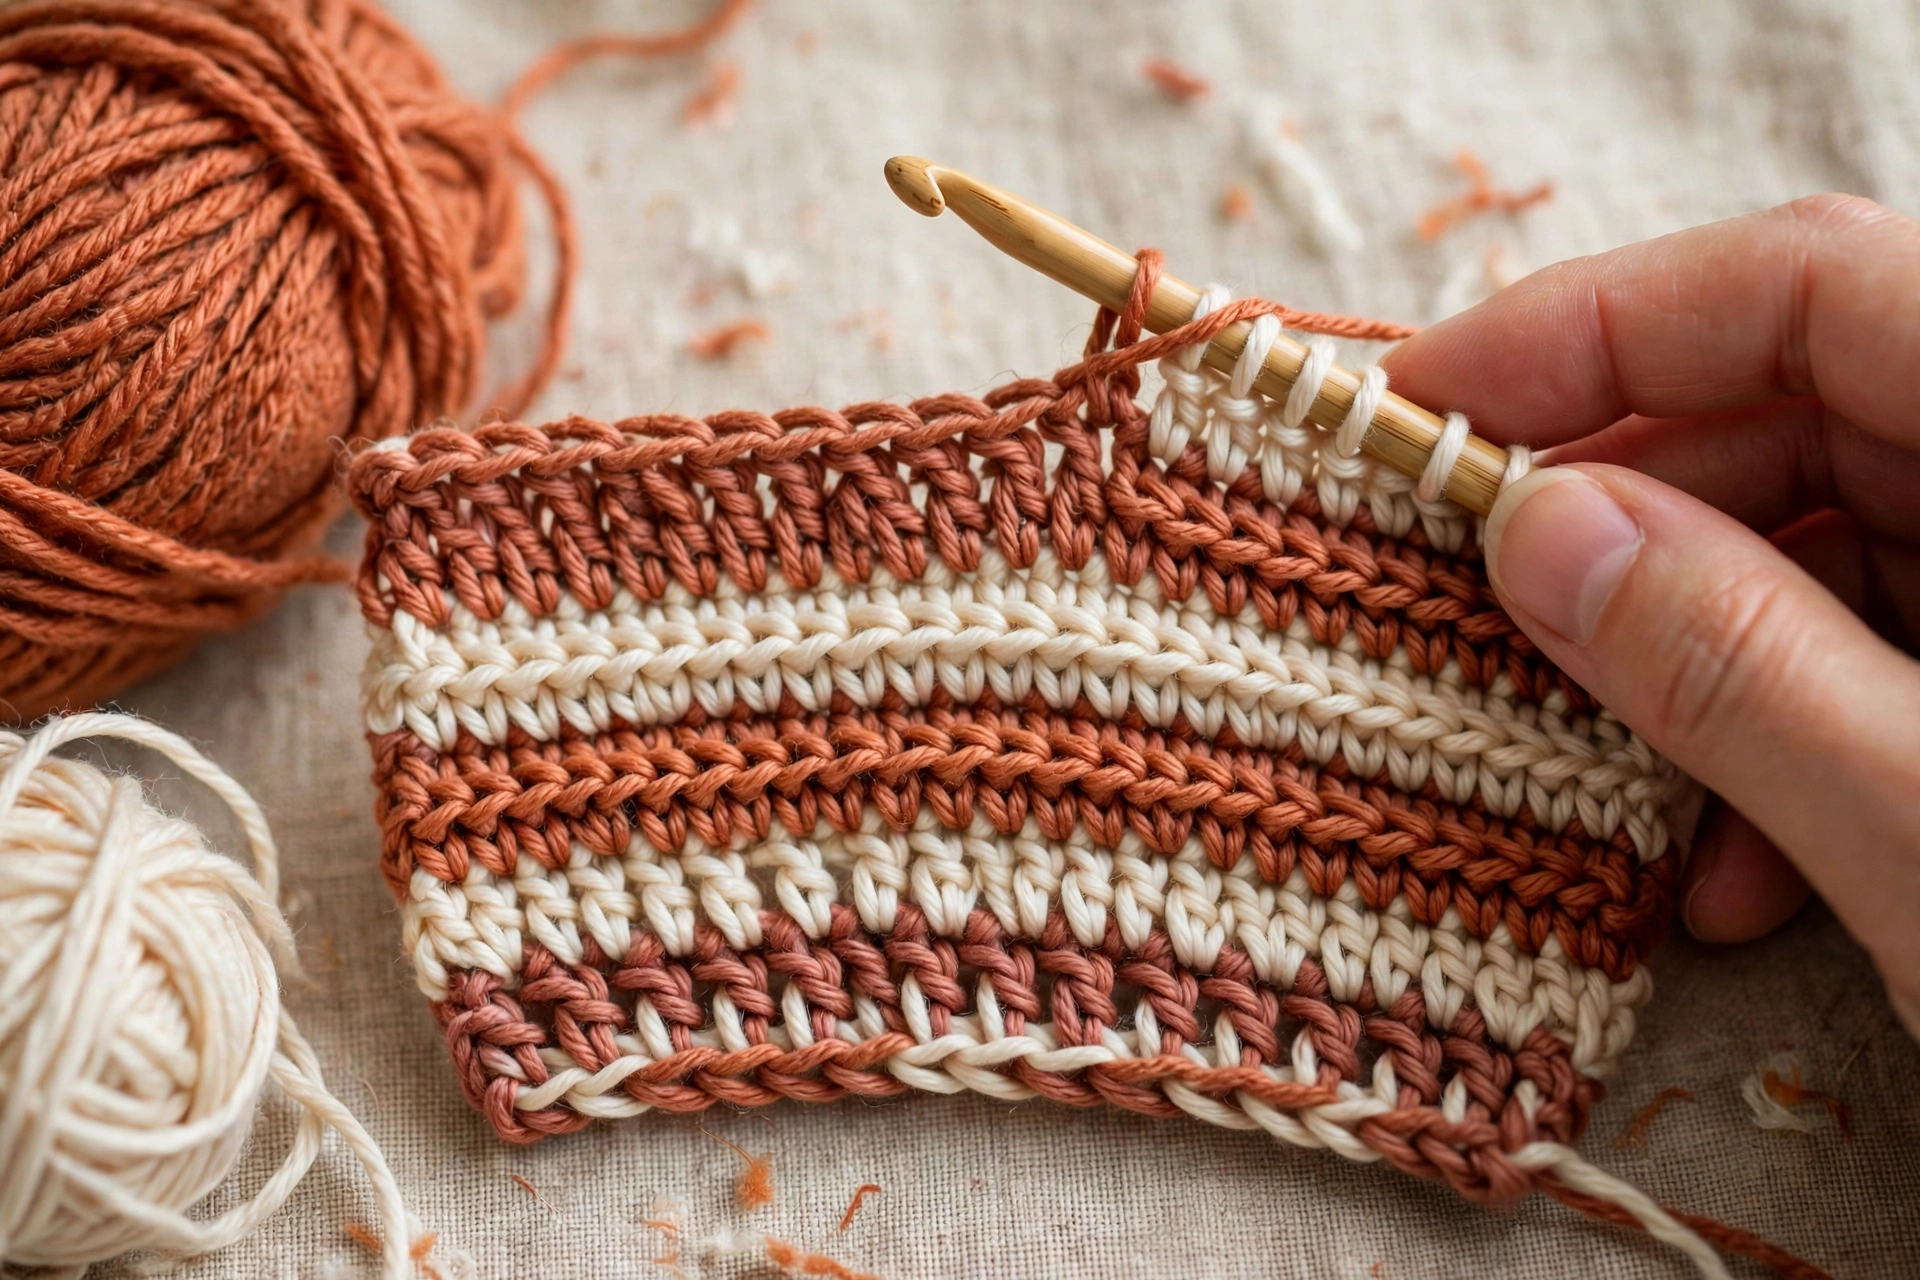
Work in rows. Chain 1 at start of row does not count as stitch. Change colour at start of Rows 4 and 7 as noted, then change back to MC at start of Rows 5 and 8. Foundation: With MC, ch 35. Row 1 (RS): Hdc in 2nd ch from hook and each ch across. — 34 hdc. Turn. Row 2: Ch 1, hdc in BLO of each st across. — 34 hdc. Turn. Row 3: Ch 1, hdc in BLO of each st across. — 34 hdc. Turn.
Step 2: Mug Cozy — Stripes and Button Loops
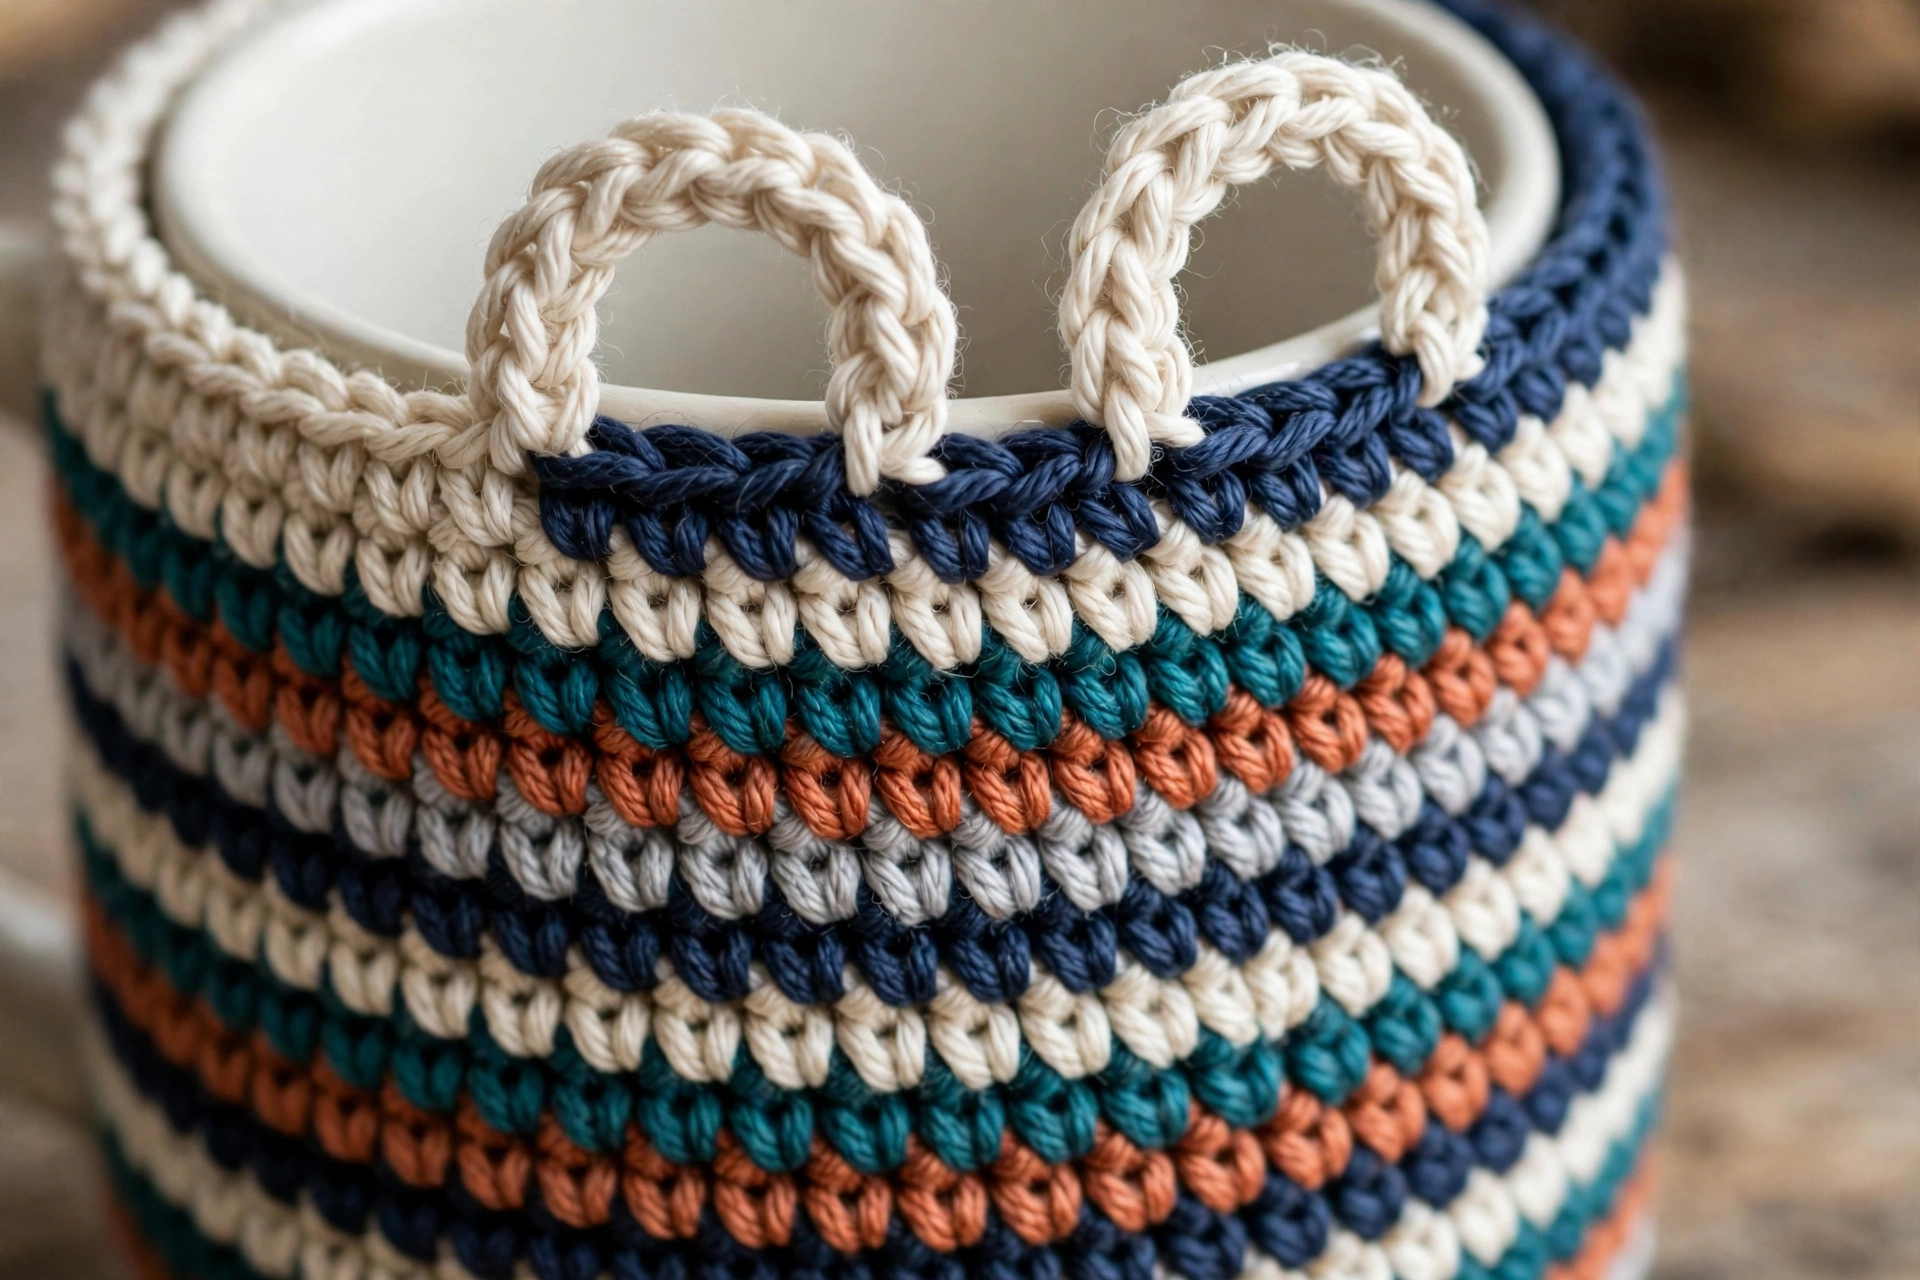
Row 4: With CC, ch 1, hdc in BLO of each st across. — 34 hdc. Turn. Row 5: With MC, ch 1, hdc in BLO of each st across. — 34 hdc. Turn. Row 6: Ch 1, hdc in BLO of each st across. — 34 hdc. Turn. Row 7: With CC, ch 1, hdc in BLO of each st across. — 34 hdc. Turn. Row 8: With MC, ch 1, hdc in BLO of each st across. — 34 hdc. Turn. Row 9: Ch 1, hdc in BLO of each st across. — 34 hdc. Turn. Row 10: Ch 1, hdc in BLO of each st across. — 34 hdc. Do not turn yet. Row 11 — Button loops: Ch 1, sc in first 4 sts, ch 6, skip next 3 sts, sc in next 14 sts, ch 6, skip next 3 sts, sc in last 10 sts. — 28 sc and 2 chain-6 loops, worked across original 34 sts (4 + 3 skipped + 14 + 3 skipped + 10 = 34). Fasten off, leaving tail for weaving in.
Step 3: Mug Cozy — Finishing and Fitting
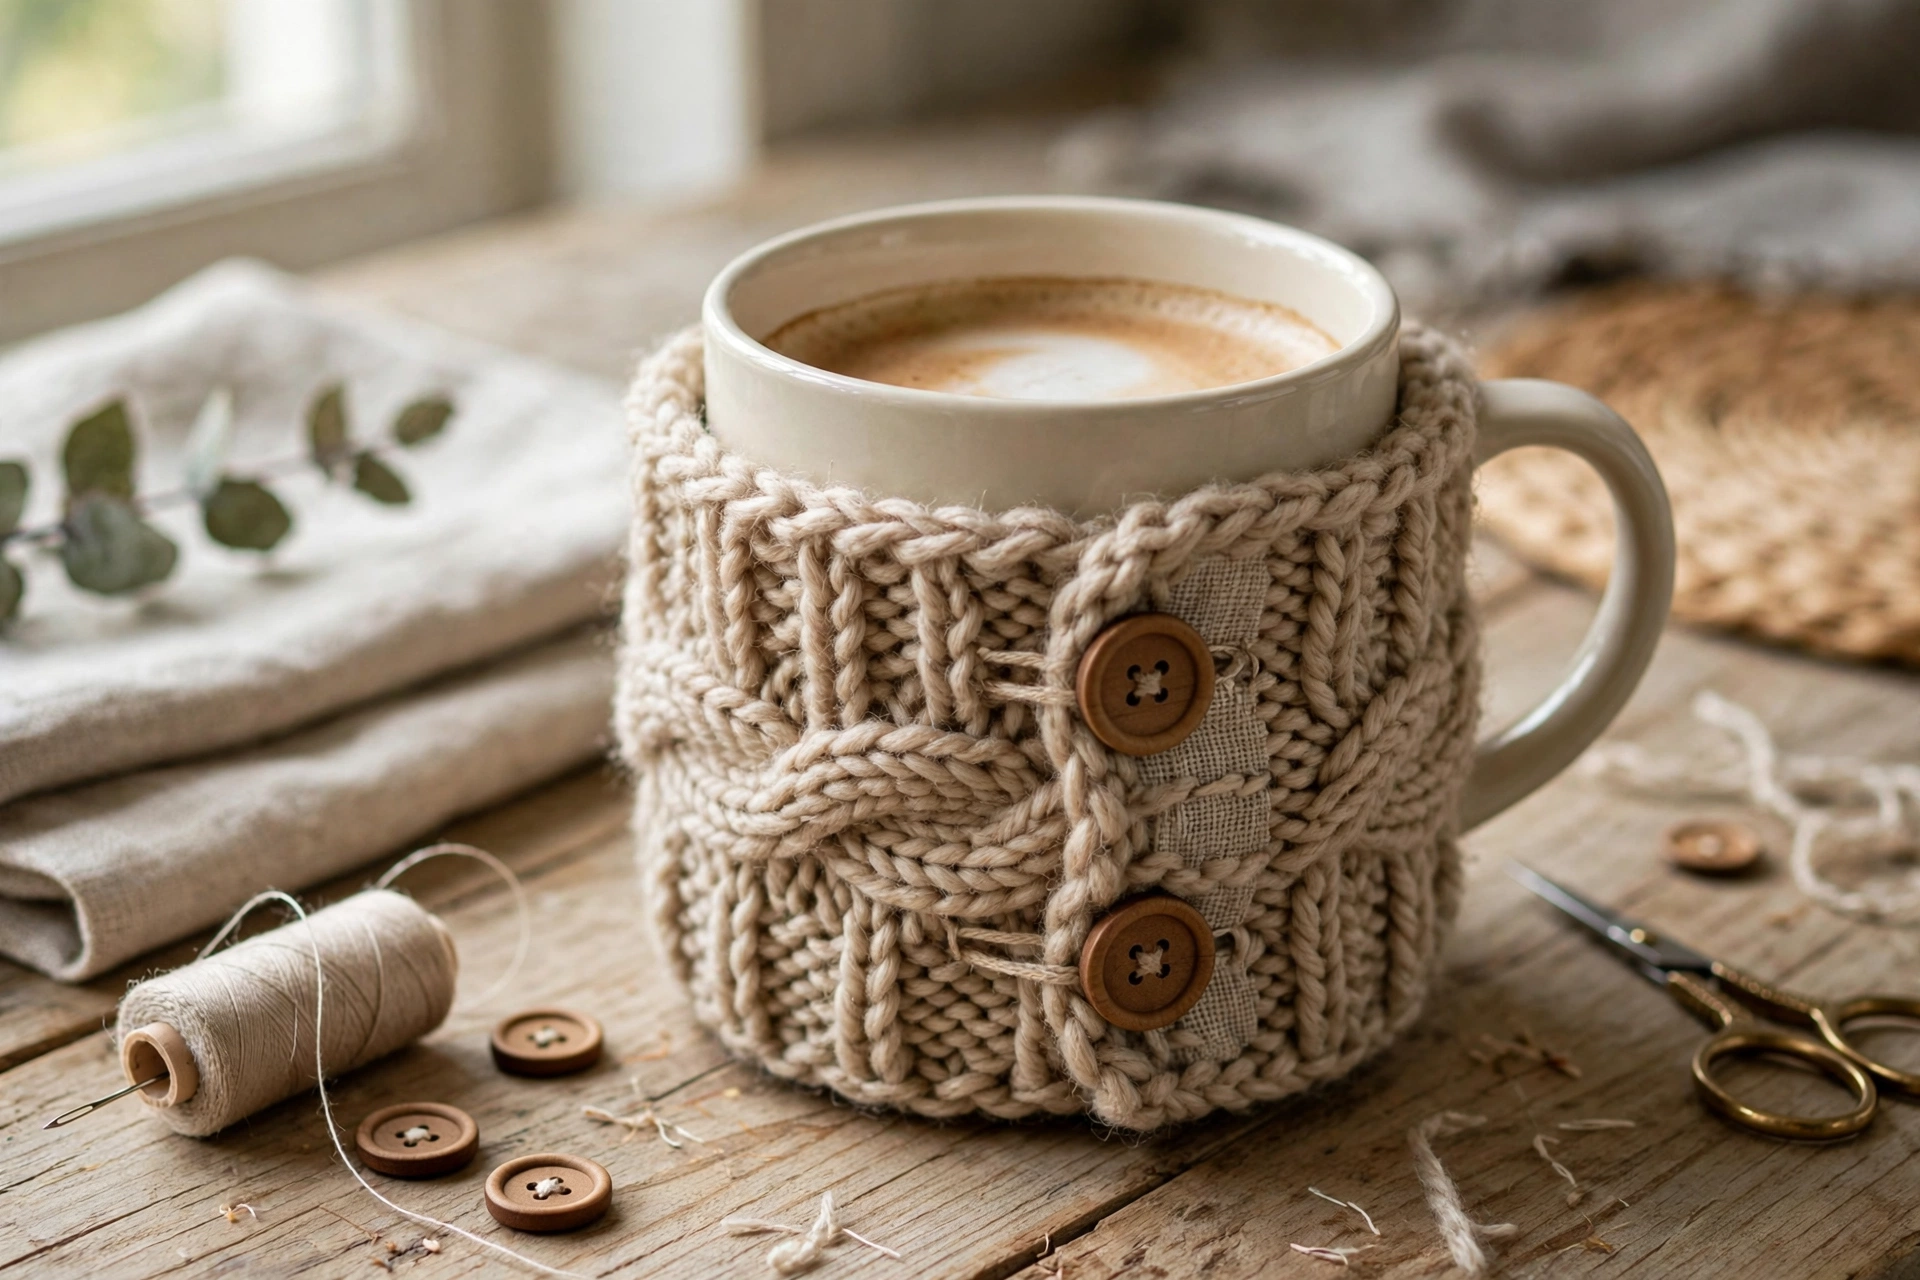
1. Weave in all yarn ends. 2. Wrap rectangle around mug, with Row 11 at top and foundation edge at bottom, so two short ends meet beside mug handle. 3. Mark where two chain loops fall on opposite short edge, then sew one button at each mark, through both layers if needed to secure it. 4. Button loops over buttons to close. If cozy feels loose, move buttons slightly inward; if tight, move slightly outward.
Gift 2: Drawstring Gift Pouch
Small, sturdy pouch with flat base, straight sides, drawstring top. Fill with treats, small ornament, jewellery, or gift card, pull drawstring closed, ready to give — no wrapping paper needed. Materials: Worsted-weight yarn in two colours: approximately 75 yards MC and 15 yards CC; 5 mm (H) hook; tapestry needle; scissors. Gauge / Finished Size: Gauge: 16 sc = 4 inches; 18 rounds of sc = 4 inches. Finished size: Approximately 4.5 inches wide (when laid flat) x 5 inches tall, excluding drawstring. Base worked in increasing rounds to 36 stitches, sides worked straight at 36 stitches throughout.
Step 4: Gift Pouch — Building the Base
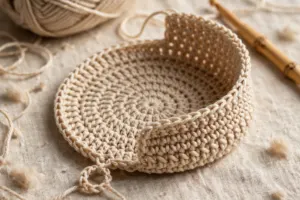
Work in joined or continuous rounds as prefer; stitch counts same either way. Do not count joining slip stitch as stitch. Base: Rnd 1: Make magic ring, work 6 sc into ring, pull ring closed. — 6 sc. Rnd 2: Inc in each st around. — 12 sc. Rnd 3: *Sc in next st, inc in next st* rep 6 times. — 18 sc. Rnd 4: *Sc in next 2 sts, inc in next st* rep 6 times. — 24 sc. Rnd 5: *Sc in next 3 sts, inc in next st* rep 6 times. — 30 sc. Rnd 6: *Sc in next 4 sts, inc in next st* rep 6 times. — 36 sc. Rnd 7: Sc in BLO of each st around. — 36 sc. This round creates crisp edge where base meets sides.
Step 5: Gift Pouch — Straight Sides and Eyelet Round
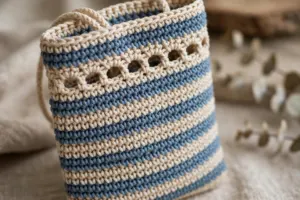
Sides: Rnds 8–17: Sc in each st around. — 36 sc per round. Rnds 18–19: With CC, sc in each st around. — 36 sc per round. Rnds 20–26: With MC, sc in each st around. — 36 sc per round. Eyelet round: Rnd 27: *Ch 1, skip next st, sc in next st* rep 18 times. — 18 sc and 18 chain-1 spaces, worked across 36 stitches of previous round (18 x 2 = 36). Rnd 28: Sc in each sc and each chain-1 space around. — 36 sc. Rnd 29: Sc in each st around. — 36 sc. Sl st to first st of round and fasten off. Weave in all ends.
Step 6: Gift Pouch — Threading Drawstring and Closing
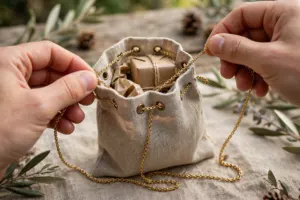
Drawstring: Ch 80. Fasten off, leaving short tails at each end. Knot each tail close to end so chain cannot unravel. Thread drawstring in and out through eyelets of Round 27, starting and ending at same eyelet gap at front of pouch. Pull both ends evenly to close pouch, and tie in bow.
Gift 3: Round Coaster Set (Make 4)
Simple set of four flat, round coasters in half double crochet, finished with single-crochet edge in contrast colour. Thick enough to protect table, quick enough to make as set, easy to stack and tie with ribbon for gifting. Materials: Worsted-weight yarn in two colours: approximately 25 yards MC and 10 yards CC per coaster; approximately 100 yards MC and 40 yards CC for set of four; 5 mm (H) hook; tapestry needle; scissors. Gauge / Finished Size: Gauge: 14 hdc = 4 inches. Finished size: Approximately 4.5 inches diameter per coaster. Make four coasters following same pattern. Each coaster ends at 48 stitches around, which gives flat circle at this gauge.
Step 7: Coaster Set — Starting the Circle
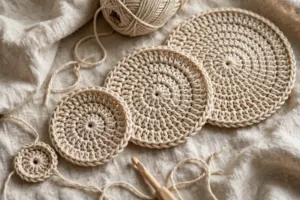
Work in rounds. Coaster worked from centre outward, increasing evenly each round so lies flat. Rnd 1: Make magic ring, work 8 hdc into ring, pull ring closed, sl st to first hdc to join. — 8 hdc. Rnd 2: Ch 1, inc in each st around, sl st to first hdc to join. — 16 hdc. Rnd 3: Ch 1, *hdc in next st, inc in next st* rep 8 times, sl st to join. — 24 hdc.
Step 8: Coaster Set — Completing the Coaster
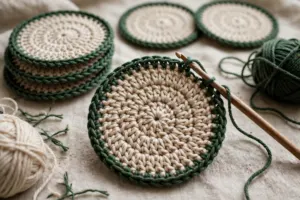
Rnd 4: Ch 1, *hdc in next 2 sts, inc in next st* rep 8 times, sl st to join. — 32 hdc. Rnd 5: Ch 1, *hdc in next 3 sts, inc in next st* rep 8 times, sl st to join. — 40 hdc. Rnd 6: Ch 1, *hdc in next 4 sts, inc in next st* rep 8 times, sl st to join. — 48 hdc. Rnd 7 — Edging: With CC, ch 1, sc in each st around, sl st to first sc to join. — 48 sc. Fasten off and weave in all ends.
Step 9: Coaster Set — Finishing the Set of Four
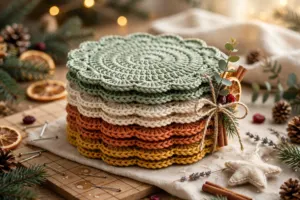
Repeat Rounds 1–7 three more times to complete set of four coasters. If coaster curls up at edge, block lightly (see Finishing Tips) before gifting. Stack four coasters and tie together for a ready-made gift set.
Overall Finishing Tips
Weave in ends securely: Thread each tail through backs of several stitches, change direction once, trim close to work so ends do not pop out in use or washing. Check fit before gift: Slip mug cozy onto actual mug, drop small gift into pouch and pull drawstring, set mug on coaster. Adjust button placement or drawstring length now, while easy to fix. Block coasters if needed: Lay each coaster flat, mist lightly with water, shape into round, leave to dry flat. Helps edge lie flat and evens out stitches. Keep button and drawstring closures safe: Sew buttons very firmly with several passes of thread, knot drawstring ends so cannot pull through eyelets. Wash with care: Hand wash in cool water and lay flat to dry to keep shapes and colours looking best, especially for items that will hold hot drinks. Presenting gifts: Stack four coasters and tie together, tuck treat or tea bag into pouch, or slip cozy onto favourite mug for ready-made gift set.
FAQ
Are patterns suitable for beginners? Yes. All three use only chain, single crochet, half double crochet, and simple increases. Mug cozy worked in flat rows, pouch in straightforward rounds, coasters in evenly increasing rounds. How long does each gift take? Most crocheters can finish one mug cozy or one coaster in well under hour, full set of four coasters in evening, gift pouch in one to two hours, depending on speed and colour changes. Can I use different yarn weight? Yes, but finished size will change. Thinner yarn will make smaller items and thicker yarn larger ones. Check gauge and, for mug cozy, measure rectangle against mug before adding button loops. Can I make pouch bigger? Yes. Continue base increases for one or two more rounds — for example, round of *sc in next 5 sts, inc in next st* repeated 6 times gives 42 stitches — then work sides straight at new stitch count, keeping eyelet round in same *ch 1, skip 1, sc* pattern adjusted to that count. Do I need to make all four coasters same colour? No. Set in alternating colours, or four different festive colours with same contrast edging, makes cheerful set and good way to use up leftover yarn. How do I care for gifts? Hand wash in cool water and lay flat to dry. Avoid high heat, which can distort shapes, and re-shape coasters while still slightly damp if needed.